Posted in quilting

Stay at Home Round Robin Quilting

Okay, so I got started on this project through fellow blogger Chris Knits.

SAHRR 2021 | chrisknits (wordpress.com)

In a traditional round robin, quilters make a block, then pass it to the next quilter who would add to it, then pass to the next, and so on, until the piece had completed its circulation. The final result is a big surprise to the original quilter when it returns to her.

This is a COVID version. Each quilter keeps her original block, but responds to weekly challenges by adding a border around her block. Each quilter in the round robin is responsible for providing one prompt to the group.

Can I try? I’m kinda new to quilting, but I have a few pieces of fabric left over from projects I finished last year. I invited myself to participate. Chris said, “go for it.”

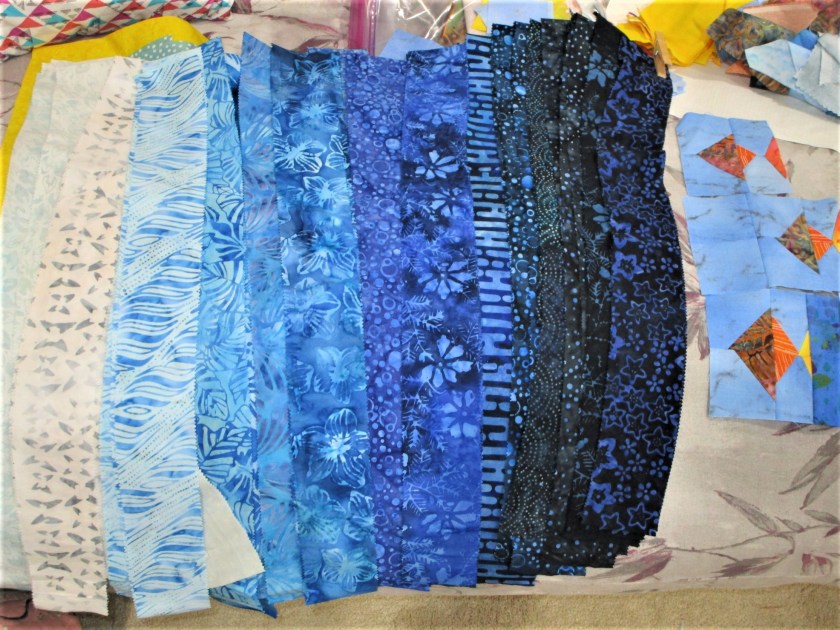
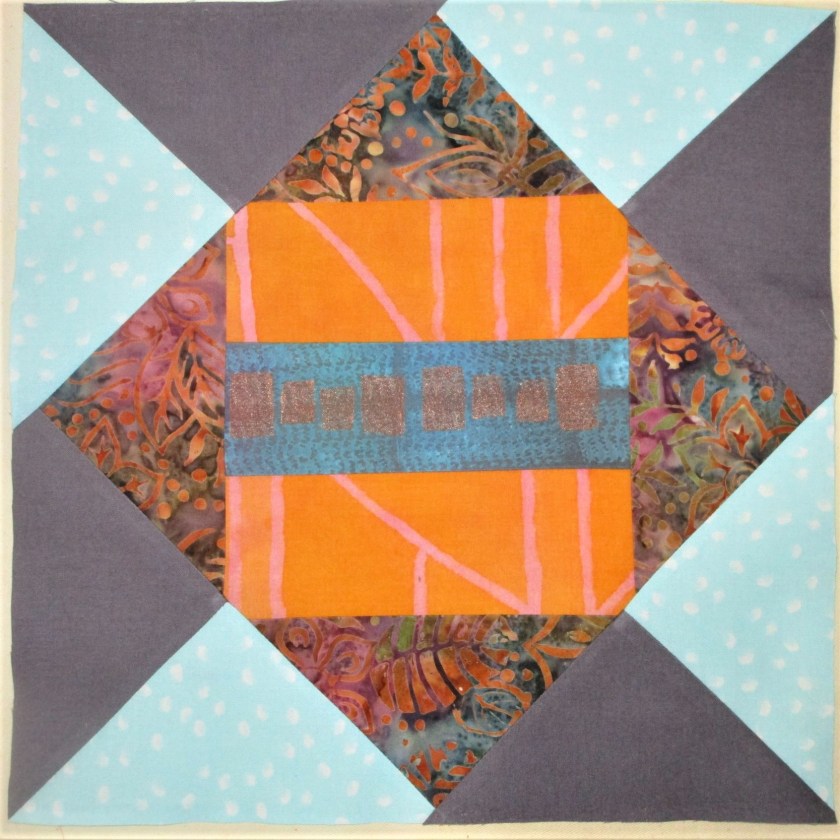
Today each quilter is unveiling her center block. I better get started. First I pulled a few leftover strips that seemed to be big enough.

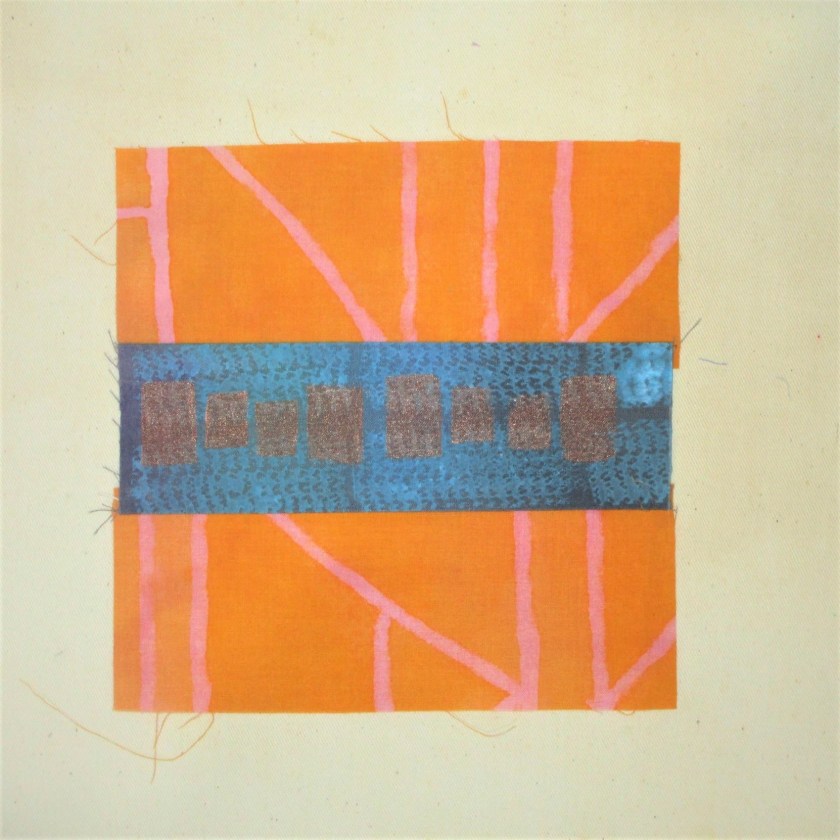
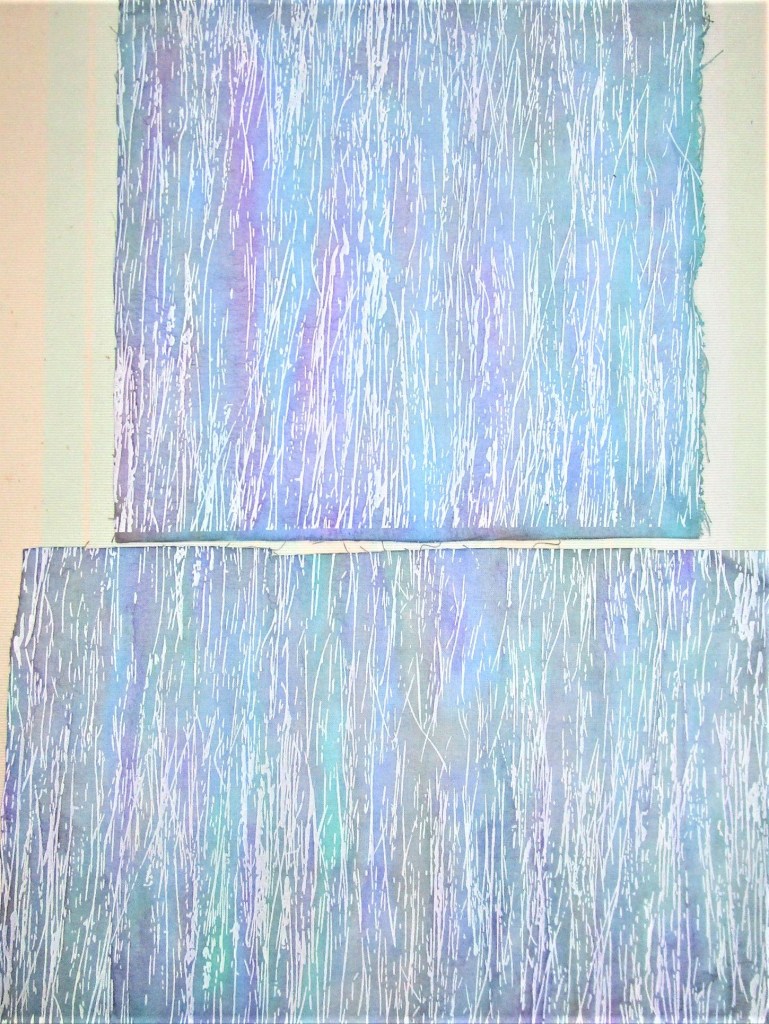
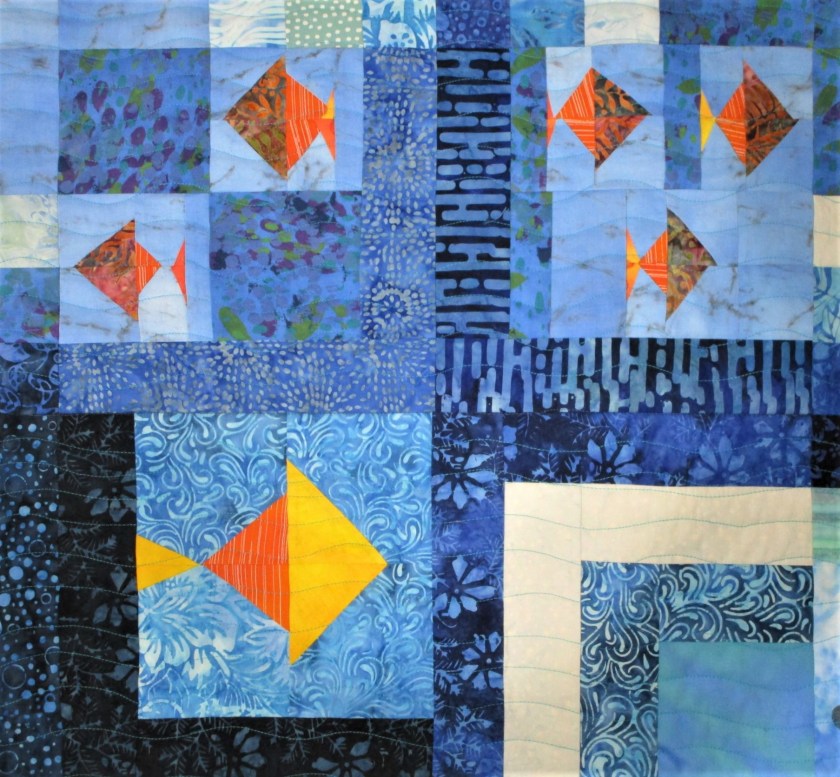
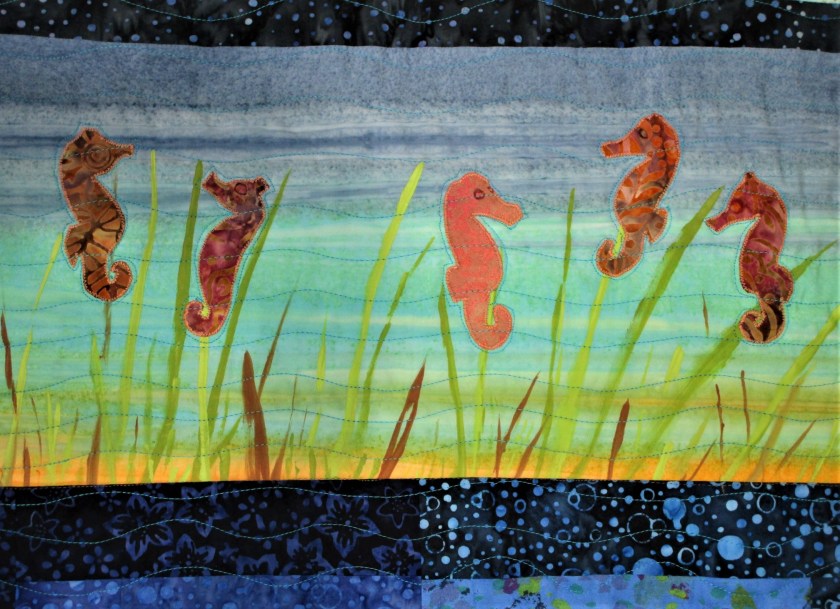
Both fabrics were experiments. The center piece is overpainted with opaque turquoise. then stamped with a metallic bronze color. The orange piece was painted pale pink, then a resist applied, followed by a deep orange paint. Removing the resist reveals pink lines.

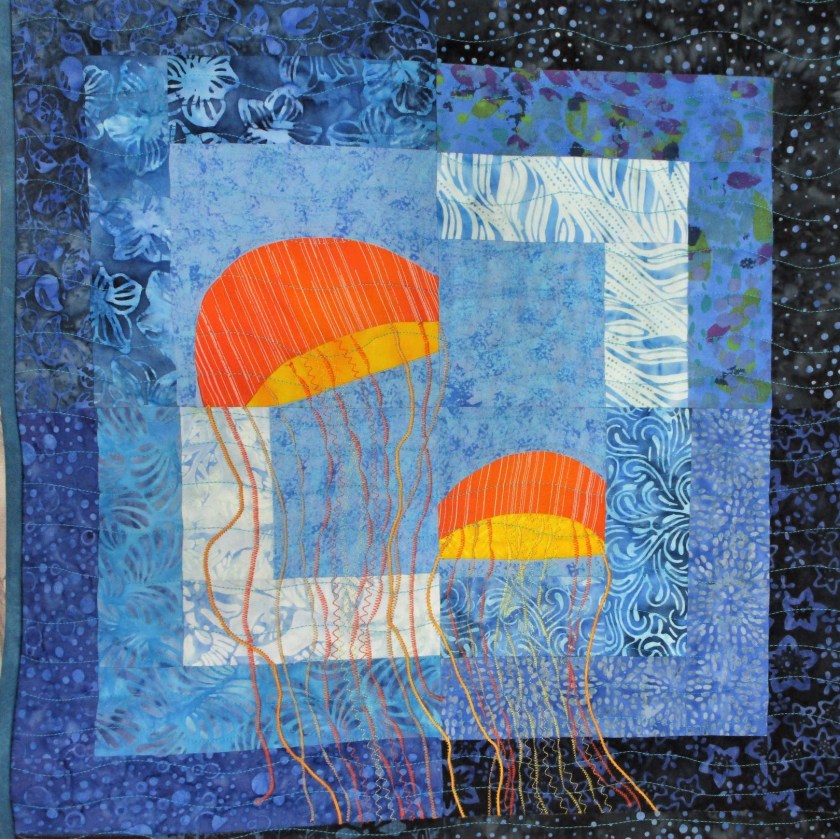
So I have my palette, but I need supporting fabrics and a plan for the rest of the block. During my stash rummage, I turned up this beautiful batik that I had bought just because it was on sale.

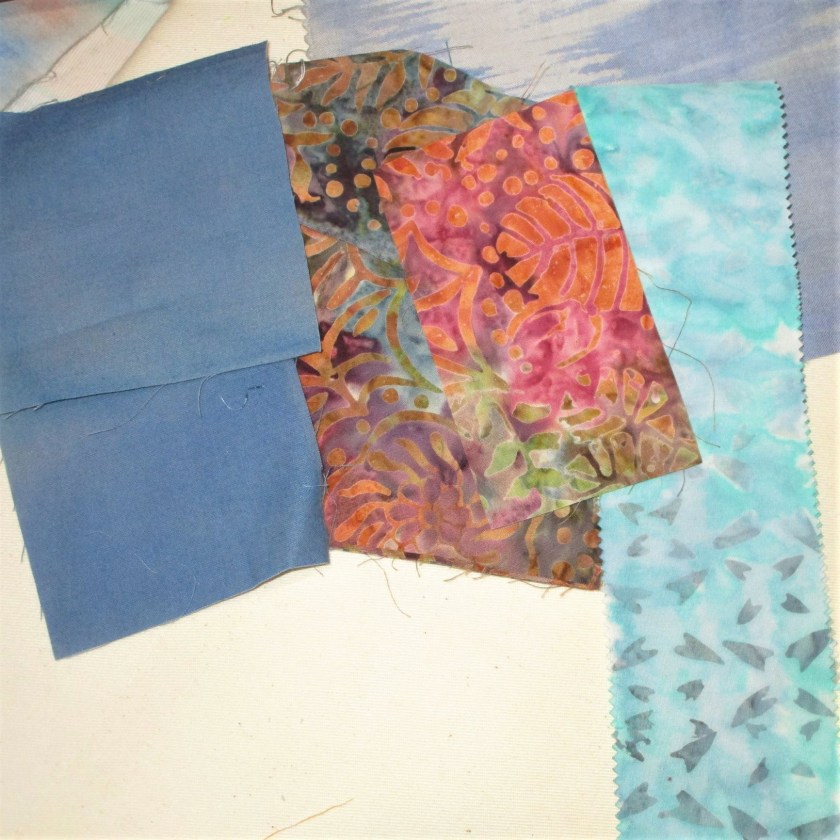
The other two fabrics are too small, so I went to the hobby store to buy similar colors.

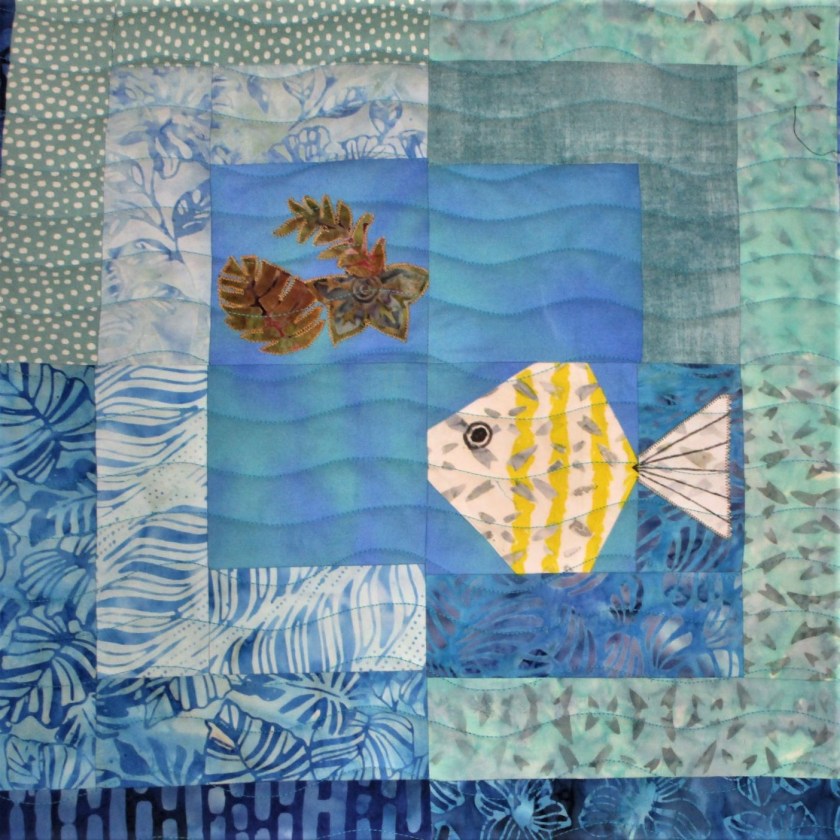
That part was easy for me. Selecting a block design? I needed help, so I got out a quilting reference book by Celia Eddy.

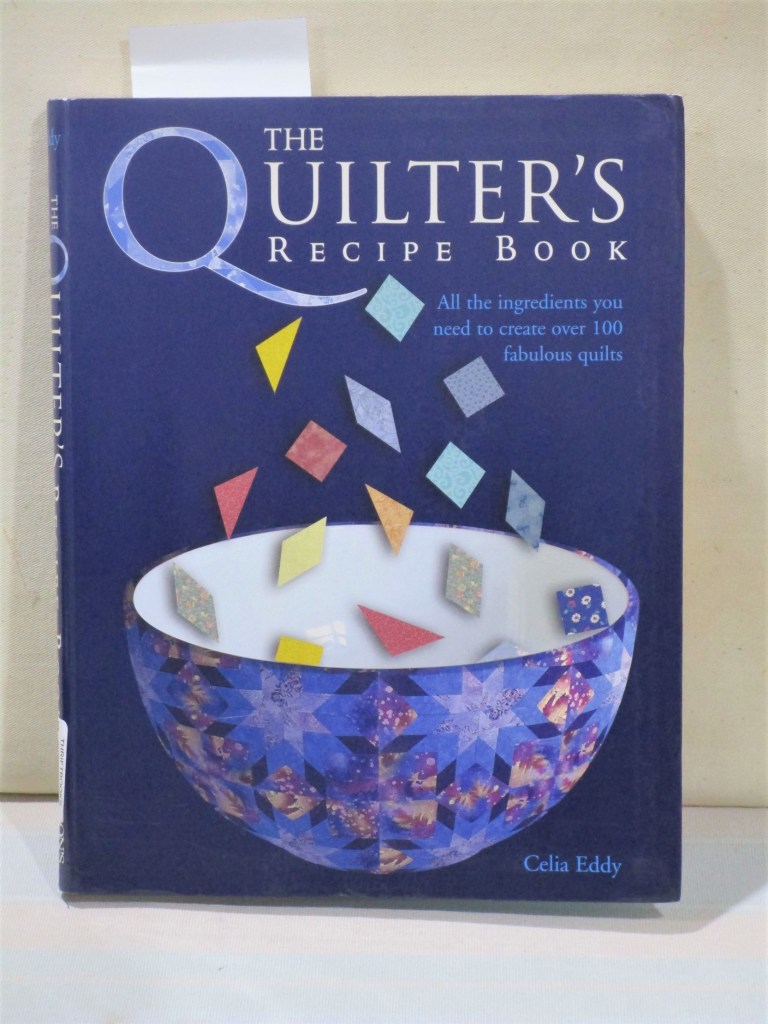
Gosh, I am so glad I bought this. Now, focusing on patterns that feature a center design and are not too hard for a beginner, I selected this one.

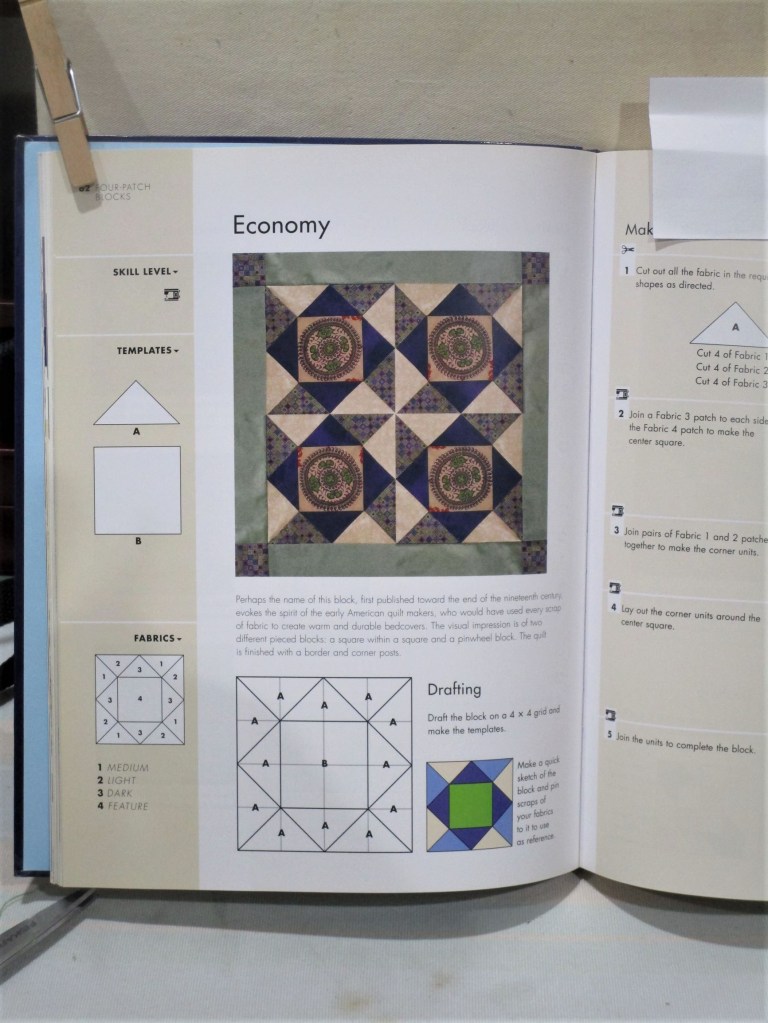
The pattern is called Economy, and includes a square, a right-angle triangle, a focus fabric and three supporting fabrics. It is rated for beginning quilters. Within an hour or so, I had put together my block.

If you also are intrigued by doing a round robin quilt, check out this group.

Below is the schedule of the designers and links to their blogs. 

Posted in hand embroidery, painting, quilting

Van Gogh-ish Last Steps and Reveal

The last time I posted about my sunflower project, I had just finished fusing all the fabric pieces to the background and was beginning to embroider details on the flowers. There are only a few more steps to share.

Here is a close up of the embroidery detail, which also shows the machine stitching around each applique piece.

Both of these steps took a good amount of time. I sewed around each piece using my walking foot. It is a great foot for precise work, but it only sews in a straight line. To sew down each petal and each notch in each leaf required lots of adjustments along the way.

Once the outline stitches were finished, I switched to my free motion foot to quilt the background. Now take a look at the Van Gogh painting at the top of this page. You can see, how the artist painted echo lines around the details. The pale dashes around the man’s jacket repeat the line of the jacket, and the edges of the sleeves are echoed all the way up the arm. I wanted to create the same kind of texture in my piece. So I started by sewing echo lines around the flowers and the leaves.

When I reached the sky, I sewed wavy lines around several of the paint dashes and dabs. After finishing the quilting, I bound the quilt on all sides with blue fabric.

For my final step, I mixed some paint. I painted echo lines, focusing on the upper half of the piece, and giving much attention to the flowers. Then I called it done.

Van Gogh-ish Sunflowers

I feel really happy. While this project took me many hours to complete, I find it very expressive. The quilting and the background paint lines represent the motion of the sunflowers as they sway in the wind. I like to think the echo lines represent the energy that exists in all living things.

Thank you, Mr. Van Gogh, for everything you taught me.

Posted in colorwork, painting, quilting

Follow up on Fence Questionaire

First of all, everyone said “Keep the fence.” Many of you liked the wine-purple color, but some agreed with me that an adjustment of some kind was needed.

I did try options 1 and 2.

Option 1: Start over with another fabric. Here are the samples I painted on the white fabric. I decided that it was a fun exercise, but just didn’t look too fence-like.

Option 2: I applied a wash of a cool blue color to tone down the strident red violet.

It just plain didn’t work as intended. To my eye, this is worse than before.

In the end, I chose to start again with the original fabric, for the same reason that I picked this fabric in the first place. The print had an earthy, woody texture to it. This time I mixed my violet paint with enough azure blue to create a sort of periwinkle or lavender tone. I also modified my foam brush by cutting notches into it.

The Winner!

Thanks to all who participated in the game. Your encouragement and positive remarks let me feel the community around me. I wish I could give you each a hug.

Now I can move on to sewing. I’ll start with a little hand embroidery on the flowers.

Happy making to all and to all a good day.

Posted in quilting

Finished Object Friday

It was with great satisfaction that I sewed my last stitch into “Under the Sea” quilt. Today is the big reveal. Since many of you have already seen the completed blocks, instead I will share the inspirations for my quilt’s design.

It all started with sea turtles. I painted the first one last April, on Earth Day. Ultimately, the sea turtle became the centerpiece of this project.

One thing I learned about these amazing animals is that they roam broadly over the ocean. Yet they always return to the place of their birth to start the next generation. It’s a hazardous journey across that beach. Many newly hatched turtles fall prey to other creatures. Even once they are afloat, life is precariously

As I spent time drawing various sea creatures, I realized that I would probably never see a healthy coral reef. Humans have done a poor job of conserving the world’s oceans. According to the National Geographic Society, a mere 7 percent of the sea has any official protection – and these are mostly weak rules, with multiple exceptions. Only 2.5 percent of the ocean is highly protected from human exploitation.

Most disturbing to me is the effect of global warming on the ocean. As more and more carbon dioxide is absorbed by the water, the ocean get more and more acidic. Following that process to its natural conclusion implies a great die-off of species. The acid water will dissolve the calcium in the reefs until they can no longer sustain life.

So my process of making “Under the Sea” turned into a love story about all the creatures living under the threat of extinction.

…….. and a plea to those who have the power to act on their behalf. If we do nothing, what we have left of the ocean may not be enough to sustain our own species.

Because there is always hope, I will leave you with this: The Pristine Seas project launched by National Geographic Society in 2008 has helped create 22 marine reserves across the world’s oceans. New research indicates that as a result of rigorous protection, fisheries adjacent to these no-take zones experienced a rebuilding of stock – almost doubling the catch.

Fish blocks pieced by flip and stitch. Turtles stencil painted, free motion quilted.

It is possible to keep our coral reefs and continue to feed ourselves and our children.

Posted in quilting

Gorgeous and Productive Day

Today’s weather was quite remarkable, for August. Upon rising, the air was 66 degrees and winds were calm. It stayed so cool all day long that the A/C didn’t even turn on until early evening. I enjoyed the backyard for an hour or so and did a modest amount of gardening. It was almost 11 before I resumed work on my current project.

Appliqueing the turtle was really fun. After some fiddling about with the shapes and color choices, my center medallion looks like this:

Combination of batiks and hand-painted fabrics.

More dimension and texture will be added when I stitch it. I painted the turtle’s head Very Slowly, using Jacquard Textile paint mixed with floating medium. I rather like the primitive-like quality resulting from the bright colors and blocky shapes. This piece is roughly 20″ by 14 and 1/2″. To make it into a square, I made a strip with my baby turtle stenciled blocks and added it at the top.

I like what I see so far. But now, the hard part. I will need to build a quilt around it. I’m thinking about log cabin blocks, mostly because I purchased a package of pre-cut 2 and 1/2 inch strips. Here they are:

These are all so pretty. And a nice range of tones.

You can see also see a few fishy blocks that I made months ago using the stitch n flip technique. These could become log cabin centers……..or I could group them into a block of their own. That would make a school of fish.

Okay, quilting bloggers, this is an invitation to weigh in on this design. Any thoughts?