When I last wrote about this art quilt project, I was waiting on a delivery of fabric.
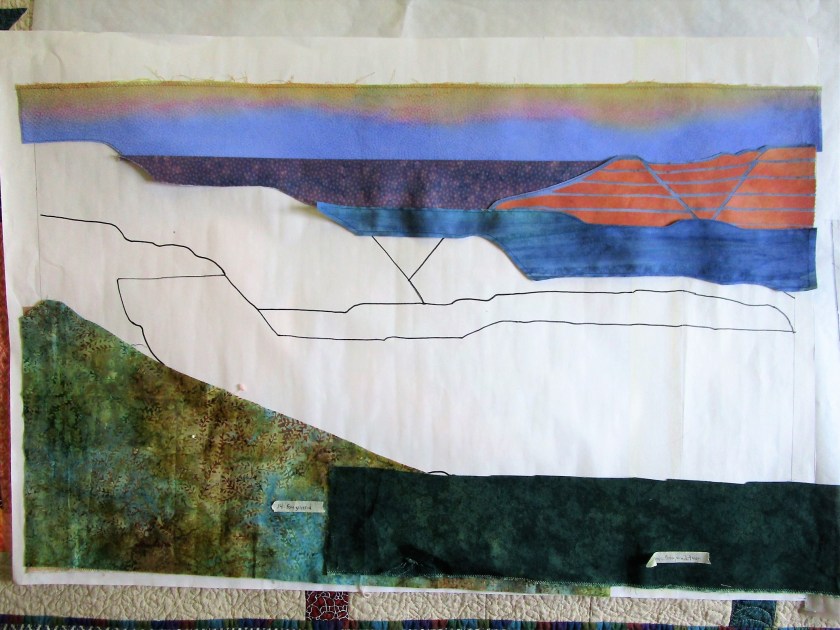
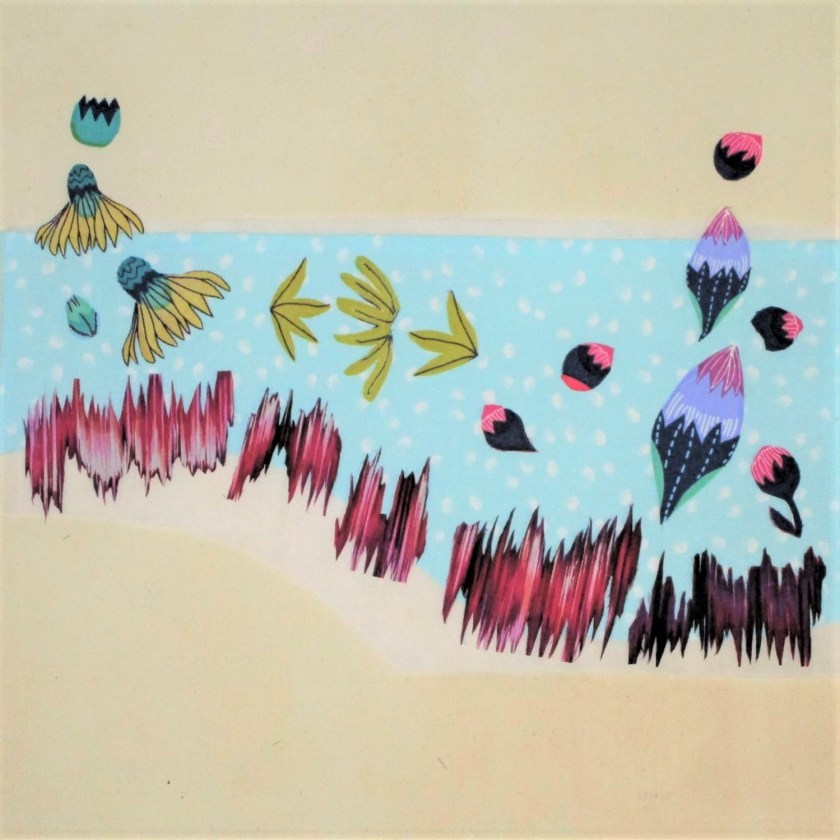
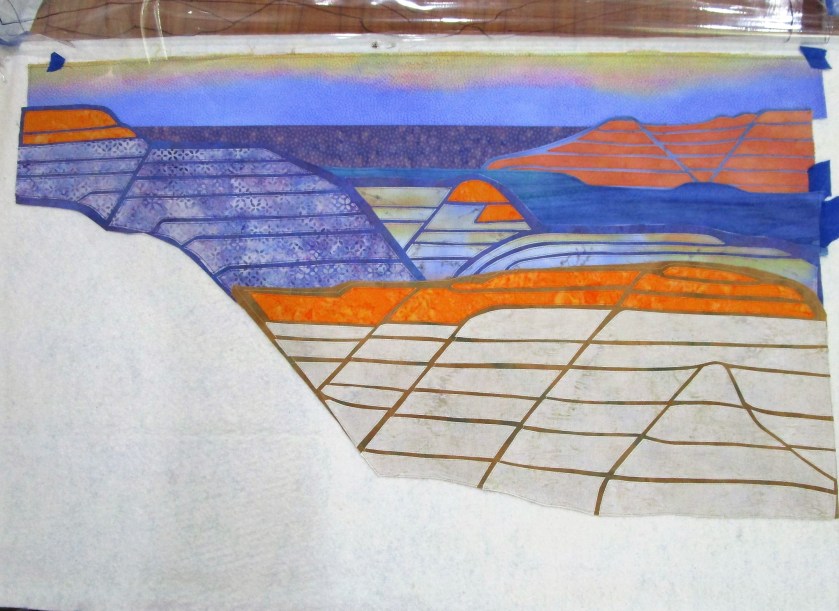
Here is what my quilt looked like at that point.
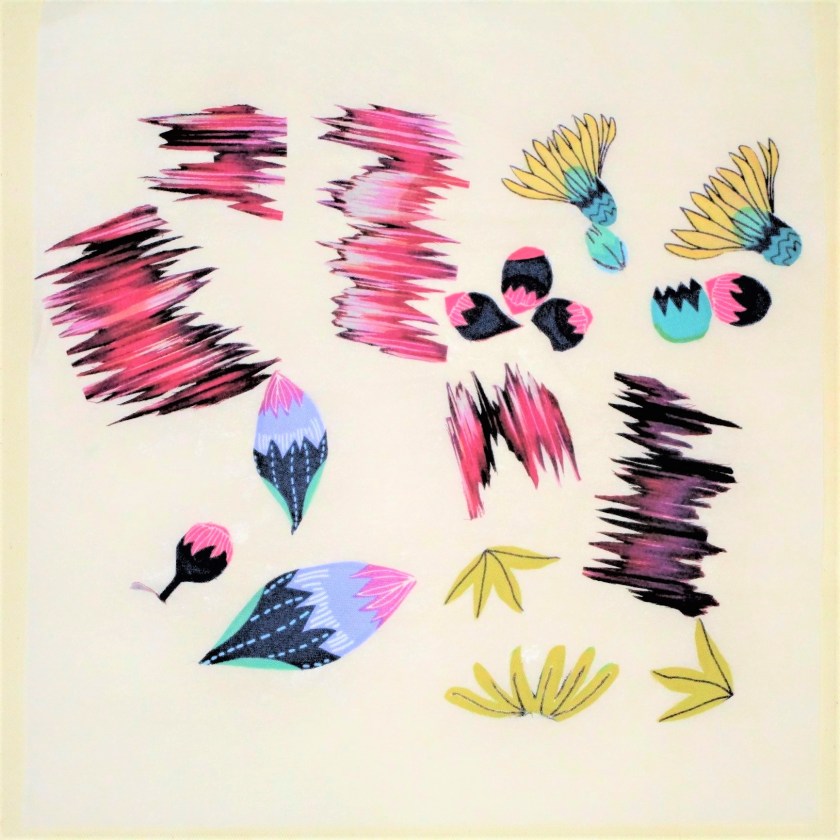
I had selected some fabrics from my stash. The sky and horizon segments had been painted and positioned. My first module of background ridges was cut-out, fused and stitched together. I liked it a lot. But it was clear to me that I needed more orange and purple fabrics to really represent the scene as I designed it.
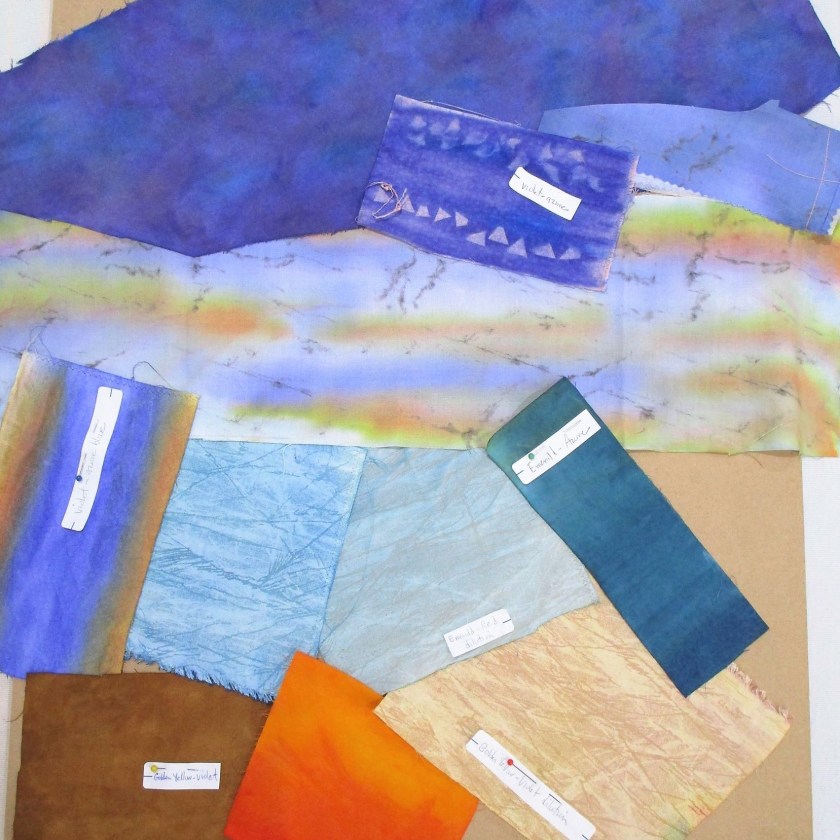
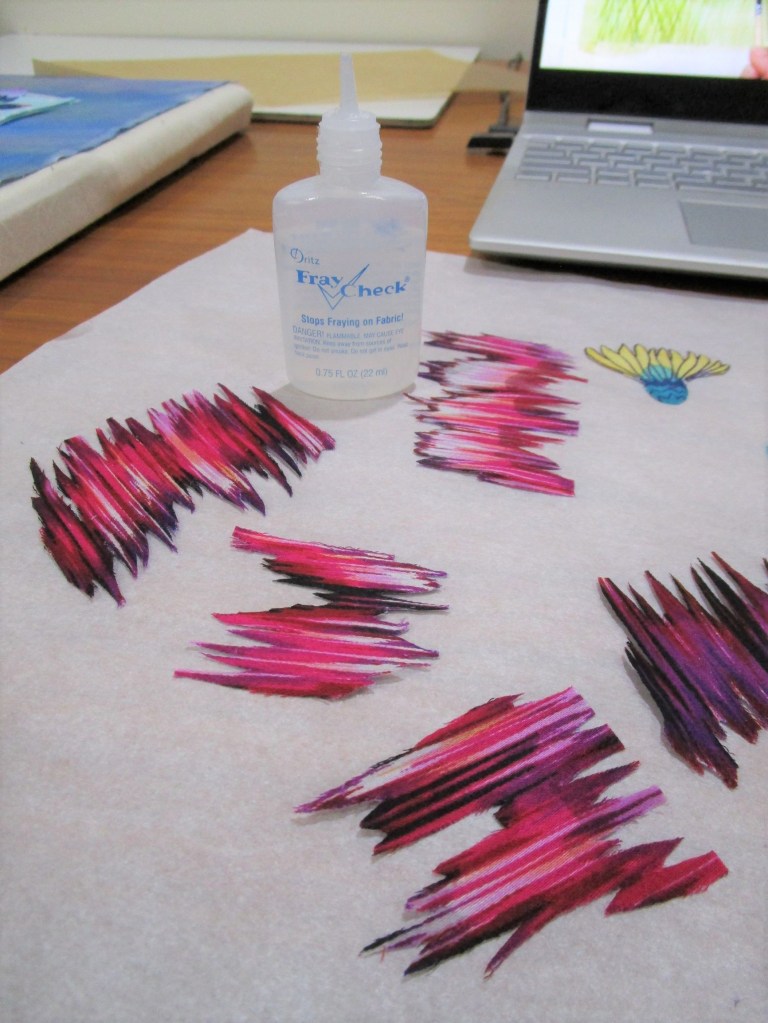
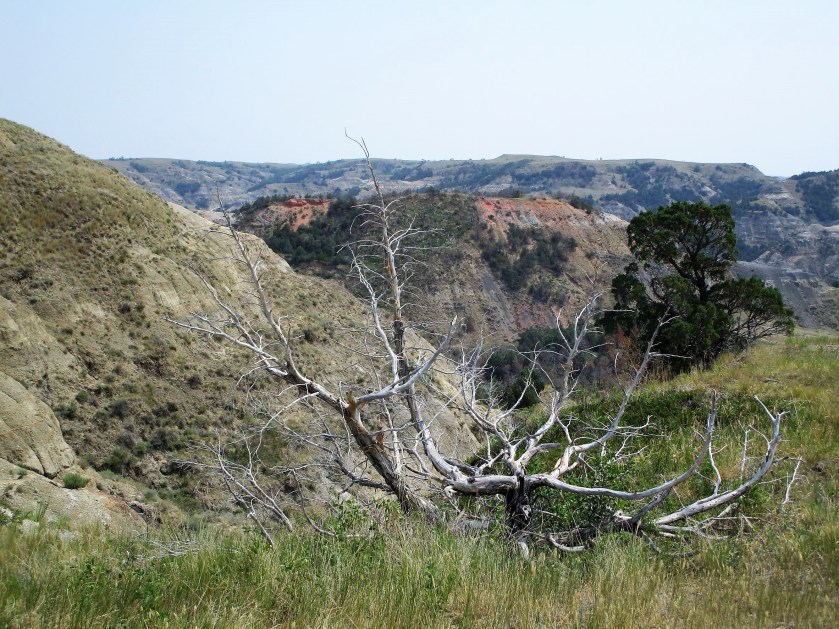
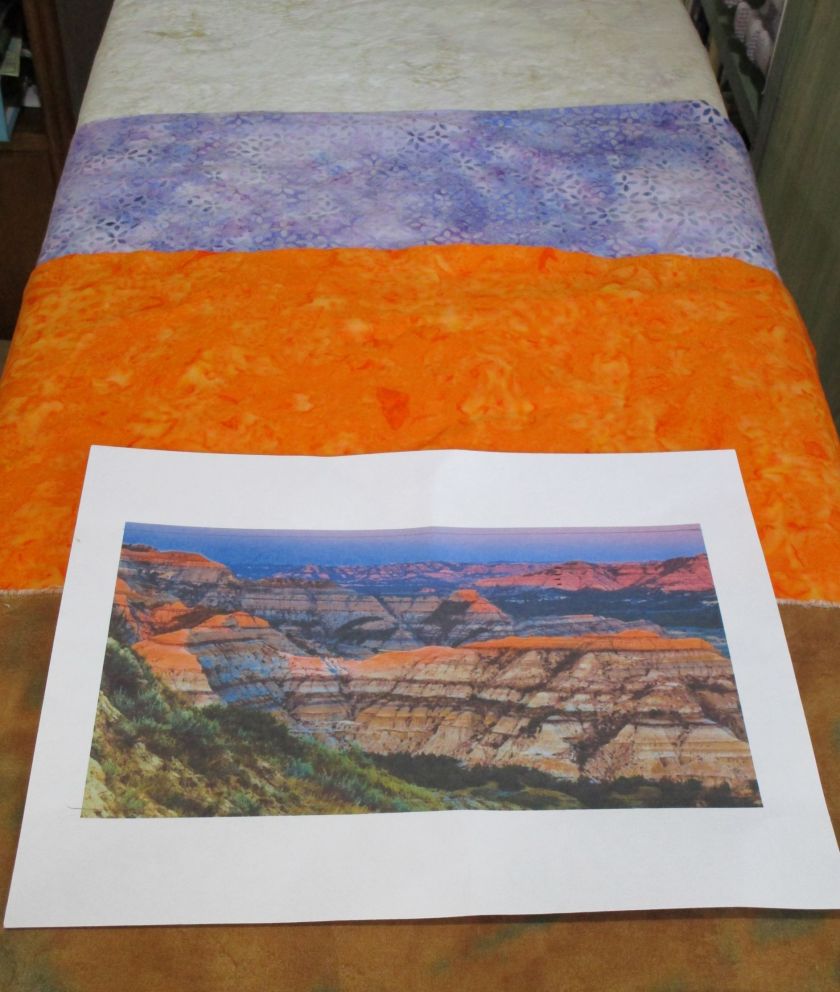
This photo shows my reference image and the three batik fabrics that arrived from Fabric.com last month. I was pretty impressed that the fabric colors looked just like they did on my computer screen.
So, full steam ahead with the work!!
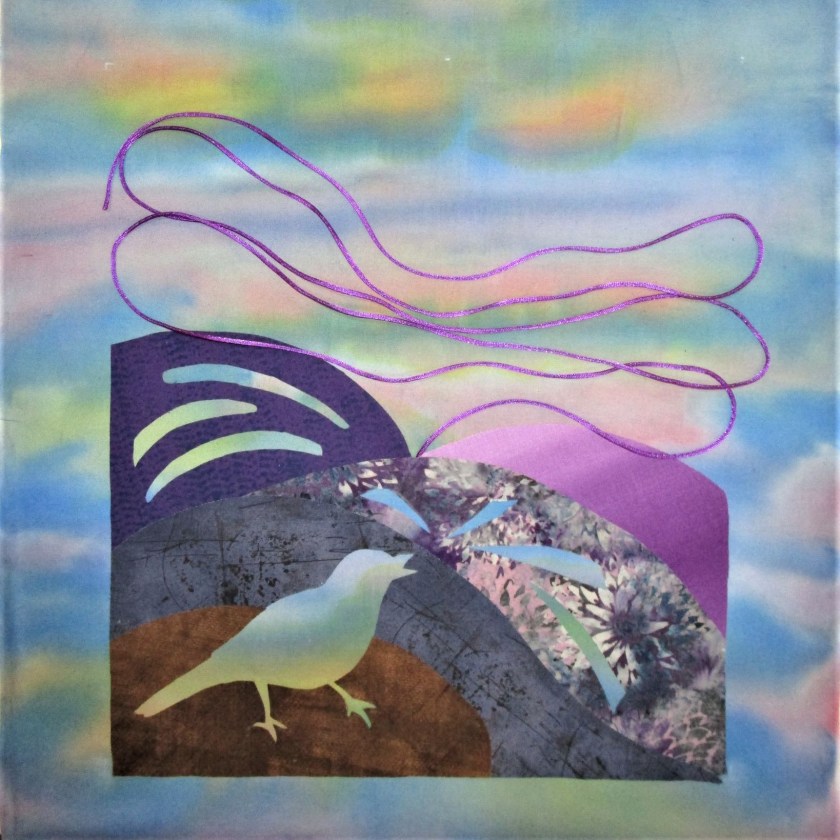
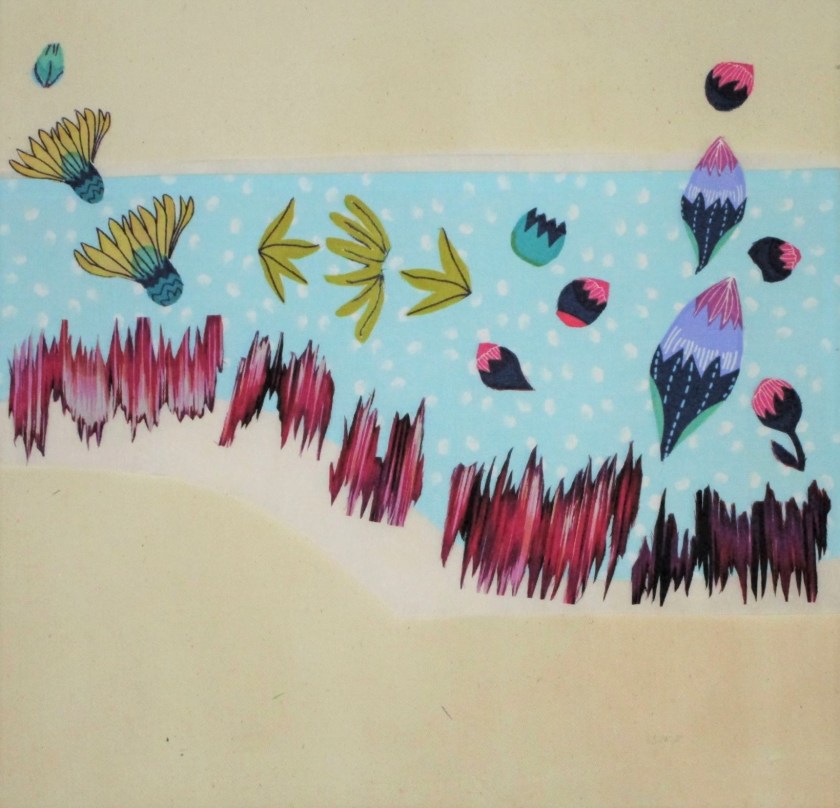
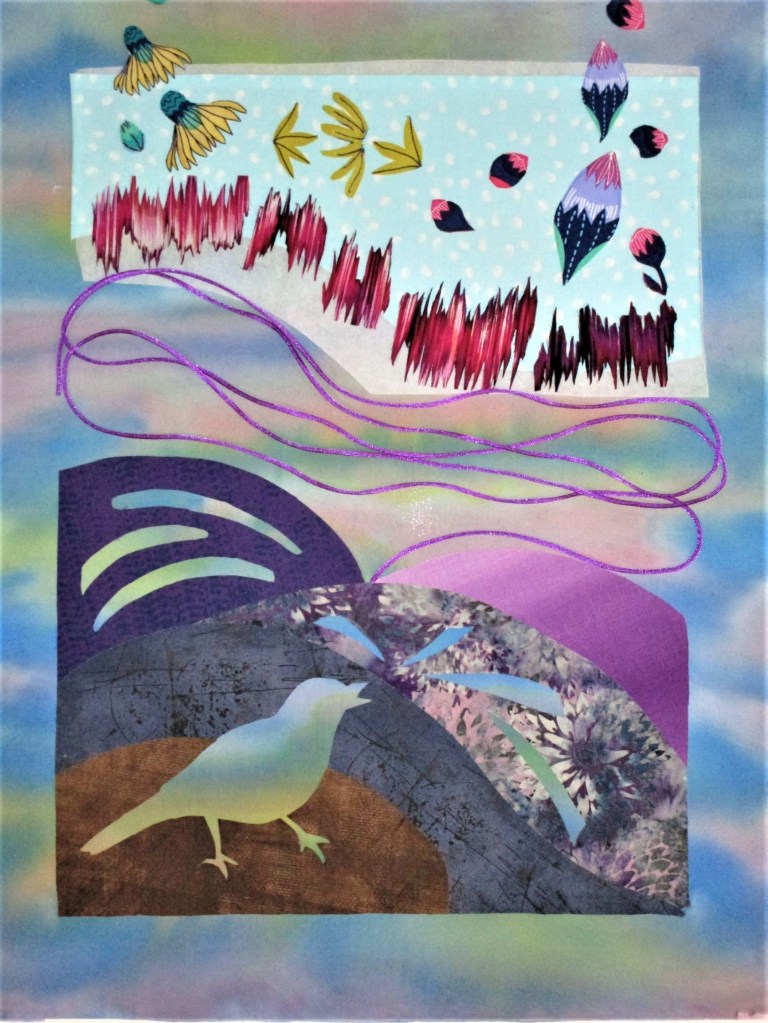
Half-way assembled:
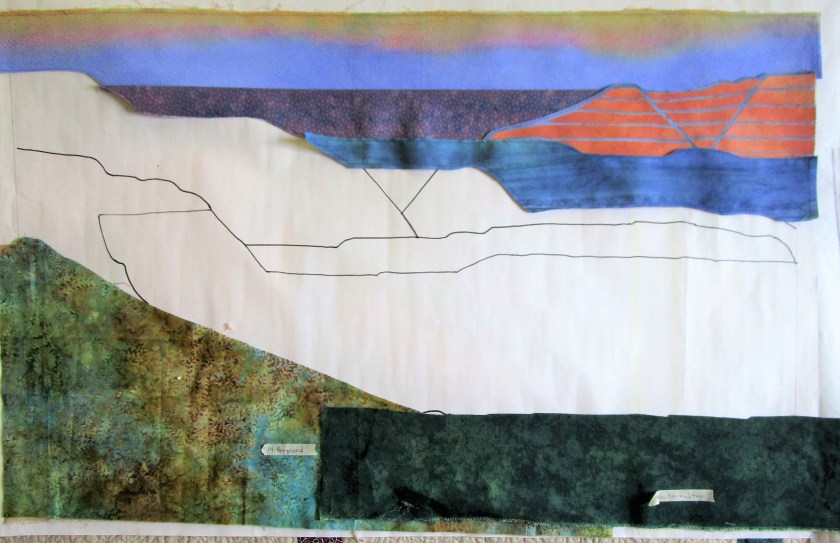
In this photo all the segments are finished and in place but one – the lower right. You see the segment’s base fabric that I plan to use.
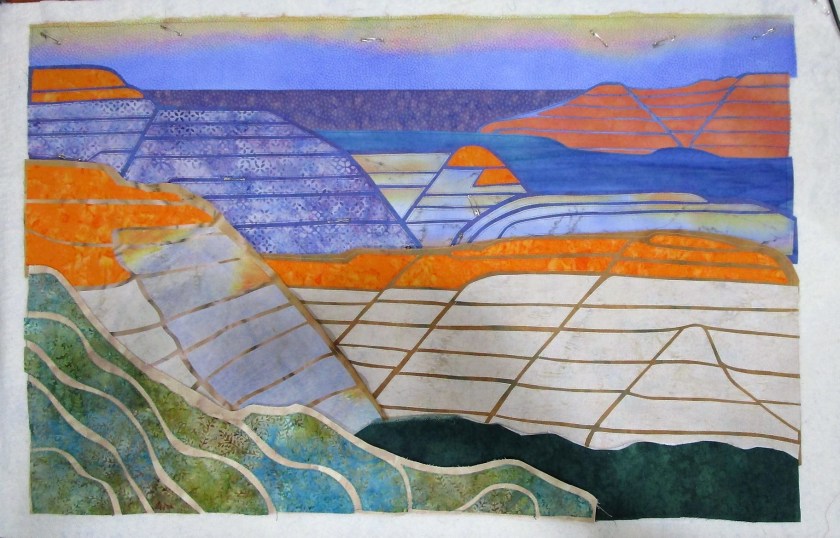
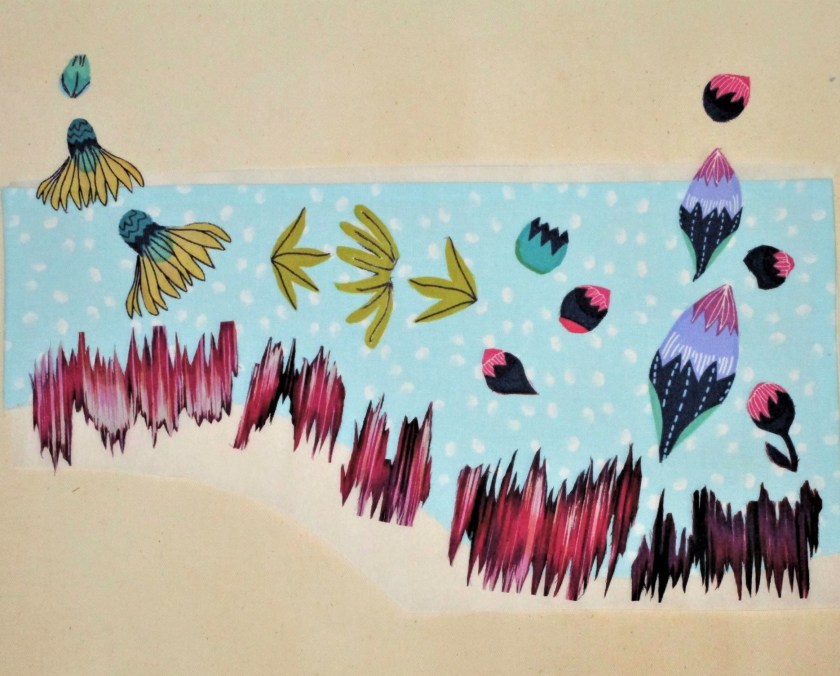
At this stage I am very encouraged, and kind of excited. The lines and colors of the work represent my inspiration very well.
After I finish sewing down and quilting the background and middle ground, I will turn my attention to the focal point and foreground. Then comes a bit more painting of details before the final assembly.