Our host for the Stay at Home Round Robin challenge this week is The Darling Dogwood. She suggested that we use triangles. That should not be difficult to achieve. Many, many traditional blocks are made of triangular pieces. I decided to browse the very useful Quilter’s Recipe Book, by Celia Eddy to get some ideas that would work well with my design. In addition to using triangles, I needed a pattern that was not too difficult and would work well in a long row.
Here’s a four-square block called Brave World.
Each unit is composed of three triangles and a square and four units make up one block. I have specific plans for the square piece, so I say yes to Brave World. But to make it work for my border, I will only make 2 units. Here are two test blocks:
This photograph gives you a broad hint at the subject matter for this week. I have fabric with some animal silhouettes. These are the creatures of the forest and arctic ice that have been displaced by fire and melt. I also have some beehives. No bees though. They are out of the picture for now.
Bottom edge border
Right-side border
Lower right corner
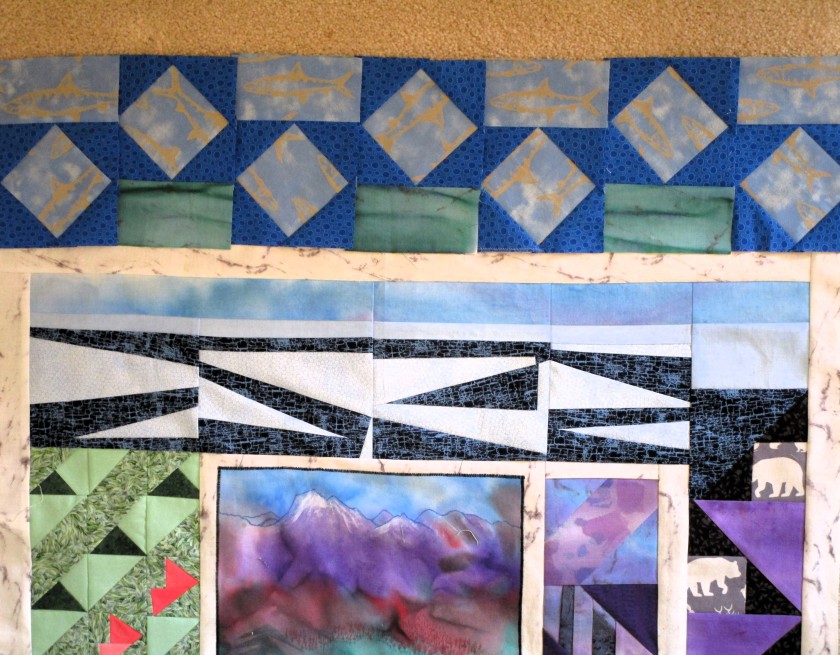
And here is my quilt at the conclusion of the round.
I like the way that the triangles in round one are in conversation with the triangles in this round. You may notice the white sashing. I am using this design feature to outline the borders like a snail’s trail. My quilt is now 30 inches square.
Thanks for stopping by. If you want to see the work of other quilters who are taking the challenge, enter the linky party HERE.
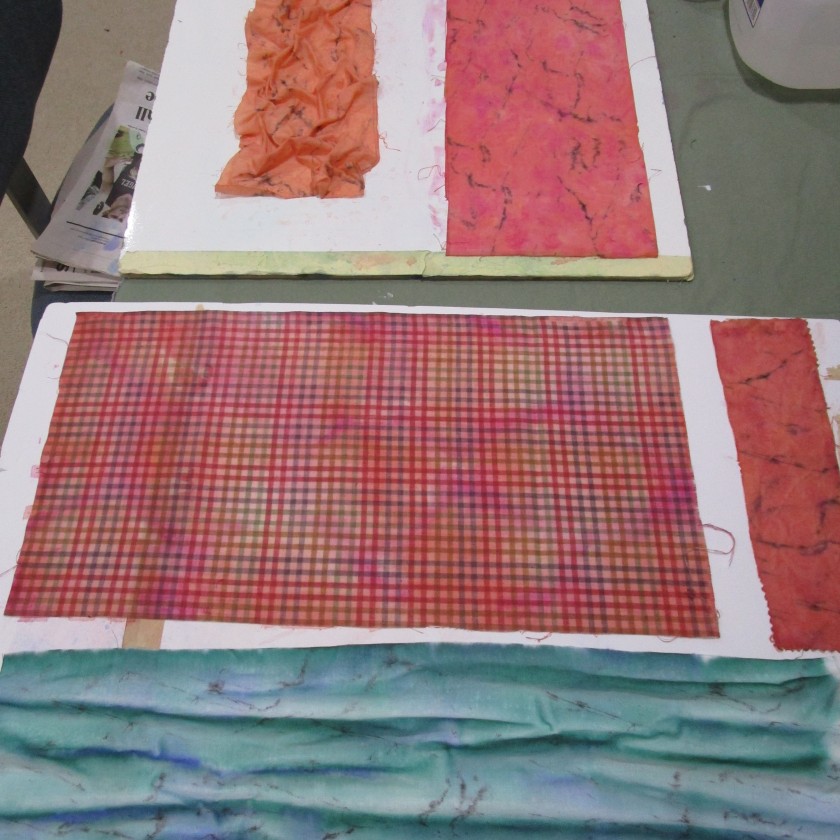
I’m grateful to Pieceful Wendy for choosing the signature block for the 1st round of this year’s Stay at Home Round Robin. I’m also grateful to myself for pre-planning this project instead of winging it each week. You see above some of the fabrics I have painted (along with a nice purple solid.)
Here’s a few more that I painted. Most are commercially printed fabrics. I just added a few layers of color using Jacquard Dye-Na-Flo fabric paint.
These will soon appear in my SAHRR quilt rounds.
Okay – fabrics are at the ready, time to sew.
In reviewing my project map, I see that the colors purple and red are to dominate the first round, which will be attached to my center panel’s right and bottom sides. The right side will extend the trees of the panel into the border. The bottom will represent the forest fire.
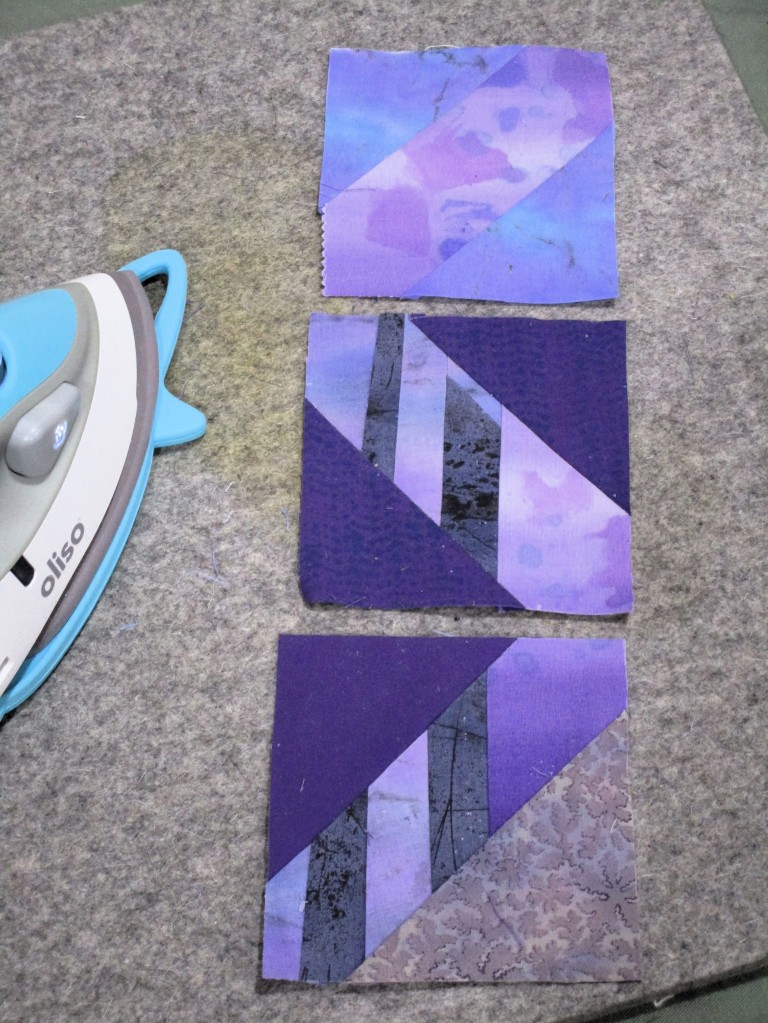
I started with the trees. They will go in the center strip of the signature blocks. I cut fabrics that looked tree-like and some smokey purple fabric and made a strip set. Then I cut some purple squares to use in the corners.
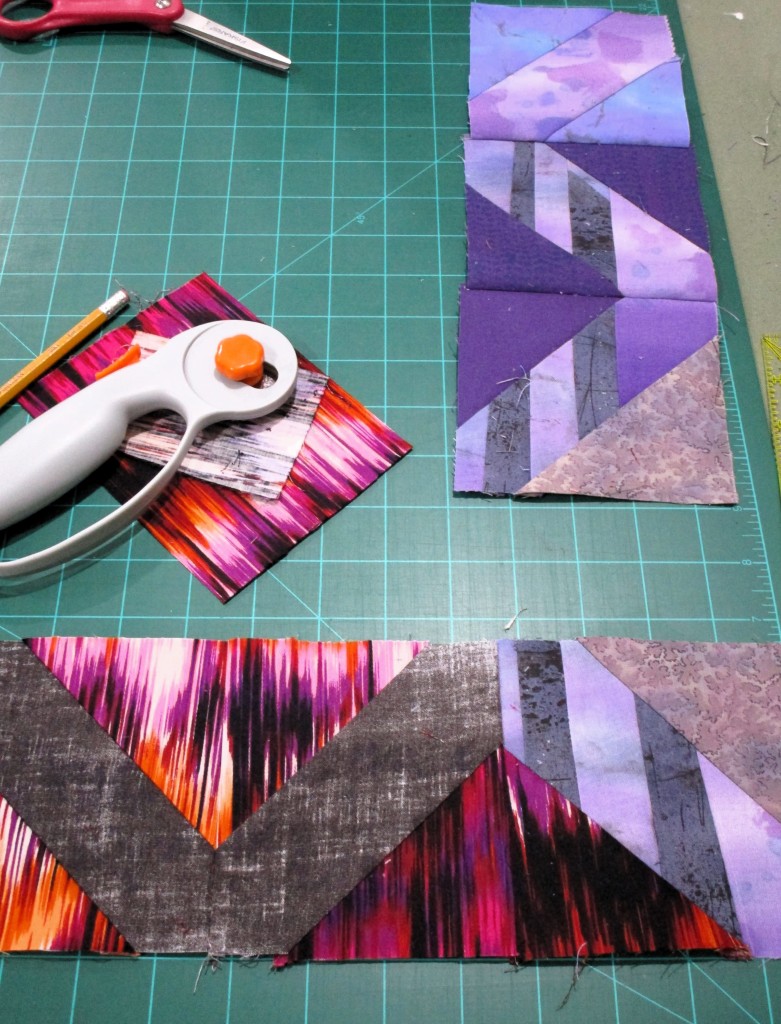
That’s the right side done. For the bottom, I got out some flame-like fabric that used to be part of a dress that no longer fit. It was cut up a few years ago and saved for just this moment. How fortunate for me.
Do you feel the heat yet?
After making a corner block that integrated the two sides, I sewed the blocks together.
Jan 29: After viewing a photograph of my work, I swapped out one of the fabrics in the corner block. Then I joined up the first round to the center panel.
I also decided to use white fabric with a marble print as sashing around each group of blocks. SAHHR Round one is made of 4 inch finished blocks. My quilt is now 16″ and ready for the next round.
Be sure to check out all the SAHRR 2024 participants’ projects posted at the Linky party. You can find that HERE.
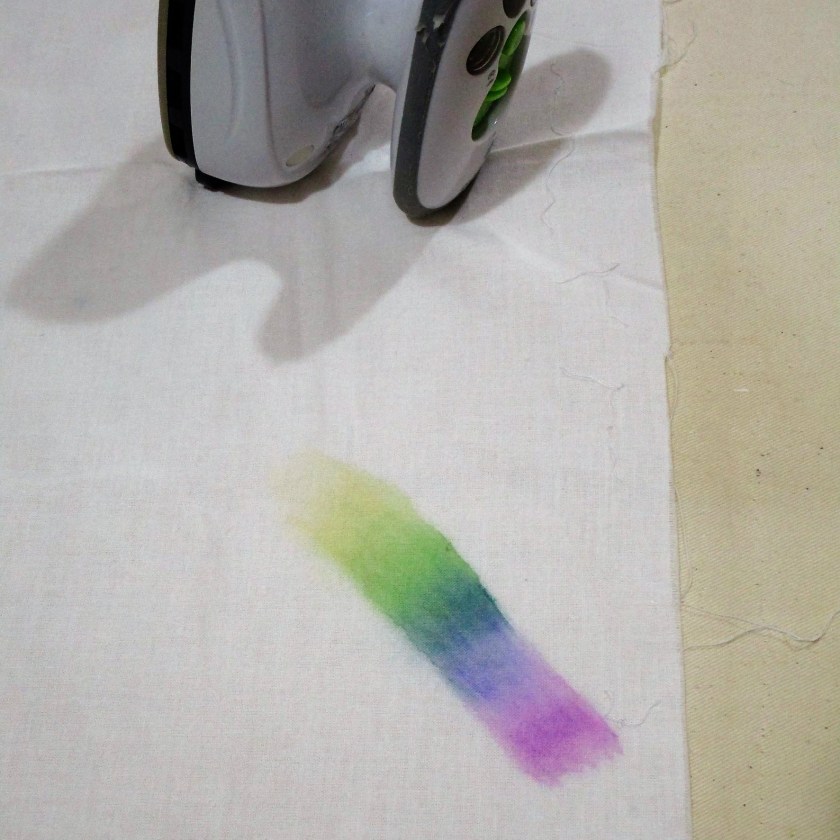
If you follow this blog, you may well guess what my next experiment must be:
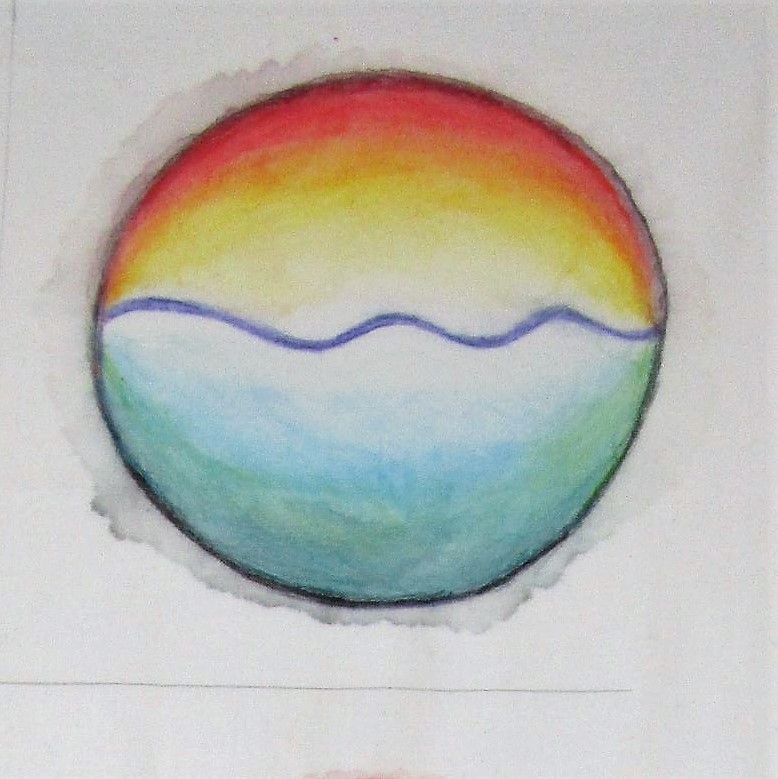
Yes! I had to try my new pencils out on fabric! You see here a piece of cotton muslin. I have marked a part of a rainbow, running the colors into each other. After liquifying the colors and letting the fabric dry, I used my hot iron to set the pigment. Then I sprayed on more water, just to see if the color bled further. The paint passed this test, so I moved on to a bigger experiment.
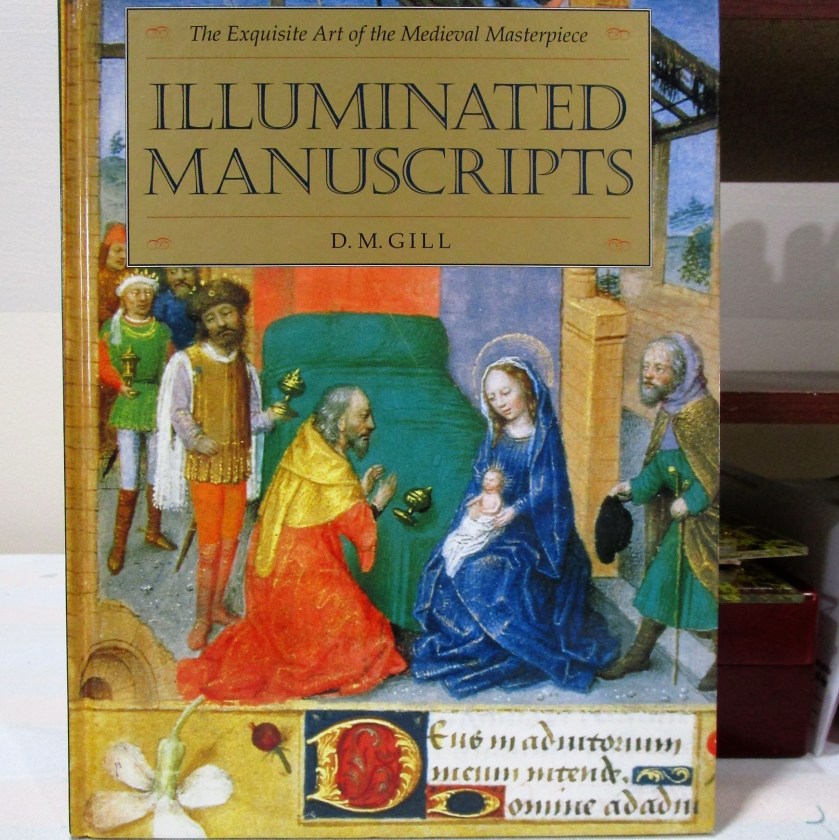
There is something about the medium that reminds me of stained glass. Thinking deeper about the possibilities of blending colors, I decide it is more like medieval illuminated manuscript. Then I remembered that I have a book.
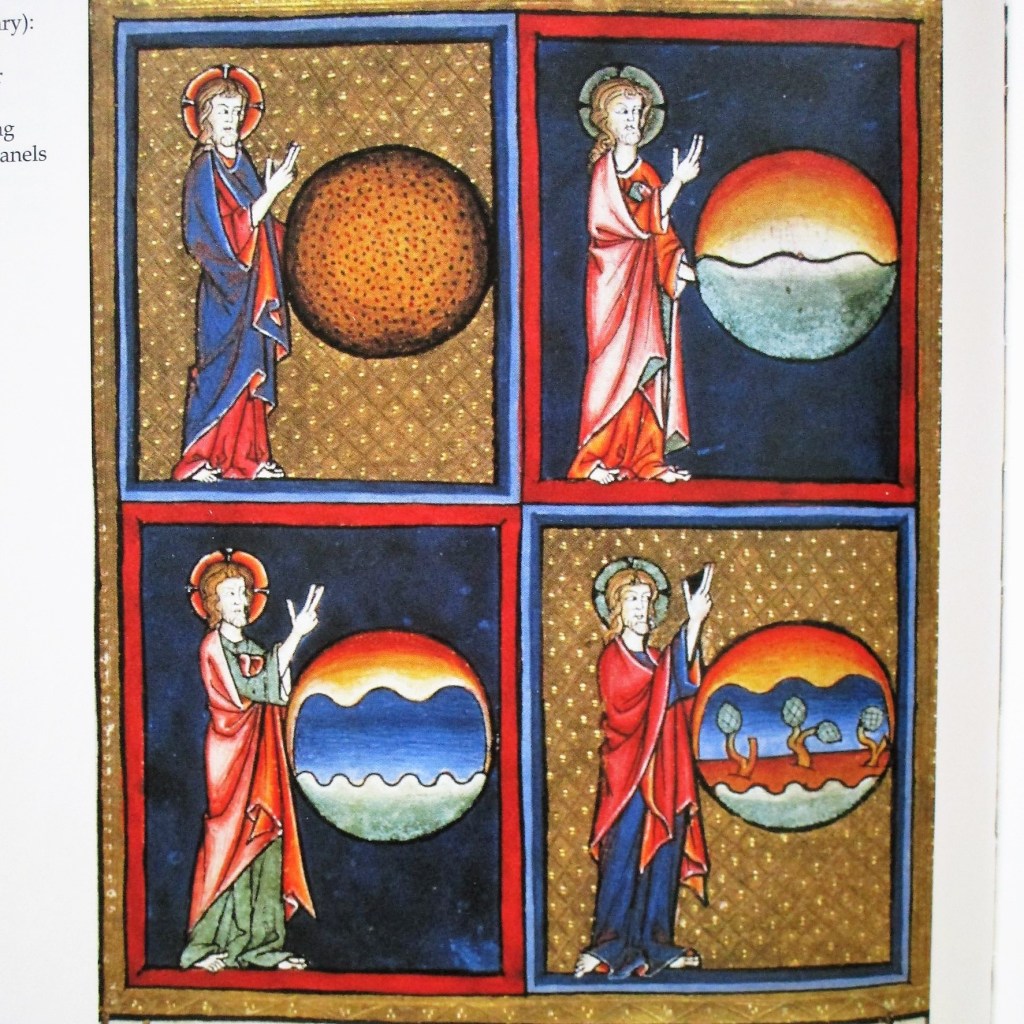
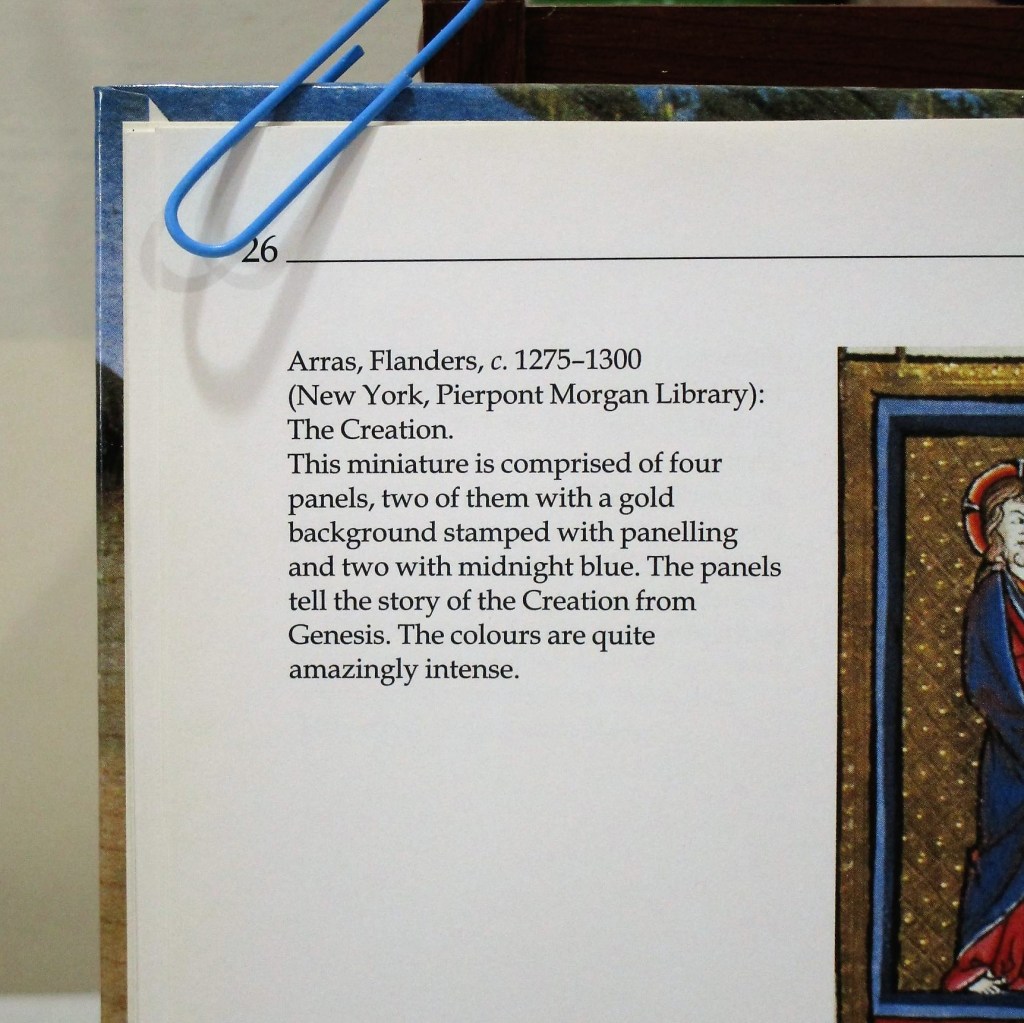
What if I reproduce one of these paintings on my muslin cloth? I flipped through the pages to find a likely subject and landed on this image depicting the creation of the world.
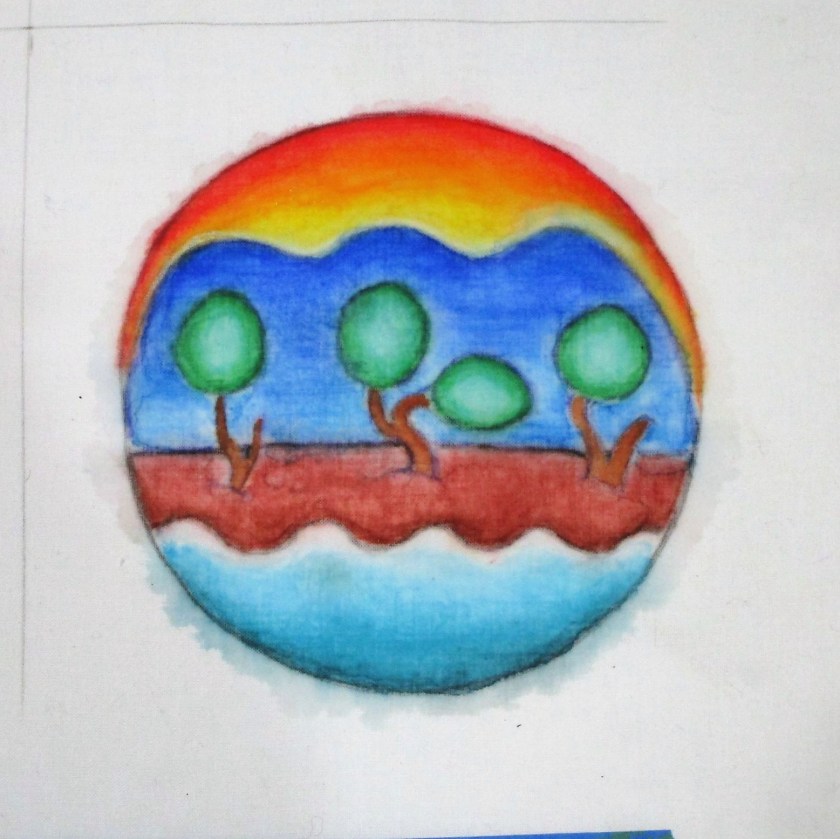
First, I drew a series of four circles on the muslin. Next, I used my swatch card to find matches to the hues of the illustrations. I began working the two days on the right side of the panel.
DAY TWO
DAY FOUR
This was very fun and pretty satisfying. Despite the slight bleeding outside the margins (totally fixable) I find the results most acceptable. I did notice that there are tide marks left behind by some of the blue and green pencils. But this extra texture seems very much in keeping with the pigments and style of the era.
After I paint days 1 and 3, I’ll put the fabric in a gentle cold-water bath to look for more fading or bleeding. If the piece passes this test, I’ll move on to a bit of quilting.
I hope you are enjoying your year-end holiday. Please do let me know what you think of this experiment or share what you are planning to make in 2023. Happy New Year.
This past week, I completed the sewing phase of Badlands art quilt. All segments are sewn in, and all but one is quilted.
Quilt lines are not visible in this photo.
The next step in my workplan has me using textile paint to add shading and lines. I learned the technique from a tutorial by Annette Kennedy through Craftsy. Annette is known for her realistic landscape quilts. She is an award-winning fiber artist.
So, I have a lot of trepidation about slathering a perfectly nice quilt with paint.
The paints I use are Jacquard Textile Color. I will mix them with a floating medium recommended by Annette. It dilutes the paint, making it lighter and keeping it from drying too fast.
Before painting:
In this photo, I have started shading the large mountains in the foreground. You will also see the applique I have made for my focal point, painted and ready for fusing.
I’m still nervous, but I am trusting that everything will come together in the end.