The third flag in the series is red, representing fire. We tend to think of fire as the flame tamed by man to do his bidding, or the flame sparked by a flash of lighting. For me, the most remarkable fire of all is the one that keeps our bodies at level temperature – metabolism. When this fire goes out, we begin to cool and return to the earth. The images in my flag are natural creatures, full of the fire of life. Special acknowledgment to Gustav Klimt for The Kiss. Dyed muslin, applique, hand embroidery and painted.
Traditionally, the second flag is white. It represents the air and wind, better known in modern times as atmosphere. The atmosphere of Earth protects life in a multitude of ways. In my prayer flag, I refer to the air in our bodies, which gives us life by infusing our cells with oxygen. The wind, which swirls around the earth, both pollinates and scatters the seeds of many plants. Thus air is a force in providing for future generations of the plants and all breathing things.
I have been taking a class in embroidery, so today I wanted to try out some of the stitches and techniques I have learned. The image I chose is the dandelion seed head. Natural muslin, hand embroidered, and bedazzled with trim and sequins.
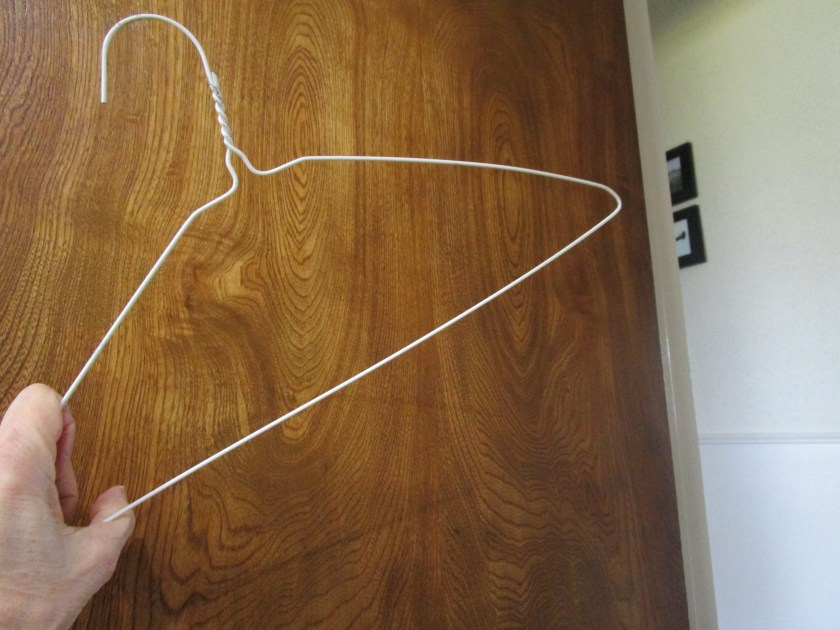
Around here, we seem to have a coat hanger problem. They are everywhere. And, while I don’t condone her approach, Joan Crawford was right about the bad things that wire coat hangers can do to your favorite garments. Today’s post is about turning those nasty wire hangers into lovely padded hangers. As an added benefit, all the materials I am using are recycled.
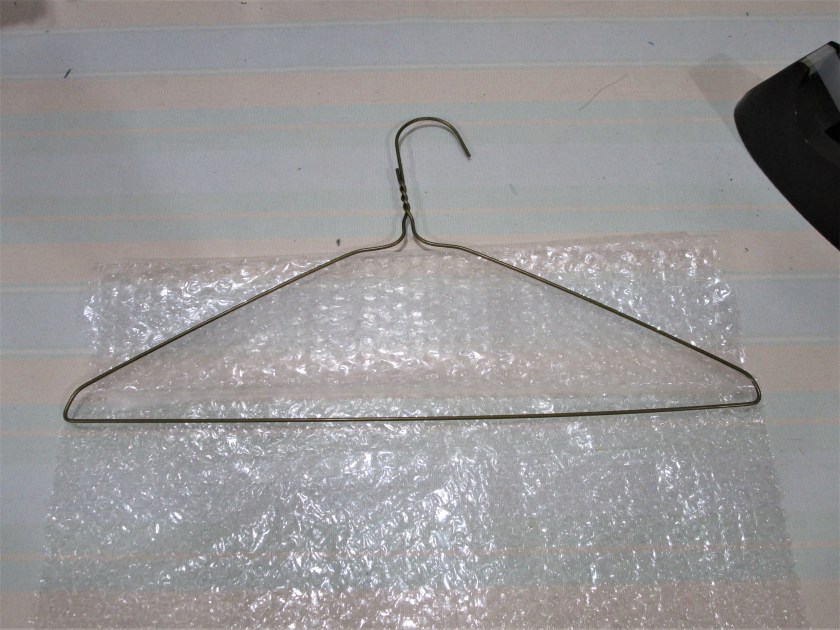
Along with coat hangers, I have bubble wrap (another item that seems to accumulate, especially if your family likes shopping on-line) and a discarded shirt. You will need some masking or painter’s tape, thread, and a little bit of felt. Hopefully, these things are all on hand.
Here’s one of those bad boys.
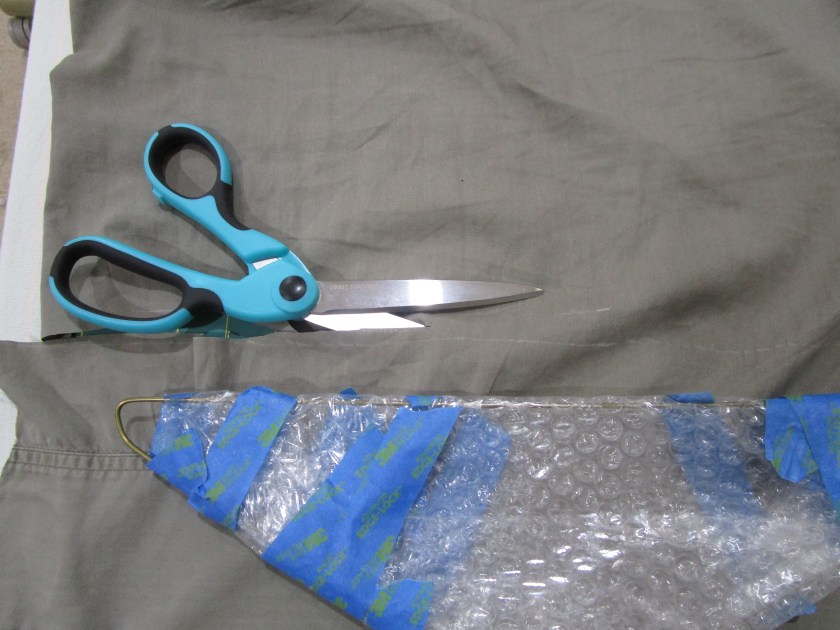
Start with your bubble wrap. Fold it over a few times and lay the hanger on it.
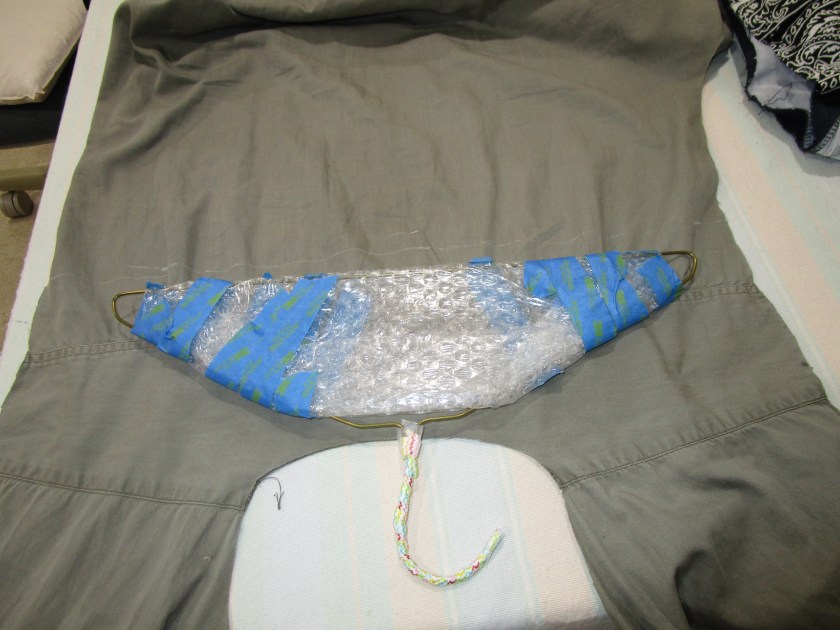
Fold the upper edges down, and bring the lower end of the wrap up to meet the top. Use tape to secure the edges. Wrap the tape around several times. When finished, it will look something like this:
Don’t worry, none of the tape will show, unless you use a thin fabric.
Now the shirt. My husband got a tear in the sleeve of this one. Irreparable. I will be using fabric from the upper body, front and back. Cut off the collar and sleeves. Continue cutting the shirt around until you can open it out flat. Lay the wrapped hanger down on top of the opened shirt. Cut around the hanger, leaving at least one inch for the seams at top and bottom of hanger.
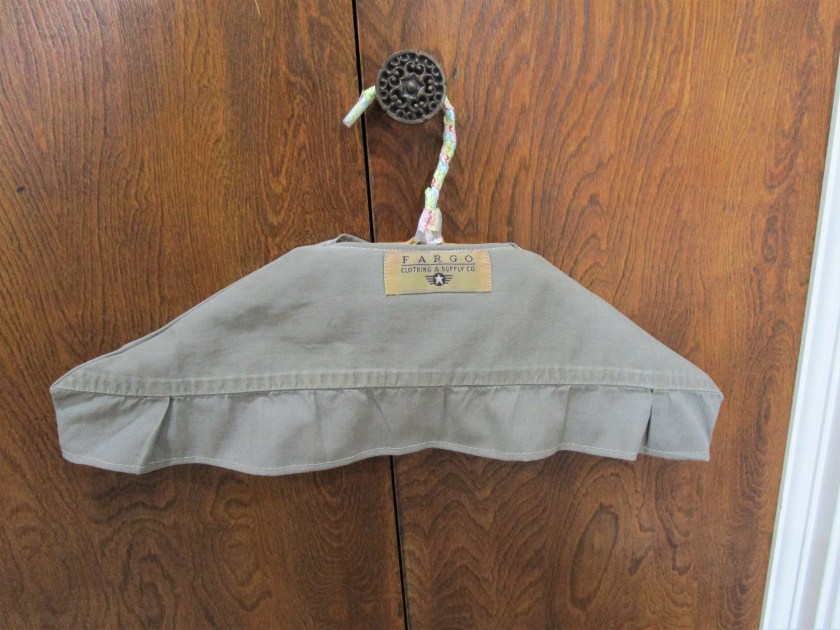
I’m afraid I didn’t get any photos of the sewing-up process – sorry. Basically, you sew the front to back at the shoulders and sides of the hanger, conforming to the hanger’s shape as best as you can. Turn, press and sew under the remaining raw edges – neckline, lower edge, and center front. I inserted a small patch of felt around the area of the hook, because there was no fabric at that location. Here is the back view of the completed cover:
I thought the label was cute, so I used the inside back of the shirt.
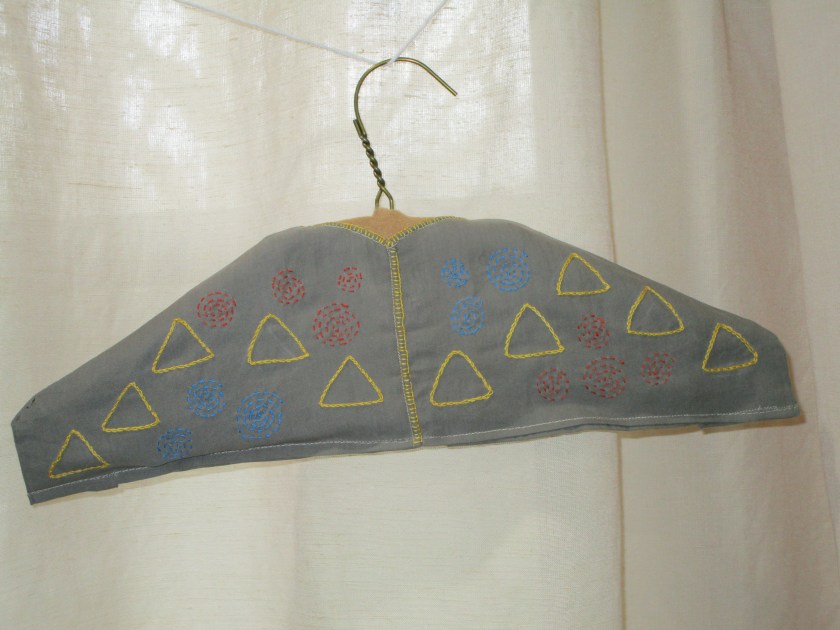
Close up the lower edge by stitching with the zipper foot of your machine, and you’re done! But, of course, that wasn’t good enough for me, because this is Fiber Art. I added a bit of embroidery, including the international symbol for Recycle.
Maybe if poor little Christine Crawford knew this trick, her mom wouldn’t have been so mean to her.