Posted in quilting

Finished by Friday: SAHRR Border 2

The challenge we received from Anja this week was ideal for my project. She had a very simple directive: Choose two colors for this week’s border. Sew them together in any way that you like.

The plan I made for this project included color assignments for each round. When pulling fabrics, I made a bag of scraps for each color. I quickly pulled out my green and my blue fabrics and spread them out. How will I sew them together this week?

To get me thinking about shapes and lines, I browsed for photographs that illustrated subjects in my theme. For the green border, I wanted to depict the re-planting of a forest after a fire has destroyed it. For the blue border, the subject was to be melting polar icecaps.

Here are my two inspiration photographs:

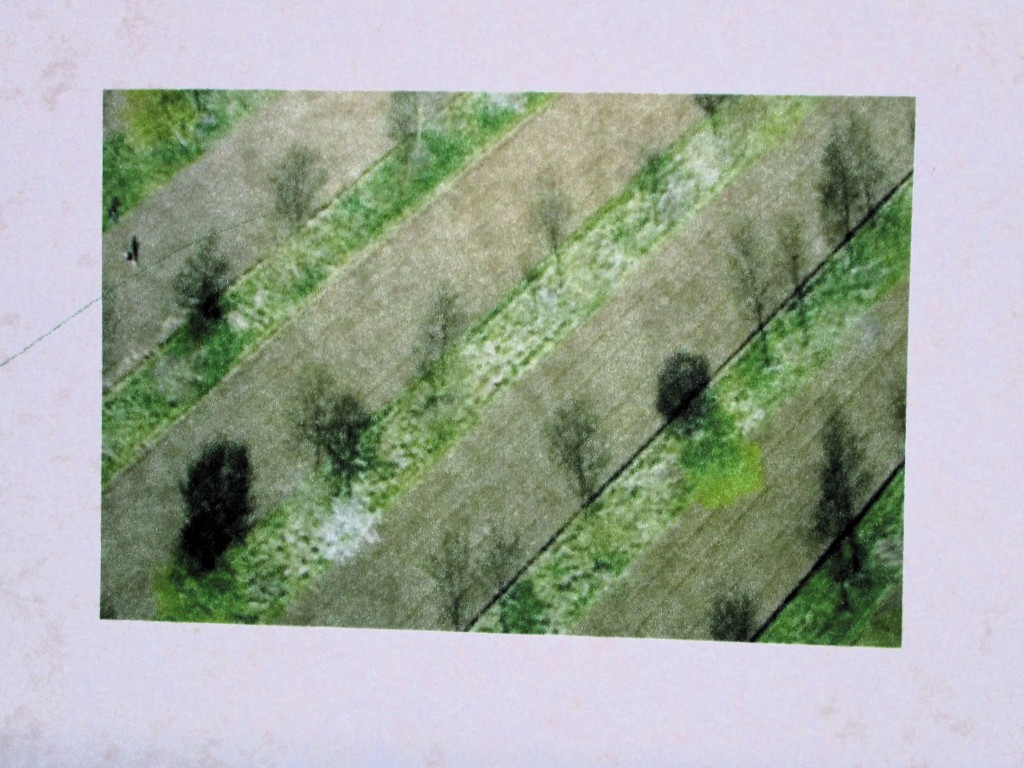
I started with the green image of young trees planted in orderly rows. To be honest, I don’t think large forests are re-planted in exactly the same manner. I chose the photo for the graphical quality. This representation made it easy for me to see a quilt block pattern “hidden in the trees.” Getting out my sketchbook, I drew a grid and placed the trees within it.

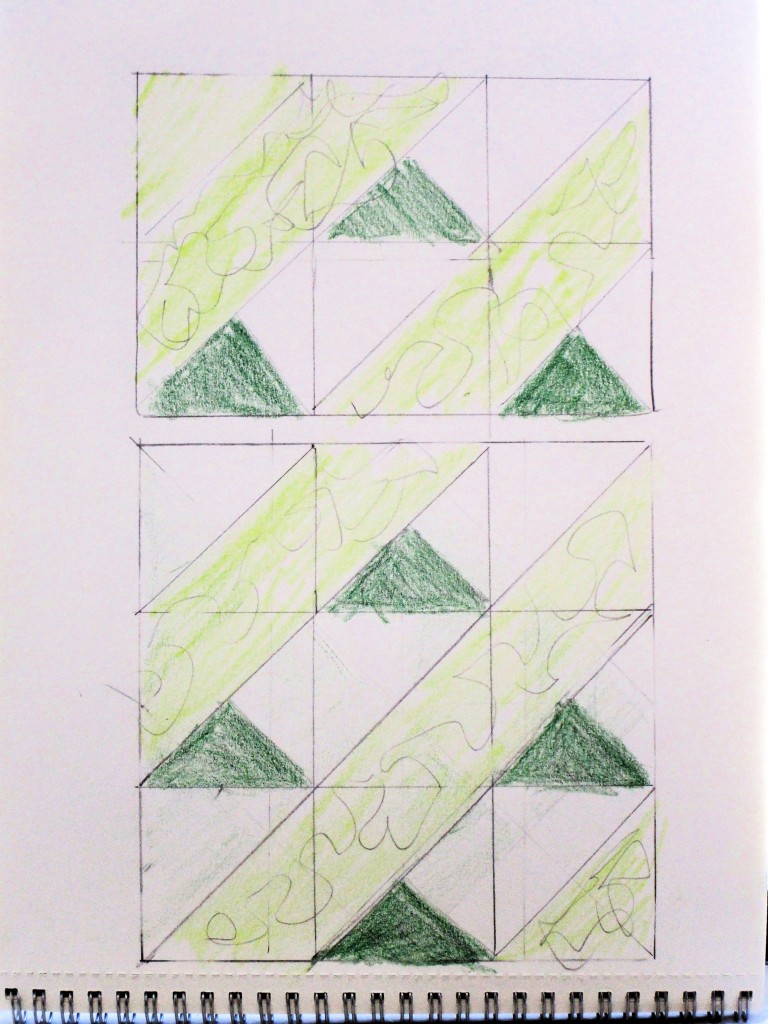
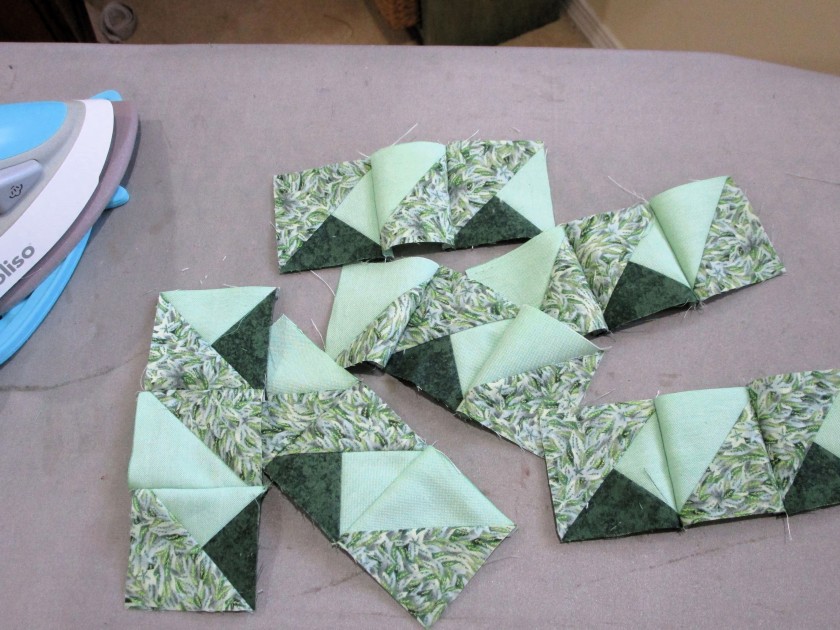
Voila – a nine-patch block made of half-square triangles.

It wasn’t so fast for me to put the squares together. I have very little experience in making most basic quilt blocks. But eventually I had them sewn up into rows.

Here is the green border sewn together and attached to the quilt.

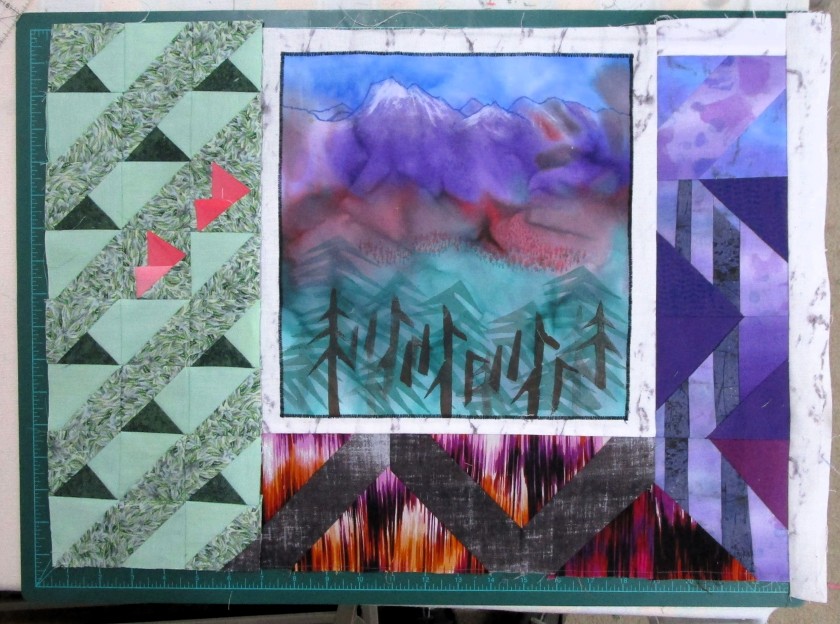
While my back was turned, a few butterflies flitted into view and perched on the border. They are not green, but I hope they will stay.

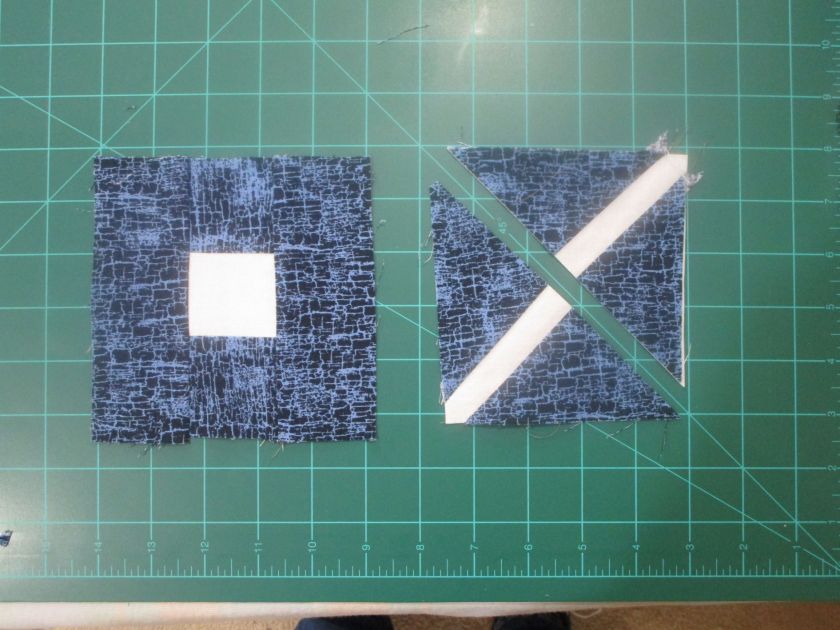
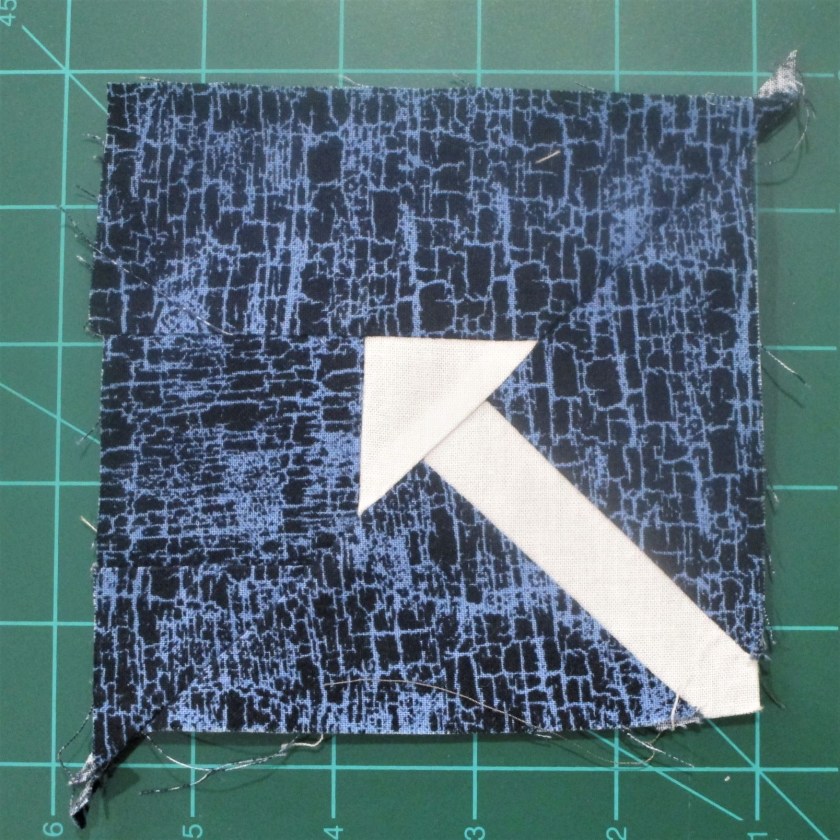
The blue border is next. In my inspiration photo, the shapes of ice and open water are not regular in the least. But I knew what to do. I will make this border with improvisational piecing, using a “slash and sew” technique.

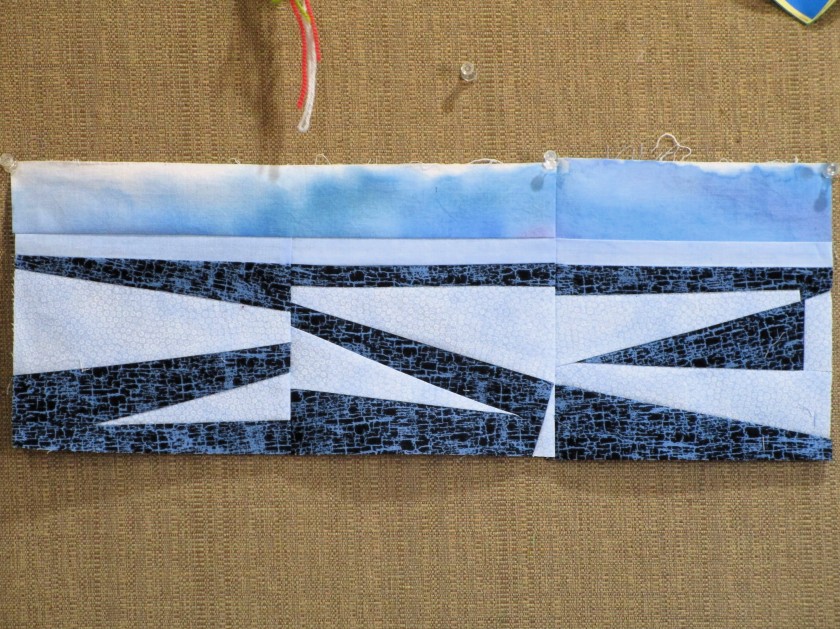
I topped the ice and water piecing with a sky cut from hand-painted fabric.

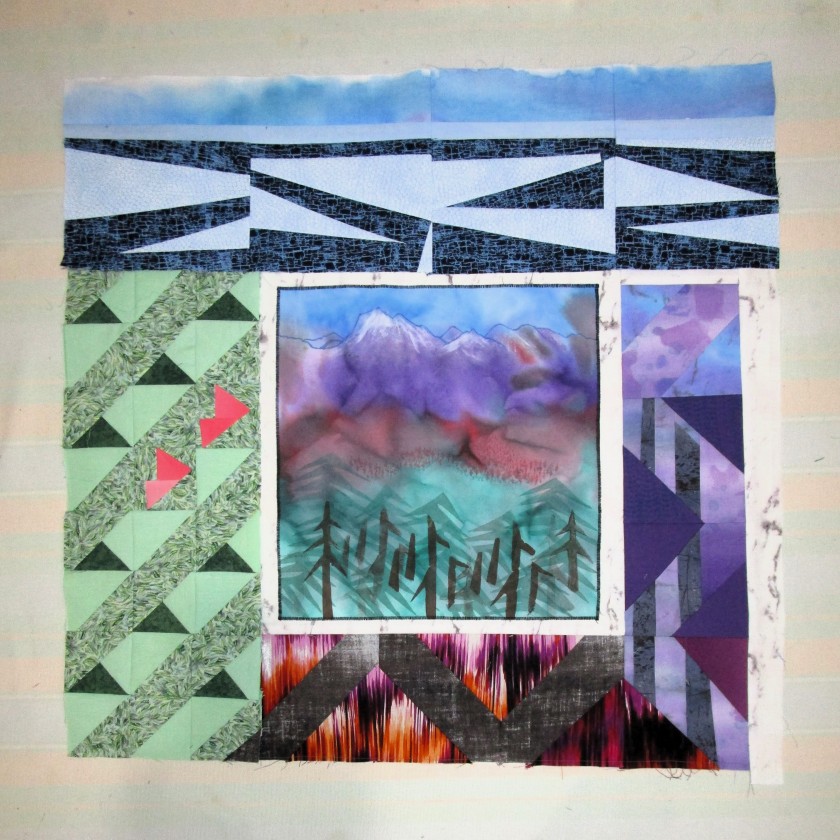
And here is my quilt with my blue and green borders.

Now that you’ve seen my challenge completed, have a look around at the other quilters who are playing. You can find their quilts at the Linky party.

Click HERE.

Posted in quilting

Inspired by Tangoes

Actually, this experiment came to mind while I was viewing Cindy Anderson’s blog “Sew Much Fun.” She had made some quilt blocks in the shape of birds. Check it out here:

https://wordpress.com/read/blogs/35439603/posts/27018

After admiring her work, I began to think that it reminded me of the puzzle Tangoes.

This ancient Chinese puzzle started when a man named Tan dropped a 4 inch tile on the floor and it broke into seven pieces. Putting the pieces back together proved more challenging than he expected. Eventually, Tan began to visualize various forms that could be built with the seven shapes – animals, people and abstract forms.

Over the years the puzzle gained a large following, resulting in up to 16,000 possible solutions. The version that I have includes a deck of cards with 54 solutions. I decided to design a quilt block out of one of these images. Here is the one I chose:

To start with, I searched the Internet to see if anyone else has published a quilt block that looks like this arrow. While I found many different forms of arrow shaped blocks, none resembled this design.

Realizing that the design is actually a made from two triangles, I tried to make each triangle and them sew them together. After much cutting, pressing and sewing, I came up with this. It is actually a full inch bigger than the Tango shape.

A good start, but the proportions are wrong and it was very wasteful to make. Hm,

So I slept on it. It finally occurred to me that I could solve the lower triangle by making the stem of the Maple Leaf block. And the upper triangle could be solved by making a nine patch block, with two solid strips and one 3-patch strip then slicing the block on the diagonal. This solution would allow mass production of the block with a lot less waste.

Middle strip of nine-patch which includes the light square
Maple Leaf stem block, after slicing it diagonally.
Nine patch ready to be sliced diagonally and sewn to the stem triangle
The two triangles sewn together.

Here is my solution compared to the Tangoes solution. It’s still not quite right…

But it is close enough to require only tweaking. I would like to narrow the stem and widen the arrowhead. Also, it would be good to make the external block dimension 4 and 1/2 inches square, so that the finished size will end up a 4 inch square. (Sigh) I do believe a little math will be necessary if I hope to use this quilt block in a future fiber object.