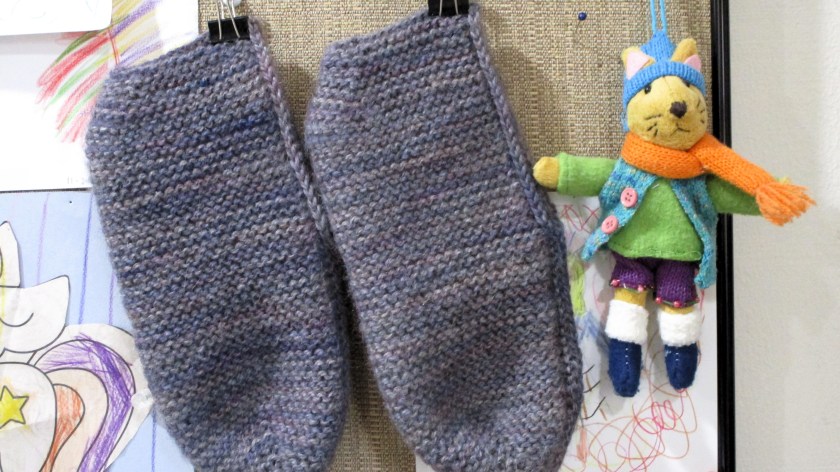
And back to a favorite designer, Kate Davies, of KateDaviesDesign. This pattern for adult booties was included in her recent publication Margery Allingham’s Mysterious Knits, but it was also released individually on Ravelry.
The yarn I am using is from Ewetopia, a Christmas gift from my daughter. Ewetopia is a Wisconsin yarn maker headquartered in Viroqua. The fibers are mysterious, described by the maker simply as “it’s all good.” I used all but half an ounce of the generously sized ball.
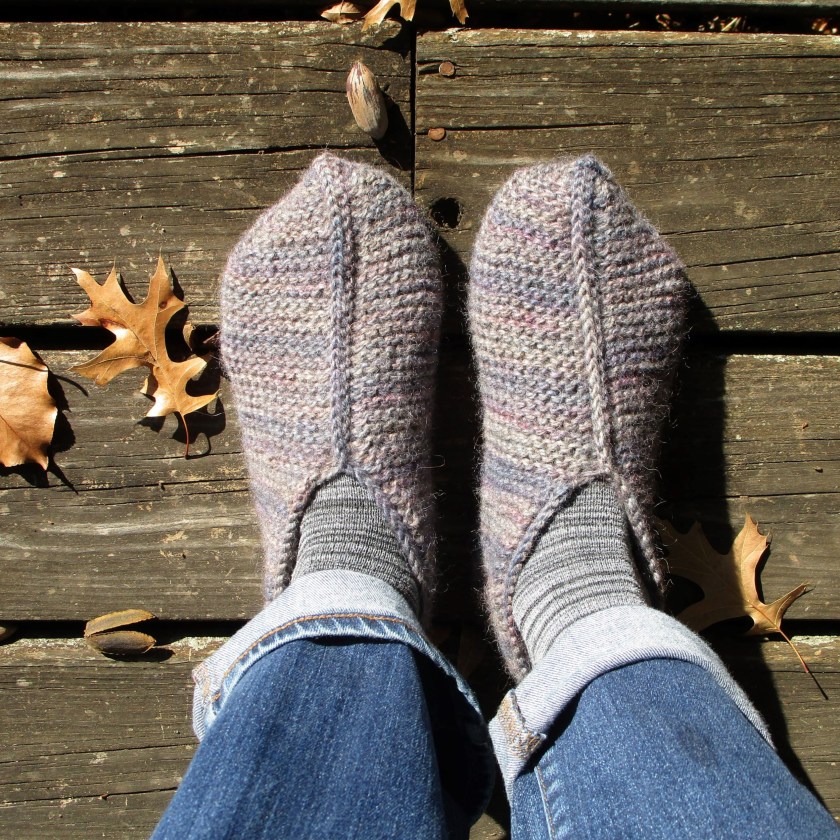
Here is a view of the 3-needle bind-off, which closes the foot and circles the ankle.
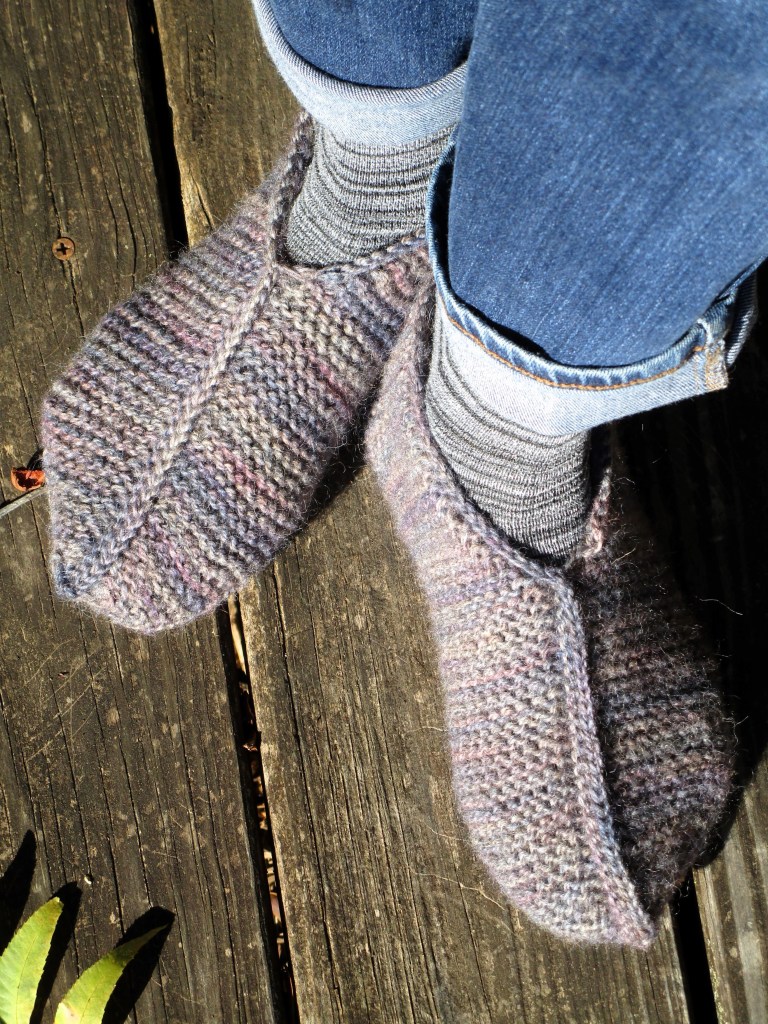
The heavy-worsted two-ply yarn refused to give me gauge, even when knit with the size 4 needle. Consequently, I cast on 44 stitches instead of the 52 as instructed.
This decision required some minor adjustments as I went along. But I am an acolyte of the Elizabeth Zimmerman school of knitting. She reminds me that I am the boss of my own knitting, and need not be cowed into submission by a designer.
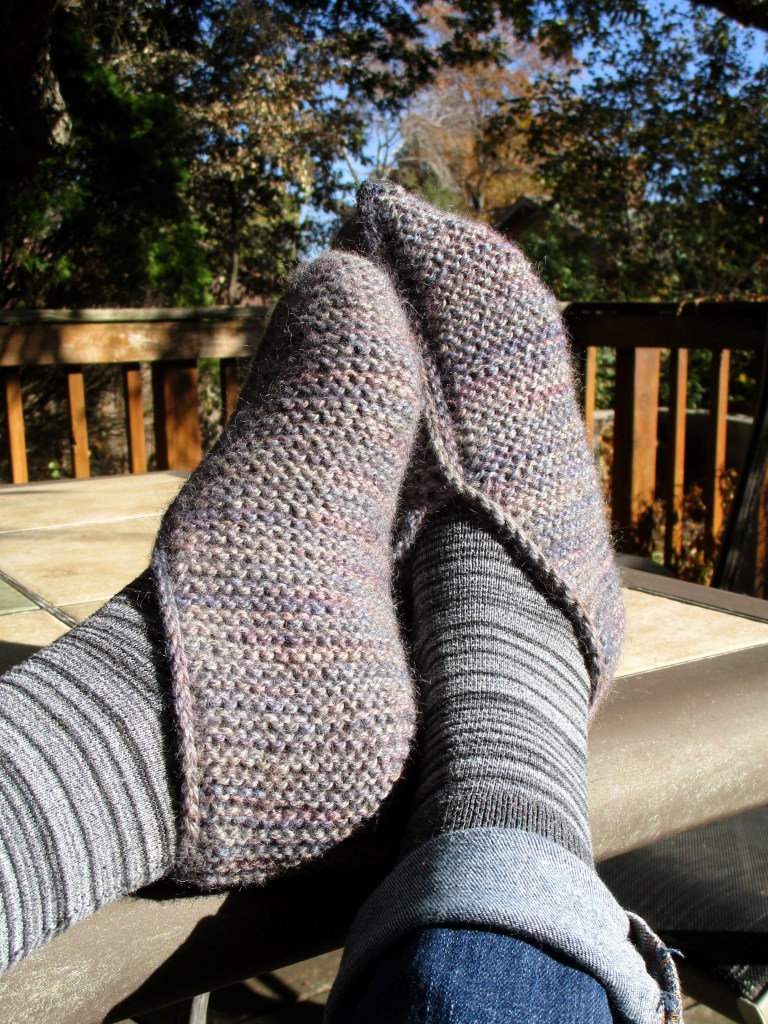
The resulting booties are a perfect fit for my size 6 1/2 feet. I expect to wear them while lounging, but not for any vigorous walking indoors. They slide smoothly across wooden floors. A fun game for the young, but not recommended for those of us with less than perfect bones.
Here I am, in a new year dedicated to stash-busting. Opening my yarn closet doors, I see that there are now only two bags of stash yarn projects. That’s good. But it makes me want to get more projects queued up. I’m looking at you, cheap acrylic skeins purchased five years ago! You were rejected by my student knitters.
I pulled out all acrylics that appear to be worsted or bulky weight and assessed their total volume. Hm, looks like it’s enough to knit a lap blanket. Searching through my knitting patterns folder, I found this image plucked off the internet some time ago.
Garn Studio Drops Design offers it patterns for free on Ravelry. Unfortunately, I didn’t download the pattern or the pattern name. Conducting an advanced search on the Ravelry database using all possible combinations of search terms, I failed to find it.
My notes say that the design reminds me of a log cabin quilt block. So, I will improvise a knit pattern, using the log cabin technique of sewing strips around a center block. In this case, the starting block is in the lower corner, not the middle.
I cast on while watching All Creatures Great and Small on PBS. Here is my progress after the first session of mindless knitting. It is a good start.
This mindless project will be ideal for taking on a late winter car trip that Bill and I have planned. It’s impossible to screw it up, even while barreling down the interstate at maximum speed.
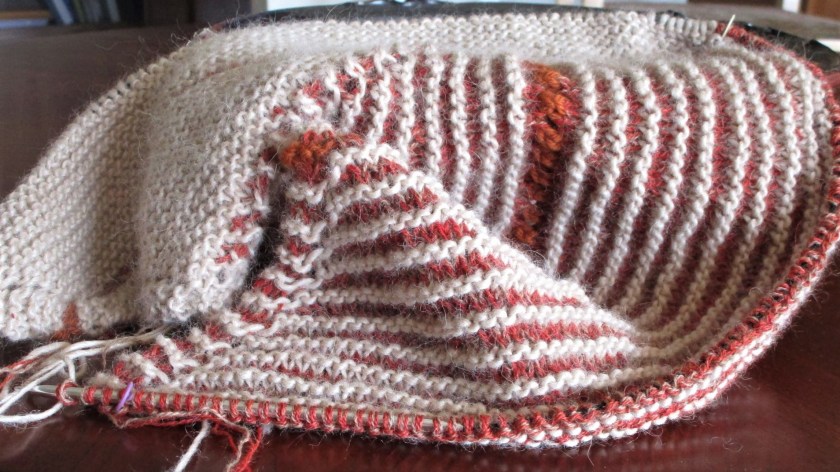
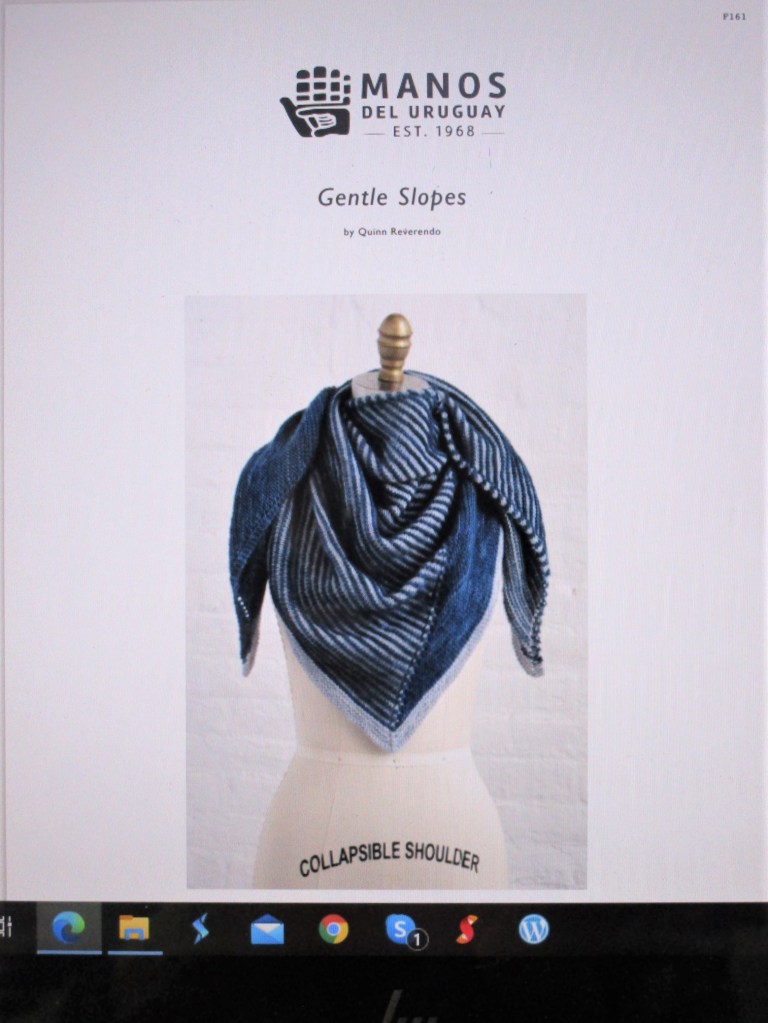
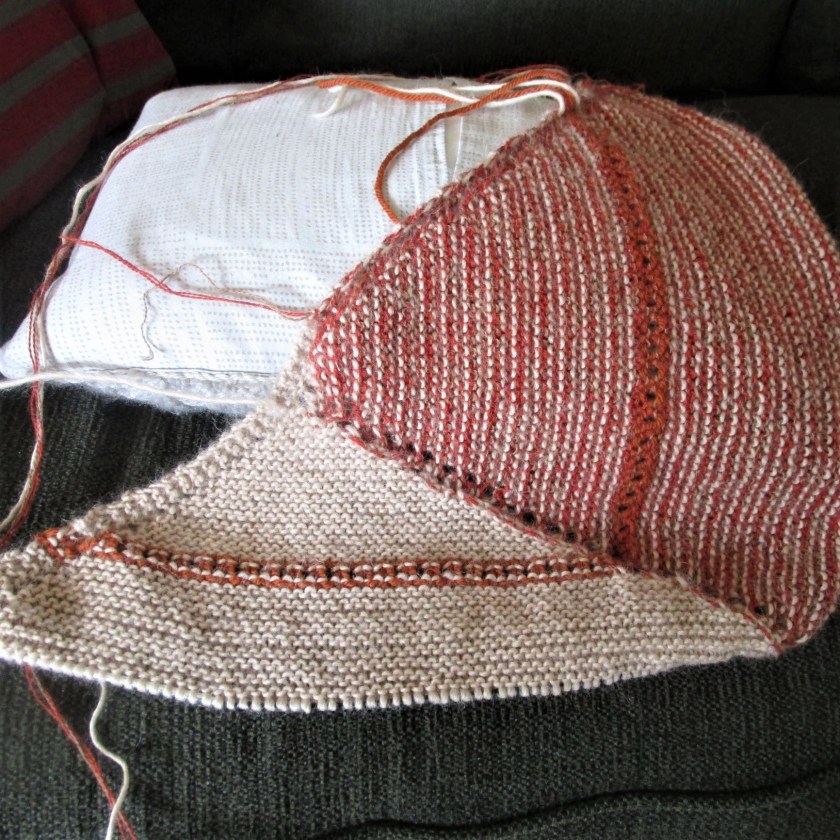
This week-end, I cast on a shawl from yarn that was 1. in my stash and 2. frogged from a UFO. This particular pattern is a top-down triangle design with a twist – literally. By increasing more stitches on one half of the double yarnover section and using short rows, it creates a gentle slope across the back of the garment. The pattern is by Manos del Uruguay and is available free on Ravelry.
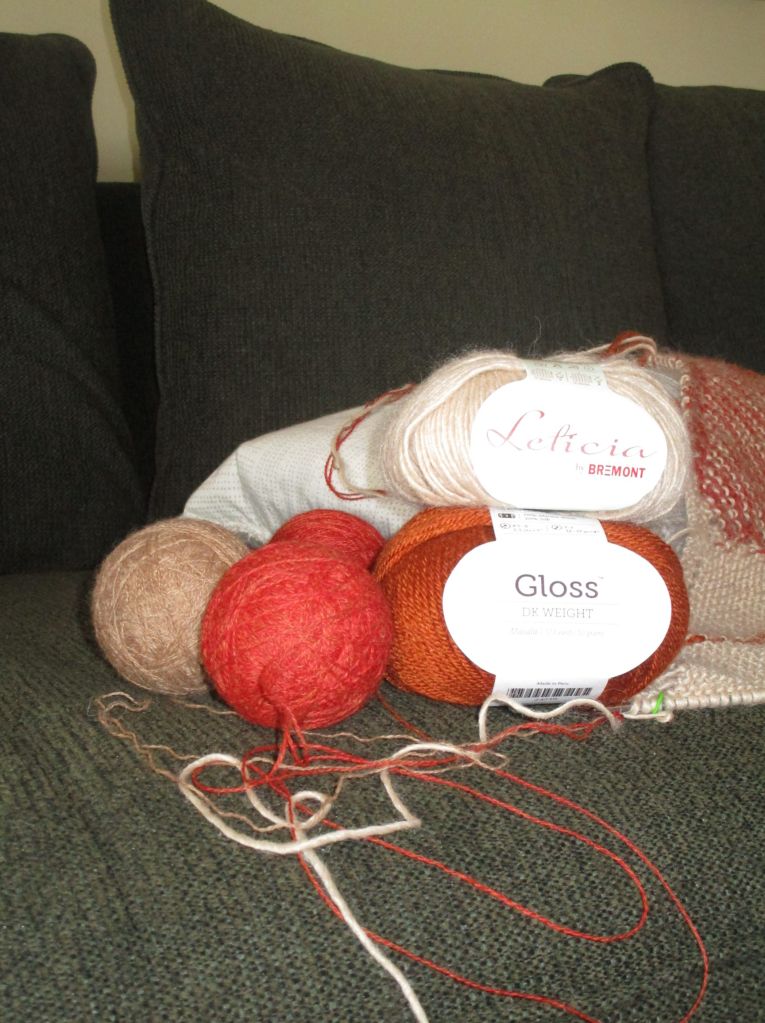
The Letitcia is Peruvian yarn blended of wool, alpaca and silk. Gloss is a Knitpicks – super wash merino and silk. The three lace weight yarns are 100% alpaca, in my stash for so long that I no longer have the labels. Just last year I blogged about a UFO with this lighter-than-air yarn, in which I moaned about the way the stitches simply floated off the needle. To solve this problem, I am holding them TRIPLED in this project, and following with the Leticia yarn to LOCK THEM DOWN.
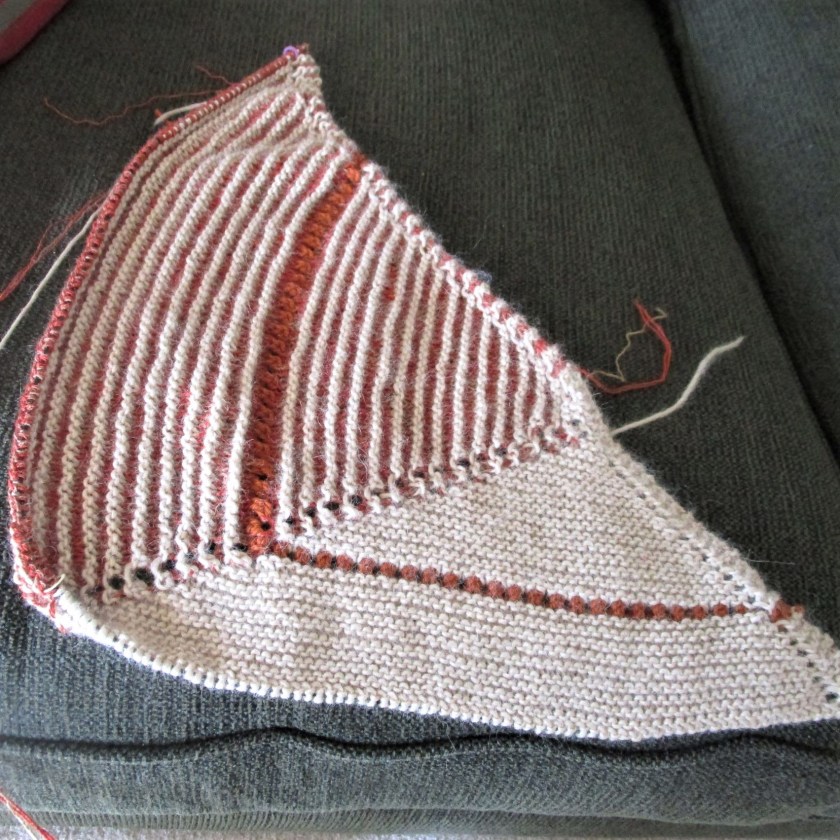
My variation to the pattern is the insertion of the striping row of eyelet lace. This will show up every 16 garter ridges, to break up the plain vanilla and keep things from getting too boring.
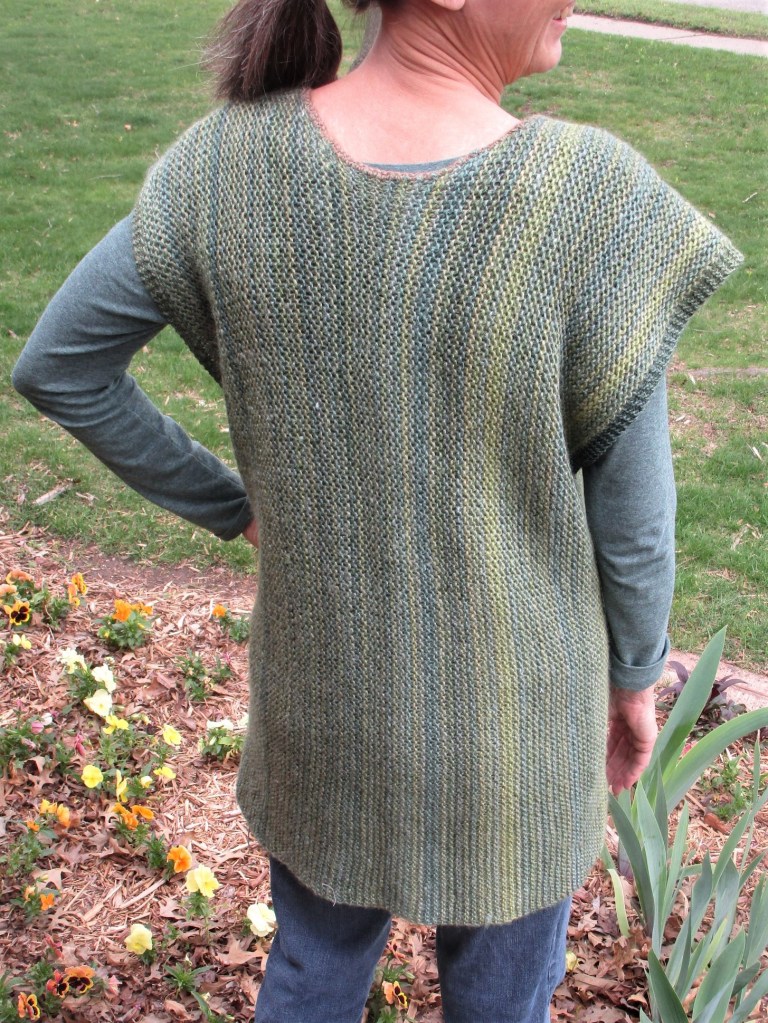
I think that the back side is just as pretty as the front side.
I like that this pattern works for mindless knitting. The pattern repeats every four rows that are easily memorized. The only hiccup I foresee is that I am going to need a longer cable very soon.
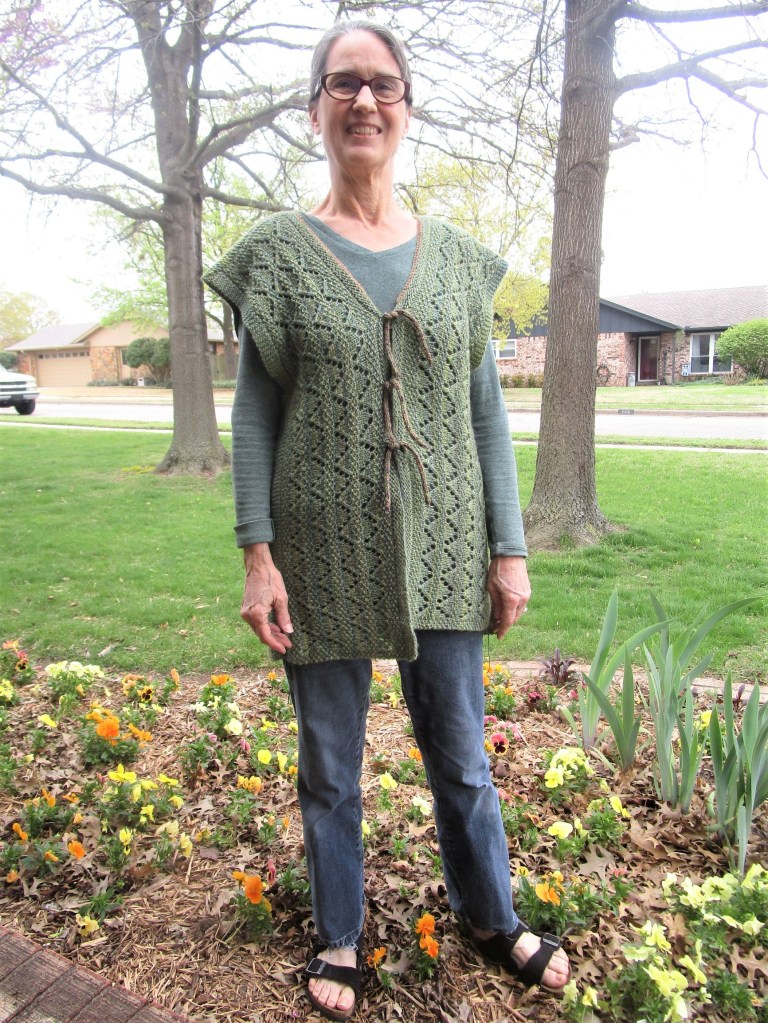
After recovering from the shock of UFO discovery, I came up with a plan. I made a promise to myself to finish one each week. At that pace, I will feel like I am dealing with the problem while still allowing plenty of time during the week for creative play. Above you see the first finish: the Northwoods Serape.
I had purchased this self striping yarn for another project, then rejected it as inappropriate. On one of our road trips last year, I brought it along for mindless travel knitting. As you can see, I ended up knitting three basic rectangles: a wide one in garter for the back and two narrower ones in a lace pattern for the front.
All knitting was done from side to side – this gives a vertical line to the stripes. Edges were picked up and knitted in garter stitch from bottom edge to top.
After that the piece languished for months. In a moment of carelessness I gave away all the extra yarn to a student. The finishing bits will have to be added in another yarn.
I thought I would use this blog to show more specifically how I finished up the serape.
First I blocked all the pieces. This is an essential step for any knitted garment larger than a hat, but especially so for lace knitting. Give it a quick dip in soapy water, rinse, wrap in a towel and squeeze out excess water before laying flat and pulling it into shape. I have 12 x 12 interlocking blocks and U-pins for the pulling into shape part. For this garment the finished size ended up 44 inches in diameter and about 30 inches long.
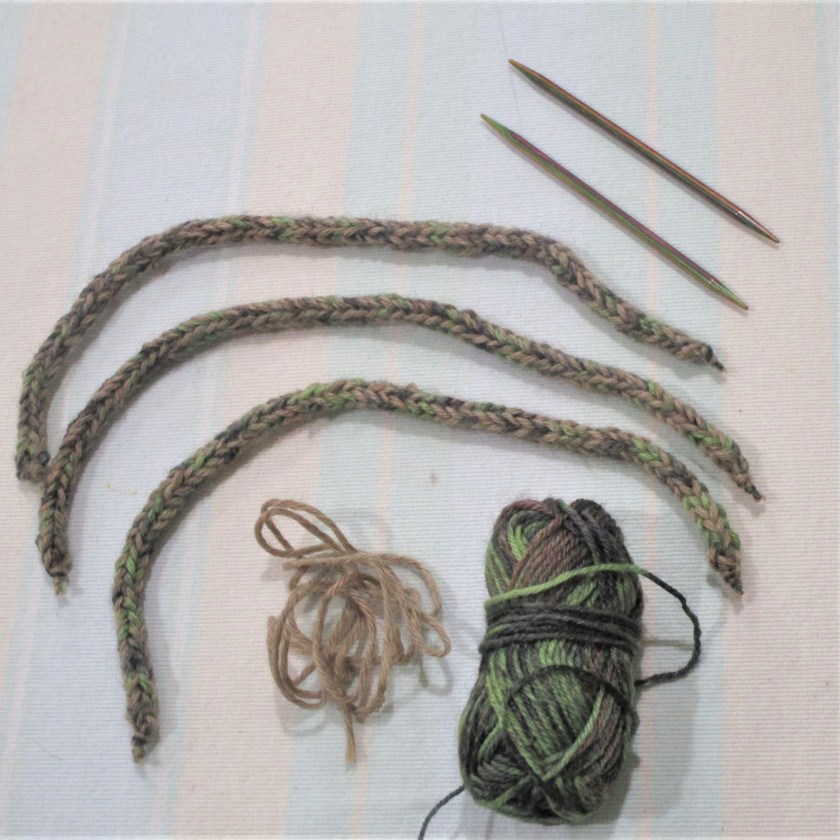
Since I had prudently worked buttonholes into one garter edge, I decided I-cords would make a good closure.
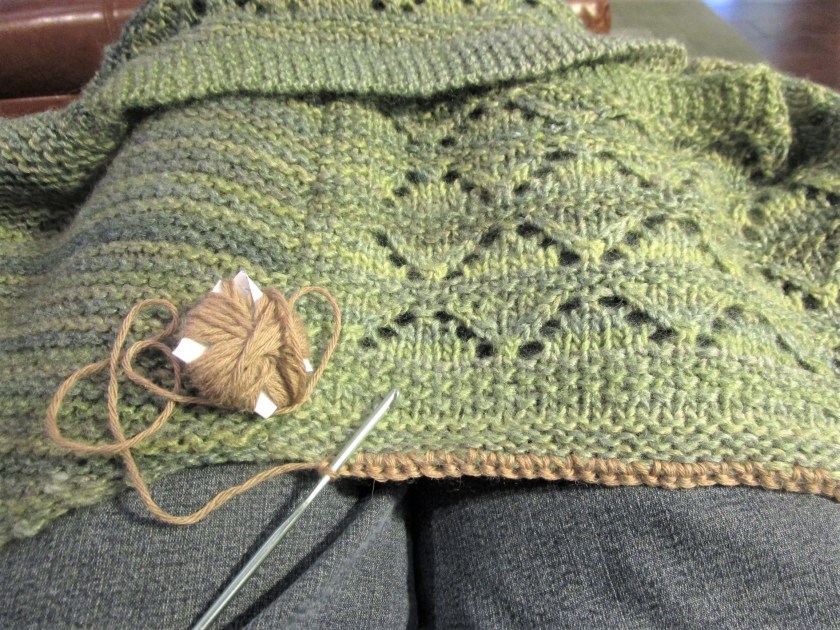
Fingering weight yarn, size 4 needles
You see the tools and materials above. These yarns were odds bits found in my stash. I held two colors together to make nice, fat I-cords. Using short double point needles, cast on three stitches. Knit them. Slide all the stitches to the other end of the needle and knit. Repeat this step until you get the length of cord you need. Mine are ten inches.
The back neck edge looked very ugly, so I decided to use a row of single crochet to finish off the entire neckline. There are lots of resources for learning to crochet, so I won’t go into it here. I will suggest a few things for this particular application. Work from the front of the garment and draw up a loop from right edge of the neckline. Leave about a three inch tail. If you are clever, you can hide this tail while you work the row. I just left it until I finished and then wove it under the first few crochet stitches. Work UNDER the next stitch to the left. It’s important to have both yarns of the stitch you are working over top of your hook. This keeps the crochet row straight and tidy.
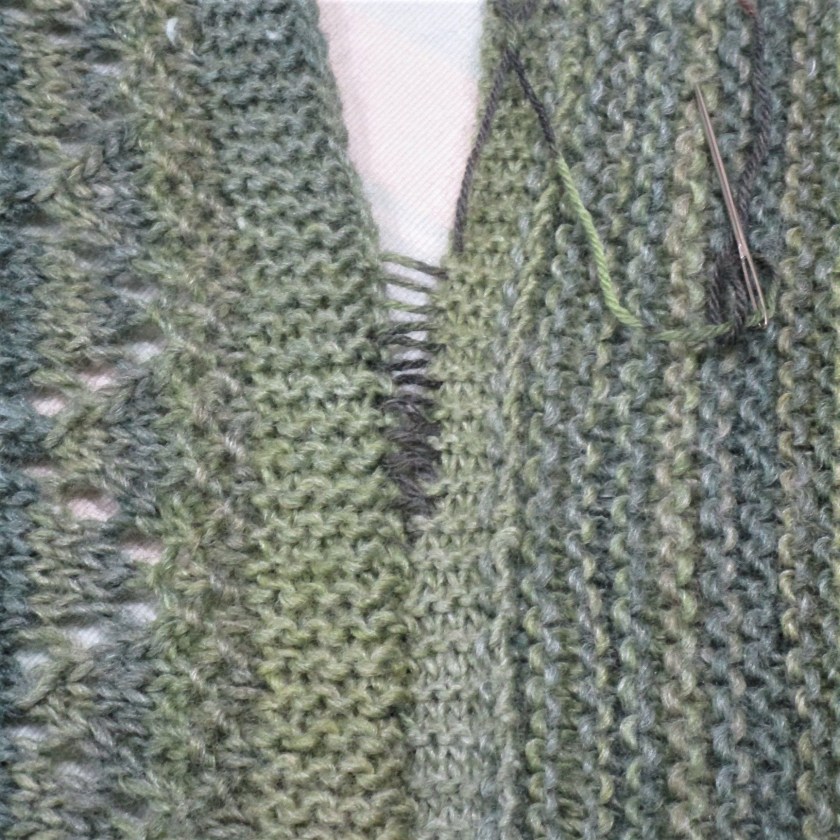
Next is the side seams. I used mattress stitch. Align the front and back edges with the right sides of the garment facing you. Thread a tapestry needle with yarn and fasten the end to one edge. When working mattress stitch into garter ridges, you will insert your tapestry needle into the “knotted” looking part of the garter ridge. Work back and forth from edge to edge like this, keeping your stitches loose.
My work here is a bit slip-shod. I knew that my knitted pieces were already quite irregular. Perfect seams won’t improve the end results.
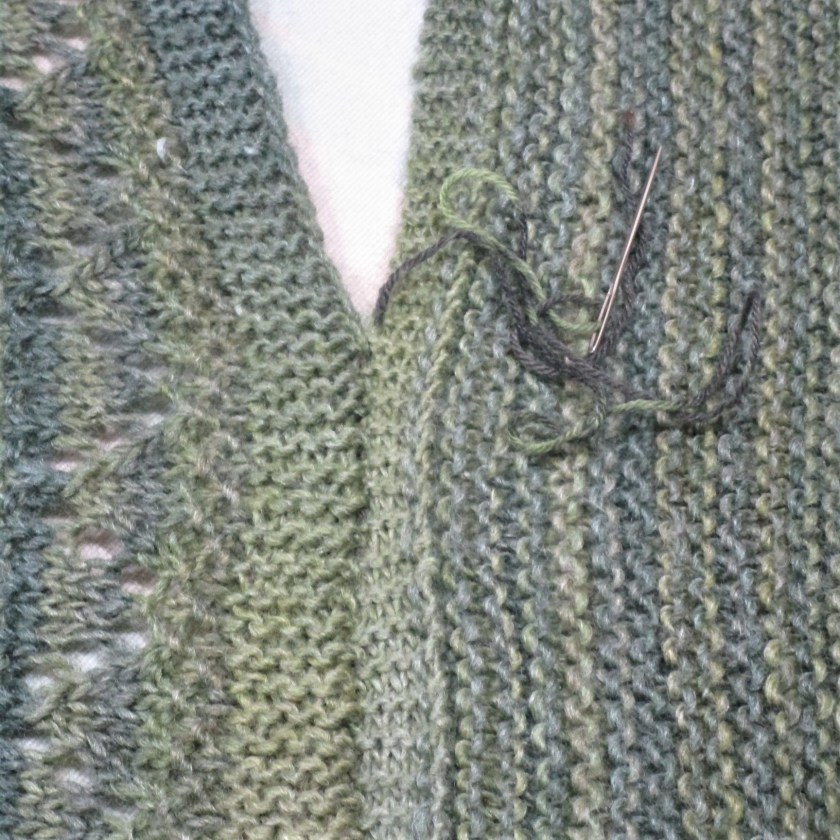
After running the stitch up the seam about three inches, snug the seam closed as thus: Hold the lower end with one hand and pull firmly and smoothly on the working yarn. The seam should close up. As a side benefit, you will find that your sewing yarn is totally invisible.
Continue sewing until you reach the top, then fasten yarn on the wrong side. Cut yarn and weave in ends.
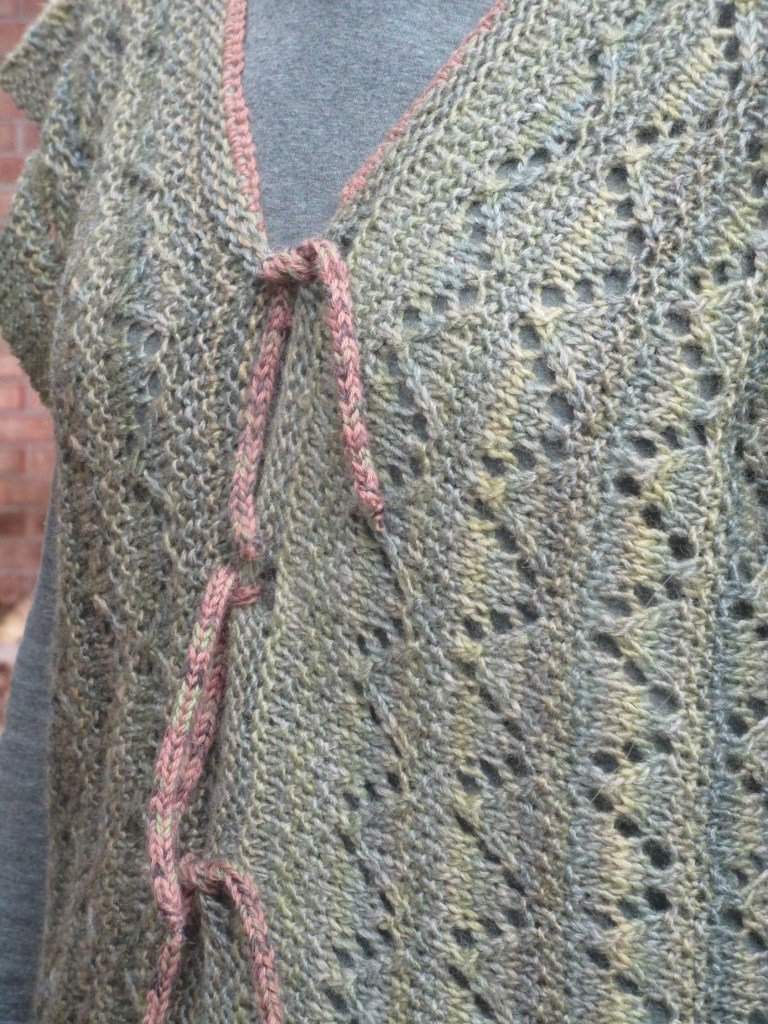
The last step is to sew the I-cords opposite to the button holes and it’s Done!
I have to admit, now that it’s finished I am suddenly in love with the yarn and the garment. By the way, this lace stitch is called seed stitch lace diamonds. I found it in 750 Knitting Stitches: The Ultimate Stitch Bible.