Posted in quilting, recycling

SAHRR Quilt Challenge 4: Water

Pieceful Wendy chose the pattern for round four, and it’s one I had never heard of before now: Signature blocks. This type of block is often used to provide spaces for people to write stuff on your quilt. They are very popular for special occasion quilts like weddings, baby showers, graduations and so on.

Wendy created her Signature blocks by cutting into a square on the diagonal.

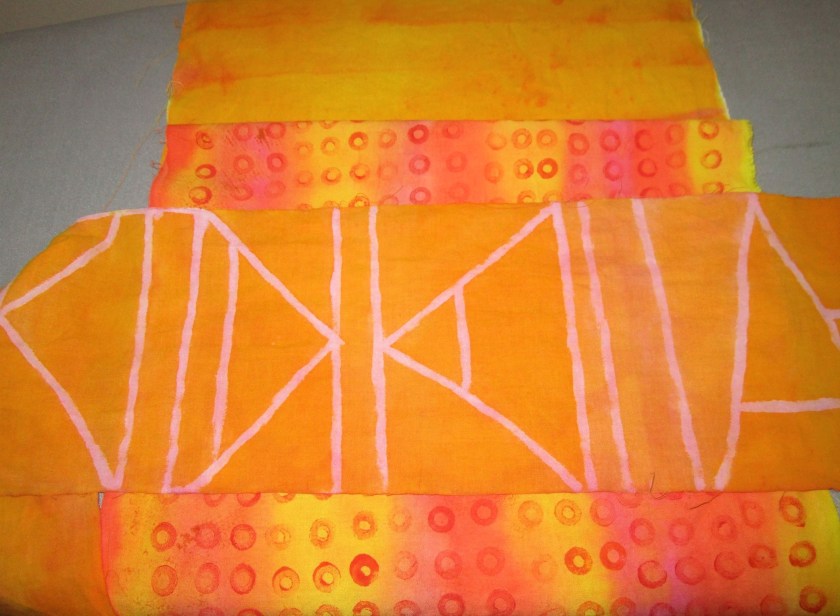
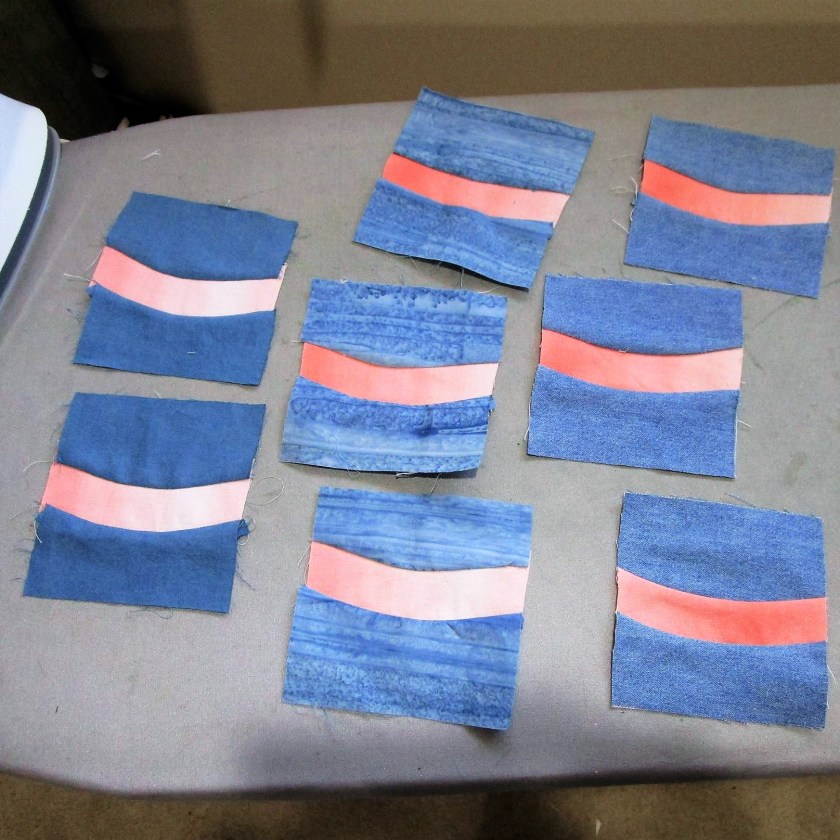
That design will not work with in Water section of my quilt, where I plan to add the signature squares. Water, especially lakes, are filled with waves. So I came up with a wavy style block by free-form slicing into a square piece of fabric, where I inserted a pale peach curve.

Prototype signature block with a curve.

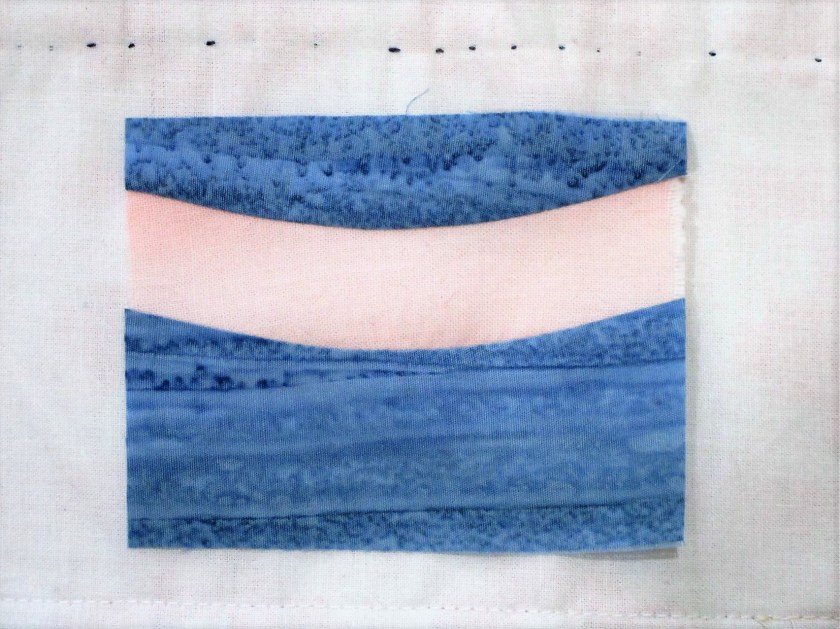
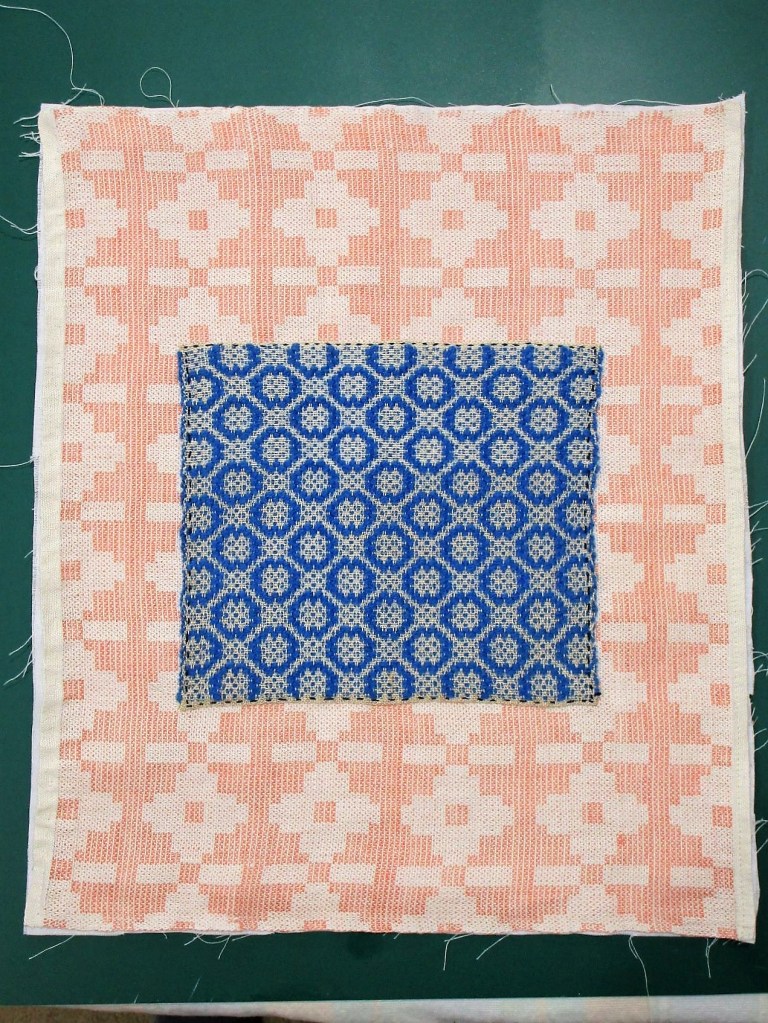
Here is the centerpiece of my water block where I will attach the signature squares. It is made of Margaret Howard’s weaving swatches. I hand-stitched a small blue one on top of a pastel peach brocade.

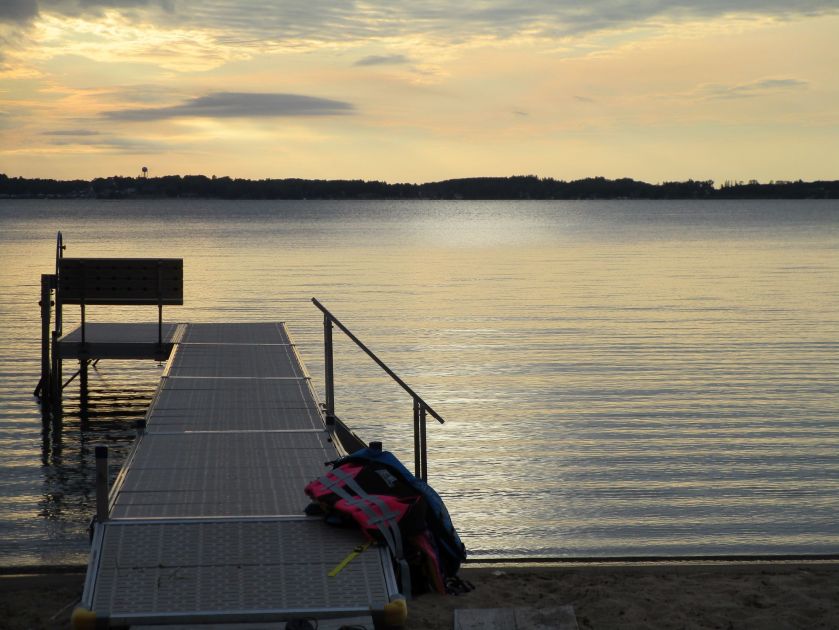
This says “lake” to me.

Next I made a bunch of curved signature squares. Here’s the first group.

I started at the top of my block with a strip of three of these little darlings.

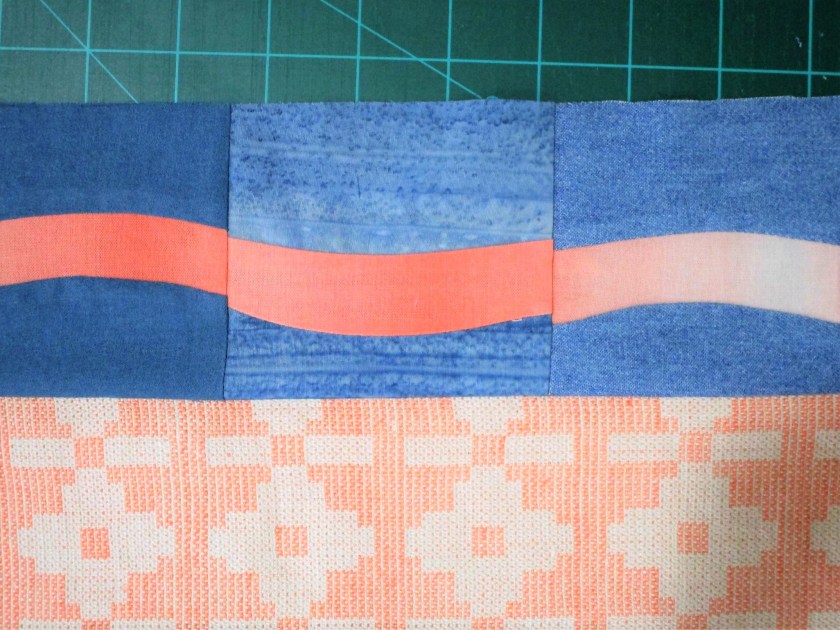
I’m thinking that the curve will provide a good place for a line of sashiko stitches to echoes its shape.

Next I made two strips to add on either side of the center block. Before I attached them, I added a plain blue strip at the bottom to anchor the design.

FINISHED WATER BLOCK

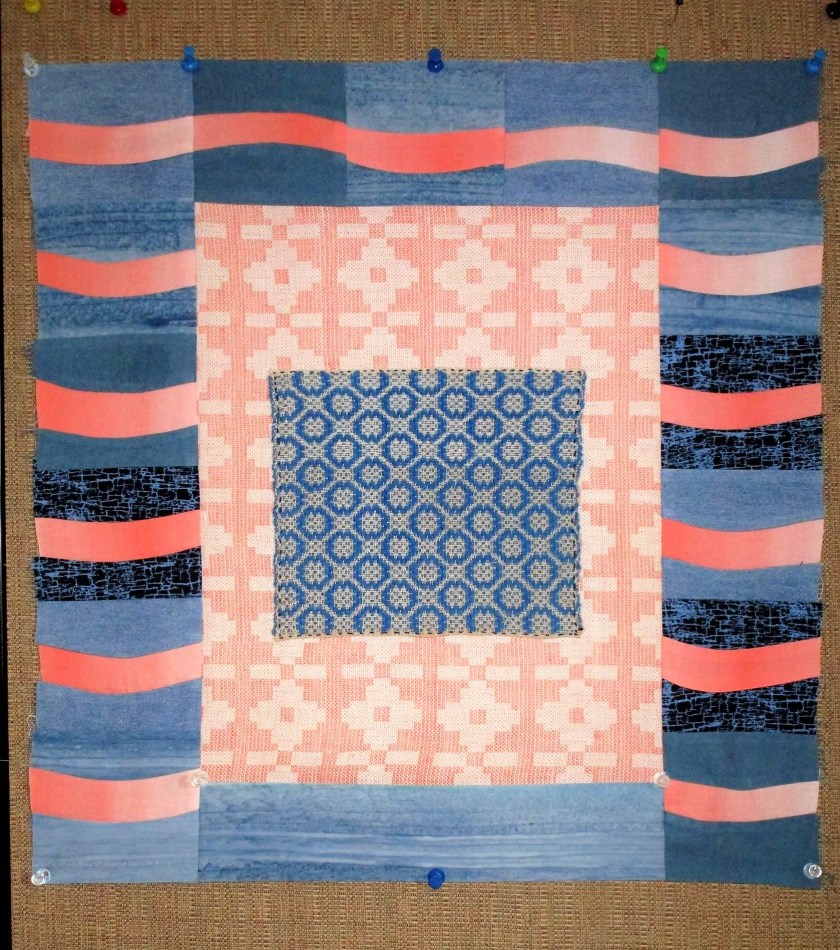
I’m happy with the resulting block. It’s about 18 inches square right now. After I square up the edges it will probably become a little smaller.

To see the other Stay At Home Round Robin participants’ quilts, follow the link.

https://fresh.inlinkz.com/party/26f3167a028d45689c82a40df41c3a40

Posted in colorwork, quilting

Inspiration, Gestation, Implementation

INSPIRATION: The idea for creating a fiber object based on the Gateway Arch has been rattling around in my brain for some time. It really started way back in 2012, after my husband and I visited the Gateway to the West museum in St. Louis. At that time, he took a series of photographs showing every possible angle of the Arch at ground level. They are rather remarkable, taken as a group. Here is an example.

Earlier this year, I asked for copies of these images and began to imagine how a series of different views would look on quilt blocks. I printed out nine pictures and pushed them around against each other. In the end, I shelved the project. I decided that I really lacked the necessary technical skills to realize my idea.

GESTATION: Over the summer I completed several on-line quilting lessons and actually made a quilt based on my own design. I now feel ready to tackle the Arch project. So yesterday I pulled the photos back out and arranged them into a nine-block design with a look that pleased me. It took me hours to get it right.

IMPLEMENTATION: Dear me. Thinking about the many steps required to move a quilting project from the idea stage through to completion is giving me pause. Let’s take stock of where I am so far:

  • I have a design and a layout, pictured above. Each image represents one block at 1/3 scale. I’ve decided that I will need a paper template for each arch image, in order to draw and cut it accurately from the background material. For this task, I have located a pad of giant post-it notes. From it I have cut nine pieces that are 14 and 1/2 inches square.
  • Block Content: Each block will consist of 16 squares with a finished size of 3 1/2 inches. The flowing arch will be cut free-hand into the sewn blocks and inserted.
  • Colors: There will be three background colors in hand painted fabrics, moving from left to right they are purple, blue-purple, and blue. The arch section which winds through each block will be made of golden-orange-pink fabric. Here are some samples that I made earlier this year.
  • Other design decisions yet to be made: sashing or no sashing, type and number of borders, backing. While I plan to quilt it myself, I haven’t decided on a pattern yet.

Next steps seem to be

  • Draw to scale the templates for each block
  • Determine yardage needed for quilt top and purchase fabric
  • Cut fabric into manageable strips
  • Hand dye strips according to design plan
  • Cut out the squares
  • Practice cutting free-style curves.

A wise woman said, the journey of a thousand stitches begins with one thread.

Posted in quilting

Piecing with Free-Form Shapes

The first thing I did in my studio today was re-sew the wonky row of yesterday’s triangle quilt sampler. It looks better now, but certainly not perfect. I decided I could live it. Now I feel free to move on to free-form piecing, a skill I have been wanting to try for several weeks. This technique utilizes the rotary cutter, but not always the grid ruler. Leslie Tucker Jenison treats her rotary cutter as if it were a pen or a paint brush to do improvisational piecing. Her quilts look very gestural. You can see her tutorial at https://www.youtube.com/watch?v=4vT08esPfzw

I’m not ready to improvise yet. But I do have an idea for a semi-abstract design based on sunflowers. Here is the sketch of my idea.

This piece is divided horizontally into four rows. I assigned color values to the various sections, and divided each row into workable blocks. The fabrics I selected have a nice range of values, and three of them are solids. I think they will play nicely together in this design.

The next few hours were spent puzzling over the shapes, cutting, re-cutting, stitching, and, oh yeah, ripping out at least once. At the end of my allotted time, I had finished the three blocks of the bottom row. What do you think?

The width is going to be roughly 12 inches. I think it will end up about 24 inches tall.

So far, I really like it. It’s going to be an interesting experiment. And maybe even turning into very nice fiber object.