Posted in painting

Painting Hydrangea Leaves

Beside the patio lives a beautiful oakleaf hydrangea. Every morning, I drink my coffee in its shadow and admire the sunlight shining through the leaves. I have been wanting to incorporate these wonderful leaves into my fiber art all summer long.

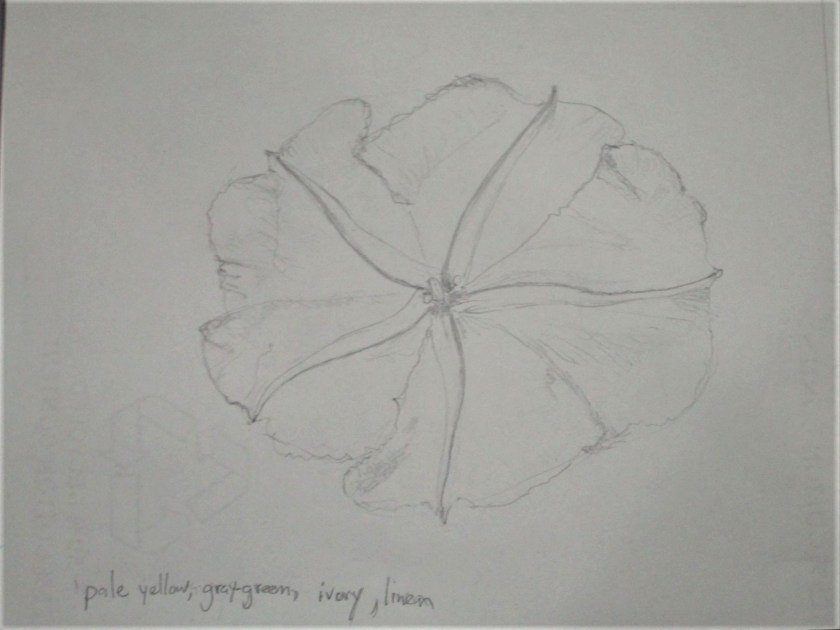
If you look carefully at the photo, you will notice that there is a variety of leaf shapes presented by this plant. There can be three, four or five lobes on a leaf. It seems that the baby leaves start out almost round and the lobes develop as the leaf matures. I have decided to do a mosaic of the leaf shapes with fabric paint and resist on cloth.

Here are two of the drawings I made of these shapes. I will be using the shape outlined in black ink for today’s paintings.

There are two experiments today. In one, I use the water based resist on the leaf shape, paint the background, then remove the resist and paint the leaf. In the second experiment, I paint the entire piece, add resist to the leaf shape and over-paint the background. Here is a photo of both experiments in the first stage. The lines are traced and a yellow tinted resist is applied to both swatches. The left swatch has the whole leaf covered in resist.

Experiment one. I used a violet background.

Wet painting
This photo show the fabric after the resist is washed away. The yellow leaf veins didn’t stick, but some of the yellow outline is still visible.
in this photo I applied resist all around the leaf shape before painting the leaf itself.
Paint on leaf still wet. Only a little green leaked out on the lower right side.

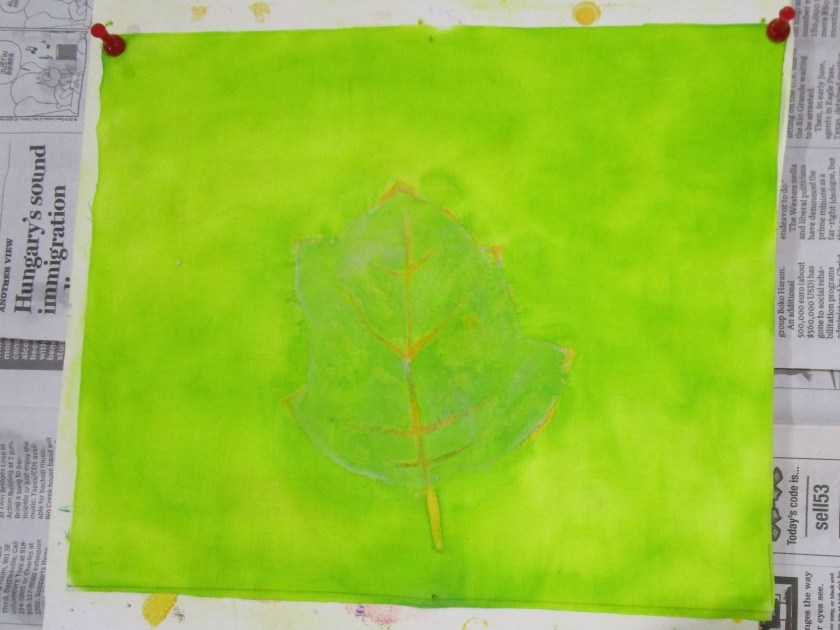
Experiment two. I started by applying yellow tinted resist to the veins and outline, then covered the entire fabric with yellow-green paint.

Paint is still wet.
Paint has dried. I applied additional resist over the leaf area before painting the background.
Finished leaf, still wet.

I am happy with today’s experiments. I like the dark velvety color of experiment two. But experiment one has potential. Both are now ready for additional paint effects.

Posted in colorwork, painting

Colorwashed Landscape

Fireweed

We are busy day today, getting ready for hosting company. So instead of working up a new fiber object, I thought I would share this colorwashed piece of fabric which I made a few months ago. How it came to be is somewhat interesting, at least to me.

I started with a square of white cotton poplin. Using slightly wavy strokes and starting at the top, I applied blue, purple, red and green. Before the fabric dried, I used the “scrunch” technique – crumpling the fabric in various places. This causes the paint to run and dry unevenly, resulting in the dark creases you see above. Immediately, I thought it looked like a view of the Rocky Mountains. Dark brown and black appeared in the creases where the red paint met the purple and green. This reminded me of the mountains in recovery from a forest fire. To enhance the effect, I printed on the fabric in brown and green with blocks cut in jagged shapes, to represent the tree trunks, both living and dead. I painted snow on the mountains. Then I used fabric markers to delineate the sky and a field of pink blooming fireweed.

This landscape feels to me as if it appeared by magic.

Posted in painting, sewing

Inspired by O’Keefe part 2

Moonflower

Here is the final result of my O’Keefe inspired fiber object. I have to say, it only partially matches my vision for the piece. Something happened between the sketch, the painting and the embroidery. Take a look:

Here is my original sketch for a moonflower. I was very happy with this effort:

Here is the flower after roughing in the design with fabric paint.

Even though I am not experienced in painting, I was fairly happy with this result. So I guess the only part of the effort that disappointed me was the embroidery.

Dear friends, what do you think? Do you have any recommendations for me that could improve my final result? I am eager to learn.