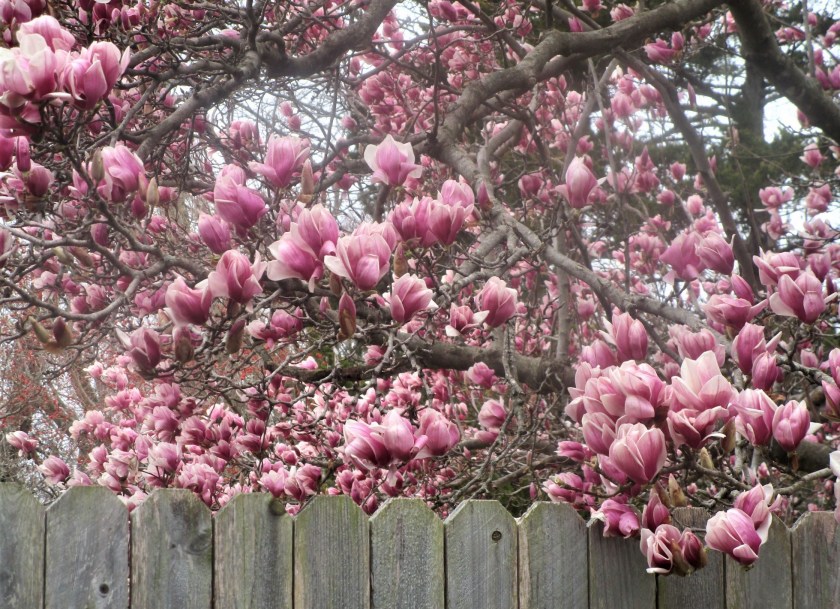
It’s a cold, drippy, soggy-ground day here. Even with the sun behind a cloud, one can revel in the beauty of Spring arriving. This is our neighbor’s tulip magnolia which overhangs the fence in our yard. It is robed in amazing color just a handful of days every year. So I put on shoes and went out into the wet to capture its moment of glory.
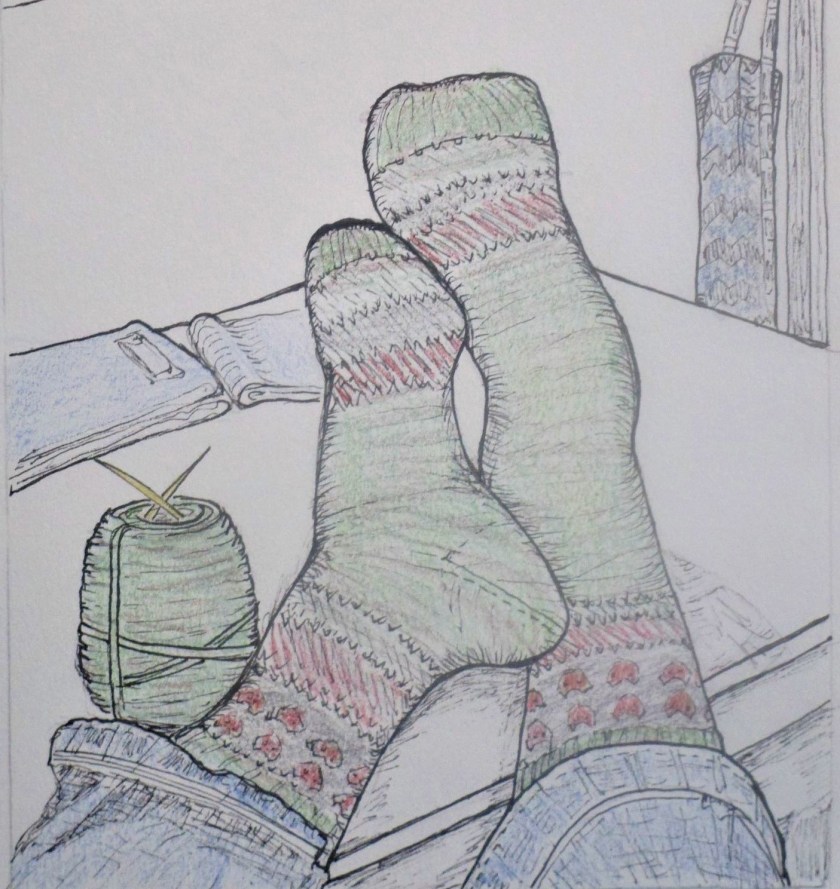
Yucky weather seems to give one full permission to huddle indoors and work on fiber objects. The Weaver’s Square vest is within three inches of being fully knitted. I should have a good image to post in a couple of more days.
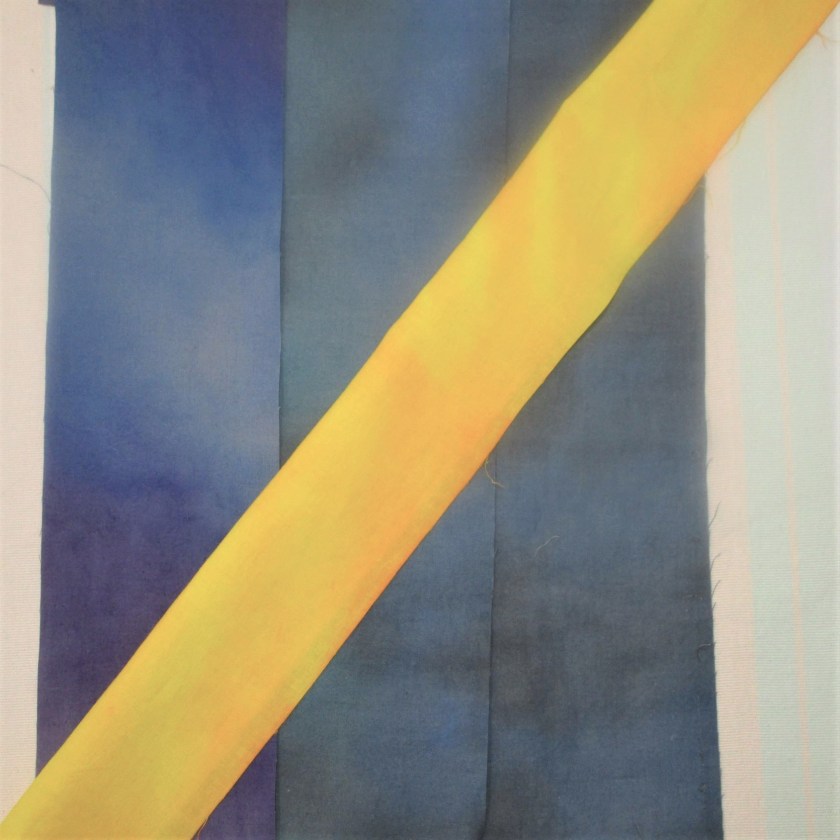
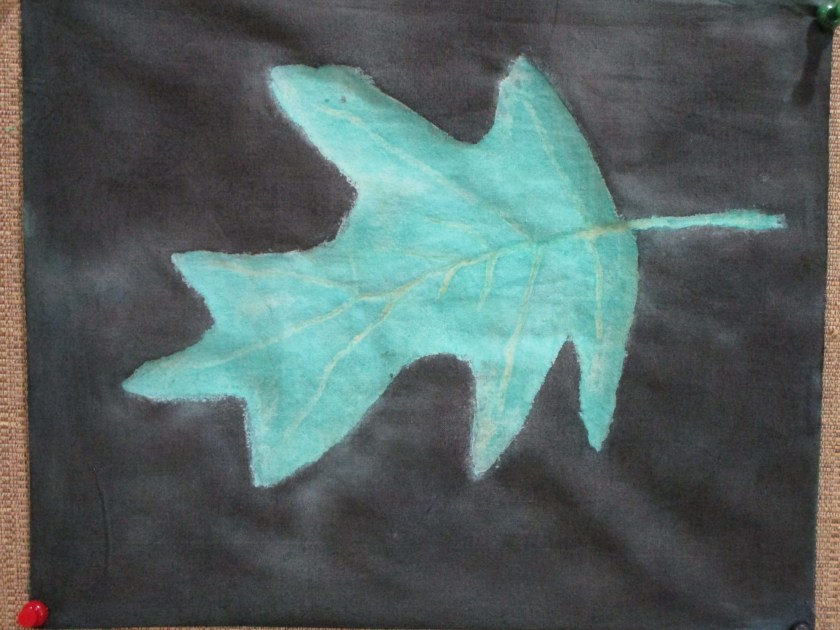
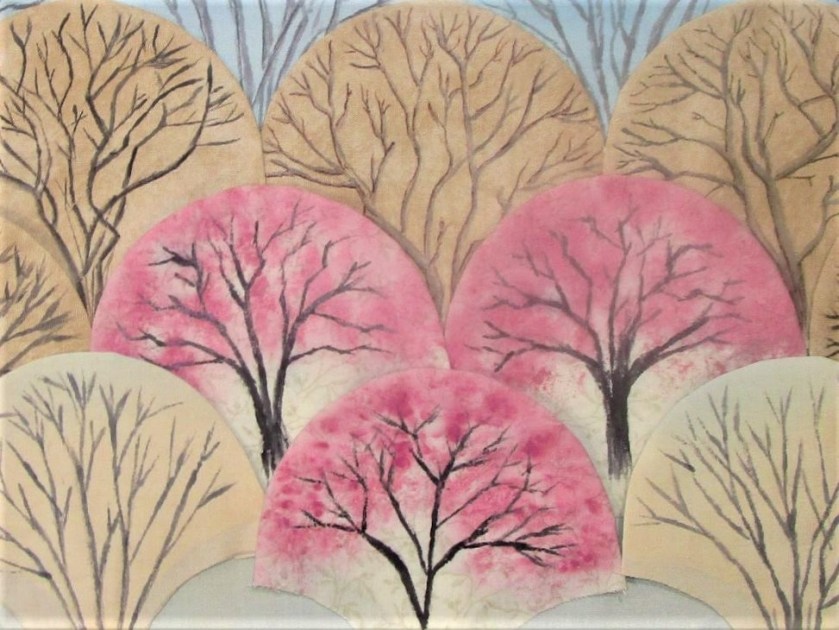
Here is a progress photo showing work on my latest fiber object, which I call “Just Trees.” I have cut and basted four rows of clam shell shapes, then painted each with a tree.

My original intent was to paint all trees without leaves. But hey, I can’t ignore the burst of color right outside my window. The three trees with black trunks and pink tops are meant to be redbuds. It is a native tree that puts on screaming pink to magenta blossoms in mid Spring – usually before any of the other hardwood trees have even leafed out.
So far the top two rows of appliques have been stitched – by hand – into place. This step is only a little bit tricky. But patience and persistence always yield results.
With a continuation of rainy weather and the unceasing announcements of event cancellations, I may easily finish this object before next weekend.