At present, I have various works in progress and finished objects that I could write about today. But January is the month that Quilting Gail and her co-horts begin work on the annual Stay at Home Round Robin quilt. So I am pivoting.
During the past three years I have participated with joy. I’d really like to continue round robin-ing this year. But I am in a quandary about my center block. Thinking about SAHHR in December, I had the idea to use paper pieced squares in this year’s center block. I but never got around to making them. Now, feeling pressed for time, I’m reluctant to work on a deadline in a technique in which I have little experience.
This morning, I decided the answer may lie in the objects I made during my first year of practicing fiber arts. It was a time when I was bursting with ideas but short on skills. As I rummaged through my portfolio from 2019 to early 2020, I found six fiber objects with potential to become a center block of a small quilt.
Shall we audition them together?
Candidate 1:

This was an early experiment with fabric paint. I took two different paintings, cut them into strips and wove them together, using satin stitch to close up the cut edges.
Candidate 2:

This is a rejected block from my oakleaf hydrangea wall-hanging. The background is covered in snippets of hand embroidery with irregular blanket stitch on the edges.
Candidate 3:

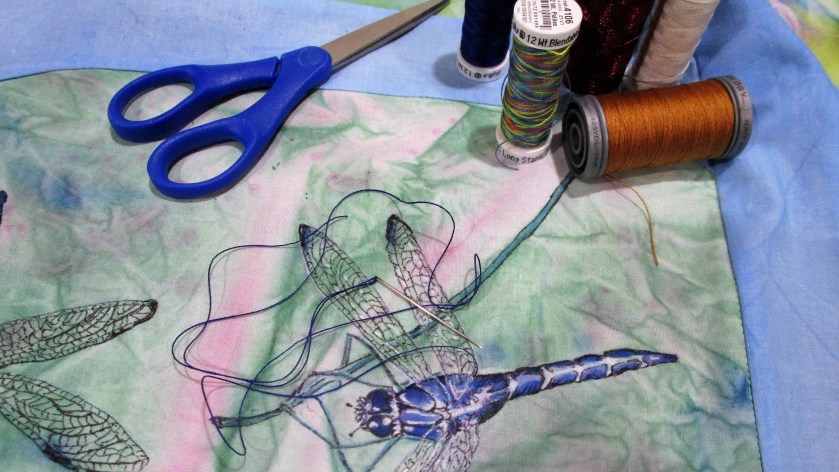
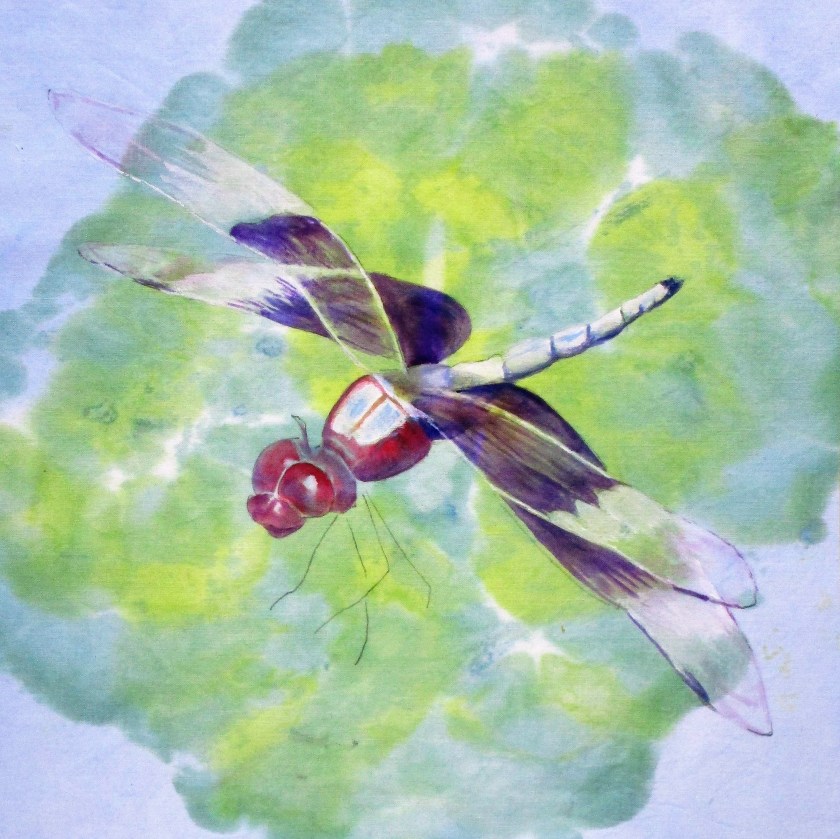
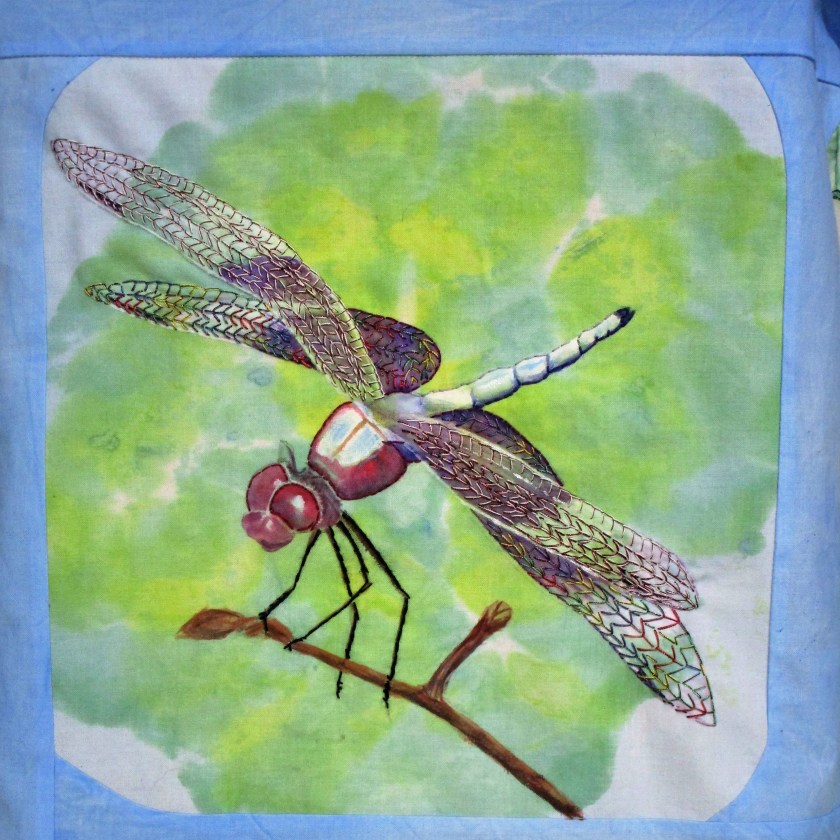
I was discovering what fabric markers can do. This painting is done on lightweight muslin and would need to be mounted on sturdier fabric.
Candidate 4:
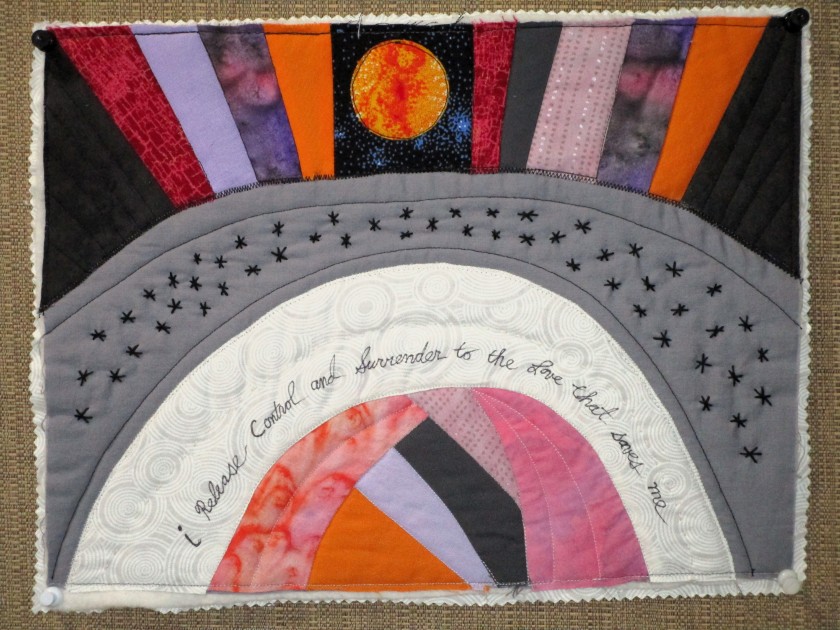
A mini art quilt, this was inspired by what I saw in my head with eyes closed during a yoga class. I was practicing curved edge piecing.
Candidate 5:

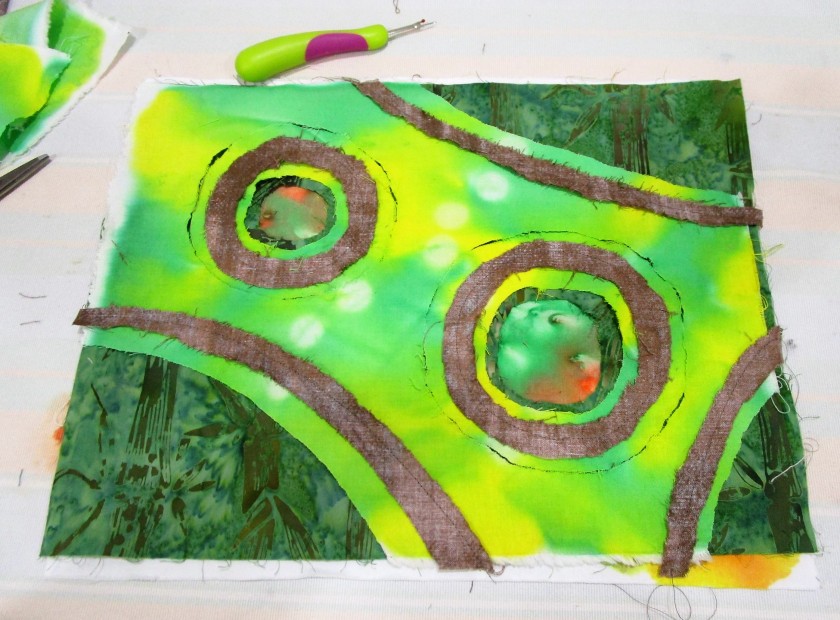
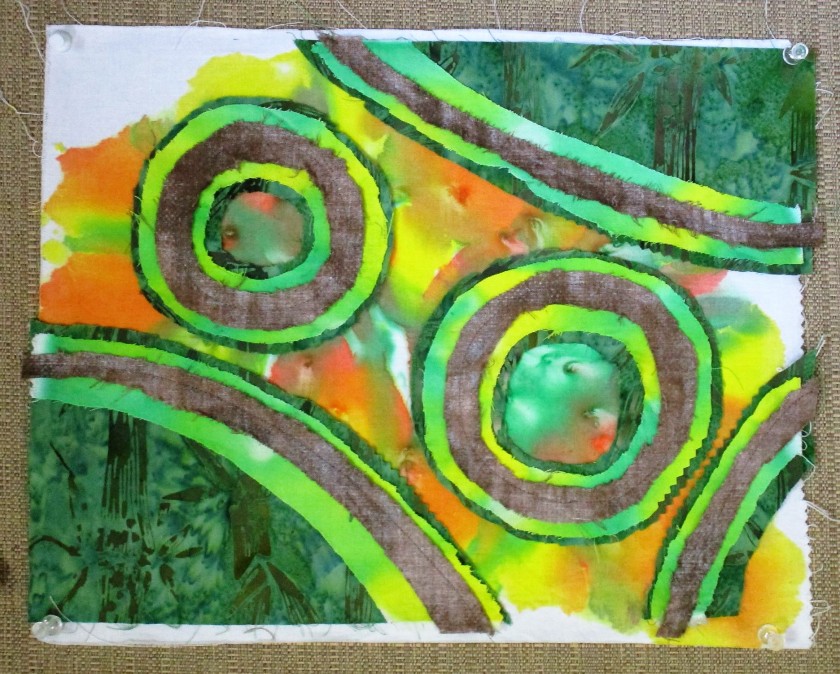
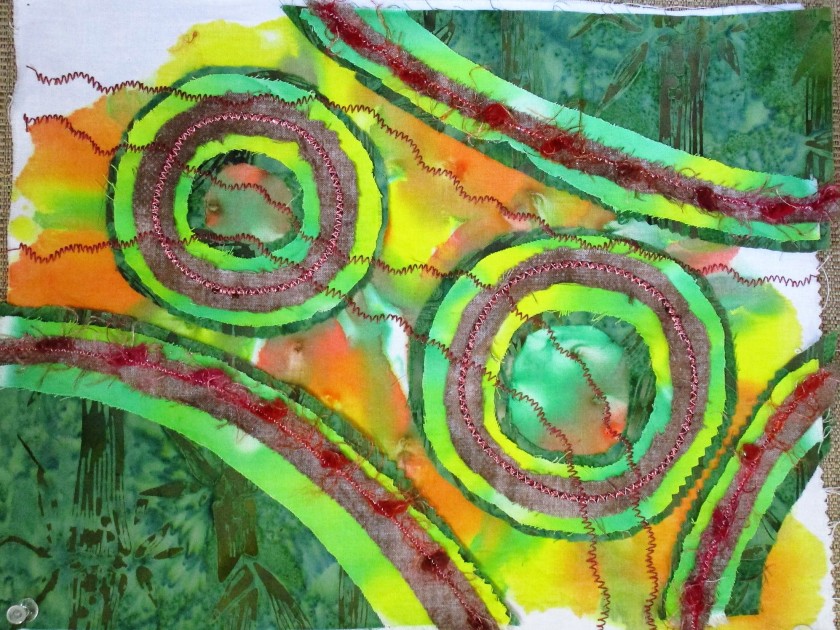
Inspired by one of Bill’s photographs, this block was a practice piece for a larger work I never completed. The technique is confetti applique. While I would consider putting this one in an SAHHR quilt, I’ve yet to give up on my original concept.
Candidate 6:

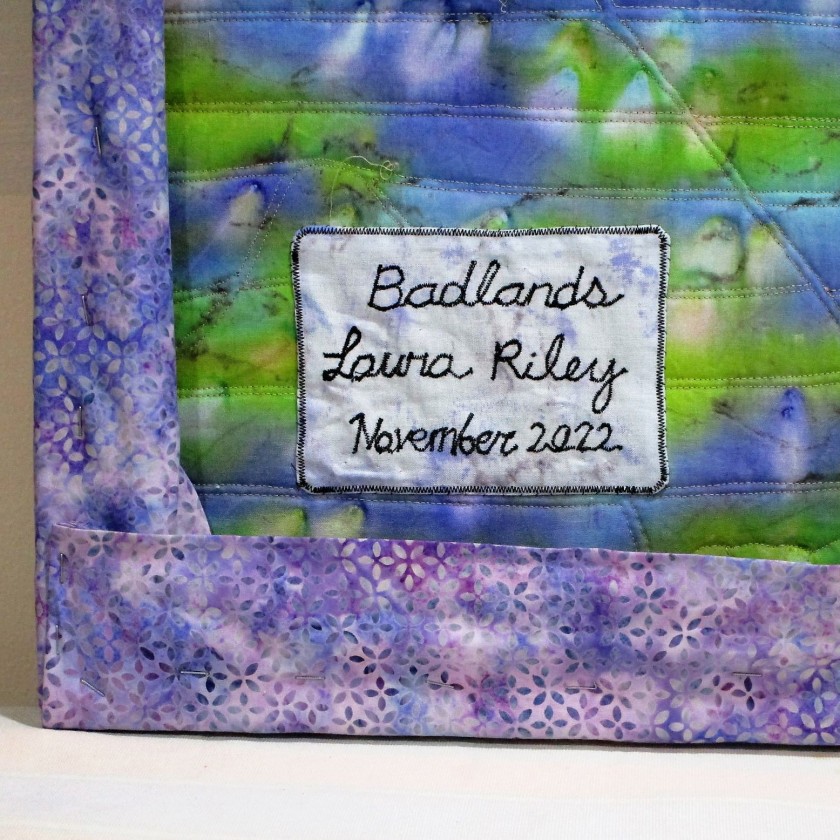
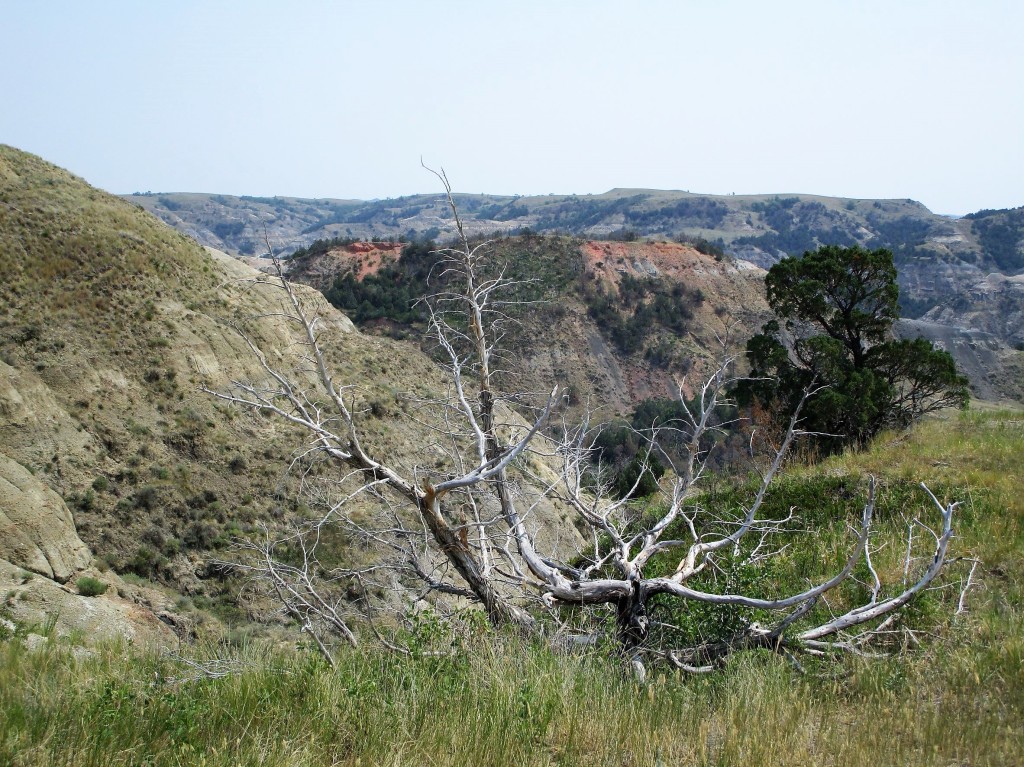
A very early experiment in fabric painting, I “saw” a scene of a mountain area recovering from a forest fire. The initial paint application was enhanced with brown stamps of bare and broken trees. The middle ground is meant to represent fireweed which moves in quickly after a fire ends.
This last block is the one I am leaning toward the most. I have some ideas for expanding on the theme of environmental devastation and recovery.
What do you think about my options? Even if you are not a quilter, I am interested in learning the block that attracts your eye the most. Which one has the highest potential from the aspects of design, color and originality?