Posted in embellishing, hand embroidery

Friday Finish: Dragonfly panel stitching

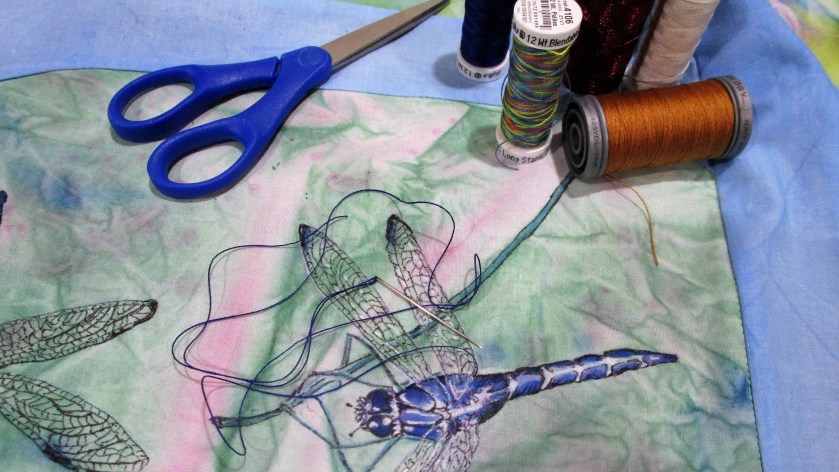
For this week, I made a promise to myself that I would complete the hand embroidery on one of the Here Be Dragons art quilt panels. By New Year’s Day, I had finished.

The goal was to emphasize the painted lines while quilting the fabric layers together. I used DMC stranded floss in colors compatible with the fabric paint.

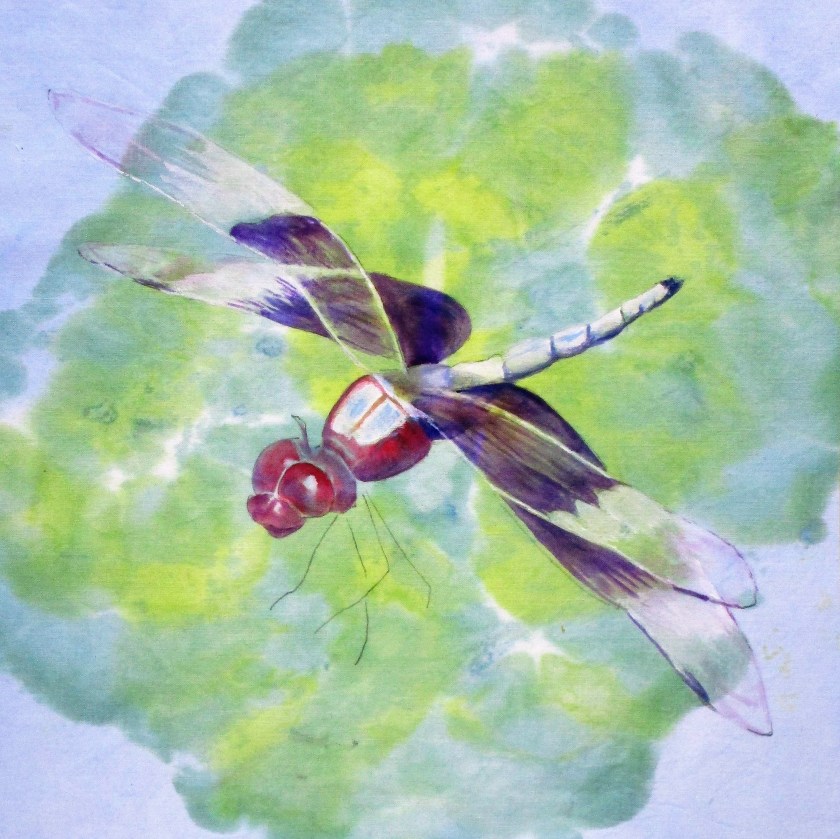
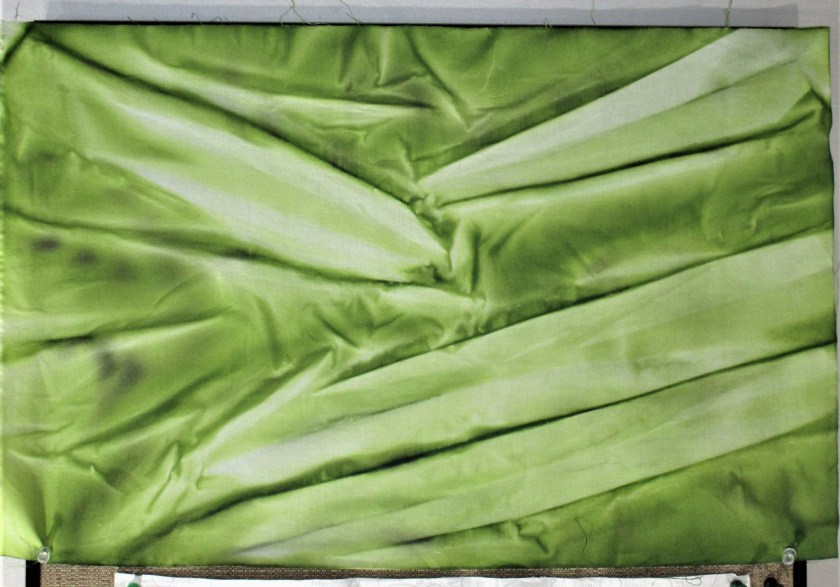
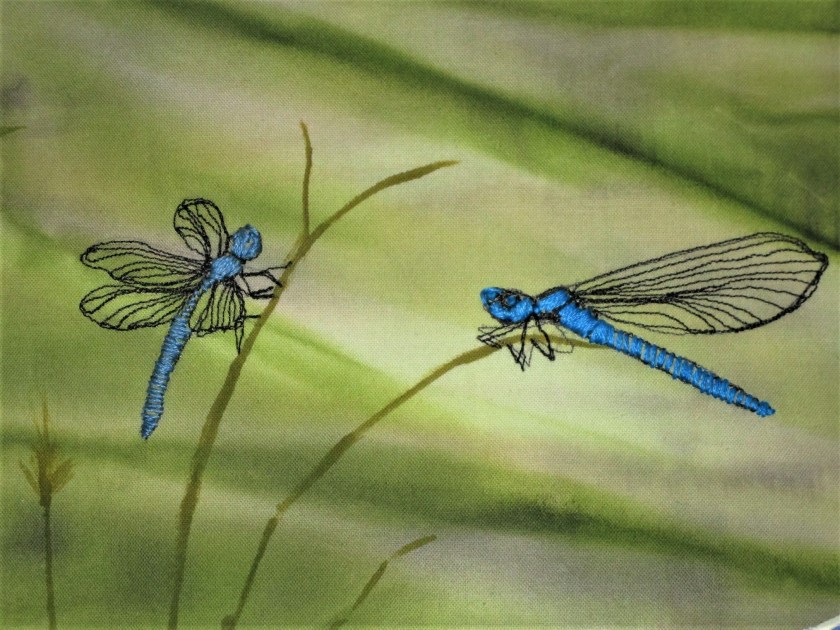
Here is the panel before stitching the background. The dragonfly is already stitched.

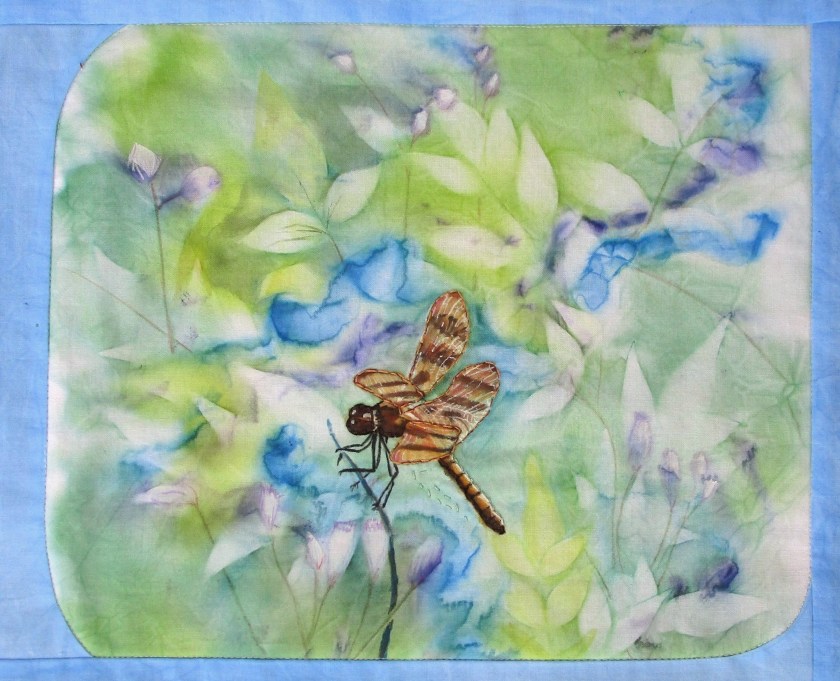
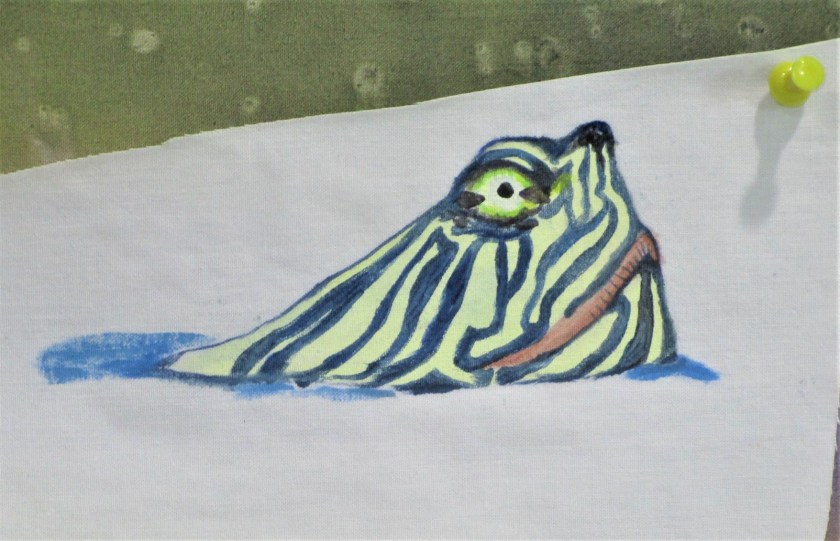
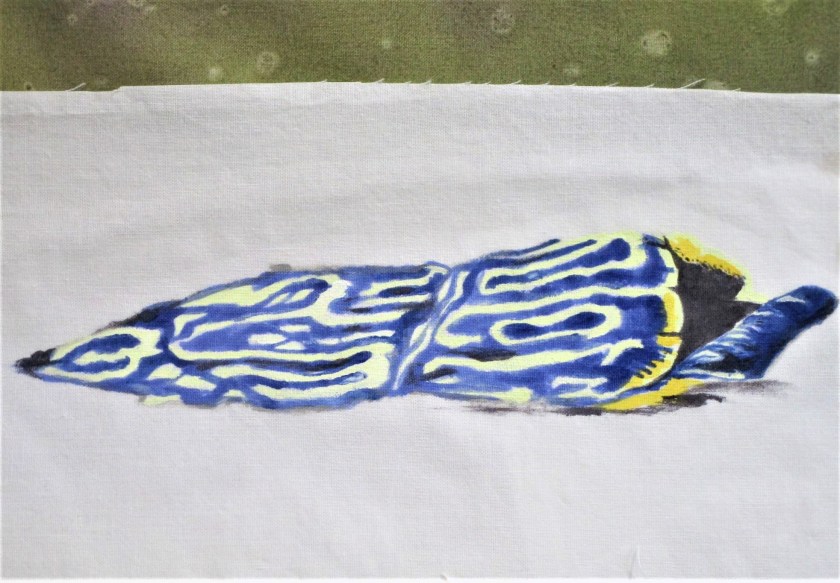
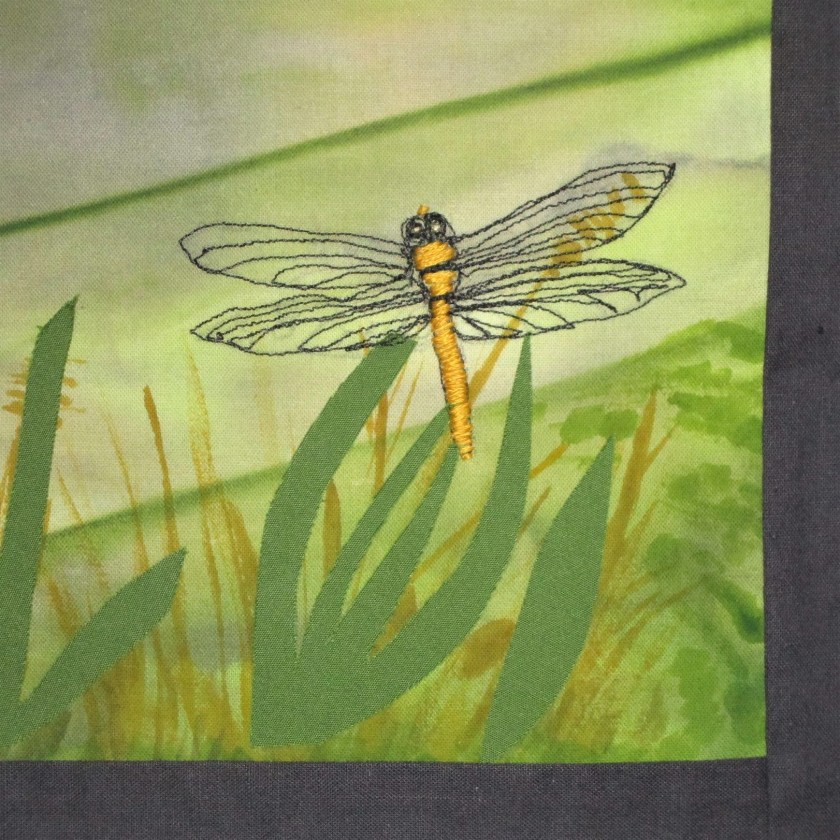
Using primarily stem stitch I outlined the botanical shapes of leaf and flower. With rice stitch, I worked the blank areas of the panel to secure the batting and backing.

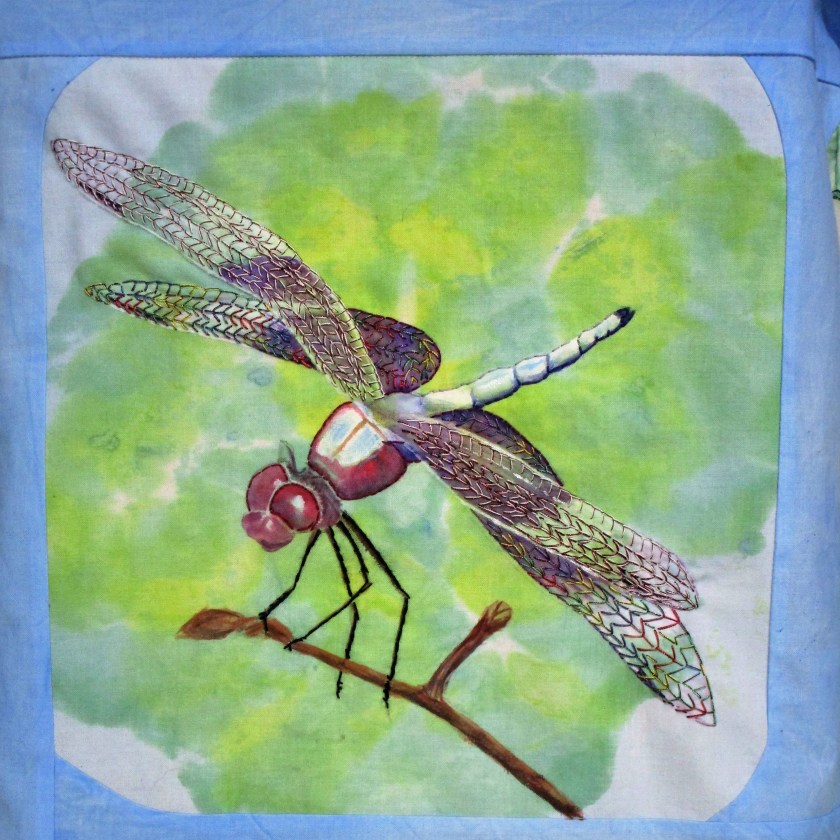
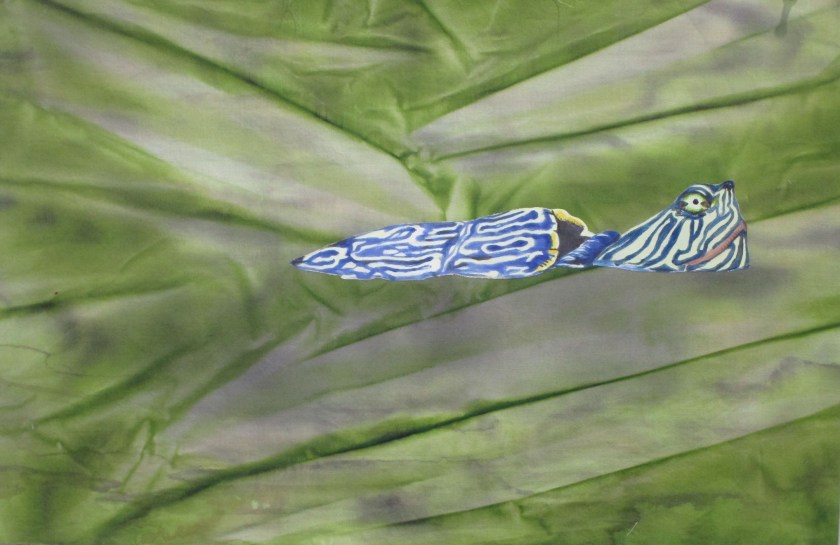
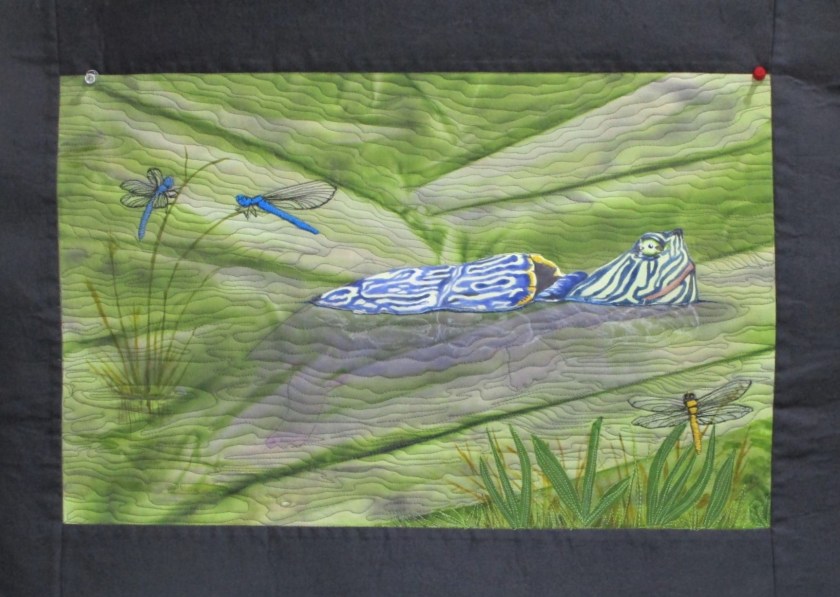
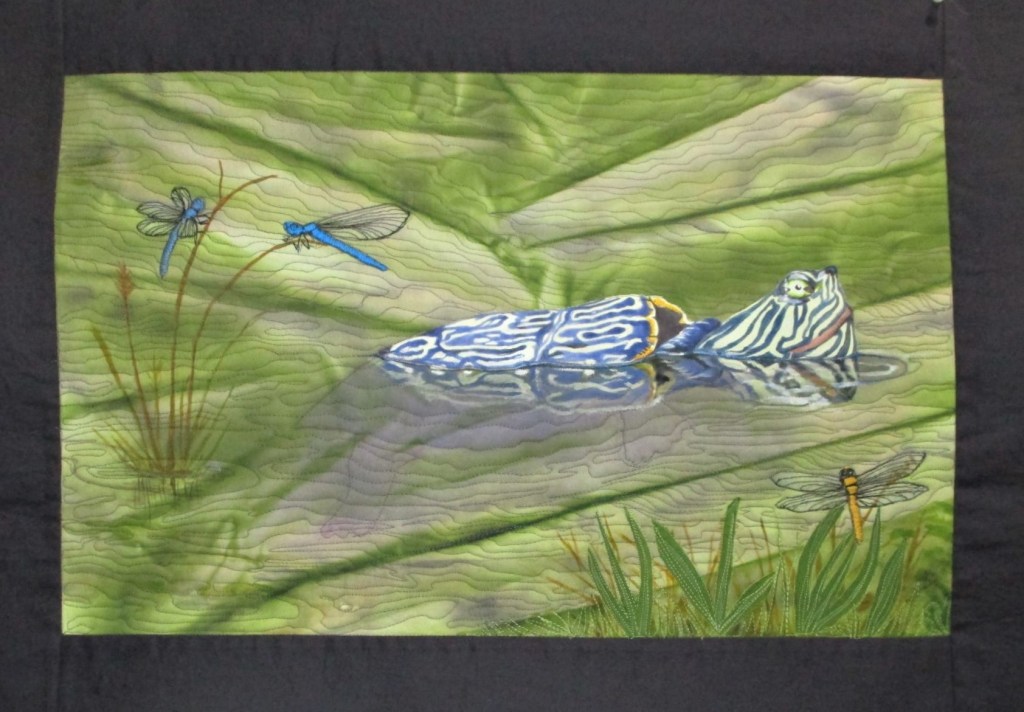
Here is the panel completed.

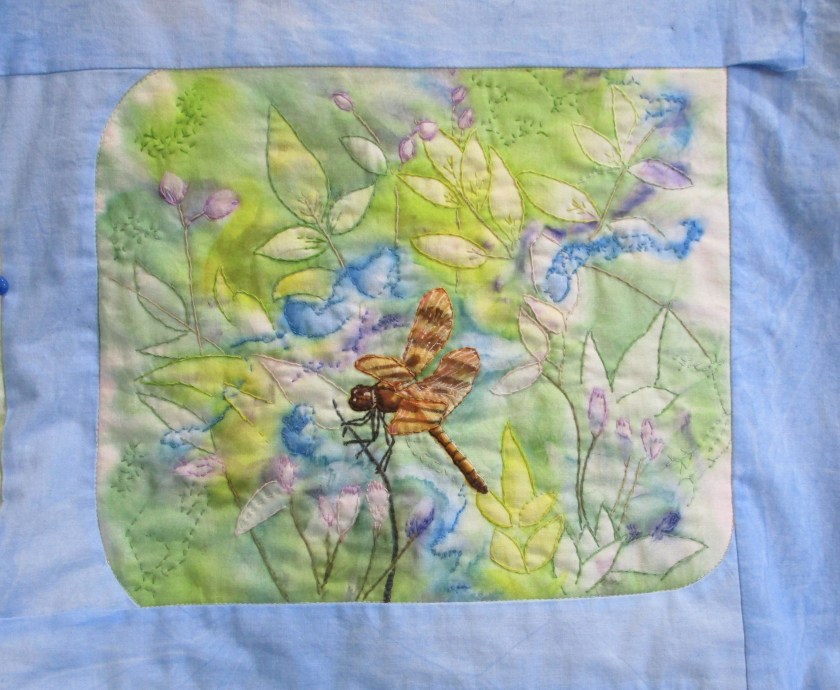
I feel pretty good about my work. To me, the piece has variety but also cohesion, achieved by using repetition and a limited color palette.

I now have only one panel of this quilt left to stitch. My goal is to have the work finished and framed in time for an exhibition sponsored by my local art association. It will open in early February.

There’s nothing like a deadline to keep an artist motivated.

Posted in hand embroidery

WIP Wednesday: Dragonfly Quilt

It’s been more than two months since I’ve reported on progress with my dragonfly art quilt. For the last few weeks, I have been adding detail with embroidery.

In this stage, I am using various colors of thread, including a metallic, to outline the subjects’ bodies and fill in and outline the wings. The box of machine embroidery threads that I collected from my mother’s work room contains many beautiful threads that work well together with DMC floss to enhance my dragonflies. I’m so grateful to have received it from her.

I started my work with the main panel. In the painting stage, I had indicated the wings using faint lines in a sketchy manner. Ditto for the legs.

Now with metallic and matte threads held together, I stitched the delicate veining using (appropriately) the fly stitch. The legs were done in a black fuzzy thread, which helps to indicate the scaliness I observed in the original photograph.

I love the way the threadwork gives depth and liveliness to the painting.

After I’m finished embroidering the dragonfly bodies, I’ll sew on the border and backing. When that is complete, I’ll move on to hand quilting the whole thing.

Posted in hand embroidery, painting, quilting

Return to Lake Montgomery

It’s been a while since I shared the turtle in the pond fiber object. As a reminder, it was inspired by a photo taken by Bill on a recent camping trip at Lake Montgomery.

I loved the light, the colors and the texture of this image. I knew right away that I want to create my own version in fabric.

Here is a recap of how I processed this inspiration. First of all, I used fabric paint and the Shibori technique to render the background on cotton fabric.

The piece is about 15 by 20 inches.

After the paint dried, I added another layer to render some shadows. Next I painted the two halves of the turtle onto white fabric…….

……………..… and appliqued them to the background using fusable interfacing.

This is how things stood while I pondered what other elements would enhance the image.

I decided on a few damselflies. More images by Bill were consulted. I picked three beauties, hand embroidered the bodies with floss and machine stitched the wings.

You can see the water plants I added in the foreground using applique and paint.

I sewed on a black border and then paused. This week I finally got around to quilting. My intent was to make the stitch lines look like pond ripples.

How did I do? Are they watery enough?

It took a lot of pondering and a dose of courage to add the turtle’s reflection. The only real option was to hand paint it using opaque Setacolor. So I did.

And here is the finished project.

Springtime at Lake Montgomery
Detail of reflection

This fiber object is now a wonderful reminder of a very special camping trip.

Posted in hand embroidery, quilting

Sunday Walk, Sunday Work

Yesterday was cool, but sunny. We went walking on our favorite trail, the Pathfinder. On sections of the path which are not shaded by trees, there were wide swaths of blooming flowers, predominantly white clover. Clover is not a native plant here, but still highly valued by the local denizens of the air – bees, butterflies and dragonflies. Bill got some great photos of these fliers with his high-tech telephoto lens. I confined my efforts at photography to things that hold still – especially the flowers. I also snapped photos of the pond, focusing on the willow branches which overhang the water. My goal is to incorporate additional elements into my turtle fiber object.

Upon returning home, I set to work. I have been fussing for the past three days over how to add pond insects to the turtle FO. I first tried making appliques on a scrap of fabric with the intention of fusing them to the background. That technique didn’t seem to work well. It didn’t give me the transparency I wanted for the wings and it didn’t give a life-like look.

But then I stumbled upon Lola Jenkins, a self-taught fiber artist who specializes in thread painting.

https://www.lolasdesignerquilts.net/craftsy-class

This bold, fearless quilter takes a black sharpie marker to her quilt, creating permanent stitch lines. She then stitches over these lines with black thread. In her Craftsy class, she likes to say, “If you are like me, go for it!”

So I did. Not with a marker, but a pencil. I drew the insects, then free motion quilted all of the pencil lines. Here are the inspiration photos (taken by Bill) and the resulting free motion quilted images.

I used embroidery floss to fill in the bodies

Now my lovely turtle has a few companions. I’m happy with today’s additions and feel more confident about starting the next step – background quilting.

Posted in hand embroidery, painting

Hydrangea in my Rearview Mirror

Before I say farewell to my study of the oakleaf hydrangea plant, I want to share the little study I made of the blooms. Above is a reference photo for the plant. The “flowers” open pure white, changing over times into shades of rose, rust and green. I say flowers in quotes, because the part of plant that most people identify as a flower – it has petals, after all – is really a bract, or sterile flower. The real flowers are in the tight little buds that you see at the top of the panicle. Here is a specimen, much dried up, that I took from my hydrangea.

Interestingly, there are some bracts with four petals and some with five. I did a drawing in colored pencil before I started making the fiber object, which depicts the rusty pink color of late summer.

My first thought was to make corner blocks for my quilt with images of the flower panicles. But after I had assembled the quilt and laid out the border, I decided corner blocks would not improve the quilt at all and might even detract from the focus. By then I had already started a sample block.

It is a sweet little object, just 4 by 4 inches. Made with hand painted cotton, block printed and embroidered. Perhaps I can use it in another project.