Posted in knitting

Unraveled Wednesday 6-25-25

Following along with As Kat Knits, I am posting this progress update on the project I cast on June 2nd.

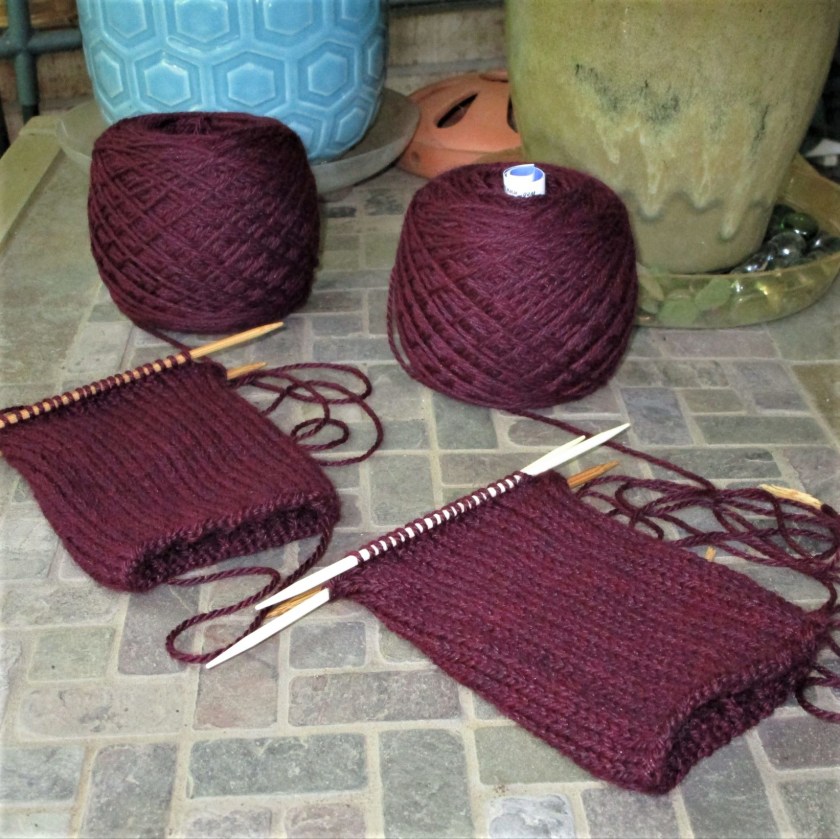
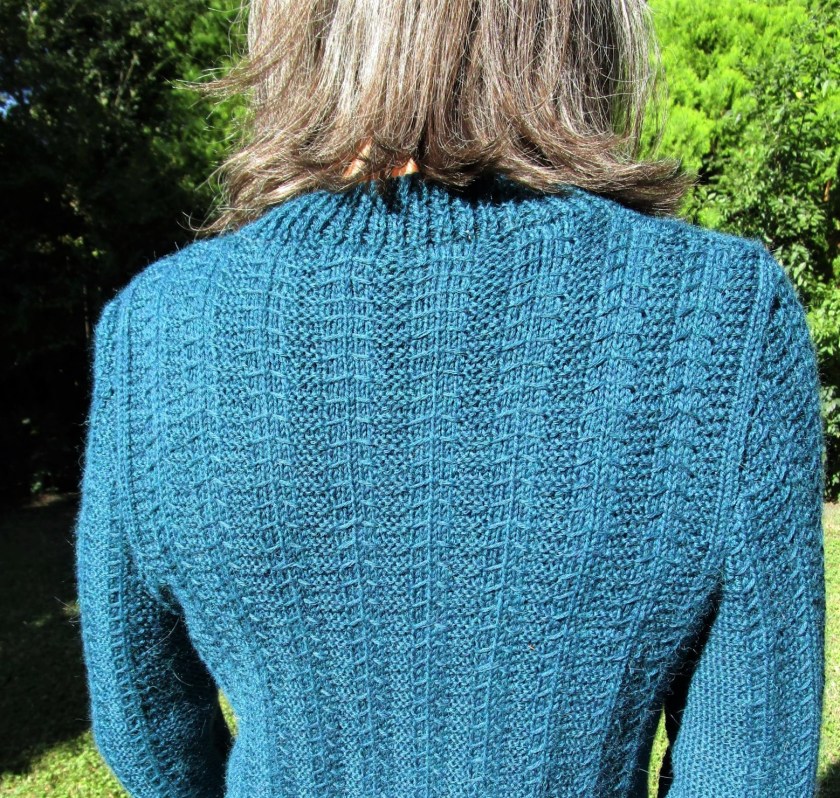
This is Paper Dolls, a pullover by KDD & Co. As of today, I have knitted up from the bottom about 12 inches.

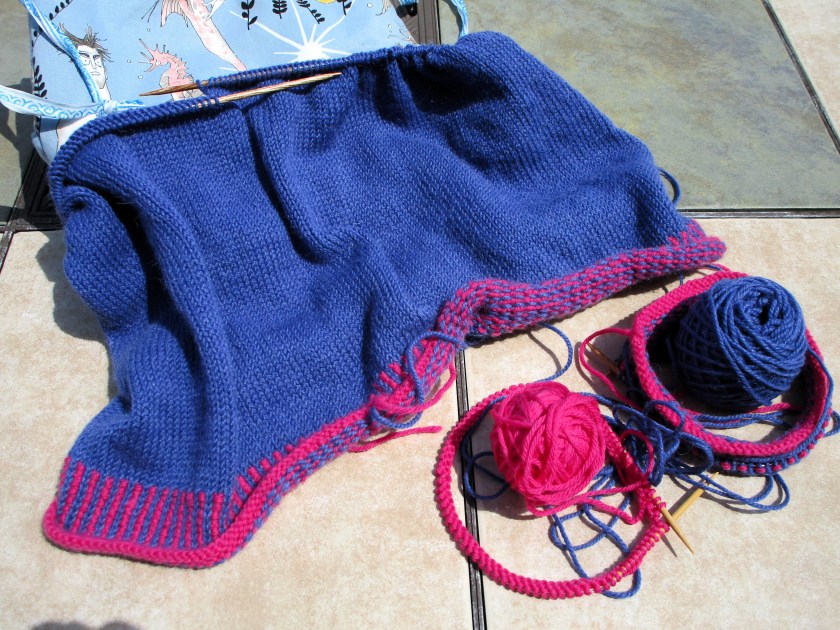
This is the point where the body is set aside and the cap sleeves are knitted on separate needles. The technique is reminiscent of Elizabeth’s Zimmerman’s Fair Isle Yoke Sweater as published in her 1st newsletter. Eventually stitches for all three parts are loaded onto one long needle and work continues for the yoke.

First sleeve cap complete and waiting for its sister before both join with the sweater body.

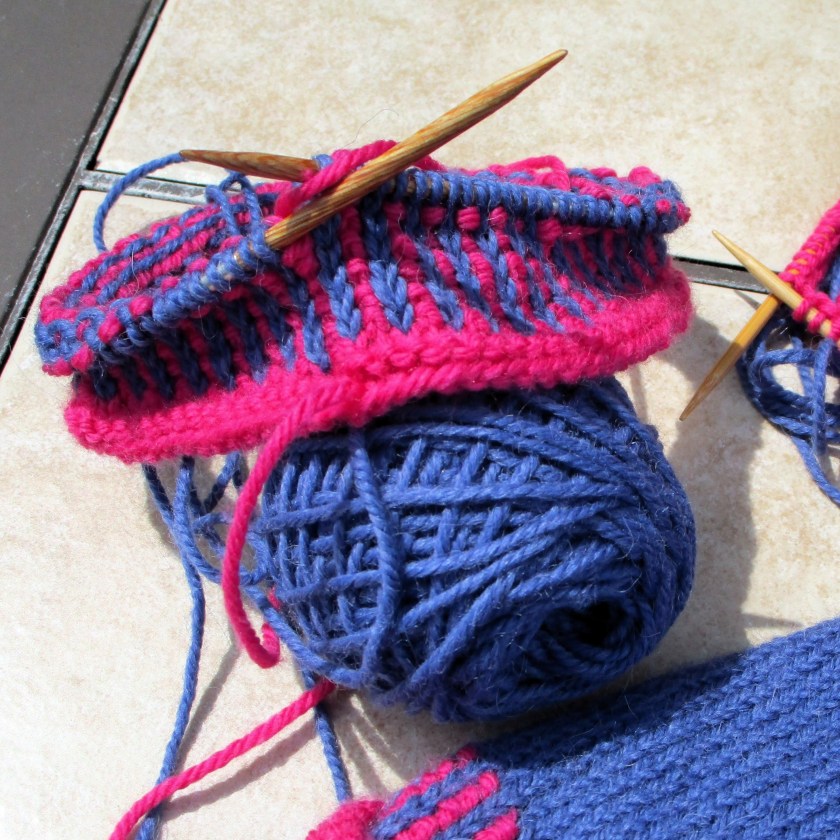
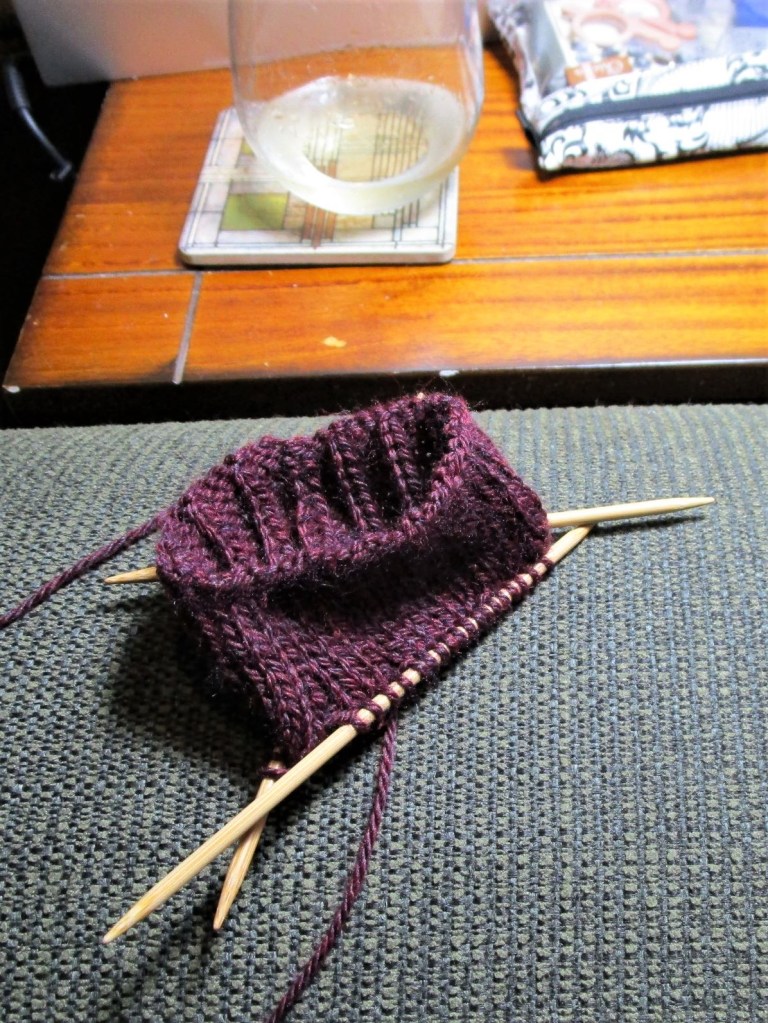
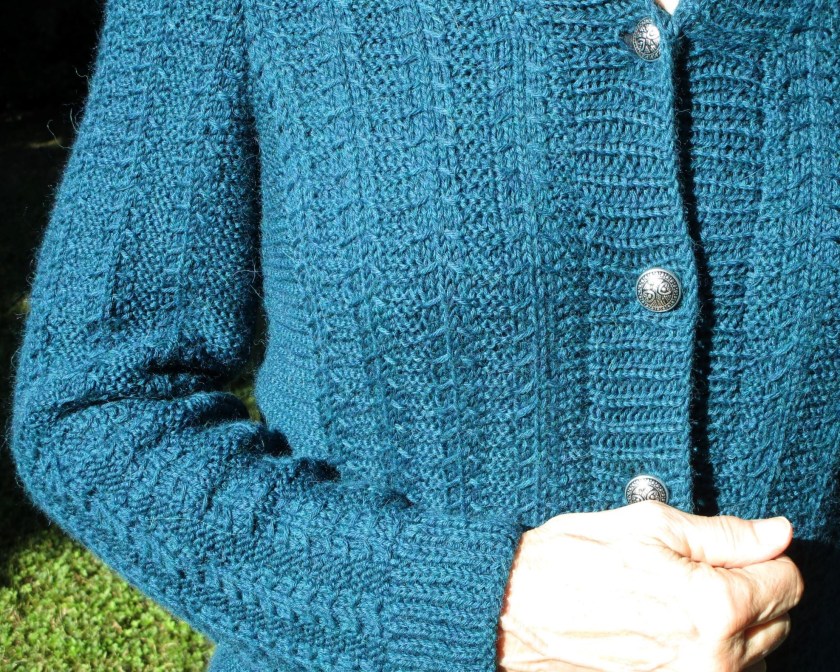
A design feature added by Kate Davies is the corrugated rib stitch worked in contrasting yarn for the hems of body and sleeves (as shown in my first photograph.)

This part of the project has been great for television watching, since no stitch counting or pattern checking is required. The next section will require undivided attention, and I work the very cute paper dolls while simultaneously decreasing the yoke stitches. (That makes it sound harder than it really is.)

I must add a shout-out to knitting blogger Alissa Makes who made and gifted me the cute Mer-people project bag.

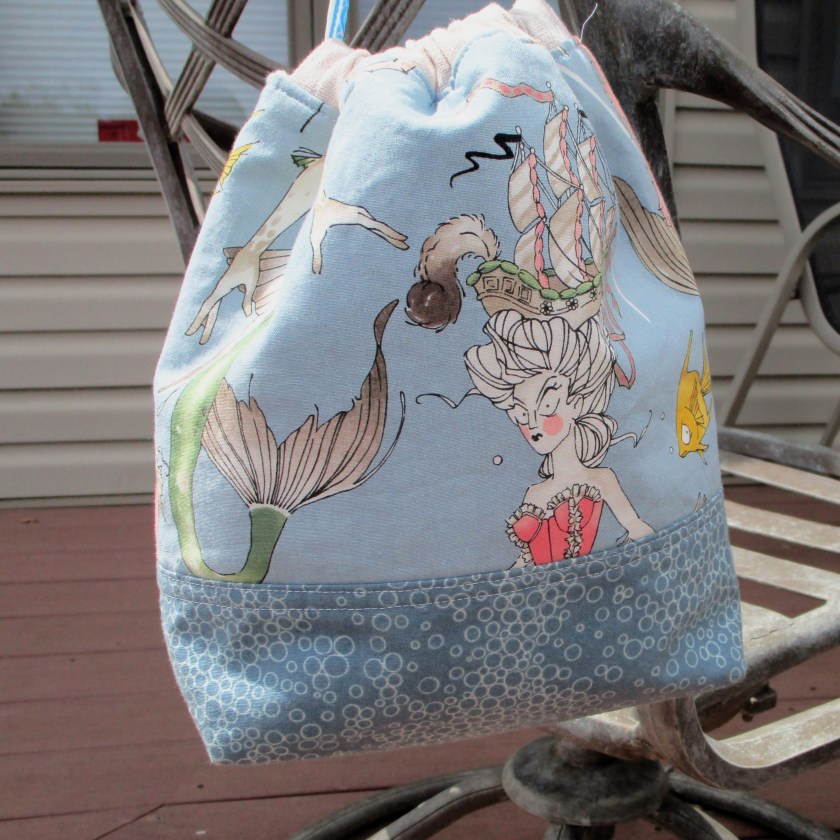
I love using it – Thanks, Alissa.

As far as reading, I just finished a biography of Salvador Dali’s wife, Gala. It is titled Surreal and written by Michele Gerber Klein. I had no idea how crazy those early 20th century artists were. If you like soap operas, and are not easily shocked, you may enjoy this book. My main complaints are that it is a bit long, and could have used more photographs.

That’s it for me. During this hot sticky heat wave, I hope you, my dear readers, can remain cool, calm and knitting onward.

Posted in knitting

Cast on Monday: Socks!

Moving on to smaller and better projects, let me introduce Elizabeth Zimmerman’s Woodsmans sock pattern. Here you see my cast on, accompanied by my evening libation. I am working my pair in a thinner yarn than what is called for in the pattern. It’s a Berroco blend called Vintage DK.

These skeins were purchased at Sunset Yarns in Madison, WI this past spring. I adore the softness, and have high hopes that the elements of acrylic and nylon will keep my socks from getting holey before their time.

EZ’s pattern was published in The Opinionated Knitter, and can also be had on a streaming DVD video with Zimmerman’s daughter Meg Swansen.

Ravelry: Woodsman’s Socks pattern by Elizabeth Zimmermann

The only variation I will be making to the pattern is to knit a 3 by 1 rib instead of the typical 2 by 2 version. I find this rib to be every bit as stretchy but it results in a smoother texture.

I’ve also started both socks, not exactly as the same time, but in tandem. While I haven’t perfected the magic loop technique, I have many no. 5 sock needles, and I purchased two skeins of yarn. The plan is to knit in sections: working each leg down to the heel flap, then work each heel flap, then turn each heel, etc. This could help me avoid single sock syndrome.

Leg

If I don’t have these finished by the time we leave for vacation in July, they will be a perfect travel project.

What’s on your needles today?

Posted in knitting

Sock Saga

This story may sound like whining, but it’s not my intent. It’s more like a true confession. You see a beautiful sock in this picture. The dirty truth is that it took me three tries to get this one sock knitted.

The yarn is a cashmere blend by KnitPicks which I acquired to make my husband a pair of luxury socks. Incredibly soft and delightful to work. I started knitting with great enthusiasm and high hopes.

Instead of using the tried and true Woodman’s sock pattern by EZ, I wanted to get “a little fancy”. So I chose an interesting – and free – pattern off the internet. It featured a sort of herringbone stitch on the cuff and instep which rolled beautifully around the foot.

Almost immediately I ran into trouble. The pattern was described as suitable for both women and men and was offered in four sizes. I started knitting the medium size but quickly discovered it was going to be too small. So I frogged it back. After measuring around the widest part of hubby’s foot, I cast on the largest size and tried again. It took me forever to knit to the end of the gusset.

The resulting sock was enormous. When tried on hubby’s foot, it draped itself loosely around his instep. Clearly I needed to start over – again. It was painful to frog it, especially as I had already spent a few weeks on the project. But I did. Afterward I trashed the fancy pattern.

Okay. Let’s start right. I went up a needle size and got gauge for a generic medium size men’s sock. Then I modified the Woodman’s sock pattern to suit a fingering weight yarn. Within a few days I was ready to try this on hubby again.

Perfect fit.

Elizabeth Zimmerman Woodman’s sock is written for worsted weight yarn. It was originally published in 1963 as a newsletter. Now you can find it in The Opinionated Knitter, published by Schoolhouse Press.

https://www.schoolhousepress.com/books.html

Posted in knitting

Notta Gloves

Trigger mittens, also know as trigger finger mittens, have been used by the American military since at least the Civil War. A clever combination of the warmth of mittens with the flexibility of gloves, these mittens have a separate index finger to allow soldiers to easily operate machinery in cold temperatures.

I made these mittens for my grandson, based on specifications from his mother. She had made him a pair similar to these, but he lost one. Since I don’t care for military associations, I have renamed this style the Notta Glove. The name is self-explanatory.

This basic pattern came from Victory Light on Ravelry. Her design needed adaptations to create the index finger but they were easily made. The original design can be found at https://www.ravelry.com/patterns/library/zen-little-fingers-and-toes-part-1-mittens

You start the normal way, with a 2×2 rib cuff in the main color. Next, with larger needles, begin the 2 x 2 stranded knitting with the 2nd color.

I inserted a thumb gusset at this point – not included in the original pattern.

Use waste yarn to set up for an Afterthought thumb – I worked it over nine stitches. Continue in pattern to the top of the palm, where you divide for the 2 finger compartments. I put the outer 2/3rds of stitches on waste yarn and worked the index finger with 1/3 of the stitches. Add 2 stitches where the front and back meet between the fingers.

Put the held stitches back on the needles, continue in pattern until you reach the tip of the middle finger, and decrease down to nine stitches in the usual manner for mittens. Put held thumb stitches back on needles and knit the thumb last.

The hardest thing in knitting mittens is getting the second to match the first.
It’s easy to give the OK sign in Notta gloves.

These Nottas are pretty neat and quite warm. I may make a pair for myself.

Posted in knitting

Finished Object – Passages cardigan

Despite the long gestation period, this cardigan came out pretty well. I went with silver buttons to add a little bling to this teal blue sweater.

And now if you will indulge me, I would like to share some tips on how to make a sweater that fits. These nuggets of learning were revealed to me the hard way – through many years of experience and the making of several ill-fitted sweaters.

1. Start with the right measurements. For a sweater, these include hip, bust, cross-back, neck to wrist, armhole depth, upper arm width, and length (shoulder to garment hem.) TIP: If you own a coat or sweater that fits you well, you can take these measurements from it. If you don’t, get a friend to measure you.

2. Consider ease. Different body areas require different amounts of ease. Also different styles and yarn weights require more or less ease – thick yarns should have more ease, thin yarns can have no ease, or even negative ease. You may want a lot of room in your hip area, but a close fit at your bust – or vice versa! For an average fit, allow 2 inches at bust and hips and at least 1 inch at upper arm. Then use the schematic of your pattern to choose the right width to match your measurements and desired ease. TIP: Never add ease to the cross-back measurement. This is the distance across your back at the top of your armpits. If your sweater is too loose here it will slide off your shoulders.

Photo shows the cross-back area.

3. Make a swatch. Or two or three. While EZ says to swatch in stockinette stitch, I like to swatch in the same stitch that I will be using for the garment. Always wet-block your swatch. I know, this seems like an extra step. But it’s important because certain yarns (superwash) and quite a few stitch patterns open up a lot with blocking. If you take your gauge from an unblocked swatch, your sweater will invariably end up too long and too wide.

4. If you are curvy, incorporate waist shaping. Adding a decrease section and then an increase section between hips and ribs eliminates bulkiness while making room for your breasts. You can also use short rows under the bust area to add more fabric where it is needed in the sweater front.

5. Block the finished pieces before assembling. It makes the sewing up much easier. For this sweater, I wet-blocked the body and sleeves. I then sewed the shoulder seams with back-stitch and the sleeve seams with mattress stitch. Next I knit on the button band. To set in the sleeves use yarn and back-stitch up from the underarm to the shoulder seam. Tie off yarn and sew up the other side.

I hope that you have found something of value in my long discourse. For those who are wondering, the pattern is called Passages from Knit-Picks.com and the yarn is Camino Alpaca Premium 6-ply from Bremont. It is a wool, alpaca and nylon blend.