Posted in quilting

SAHRR 2024 Border One: Grateful

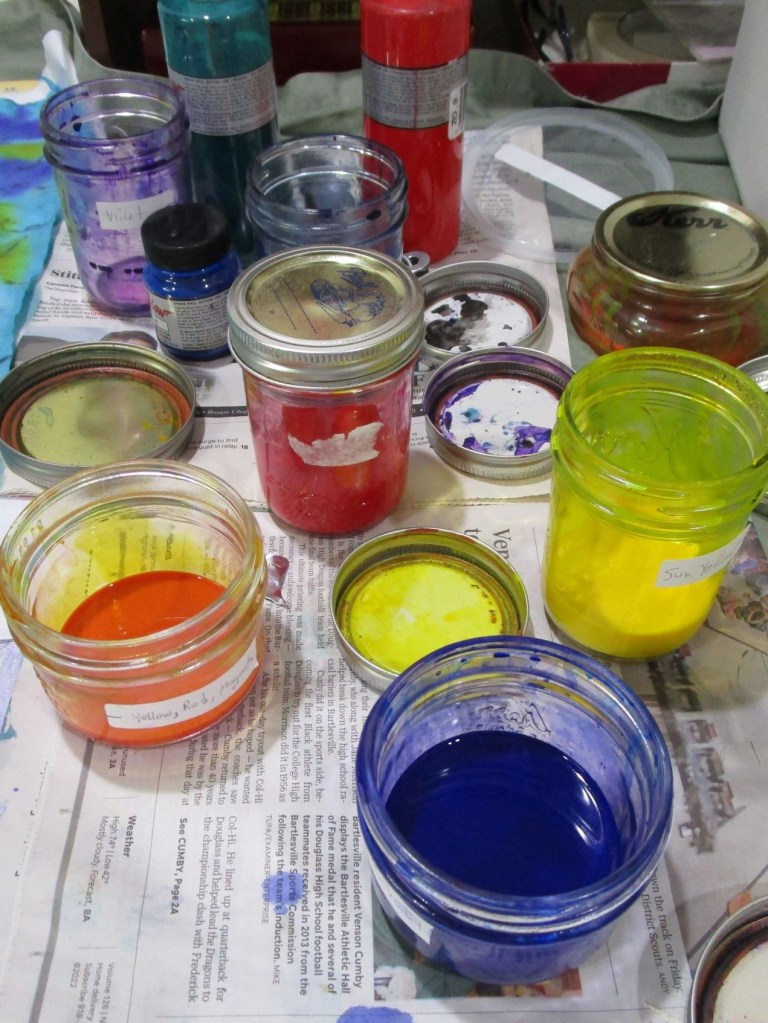
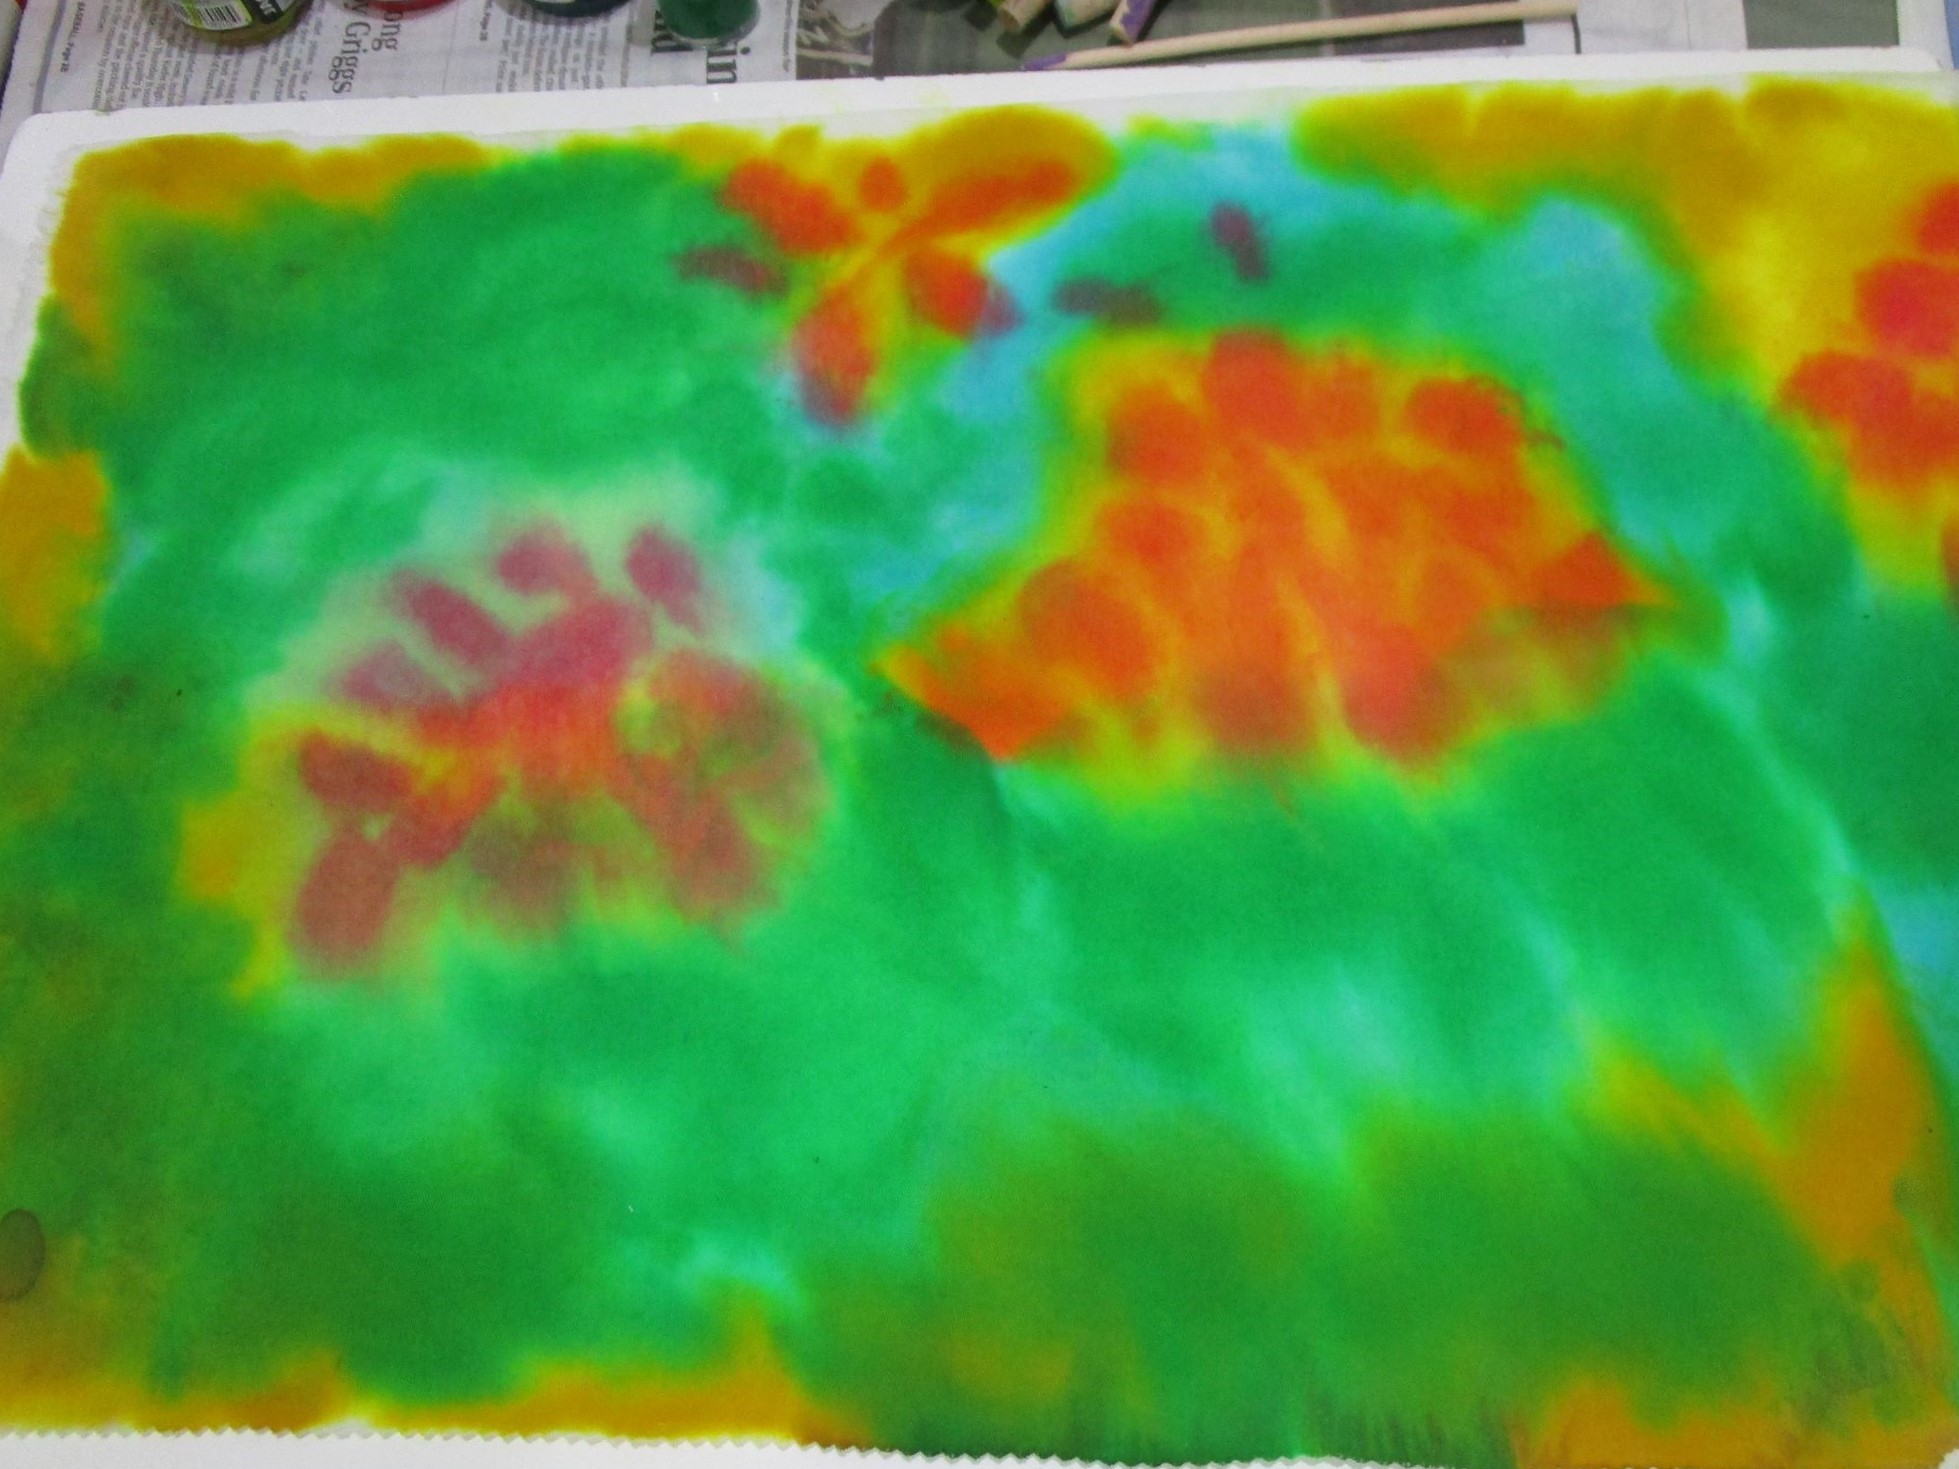
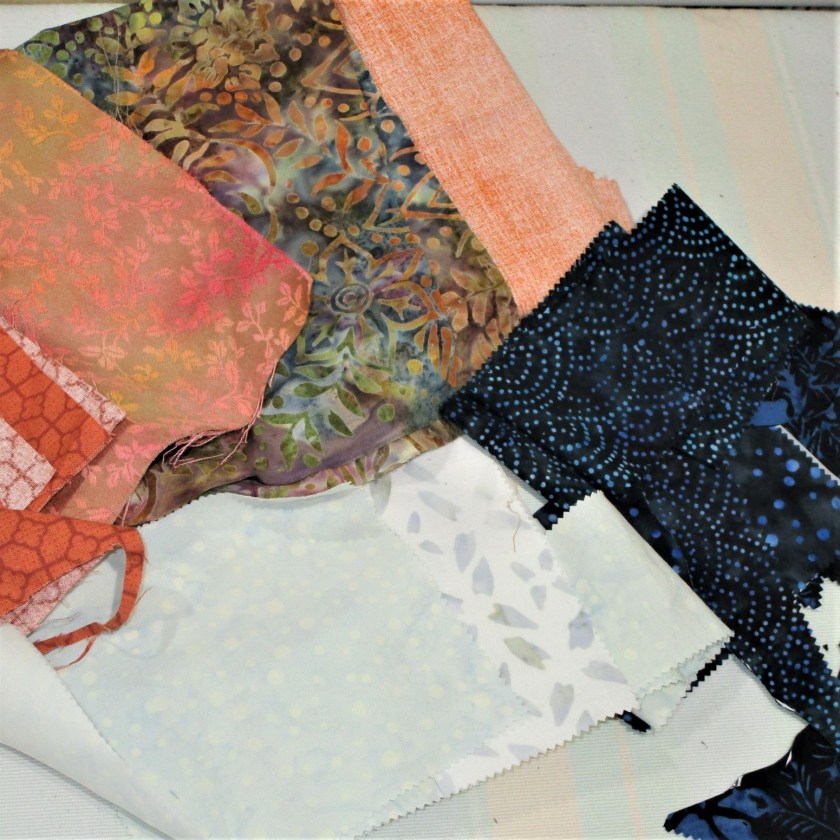
I’m grateful to Pieceful Wendy for choosing the signature block for the 1st round of this year’s Stay at Home Round Robin. I’m also grateful to myself for pre-planning this project instead of winging it each week. You see above some of the fabrics I have painted (along with a nice purple solid.)

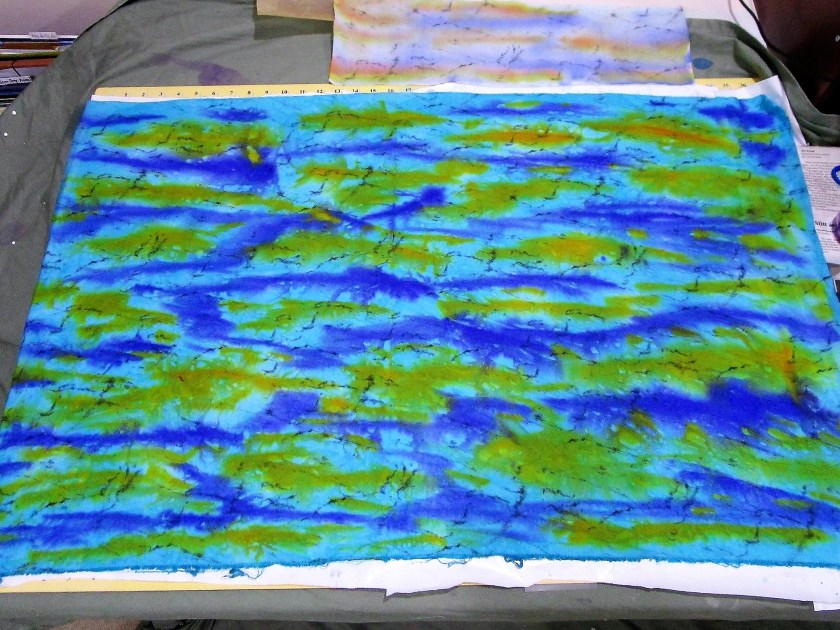
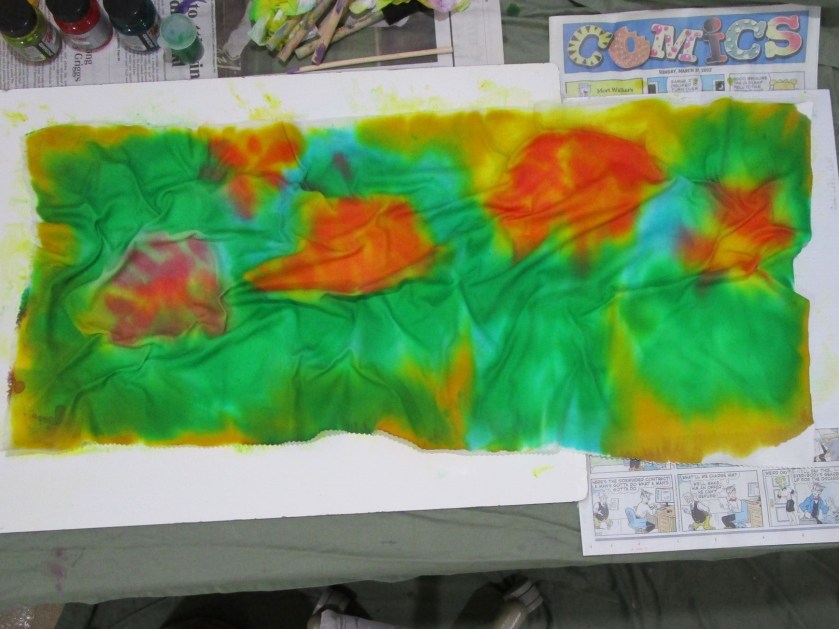
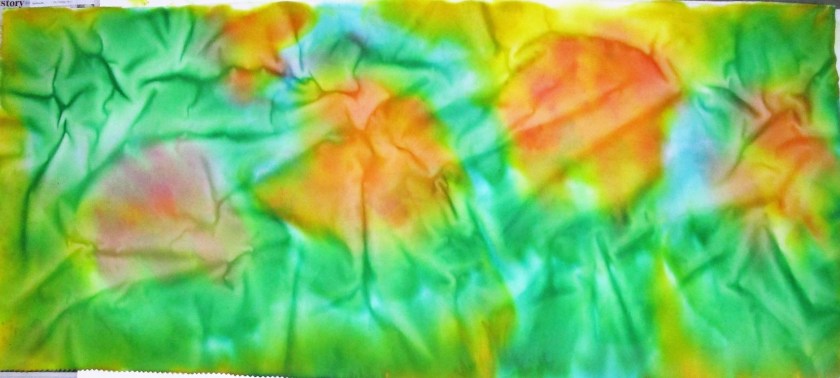
Here’s a few more that I painted. Most are commercially printed fabrics. I just added a few layers of color using Jacquard Dye-Na-Flo fabric paint.

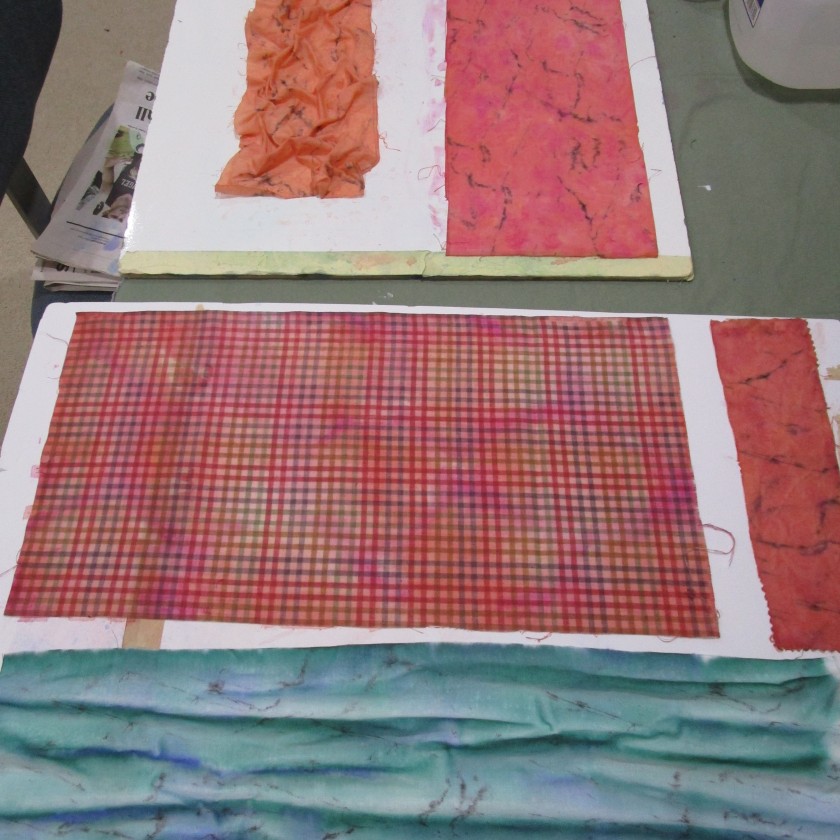
These will soon appear in my SAHRR quilt rounds.

Okay – fabrics are at the ready, time to sew.

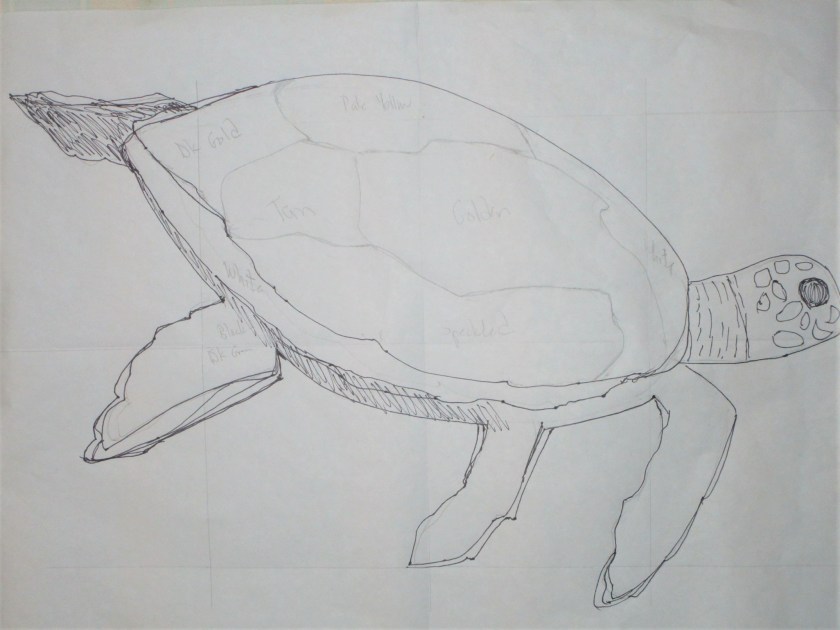
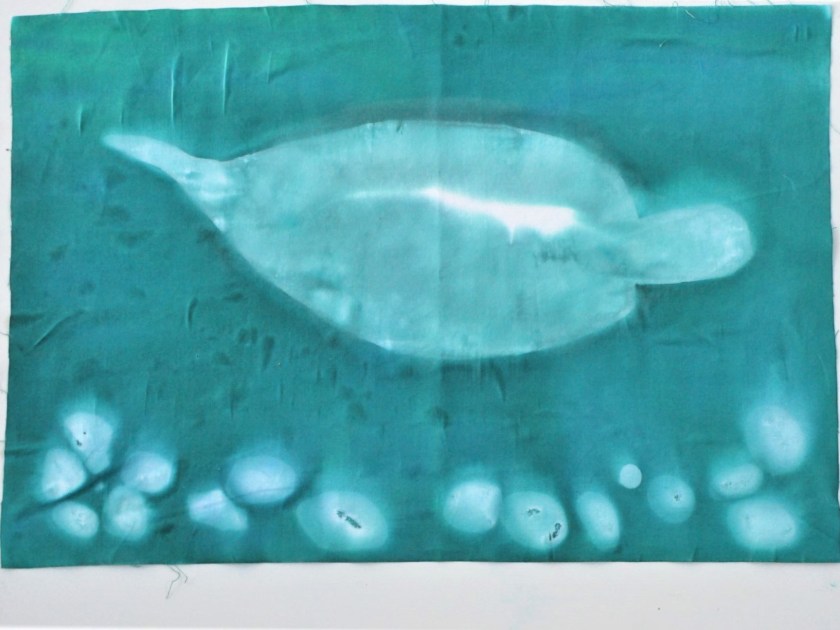
In reviewing my project map, I see that the colors purple and red are to dominate the first round, which will be attached to my center panel’s right and bottom sides. The right side will extend the trees of the panel into the border. The bottom will represent the forest fire. 

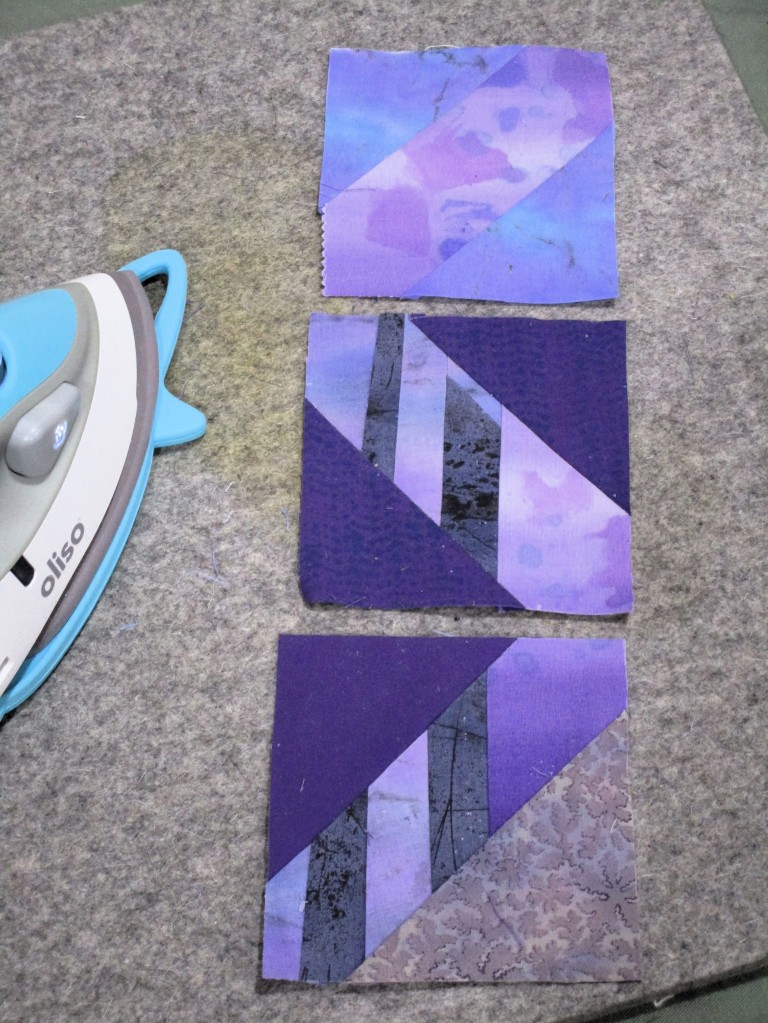
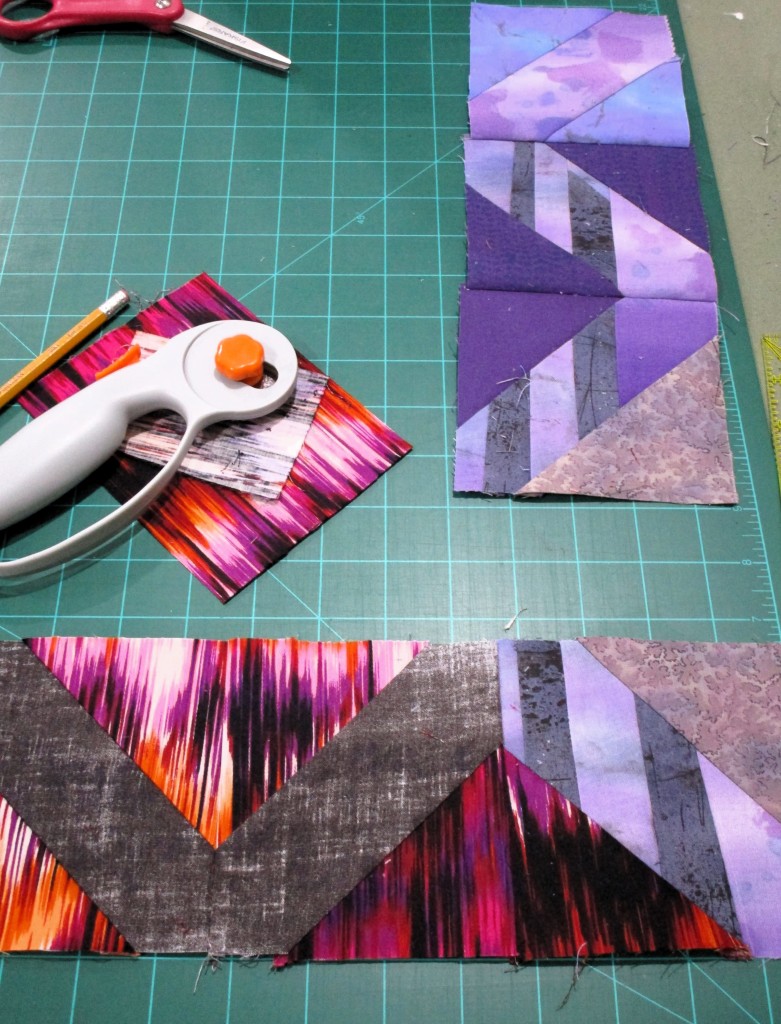
I started with the trees. They will go in the center strip of the signature blocks. I cut fabrics that looked tree-like and some smokey purple fabric and made a strip set. Then I cut some purple squares to use in the corners.

That’s the right side done. For the bottom, I got out some flame-like fabric that used to be part of a dress that no longer fit. It was cut up a few years ago and saved for just this moment. How fortunate for me.

Do you feel the heat yet?

After making a corner block that integrated the two sides, I sewed the blocks together.

Jan 29: After viewing a photograph of my work, I swapped out one of the fabrics in the corner block. Then I joined up the first round to the center panel. 

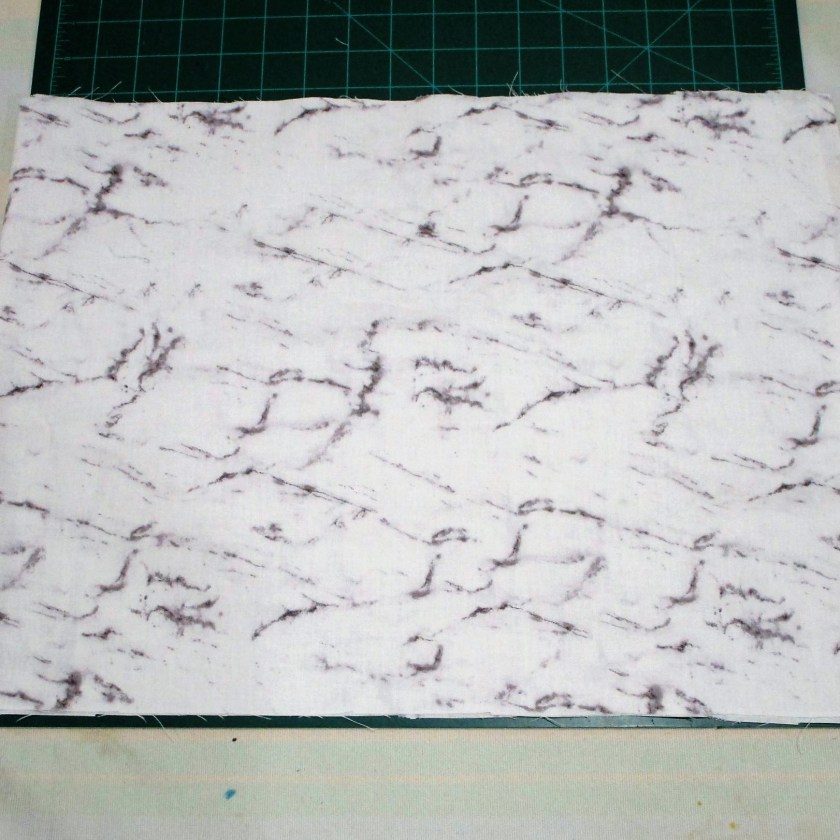
I also decided to use white fabric with a marble print as sashing around each group of blocks. SAHHR Round one is made of 4 inch finished blocks. My quilt is now 16″ and ready for the next round.

Be sure to check out all the SAHRR 2024 participants’ projects posted at the Linky party. You can find that HERE.

Posted in colorwork, painting

Painting the Quilt Backing

On Wednesday I got started with the backing fabric for the Badlands art quilt. It turned out even better than I had expected.

I started with a black-on-white cotton print, which imitates Carrera marble.

I was drawn to this fabric because it represents a stone product. The veining suggested to me the many cracks throughout the Badlands formations.

The first step was to achieve a consistent ground color by dipping the fabric into diluted blue-green paint. Squeezing out the excess, I smoothed the piece out onto a large piece of butcher paper. Then using the other paint I had mixed for the quilt front, I applied horizontals bands of color – orange first, then blue-purple. I let the piece sit and slightly dry before sprinkling on rock salt, also in horizontal bands.

AFTER APPLICATION OF PAINT, BEFORE DRYING.

I allowed the paint to dry almost completely before brushing off the salt.

The next morning, I hung it outside to get this photo:

It looks so dramatic, I’m wondering if it will be a waste to use it as a backing.

Earlier today I learned that the batiks I ordered for this project will arrive this afternoon. I can’t wait to see them.

Posted in colorwork, painting

Decorating the Patio – WIP

While rooting through the garage this week, I found this frame.

I decided that I could make a decor item for my patio, which also could hold various gardening implements on a row of hooks. But what I really wanted was to fill the opening with an abstract painting of geraniums. Something like this:

I picked up a remnant of solid white cotton twill. It seemed to be sturdy enough to stand up to outside conditions. After I washed and dried the fabric, I cut a piece approximately 3 inches wider and longer than the frame opening. Now the fun starts.

My fabric paint choices included green, emerald, red, and yellow. I mixed some violet into the yellow to make a gold color. After about twenty minutes of messing around I had a nice background painted.

To give a little variety to the patches of color, I scrunched up the fabric.

And here is my panel, fully dry and ready for further paint layers.

I’m excited by this result, and keen to work on this fiber object some more.

Posted in colorwork

Wednesday Color Experiments

While perusing Bethan Ash’s book on quilt collages, I suddenly realized something.

I have been experimenting with fabric paint on quilt cotton for the past two years. And yet I have never used the most basic of all paint techniques: Spatter!

I decided to remedy that omission today. First, I went to my fabric stash and picked up some muslin.

This most basic of all fabrics is lightweight and inexpensive. I cut a width of fabric piece, dividing into three rectangles to match the size of my work surface.

I decided on three color schemes: primary colors, secondary colors and artist’s choice option. For my spatter tools, I chose a 2 inch brush, 1 inch foam brushes and a toothbrush.

After pressing the muslin, I laid the first piece on my white board. Then I spritzed it lightly with water. Working from lightest to darkest shade, I dipped the brush into the paint and then shook, jiggled, and tapped it over the muslin until the drops reached all areas of the fabric.

Yellow, Red and Blue

Since it was a sunny day, I took the first one outside so it could dry quickly right on the board. Once dried, I moved on to the secondary colors.

Orange, Green, Violet

This is a very pretty combination.

For my last combination of colors, I chose magenta as the first color. I had purchased this paint recently and hadn’t even opened the jar. To accompany the magenta, I mixed the left-over violet with the left-over blue to get a cool purple. The third color will be black.

I like this sample the best.

You may be wondering how I plan to used these samples. Well…….I’m not exactly sure. But since I am pondering improvisational collage quilts today, odds are good that they will get fusible adhesive attached to them and cut up into smallish pieces.

Then I will play.

Posted in painting, quilting

Hello Turtle – Under the Sea Project

I have a bag full of fabric, sketches and some small quilt blocks that have been languishing in my closet for too long. The time has come to start working in earnest on this quilt. The tipping point came when I decided to organize the blocks around a medallion center. I chose this photograph as the feature image.

After making a sketch,

……. yesterday I grabbed my last piece of white fabric and painted it a sea green color with Dye-na-flow paint. I used a “mask’ and some stones on top of the fabric while it dried in the sun to reserve a turtle-like shape.

Now I can select some fabrics to applique on top of the base fabric. Here is a selection that will be used to make the sea turtle.

Oranges for the shell, blacks for the flippers and shadow areas. The white is for the head.

Once I get the shapes cut and fused to the base fabric, I will hand paint any needed details.

This is a short post. I’m keen to keep my momentum going. More details will be revealed soon.