I feel like I have been assembling four square blocks all summer long. I have sewn five sets of eight blocks, each set confined to one color in my analogous palette.
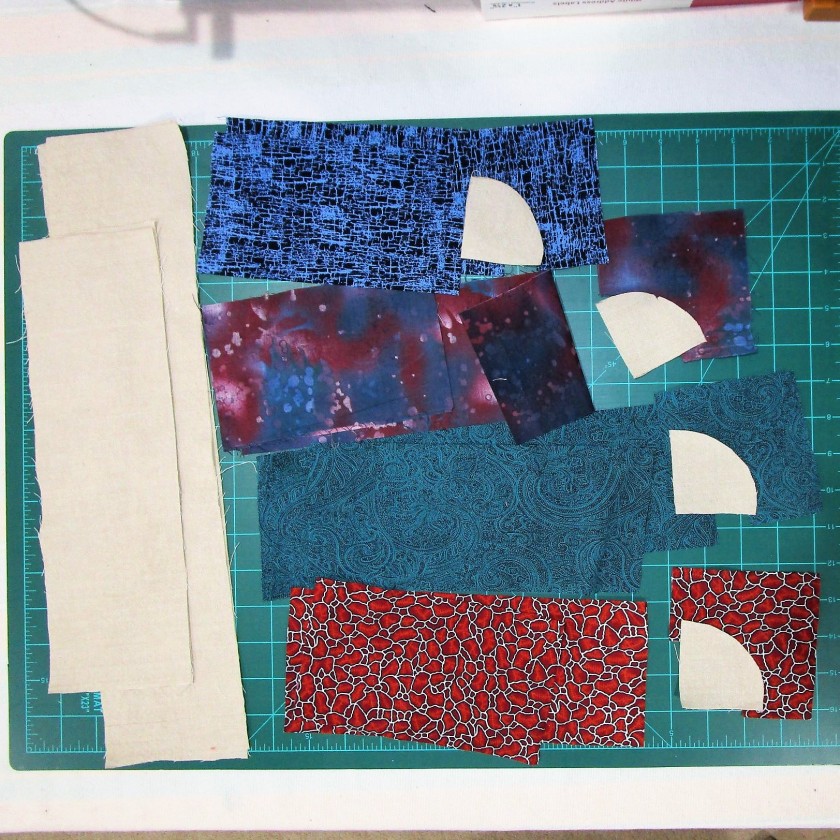
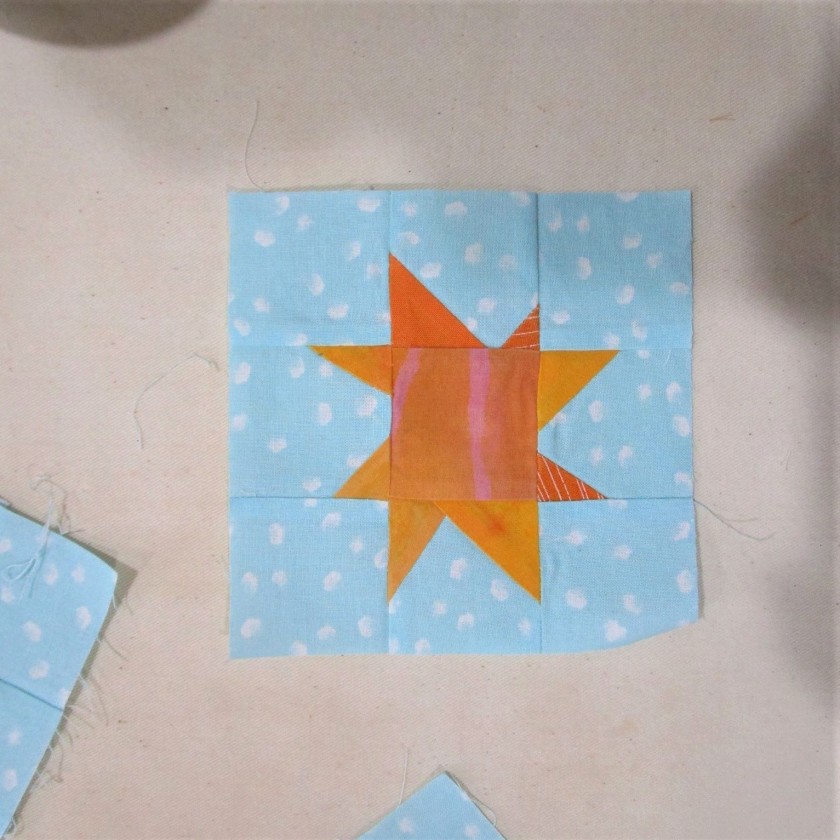
Finally, I am nearing the end of the block-building phase. There were two glitches that lengthened the time spent building blocks. Firstly, I ran out of scraps and couldn’t find the colors I needed at Hobby Lobby. This led me to adding color to my white or pale fabrics by painting them with Jacquard Dye-na-flow paint. I painted the featured 4 x 2 and 1/2 strips AND the 1 and 1/4 border strips to get the effects I was seeking. It was kind of fun, in a time-consuming sort of way.
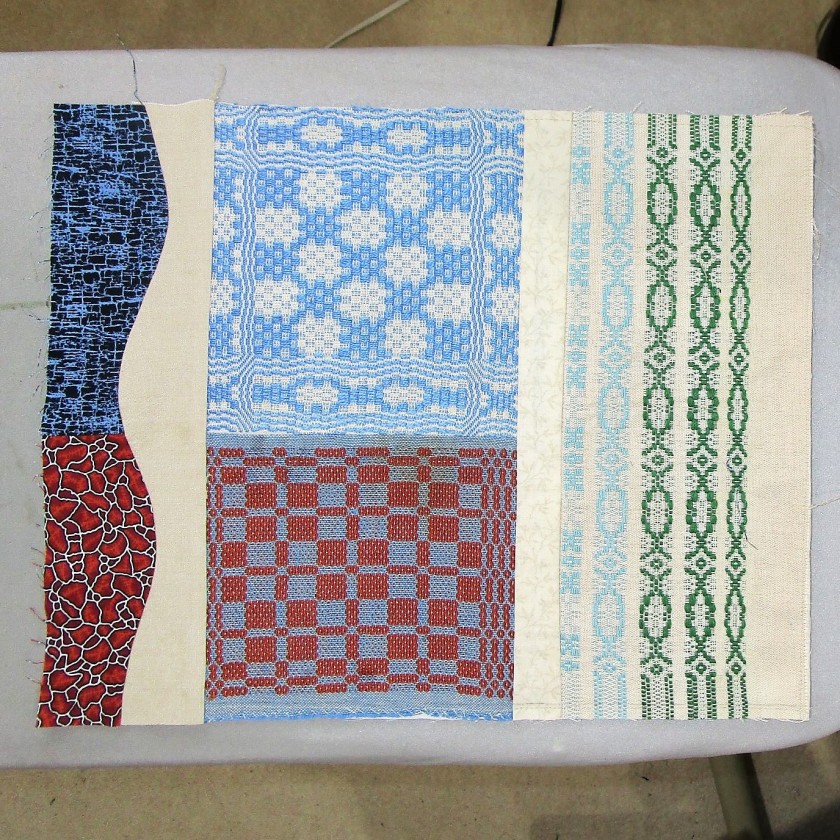
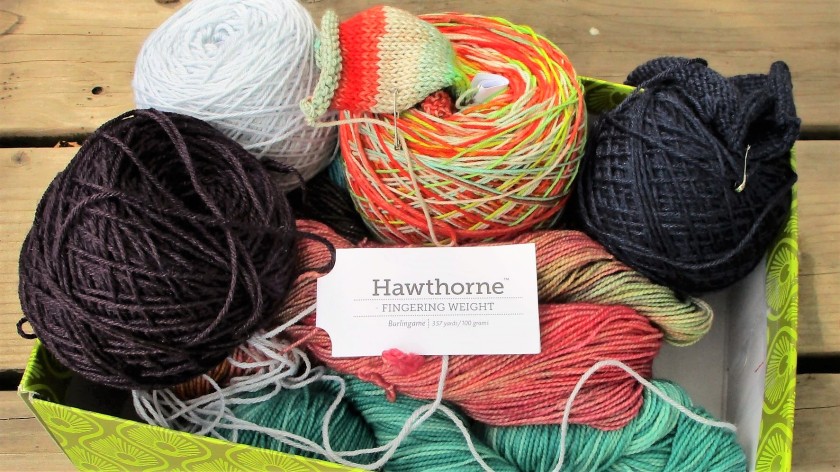
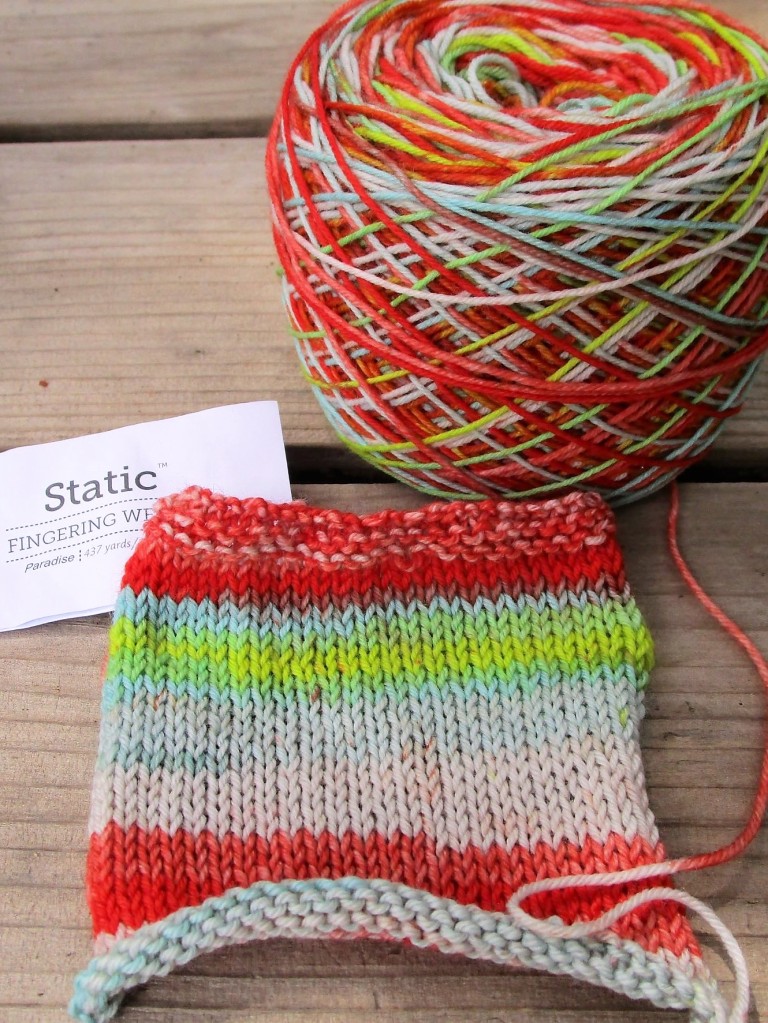
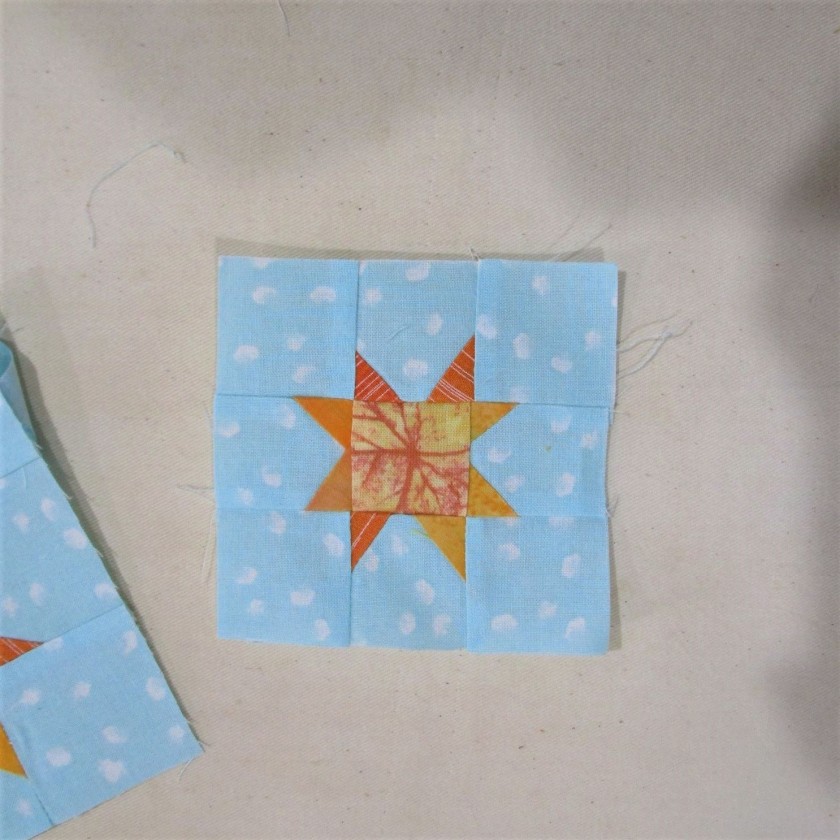
Here is a sampling of some painted strips/blocks in green hues.
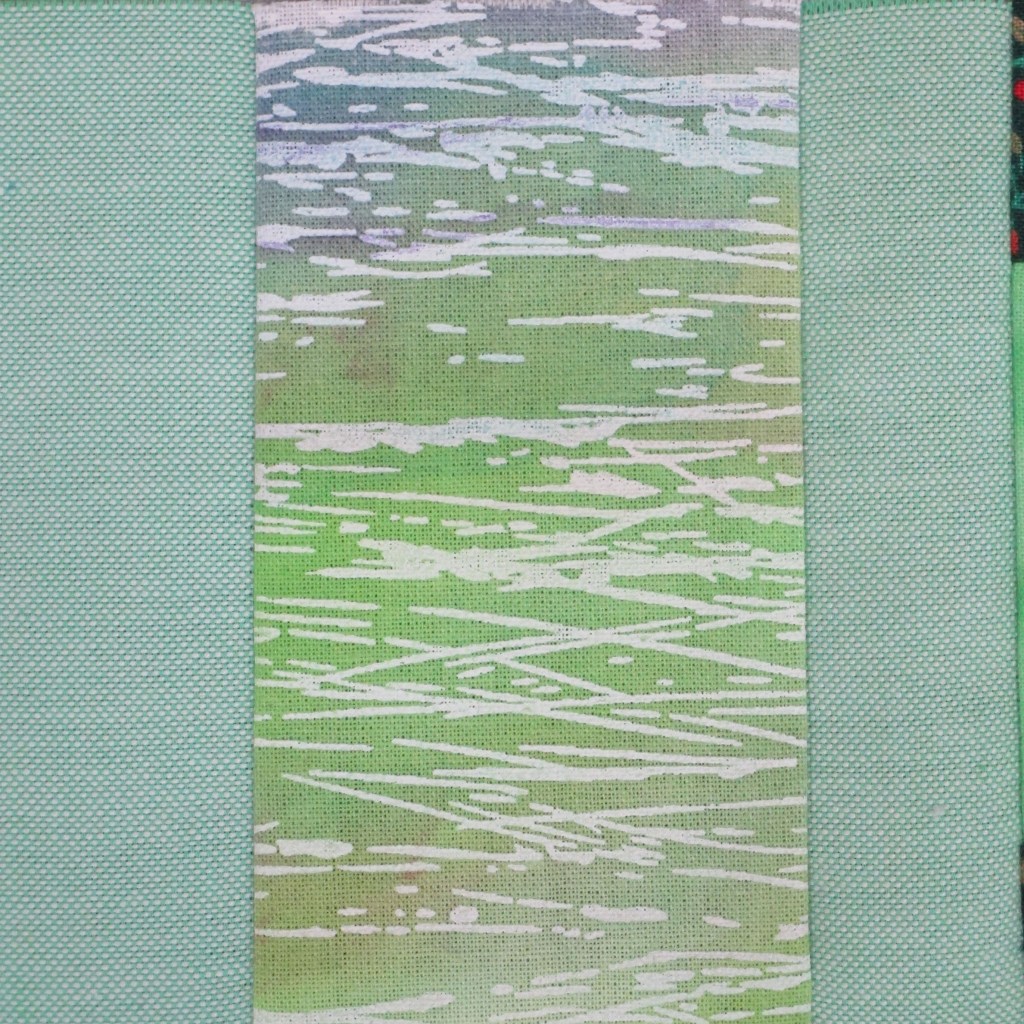
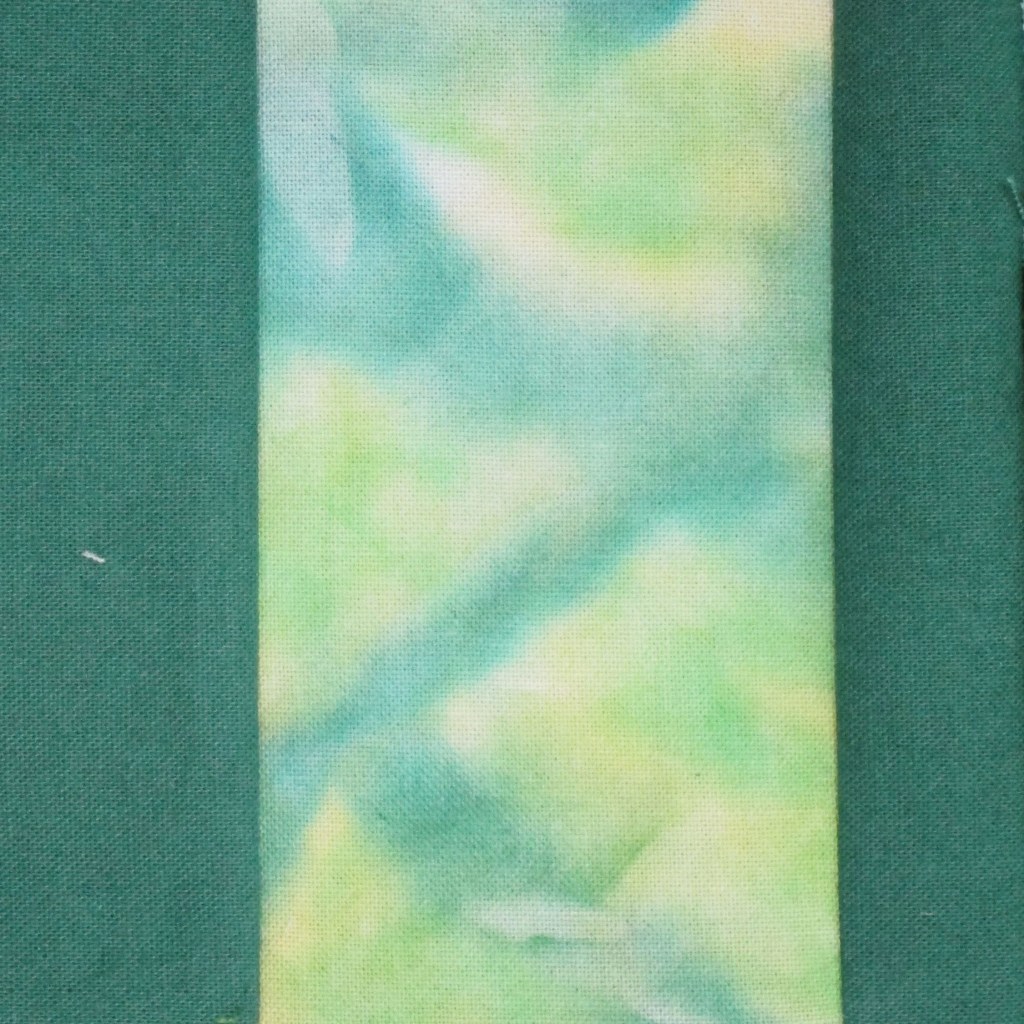
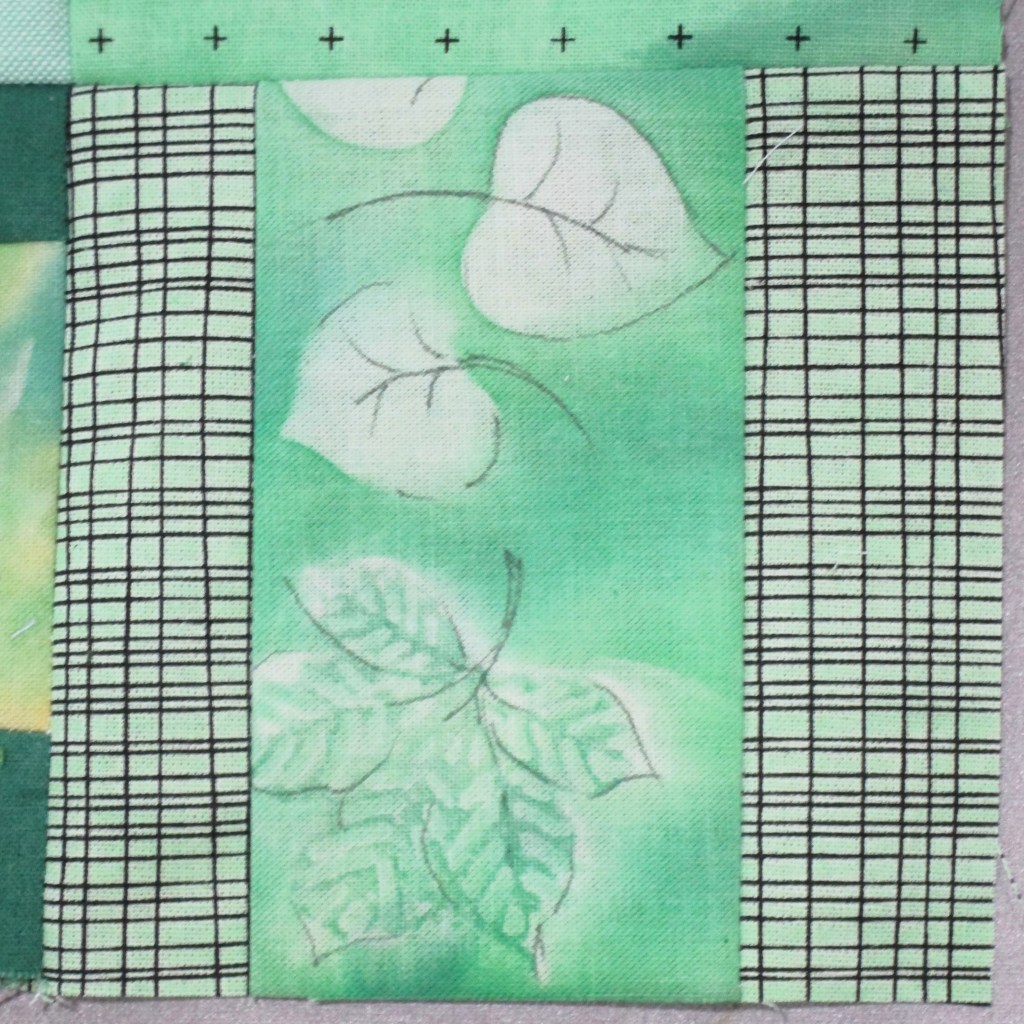

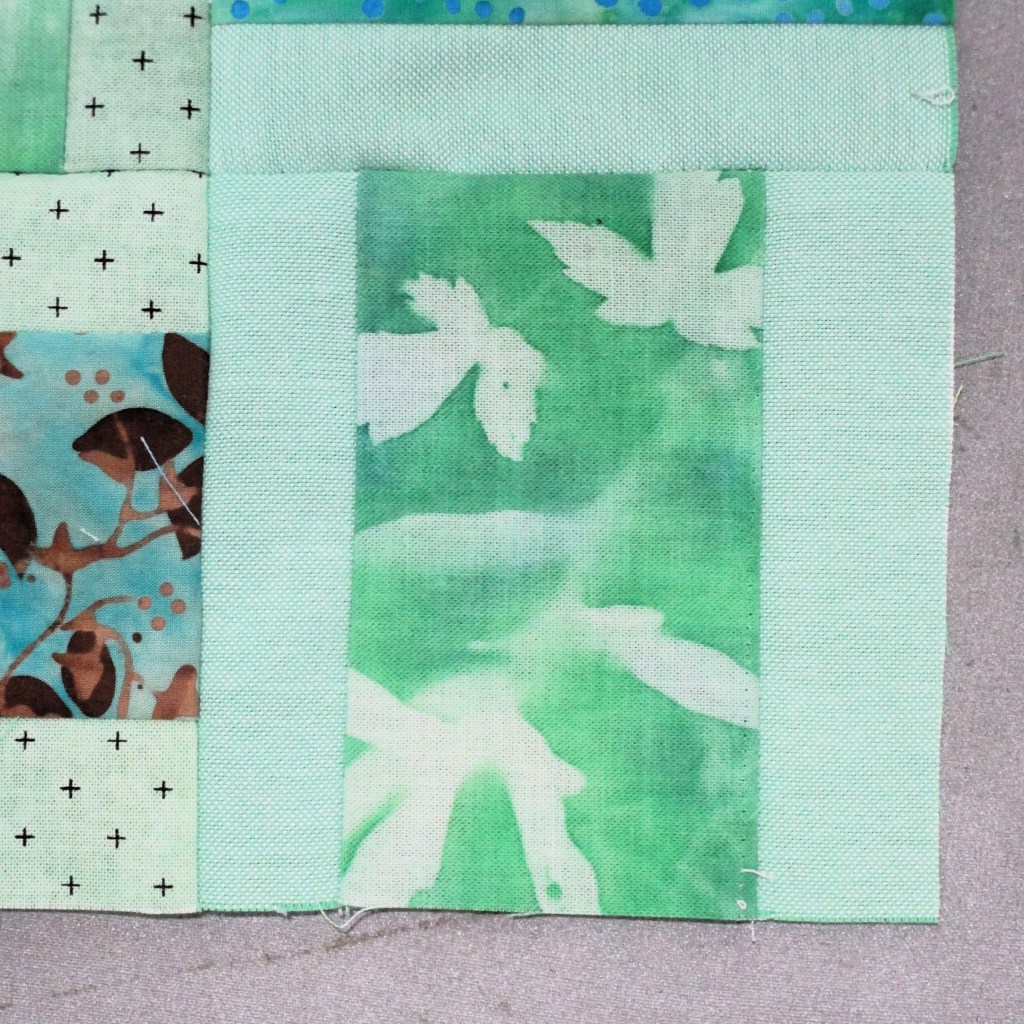
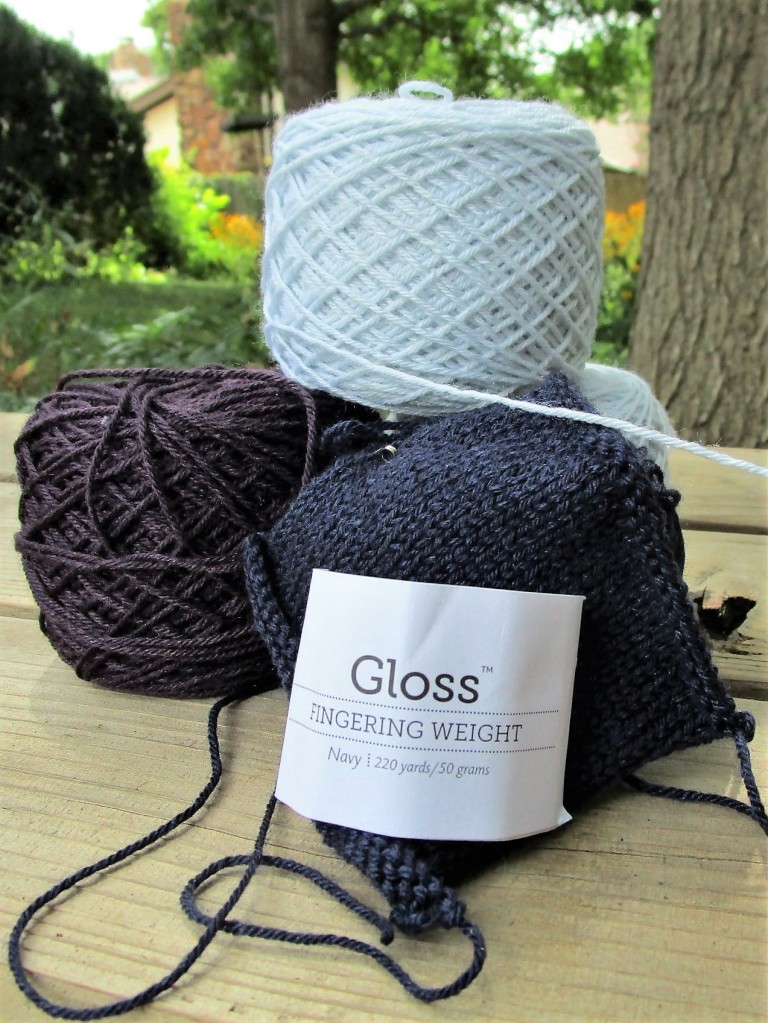
I ended up needing painted fabric in blue-violet, teal AND yellow green.
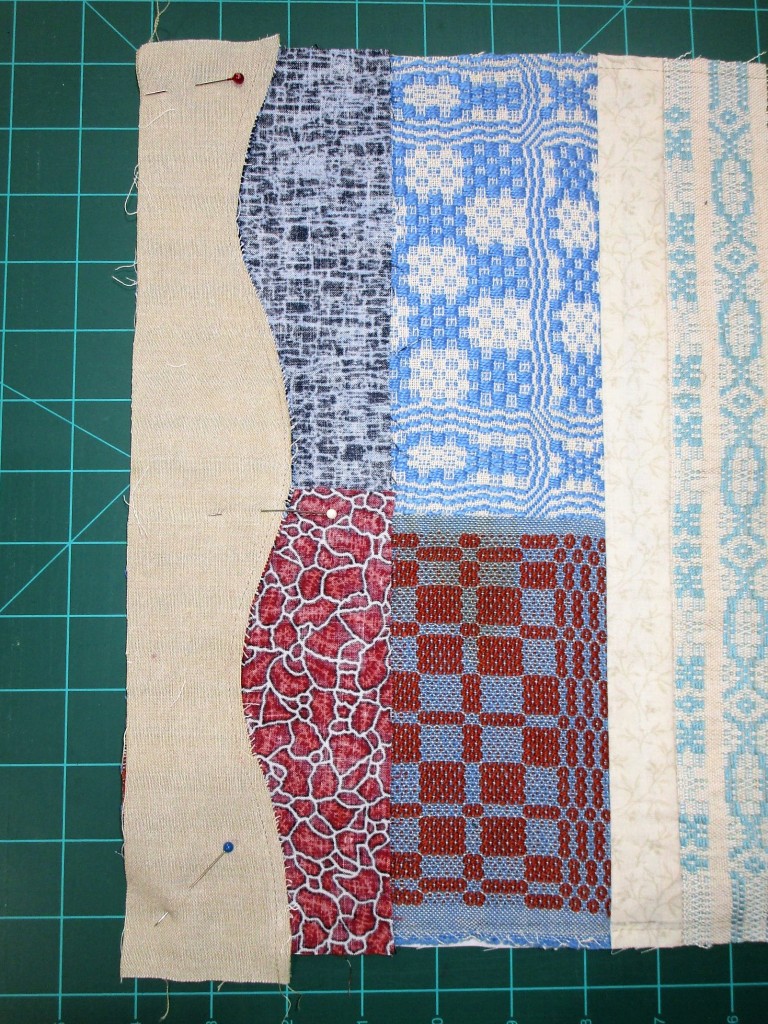
The second issue arose when laid out my blocks. I took an intense dislike to any block that had dark borders. To fix this, I cut apart many blocks and replaced the dark strips with light colored fabrics (mostly were created with paint on white fabric.)
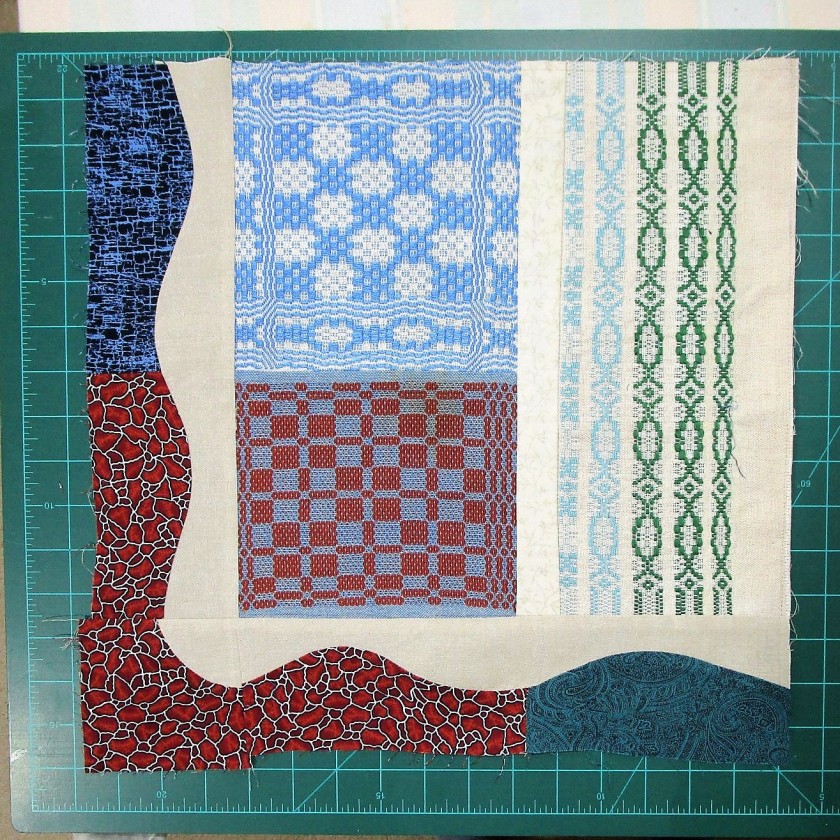
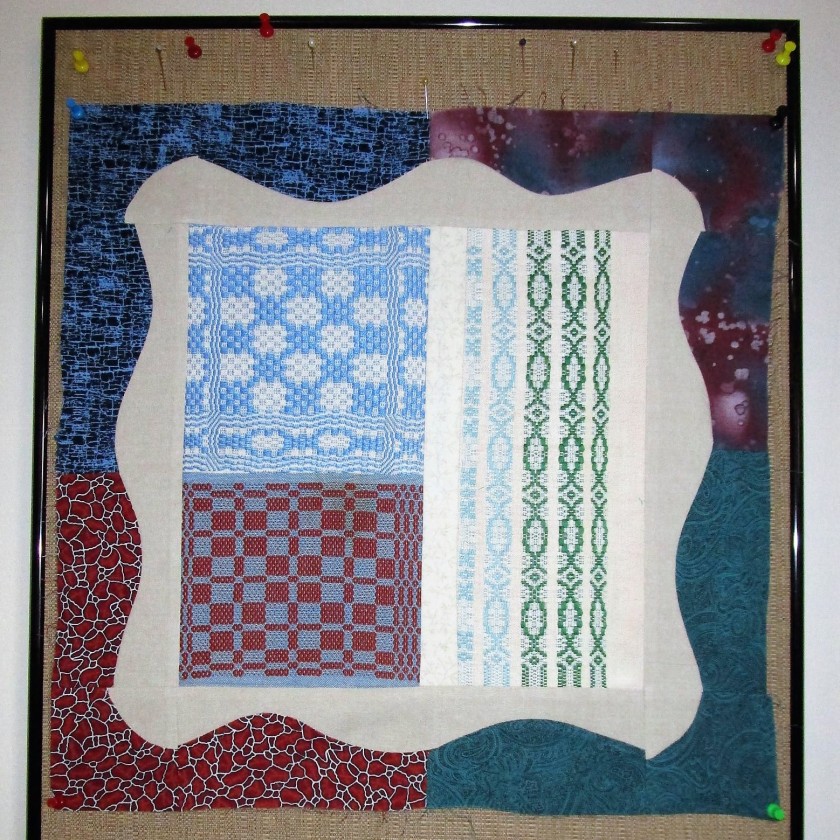
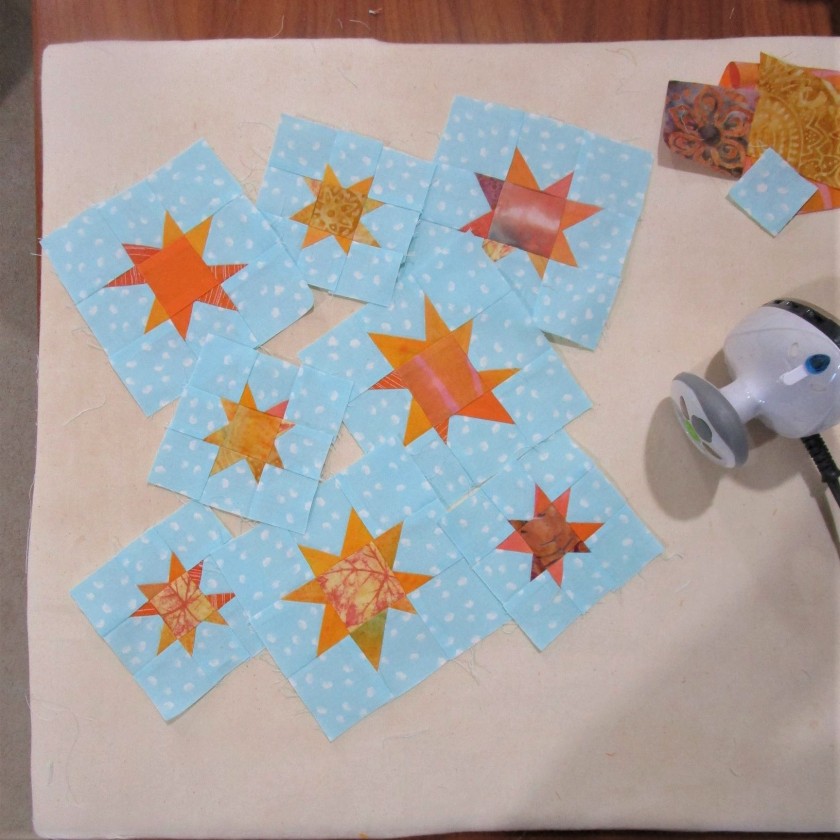
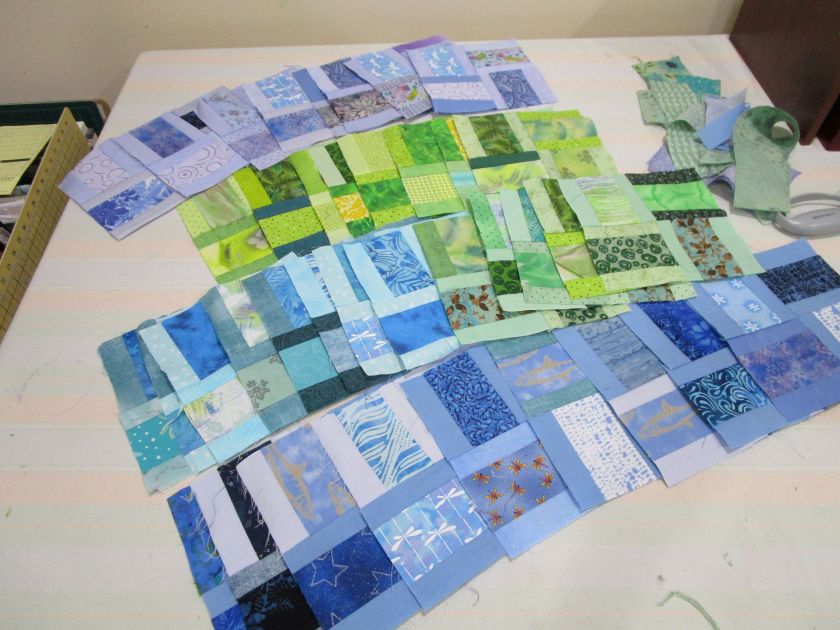
I now have enough blocks to form the five regions of my quilt. I have sewn a center block for each region using black fabric and hand-painted feature fabrics. To create some breathing room between my blocks, I made sashing with black fabric. Believing the black fabric was too boring, I cut the sashing randomly and inserted “sticks” of multi-hued batik fabric. Here is a the “blue-violet” region laid out and ready to sew.
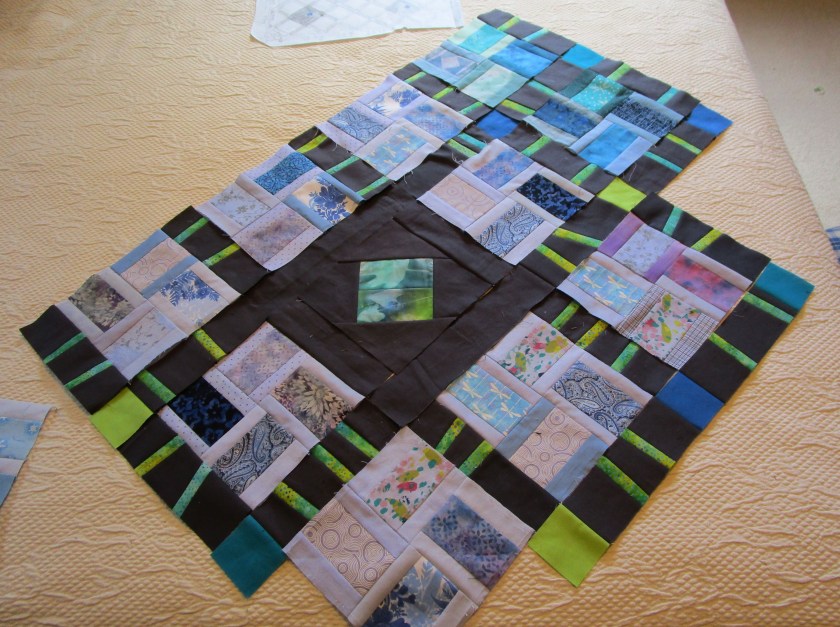
I’m excited to start assembling the quilt, but a little nervous that the pieces won’t fit together properly.