Posted in quilting

SAHRR #5 – The Stars Above Us

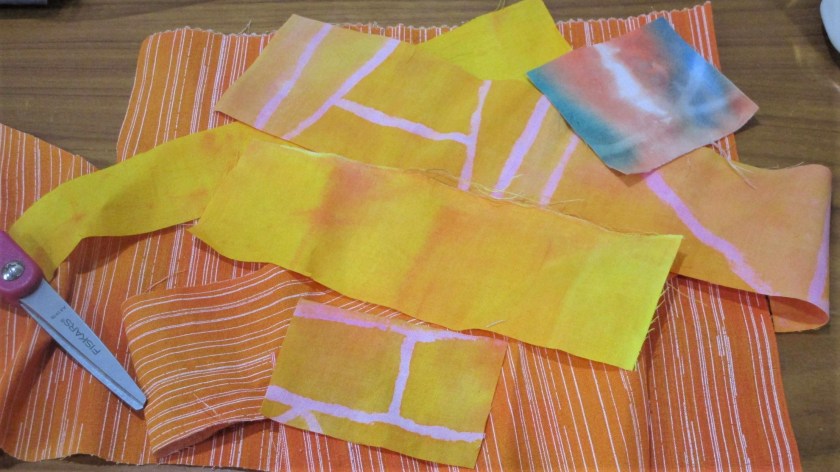
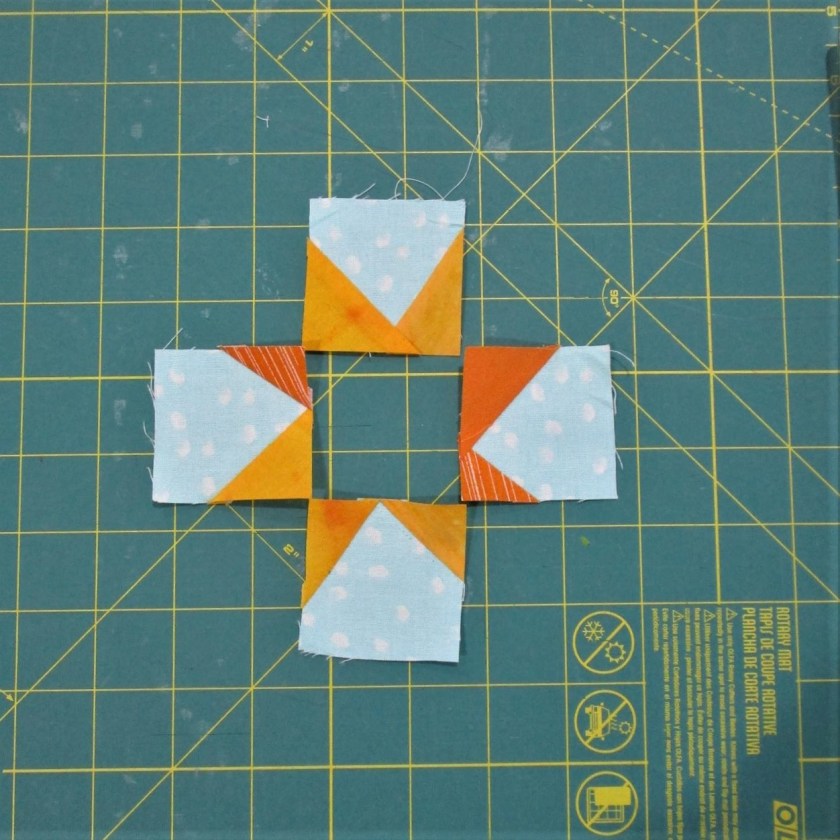
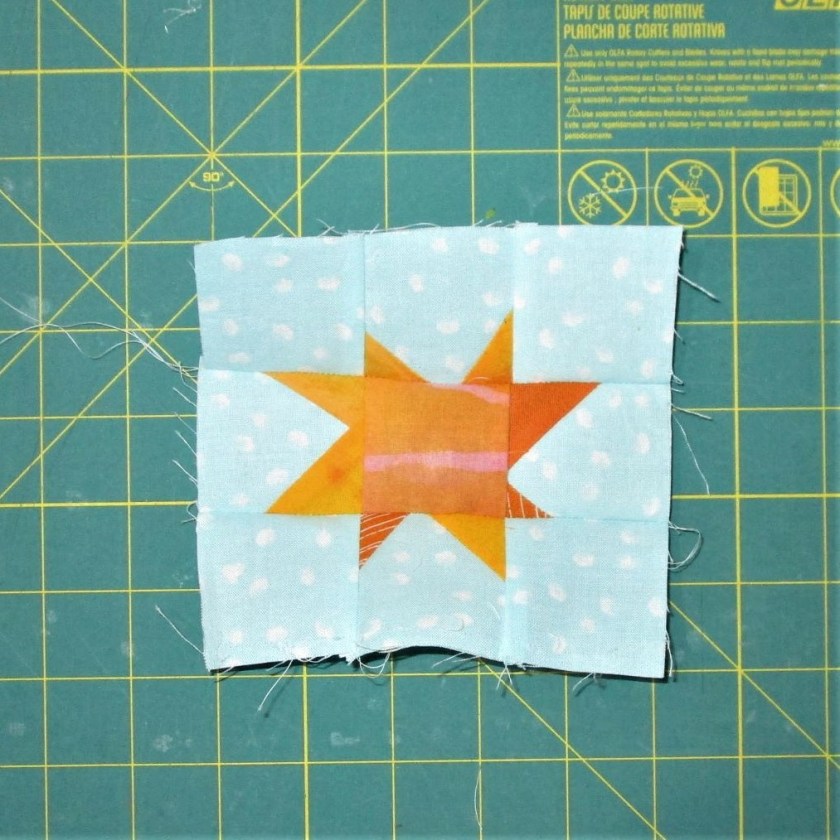
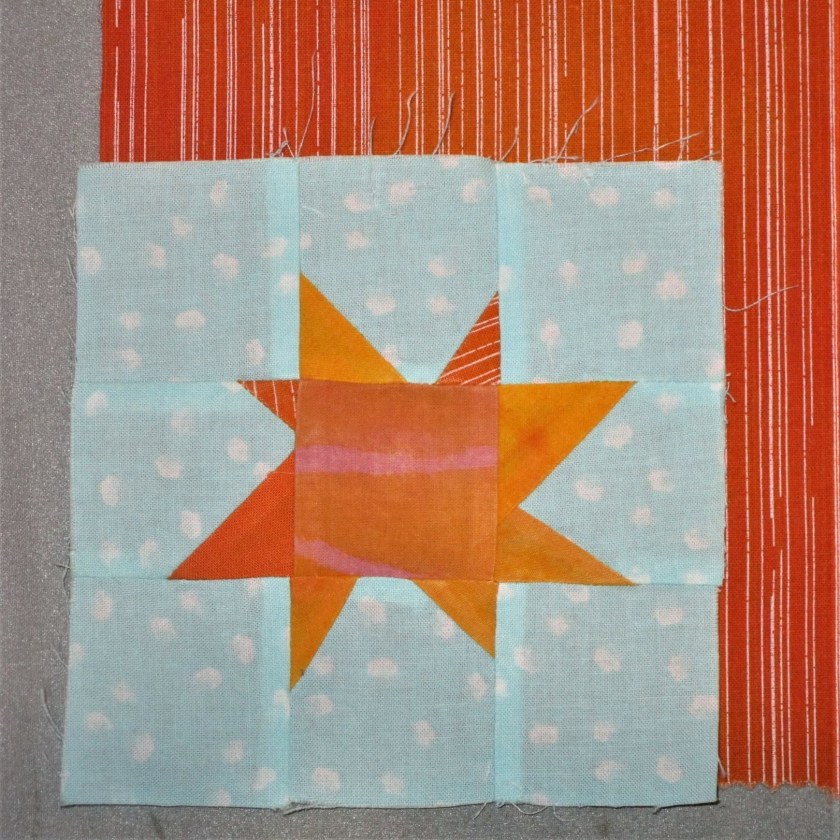
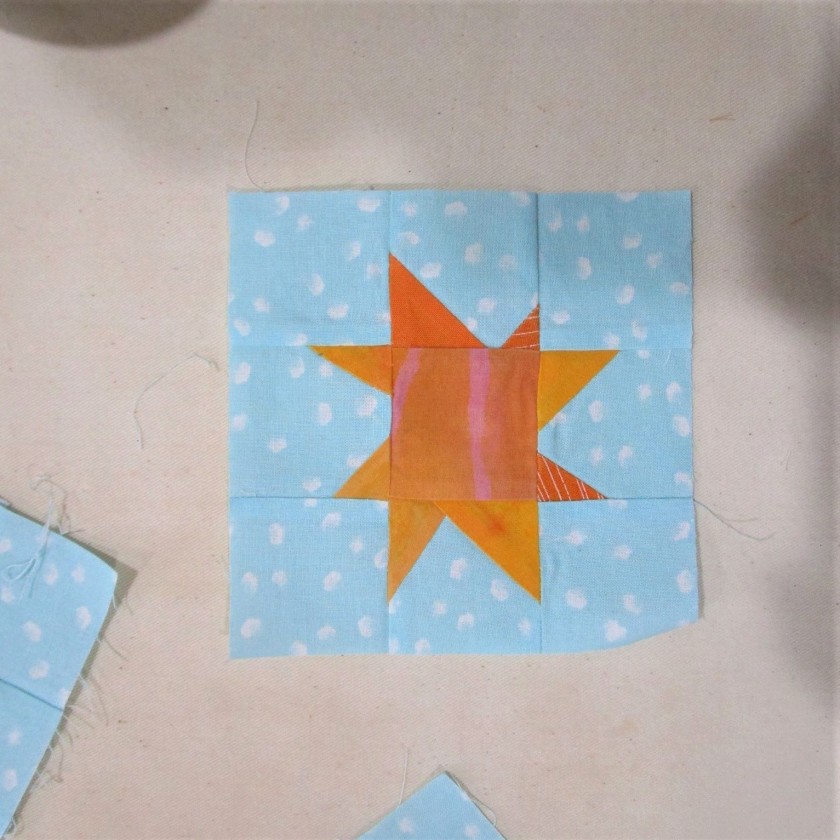
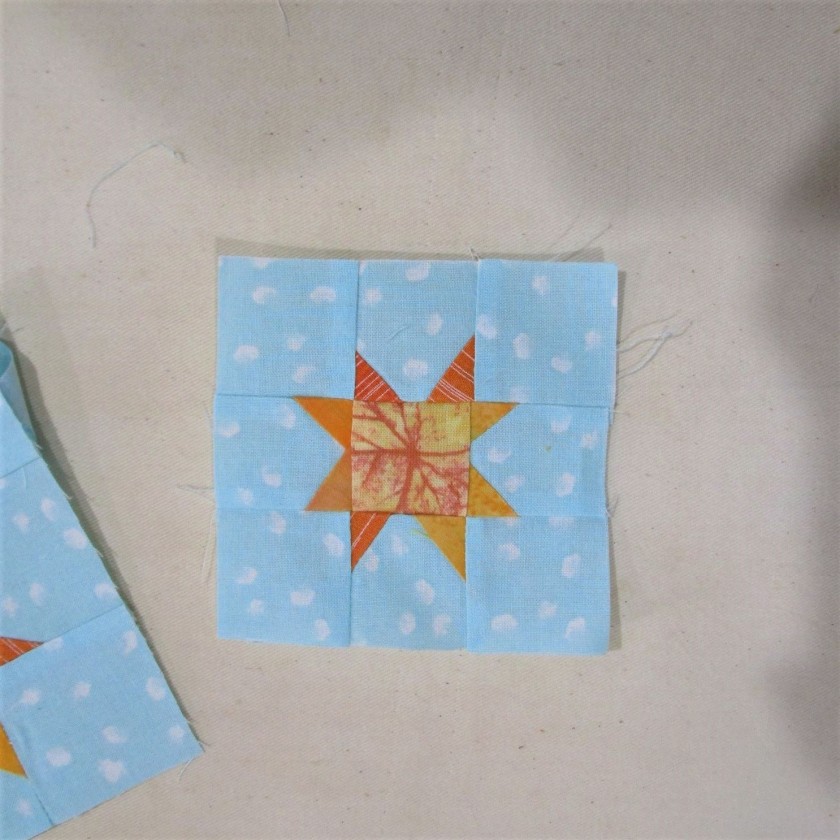
After putting in a few hours of sewing yesterday and today, I find that I have something to show for this round after all. First of all, here is my assortment of wonky stars.

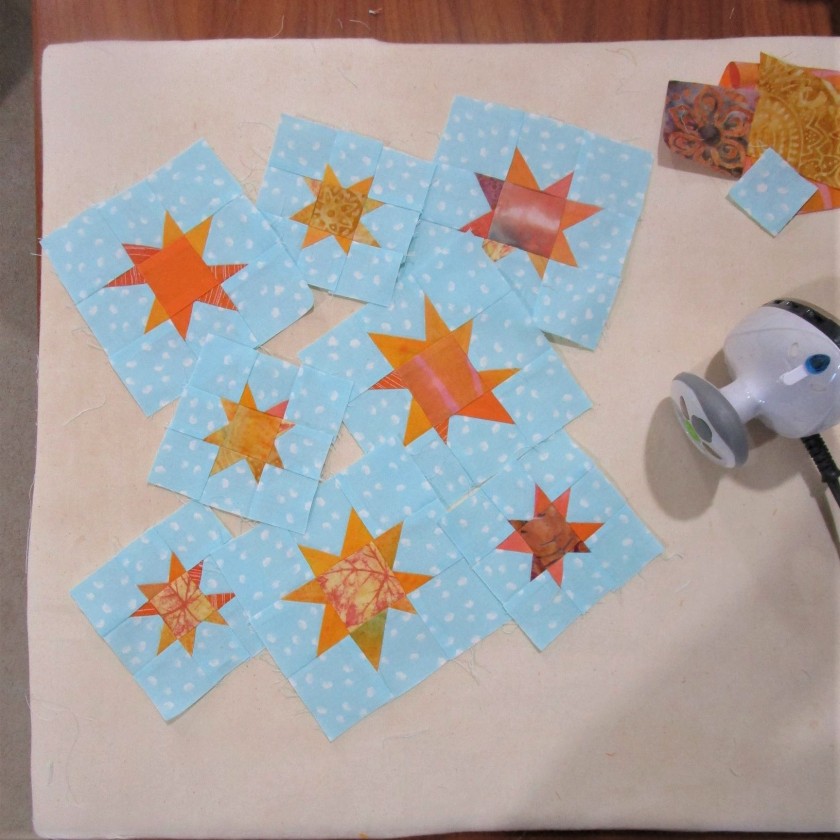
There are two sets of four – the smallest will finish out at 3 inches, the larger at about 4 1/2. While it took some patience to stitch on the tiny scraps of star points, I found myself enjoying the process. And in the end, they are so darned cute! I also made them fiery stars, in hot shades of yellow, orange and red. They jump right out from the pale blue background.

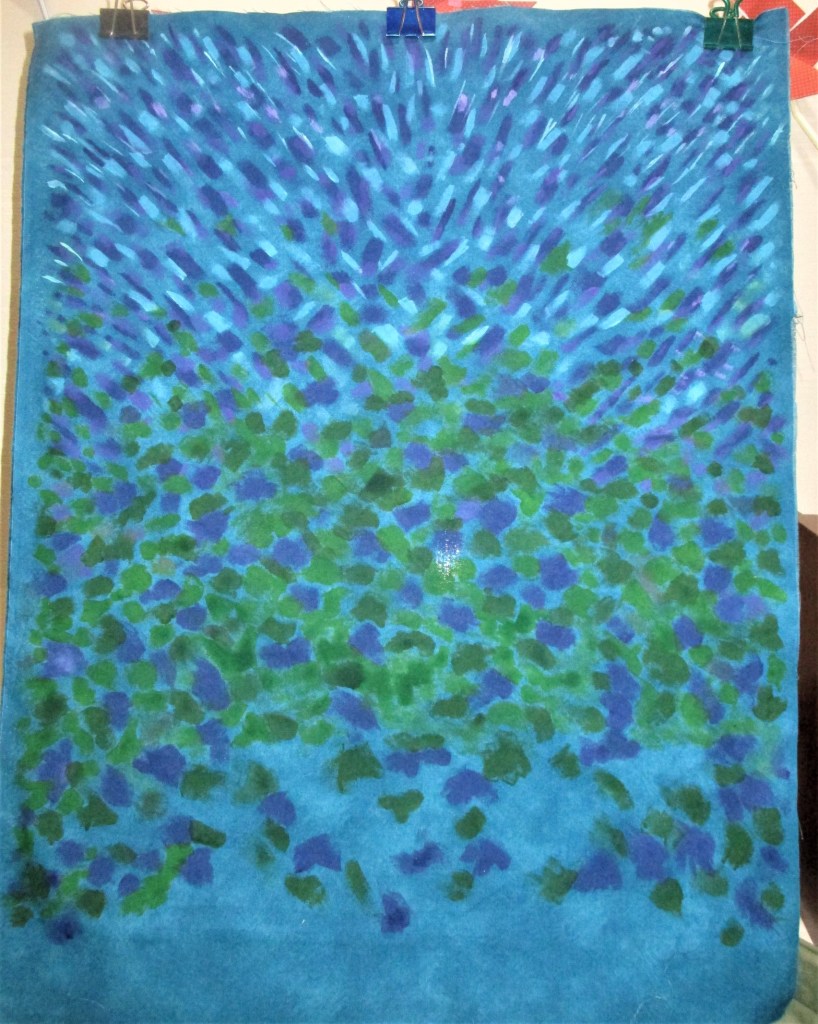
As I stitched along, though, I found my stars getting less and less wonky!

First Star
Last star

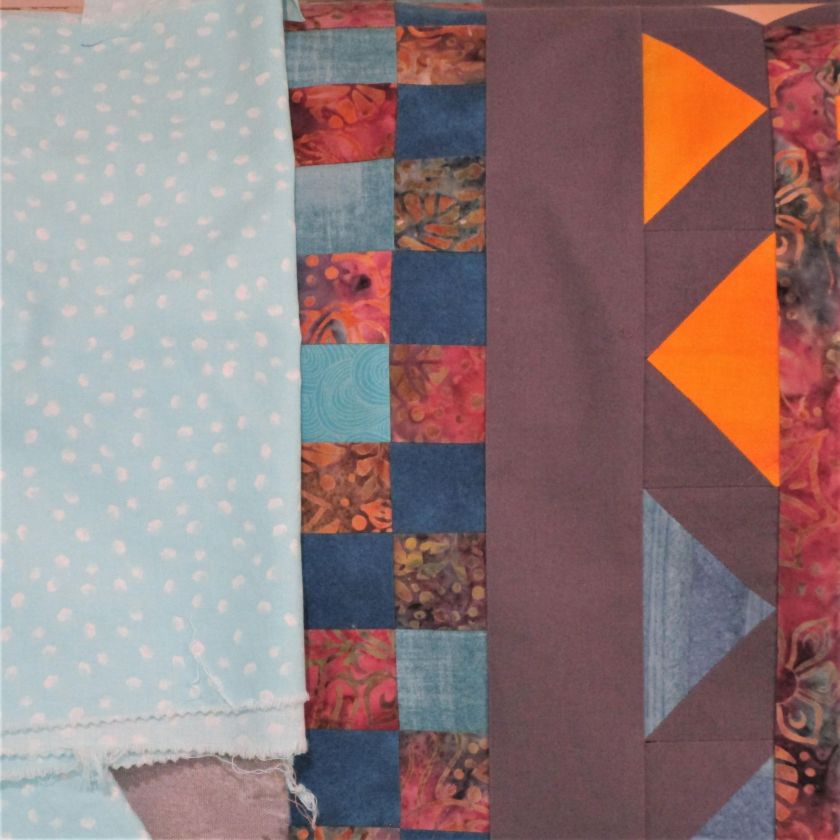
The blue border will be six inches wide. This will give the eye a good break from the dark and busy center of the quilt while allowing the stars to shimmer. Here are the assembled borders laid in place.

This project is so big, it is almost impossible to take a decent picture.

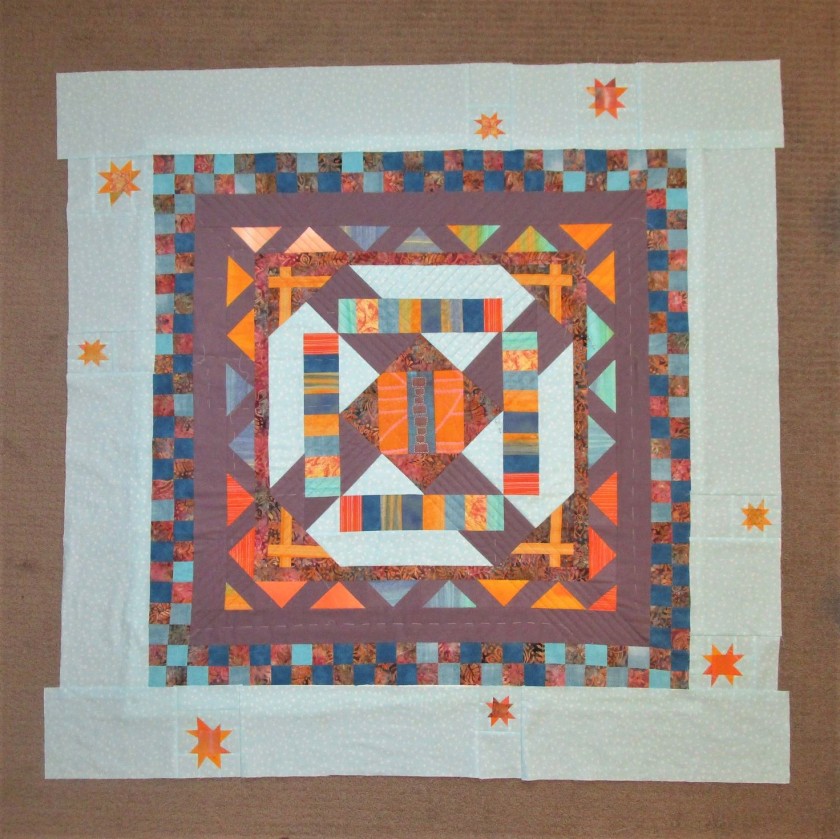
As you can see, the border is not attached yet. I am in the process of quilting the center body. My plan is to make separate quilt sandwiches for each border, attach them and then finish up the quilting by working around the edges. Or perhaps I will quilt them before sewing them on. Anyone have a recommendation for me on how best to manage this step?

If you would like to see the work of other quilters doing this challenge, follow these links:

Posted in quilting

Stay at Home Round Robin Challenge 5

Thinking about what I have done so far on the round robin quilt, I have concluded that the work needs some breathing room. A little space and lightness from the intense colors and diverse border designs will give the eye a place to rest. So for this challenge I had already decided to add a wider border of the light blue fabric.

Here you see the effect next to the checkerboard border.

I like that the light blue speaks to the blues in the checkerboard border while still providing much needed contrast in value. So I was pretty happy with the next prompt – Wonky Stars – suggested by pieceful quilter Wendy. Stay at Home Round Robin Border 5 – (piecefulthoughts.com)

First of all, I like everything improv. Wendy gave us a link to a wonky star tutorial, and I recognized the same technique I already knew and had used in my tropical fish blocks for Under the Sea.

https://www.berrybarndesigns.com/blog/wonky-star-tutorial

The pile of fabrics you see in my featured photo will form the substance of the stars. I will embed the stars at various places into the light blue border, which I expect to be at least 5 inches wide.

Today I got started.

Four blue patches with star points added
Central patch is one of my painted fabrics. The patches are sewn together in the photo
Wonky Star all sewn and pressed.

The first star is finished. Tomorrow I will start early and work in earnest to complete the round.

Posted in collage, quilting

Sunflower Fiber Object Progress Report

For the past three days I have been working steadily on the small art quilt that was inspired by the sunflowers in my garden and influenced by Vincent Van Gogh. I’m about half way through. Today I want to share a bit about the process I am using.

While the technique I have chosen to use is applique, the design process for most art quilts is similar. Start with an image. I used a photograph, but drawings are also good choices. Decide on size and dimension. Then enlarge the image to fit.

This enlargement is about 18 x 24. I have printed it in black and white because eliminating the color makes it much easier for me to judge relative values.

Using a tracing paper overlay, trace the image. During this stage many design decisions are made. You want to eliminate any visual clutter that doesn’t support the overall design. You can manipulate the different elements to strengthen your main thesis. For example, I altered the position of one flower and the tilt of the stems to accentuate the diagonal lines. It took me a long time to draw the pattern but I enjoyed the process.

Final Design

This pattern will be the map from which the entire assembly is guided. I drew in some directional lines that suggest details for painting on later. You see that I assigned numbers to every element. This will help me trace and cut out all the pattern parts.

Detail of sunflower in upper right of pattern

Now the part that every quilter just adores: Choosing colors and fabrics! Since I am a budding painter, I made a quick color chart in water color paint.

I’m trying to use an analogous color scheme. But my parameters are pretty wide, extending from violet through to yellow-orange. For this quilt I will assign the darkest colors to the background and the lighter ones to the elements .

Even though I did go shopping, in the end I chose fabrics mostly from my stash.

Next I traced each element onto freezer paper, cut them apart and pressed them onto the fabrics. Following the drawn lines, I cut out each pattern piece. Keeping them organized and up off the floor is the main challenge!

In my last post, you saw how I painted the background fabric. Here is the background again, up on my design wall and ready to accept the fabric appliques.

I use a fusible webbing called Wonder Under to glue the appliques to the background. I won’t go into detail on that step. The product’s packaging tells you what to do.

First I assembled the flowers, each of which had several fabrics. Once that was done I started attaching appliques to the background. Any pieces that lie behind another piece go down first. I started from the top. Here is a photo with about half the appliques on:

Here you see all of the flowers and leaves attached. This is where I left it yesterday.

I’m pleased with the result. I like it so well I may not even attach the fence applique – just let the flowers float in mid air. What do you think?