Posted in quilting

2023 SAHRR Round 3 – Hourglass Block

This week Chris Knits and Sews is choosing the block and providing the linky party for quilting participants to post their work in the annual round robin challenge.

https://wordpress.com/read/feeds/32776/posts/4536905279

I approached this round with a plan to give some rest for the eye from the colorful center. Here is my quilt at the end of the last round.

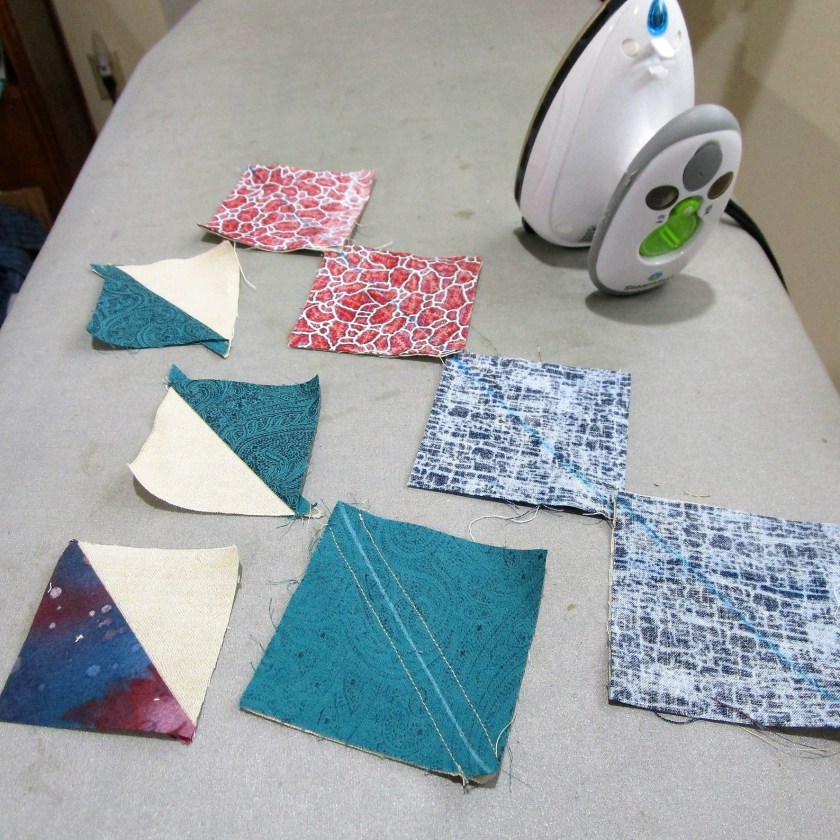
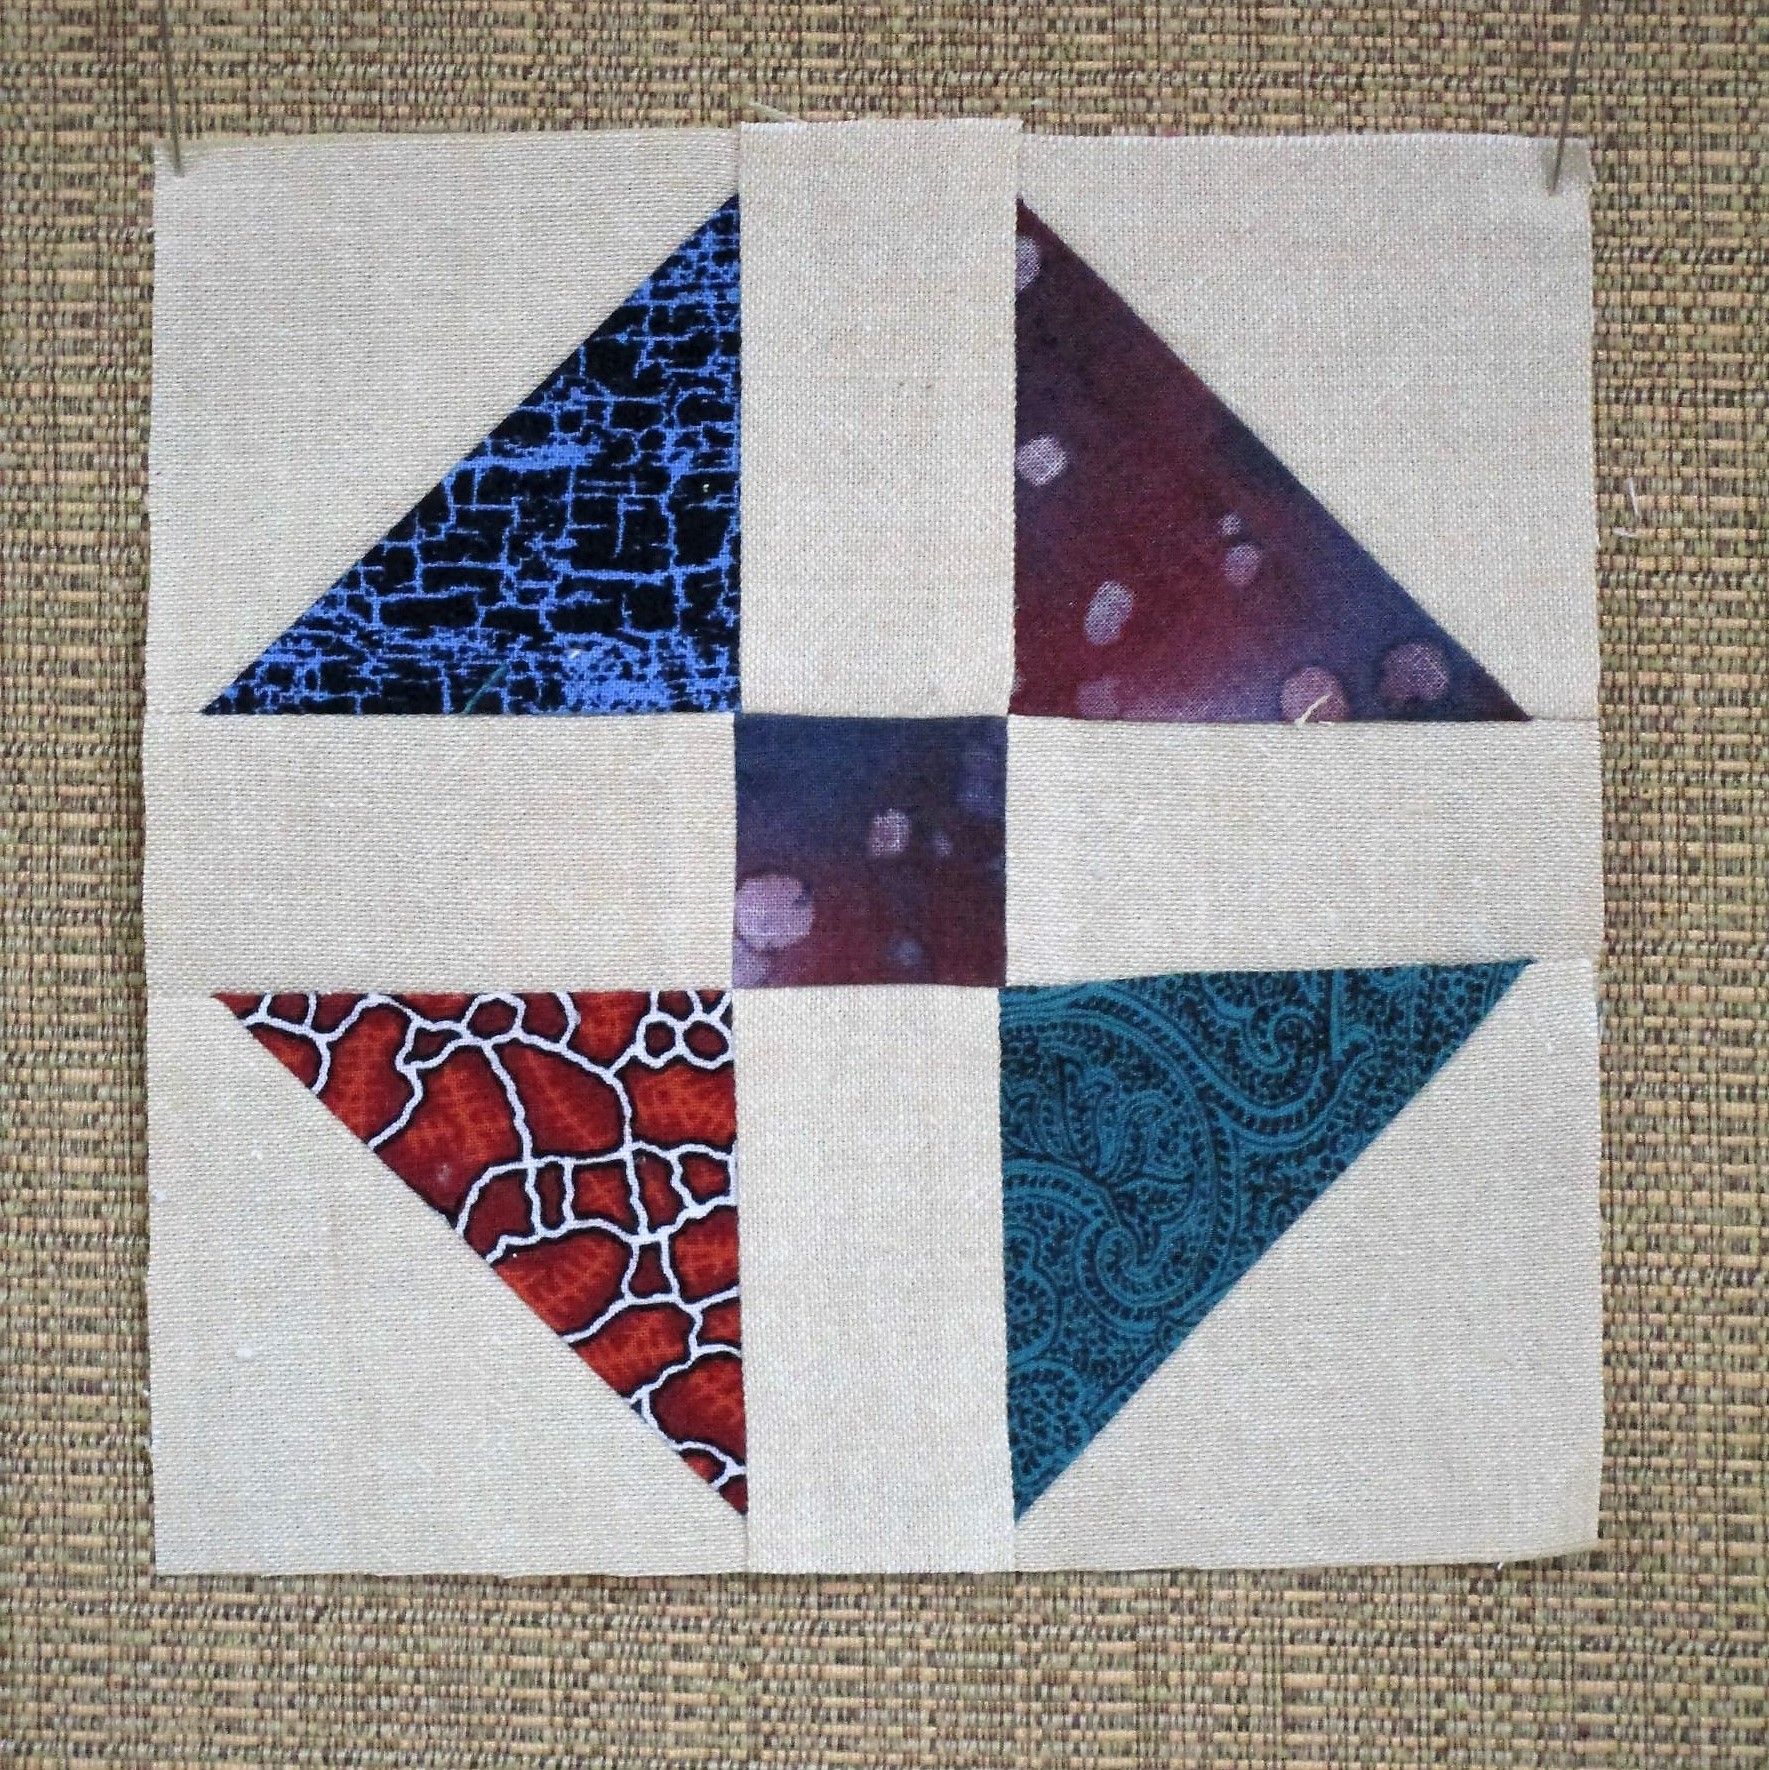
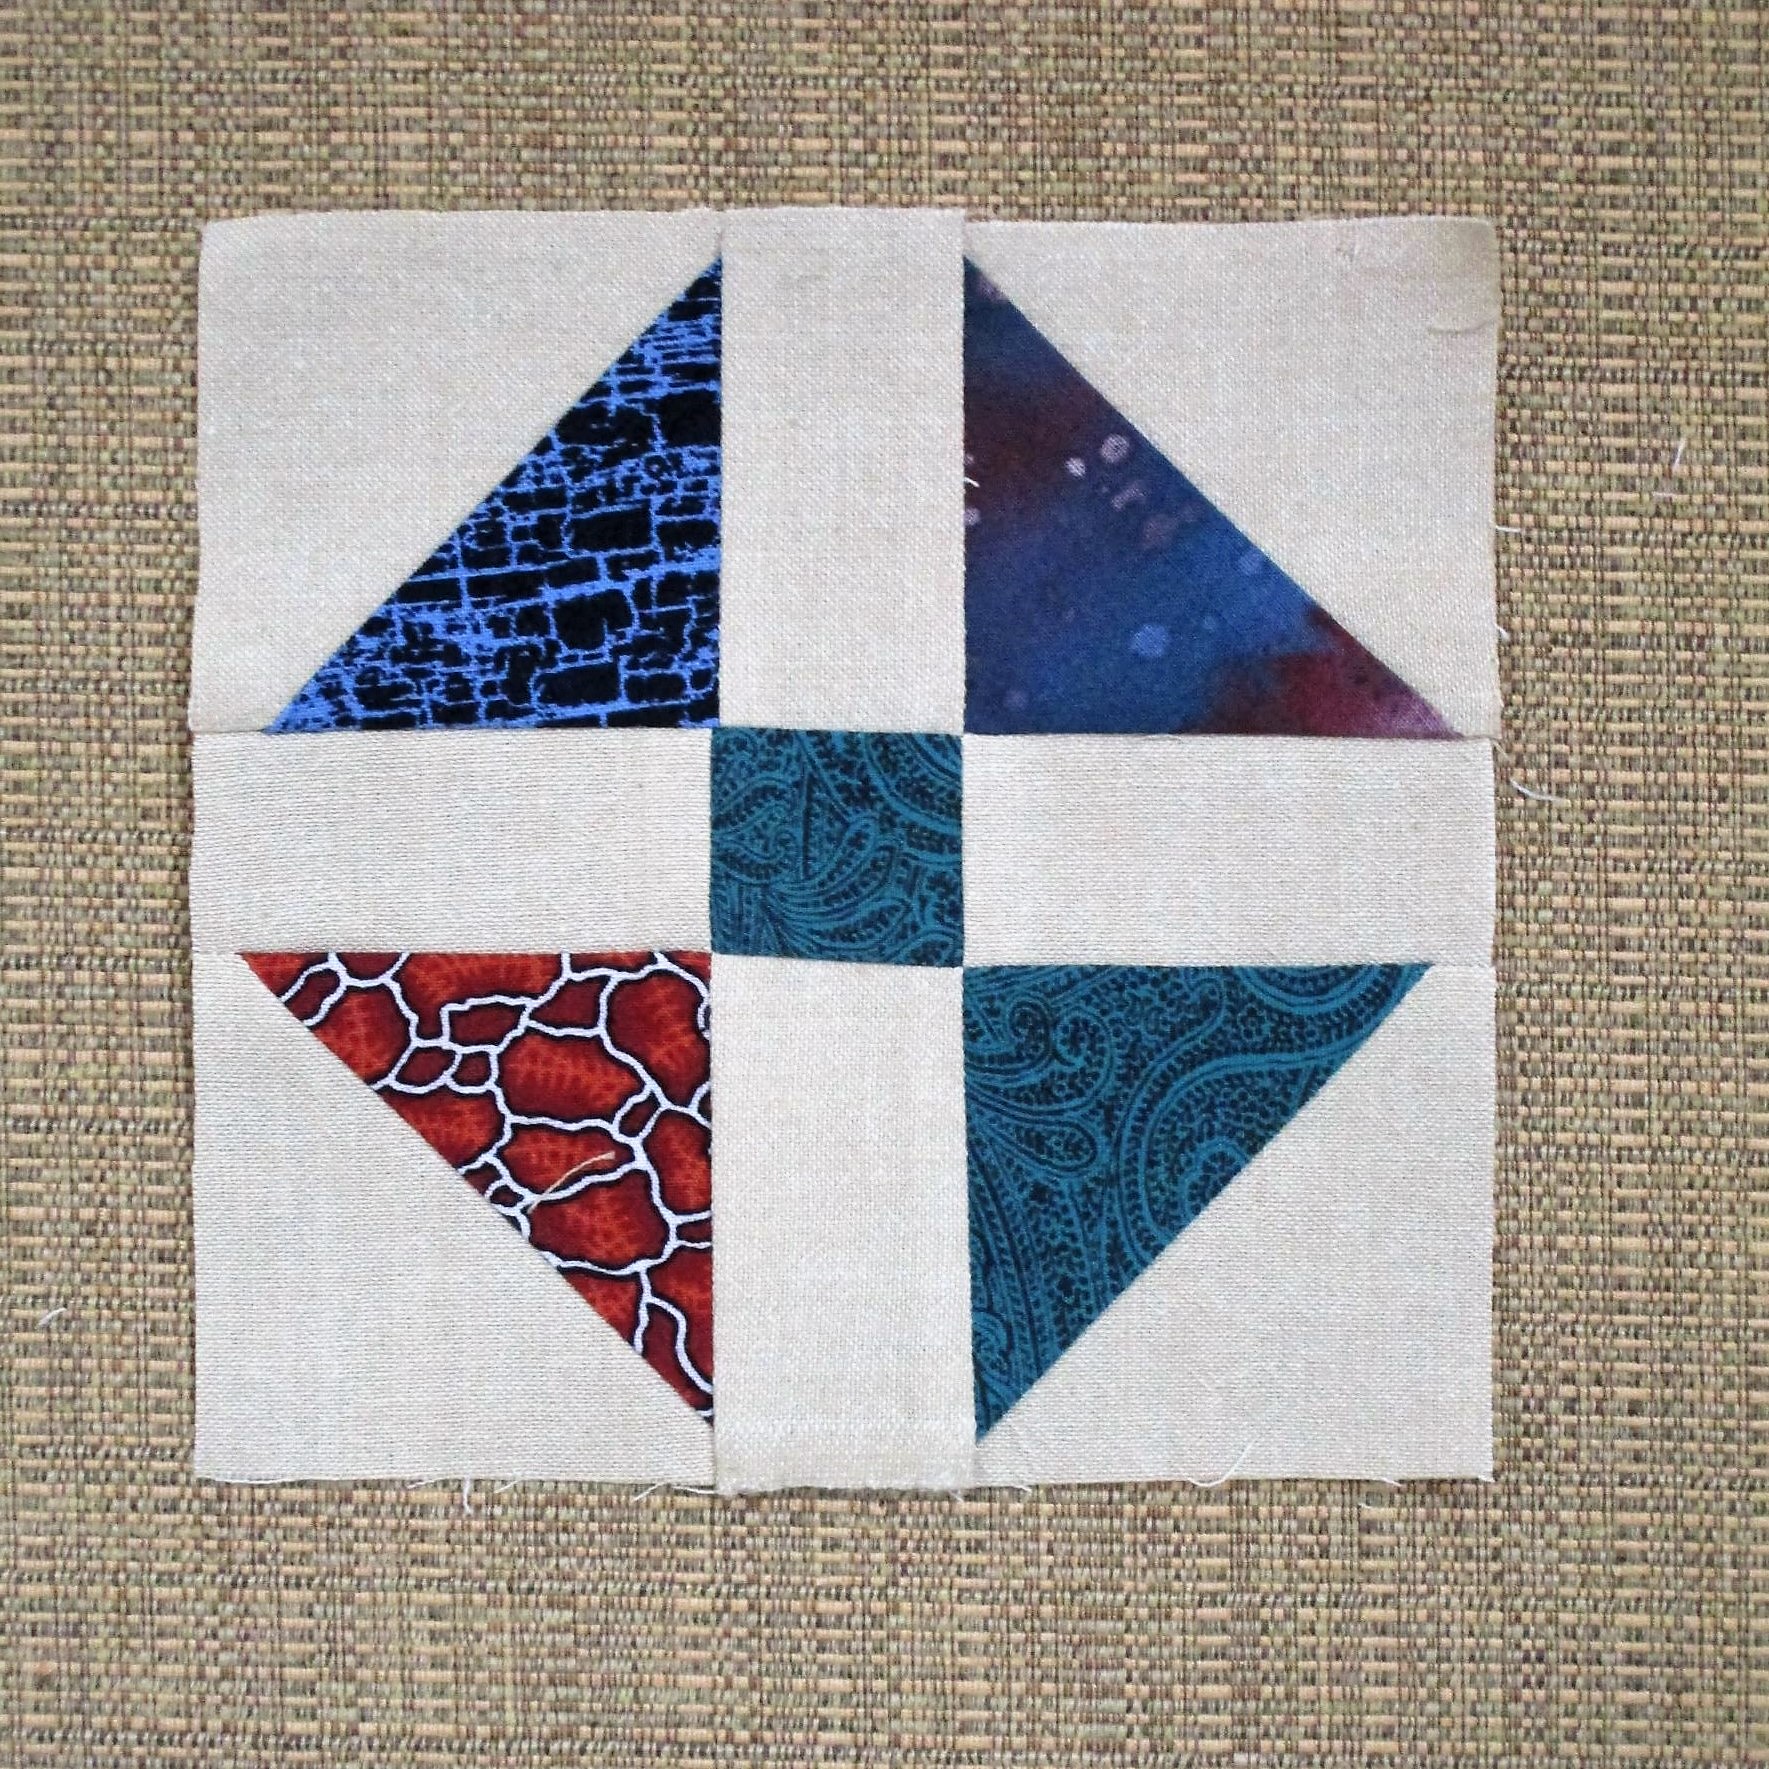
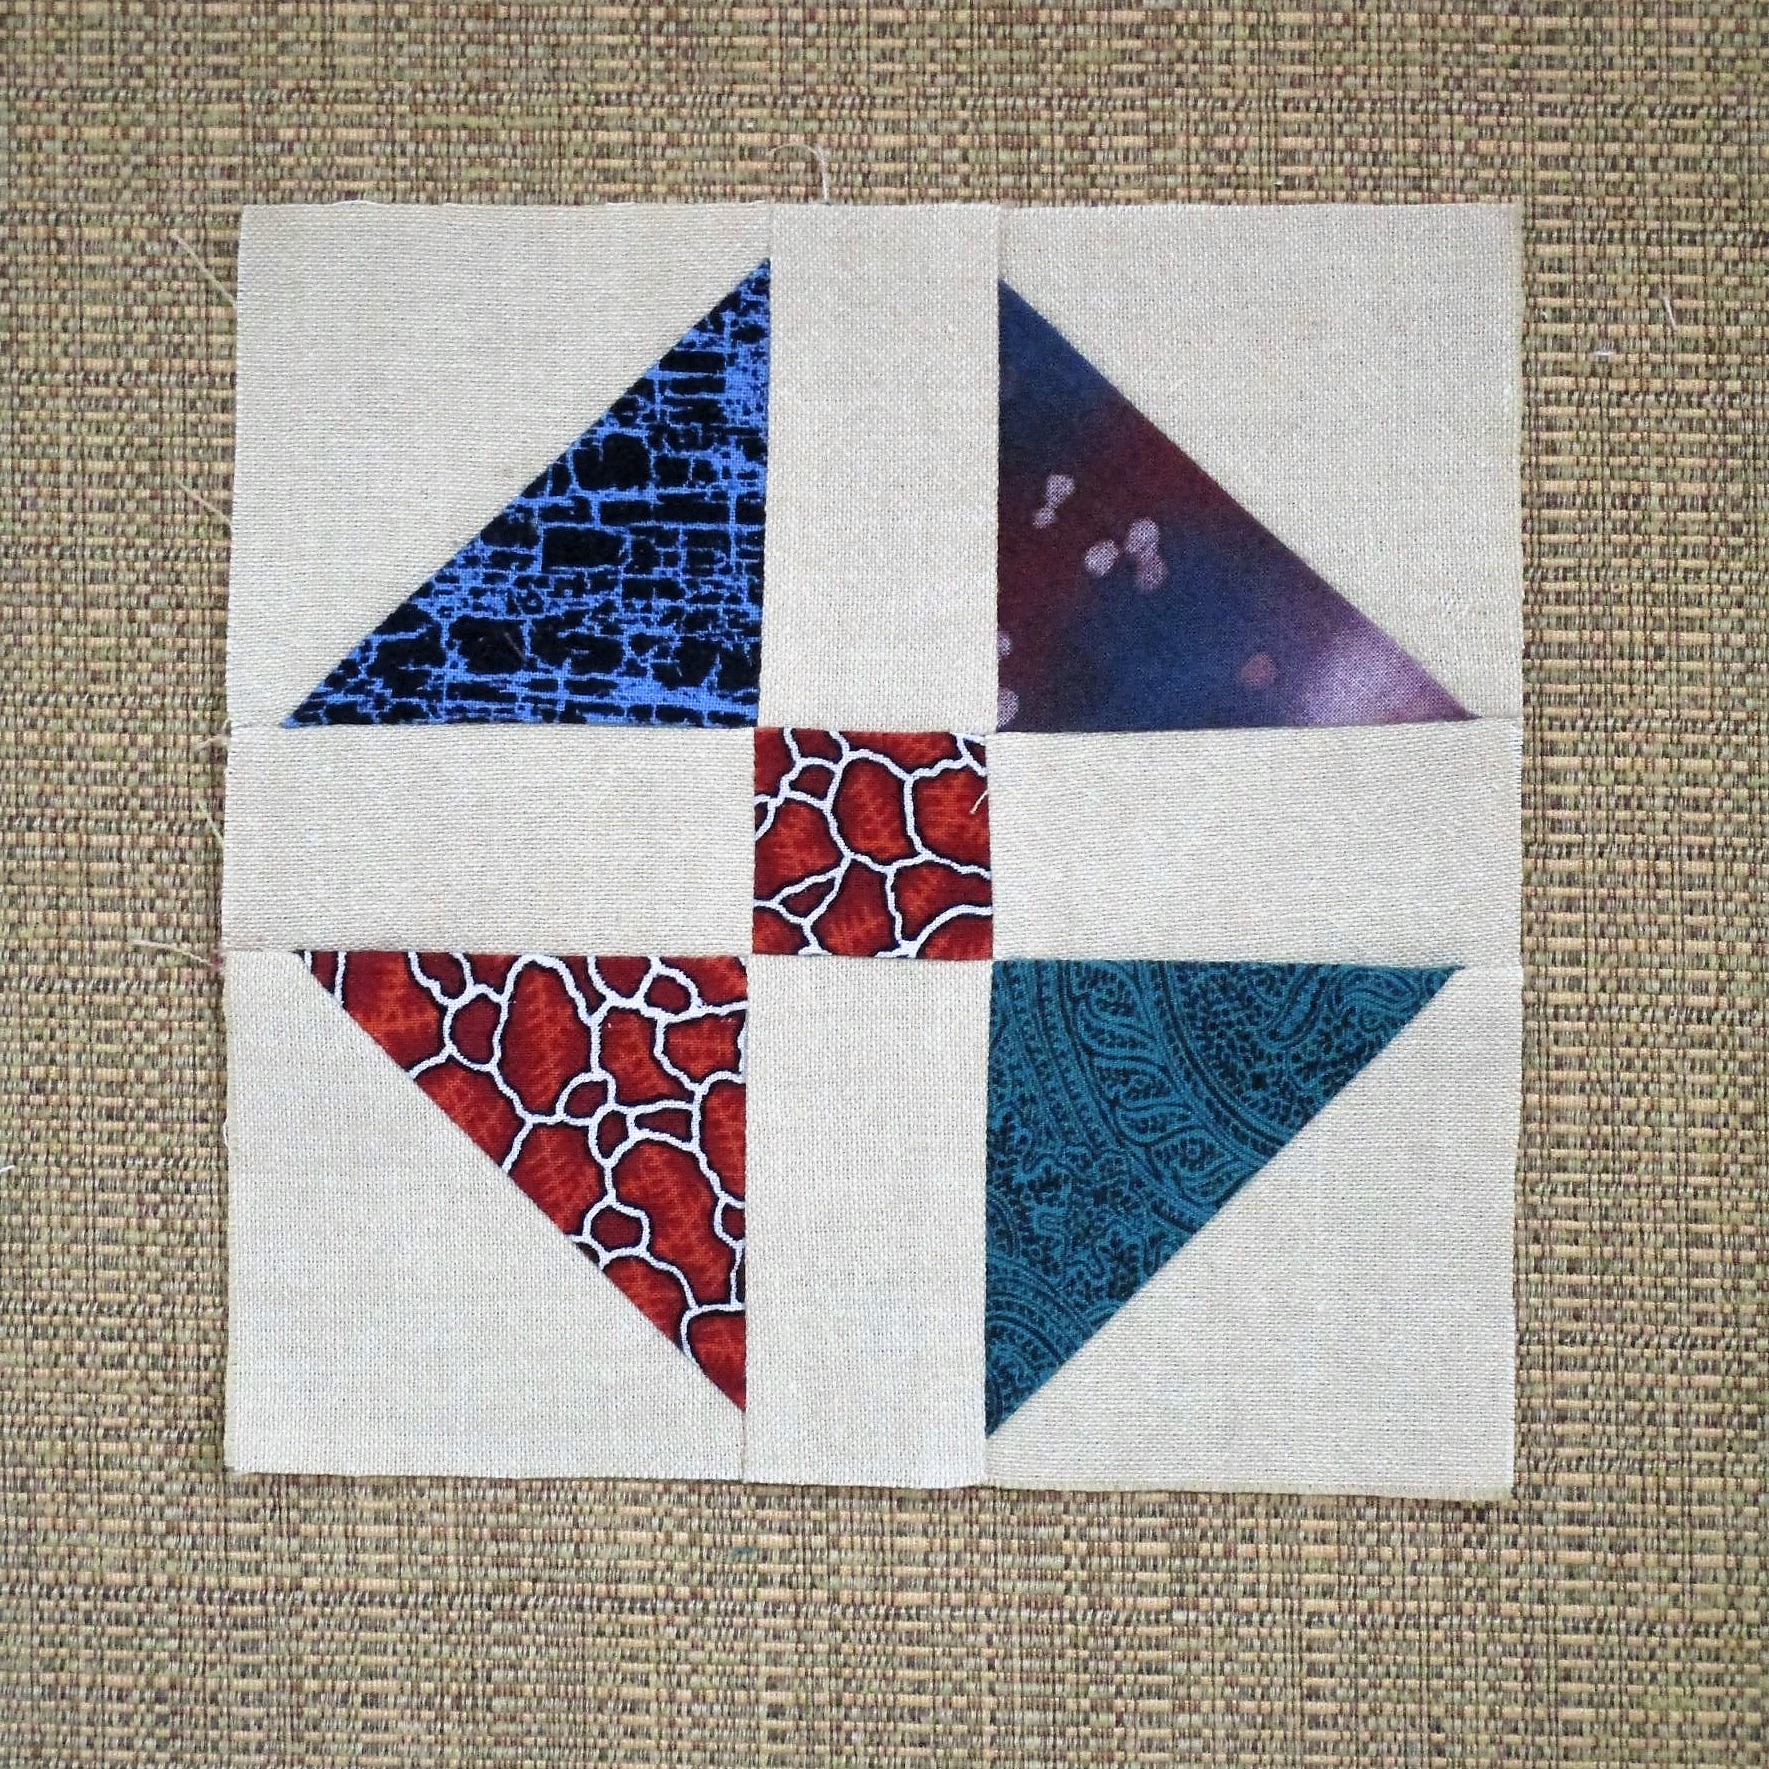
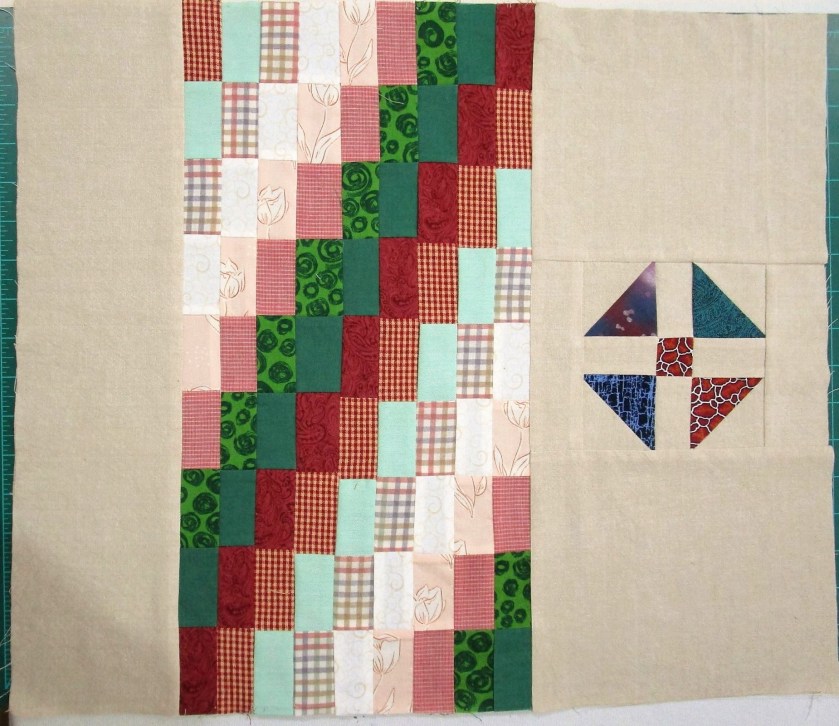
I used two colors of background fabric to make the hourglass blocks. Here is one row attached to my quilt.

For the corner blocks, I cut the centers out of some pineapple blocks.

They are about 3 inches square. Next I sewed strips of light grey fabrics around all four sides to bring the corners up to the correct size.

I think they are pretty.

After attaching the corners to the last two strips of hourglass blocks I stitched them to the quilt.

What I learned from this round:

1 It pays to work slowly in sewing the blocks together to ensure a very accurate seam allowance. If one seams is too narrow or wide, it’s worth it to rip back and re-sew.

2. Sometimes it’s okay to press a seam open, particularly when sharp points are involved. It can help diminish lumps and bumps.

So far I’m having lots of fun making a stay-at-home round robin quilt. If you’d like to sew along, here is the list of the hosts and rounds.

Posted in quilting

SAHRR 2023: Start with a Found Object

Last May I was engaged in the task of clearing out my mother’s sewing room. It was a sad but wondrous one. Almost forty years of accumulated objects, tools, machines and materials were stashed in every closet and corner of a tiny room. These included dozens of unfinished objects which were hidden in other rooms. In one closet I found draped over a hanger, rows of scrappy blocks – about sixty of them. She must have worked on this quilt over a period of years. It seemed very close to completion, so I brought it home with the idea of finishing it.

As I spread out all of the rows and loose blocks, I noticed that many blocks were not squared up. Some blocks were bigger than others. Some rows looked fine, others much shorter. (??.) Stymied by this discovery, I put the quilt away.

Now it is January and time for another Stay at Home Round Robin project. Led by Quilting Gail, this game is played by starting with a block, and then adding rows to it as clues (suggestions) are revealed weekly. I decided to get the scrappy blocks out and do something with them.

I disassembled some rows and organized the blocks by size and value. After a bit of pondering, I concluded that supporting fabrics for this quilt needed to be neutral solids. Purchasing a range of grays, I added a bright yellow batik print from my stash.

My plan is to create a value gradation starting from the center and working outward. The bright yellow will serve as a unifying sparkle for the design. Getting started, I chose four blocks that contained mostly pale colors.

To unify these four, I removed one corner from each, sewed on a triangle of yellow and assembled the blocks into a square.

My finished block will measure 15 inches. It is positioned on point to emphasize the many triangles that seem to catch the eye.

Now let’s hope the SAHHR team doesn’t throw me any CURVES!

To learn more about Stay at Home Round Robin 2023 and to play along, here is your link.

https://wordpress.com/read/feeds/102293878/posts/4496810917

Posted in quilting

Final Test Creation Panels Project

Using my new watercolor pencils, yesterday I painted the final two panels copied from a 13th century illuminated manuscript.

Days One and Three

I’m testing the performance of this medium on cloth. If I find that the pigment doesn’t bleed or fade, I will add this tool to my fabric painting practice. Now that all four images are finished, the cloth gets dipped in soapy water……

….swished gently, rinsed and dried. I’ll admit that I left the cloth to soak for less than a minute. There was a tiny bit of yellow and red pigment dissolved into the bath water. But as I blotted the rinsed cloth, I saw no pigment transferred to the white terry towel. Happy days! The pigment is colorfast.

The absolute final test is permanence. This one can’t be rushed. I just have to use the object and see what happens over time.

Because the muslin is so lightweight, I decided to cut out the circles and applique them to quilting cotton. In keeping with the “let there be light” theme, I chose a gold ombre fabric.

For the quilt, I’ll stick with the colors of the original painting – gold, dark blue, red and teal green. I have a silvery-gray solid to use as the background.

More to come after a trip to the fabric store.

Posted in knitting

Friday – Out of Order

Those expecting to see a Finished Object today will be disappointed. No, I am out of sorts and out of sequence in writing this post. Instead, I will start with the above photo and move on to share a little design process for a knitted garment in progress.

During our travels over Thanksgiving week, I visited a new-to-me yarn store. It was little but crammed full of beautiful yarns. I was surprised and delighted to find a yarn from West Yorkshire Spinners. It is their Signature 4-ply fingering yarn spun with 35% Bluefaced Leicester wool. I had read about this British yarn maker in posts by my knitterly on-line friends. To find a source of this well-crafted fiber in the heart of the U S of A was unexpected. Even more so because of the price – only $13 US for a 100g ball. As you can see, I wasted no time in getting a swatch made.

The yarn will be made into a pair of socks for my husband. He highly approves of the color, which corresponds to one of his team’s colors. (He supports Westham United, “the Hammers,” who play in claret and blue.)

The design work I refer to is for the little green vest I started on October 17th.

Notice the stranded colorwork on the shoulders. The chart provided by the designer is perfectly fine, but I was not in the mood for snowflakes. Instead, I wanted something a little bit floral and seized on this opportunity to design my own chart.

The yarns I pulled from my stash were cream, lavender and deep pink. These will show up well against the dark cool green main color. My new design starts with a pattern called Michaelmas, which somewhat resembles a purple coneflower. This motif went into the center of the design. Next I needed a border. Working in the same number of rows as the one in the pattern, I drew a sort-of zig zag, worked in a few more flowers and then added some sprinkled stitches of cream.

Reasonably satisfied with my chart, I proceeded to swatch it. Ultimately there were a few modifications made to the design as I knitted along. Here is what I came up with:

The design was tweaked slightly as I worked it into the left shoulder.

You will see it soon. With that bit of knitting done, finishing the body of the vest won’t take long.

Posted in quilting

Stay at Home Round Robin – Final Round

It’s time to put the final touches on the 2022 Stay at Home Round Robin quilts. Our quilting friend Chris has chosen Shoo-fly blocks this week.

https://wordpress.com/read/feeds/32776/posts/3844524934

After observing how she built it and how it is used, I am totally on-board. Here is where I am with my quilt after the end of the fifth round.

To summarize, I made five blocks built around vintage weaves and organized them in a Nine-Patch configuration. That leaves space for four in-between blocks. A few weeks back, I decided that I could create transitions between the corner blocks with Around The World strip-pieced blocks. The thought of connecting all of the elements in this manner inspired and delighted me.

And of course, it leaves room for the Shoo-fly blocks.

The more I look at the shoo-fly, the more I think of it as a symbol. To work this into my design, a shoo-fly will be placed at each cardinal point of the compass:

North, east, south, west.

Let’s get these made!

First come the half-square triangle. I made four in each of my primary fabrics.

I liked Chris’s design, where the middle row was half the width of the other two rows, so I made my blocks the same. The center block will give us the “sign,” telling where we are headed.

The South Point
The East Point

In this photo you see four blocks, including the center block, the fire block and the two transition blocks that are finished.

I have cut my background fabric an extra two inches bigger in the transition blocks. Eventually I will add enough background fabric to the edges of the corner blocks to level up the quilt. This will bring the finished piece up to 62 inches square.

If all goes well, I will have the whole thing pieced together quite soon.

To see the other round robin quilts, go to the linky party:

https://fresh.inlinkz.com/party/e9a2be034cae4219b07c3c7300b4c6eb