It is the final week of the 2024 Stay at Home Round Robin challenge. In my last post, I had part-way finished the round 5 challenge (the number 4) but was flummoxed by the Round 4 challenge (square in a square). Working many hours on my quilt this week, I managed to sort out and assemble round four, as well as the second side of round 5. If you are following this, I recommend that you get comfortable, because this is a long post.
Let me start by sharing two inspiration photos.
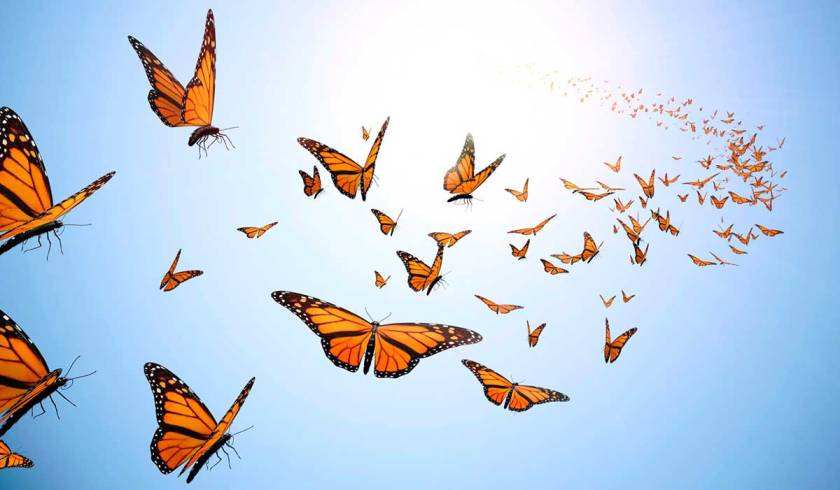
A kaleidoscope of butterflies.
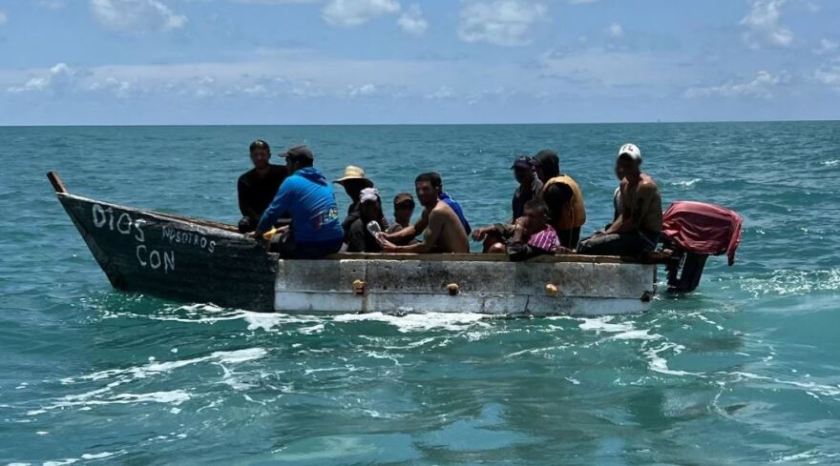
A boatful of refugees.
It’s possible that the connection between these two images isn’t obvious. When I tell you that the theme of my quilt is migration, my choices will make more sense to you.
For at least a year I have wanted to paper piece some butterflies and use them in a quilt about migration. I even went so far as to design three different patterns in multiple sizes. After fooling around with them, I ended up putting them away for a later date. It’s now 2024 and, it’s clear to me that now is the time for the butterflies.

Most of my paper pieced butterflies were in plain blocks. But because Round 4 is square in a square challenge, I used two small butterflies as centers
This border took me almost three days to design and construct, but I don’t regret any of the time, or the mess left behind. The result exceeds my expectations.
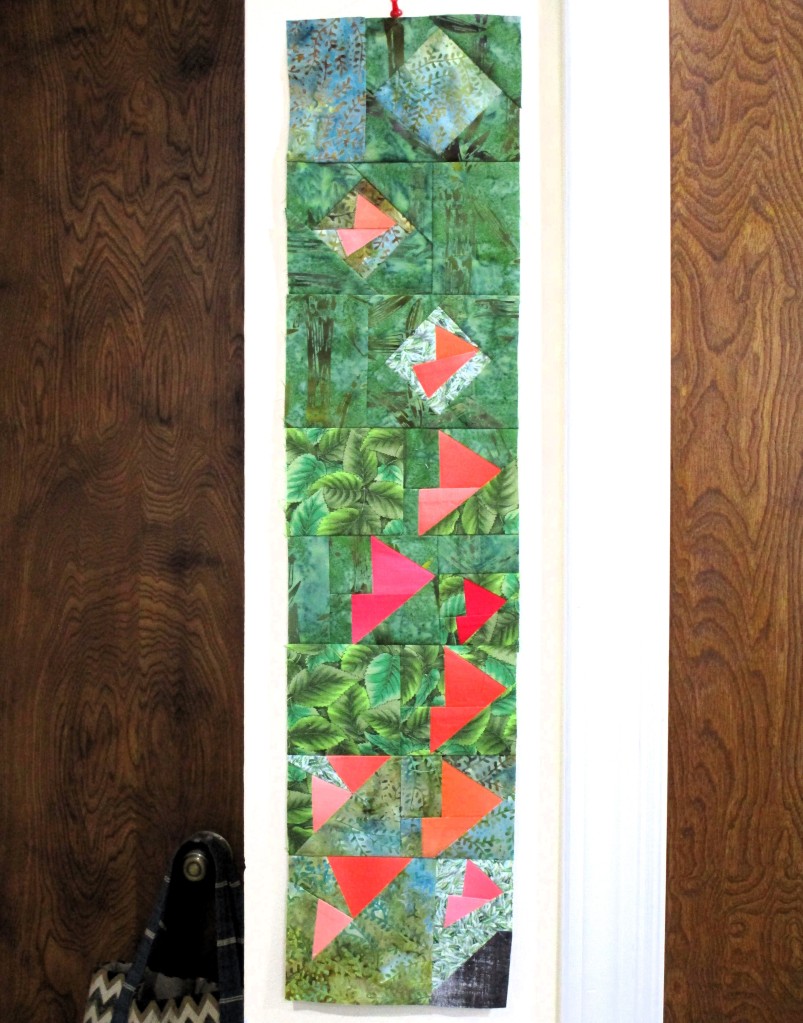
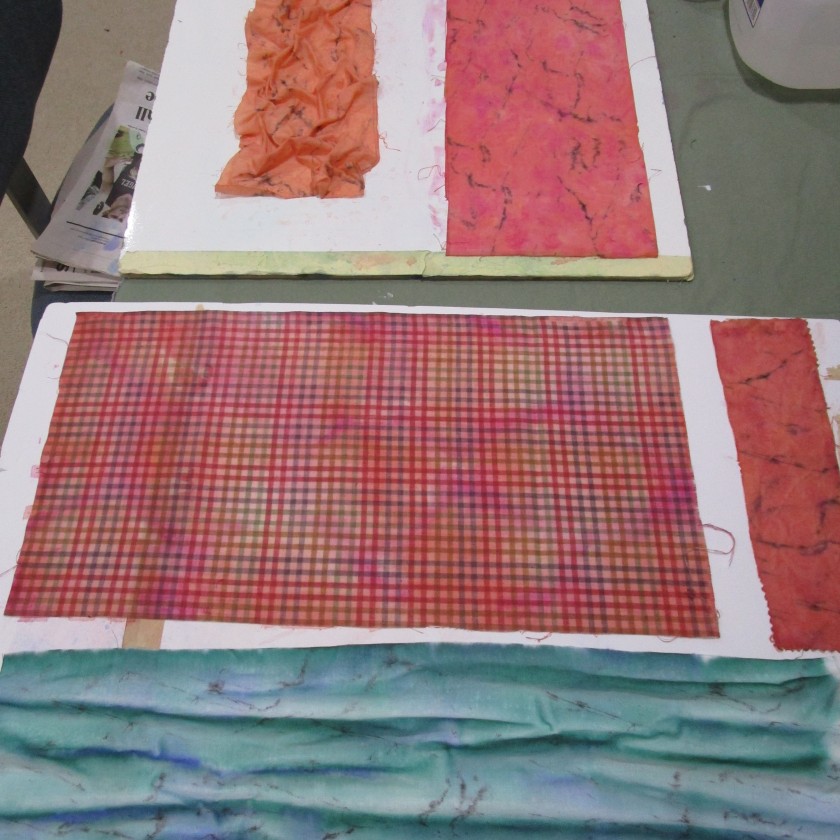
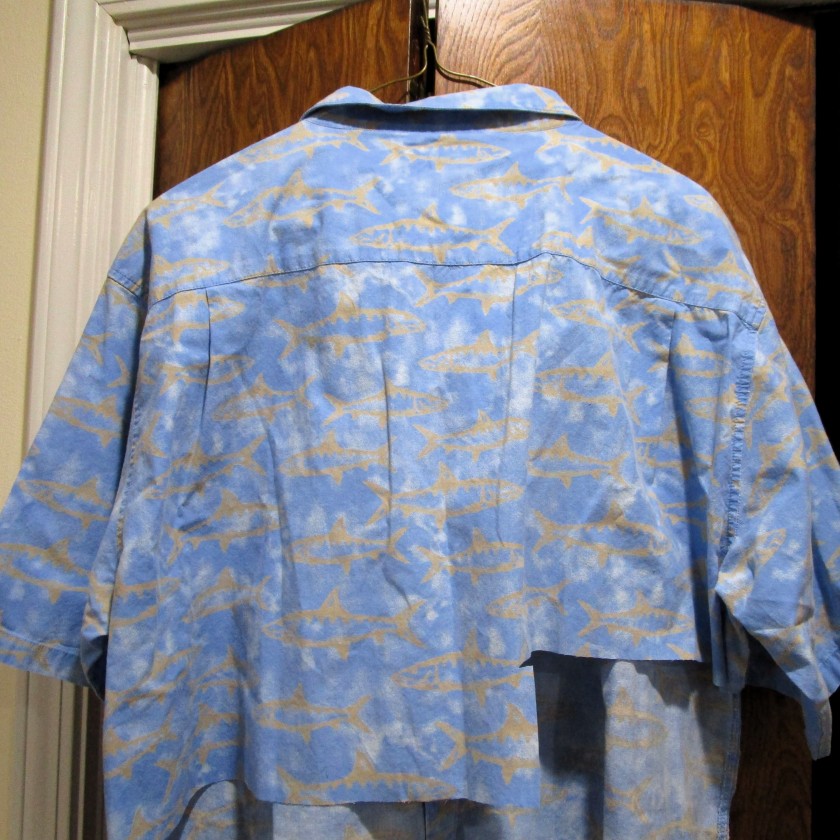
Moving on to the top border, which also is included in my Round 4. Here is the shirt I cut up to get the fish fabric.
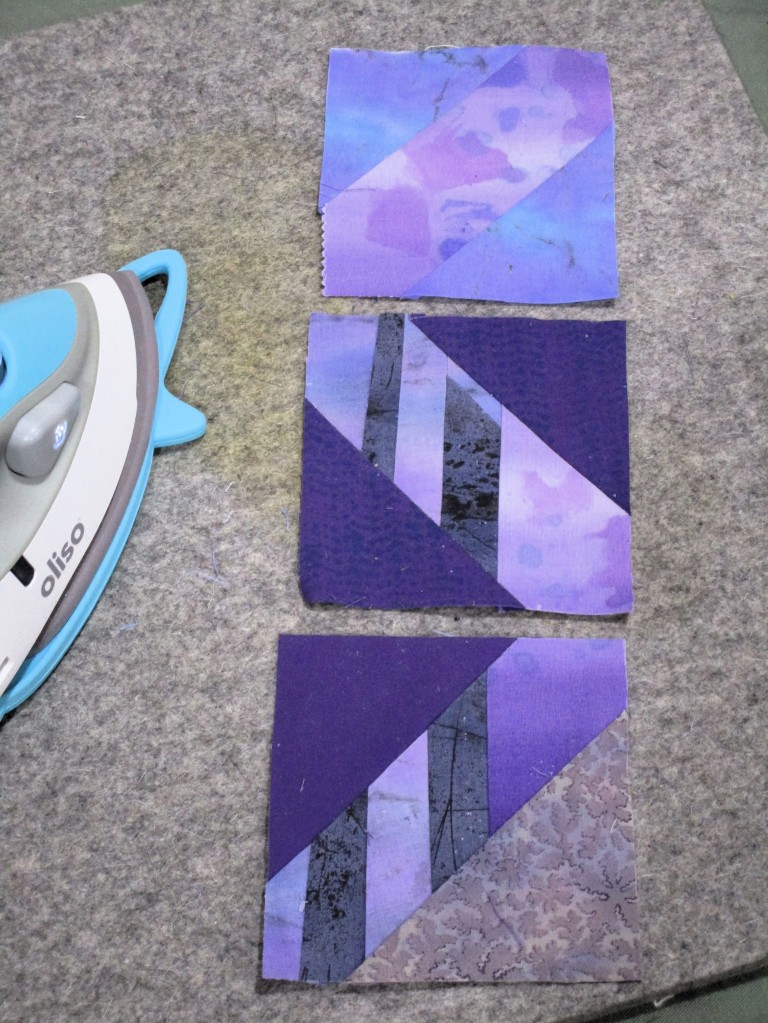
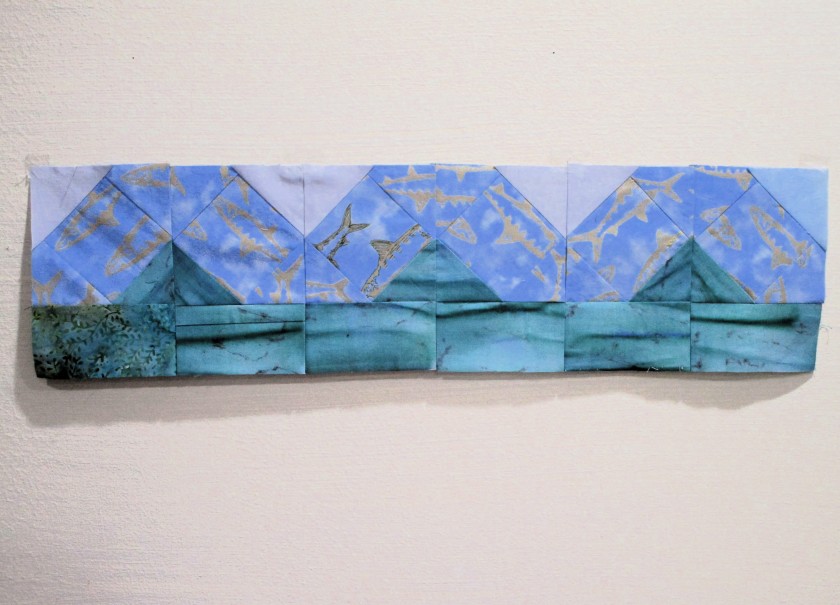
I wanted to sew the blocks in a manner that gave the illusion of fish swimming upstream. Here is my first attempt, which was a total fail.
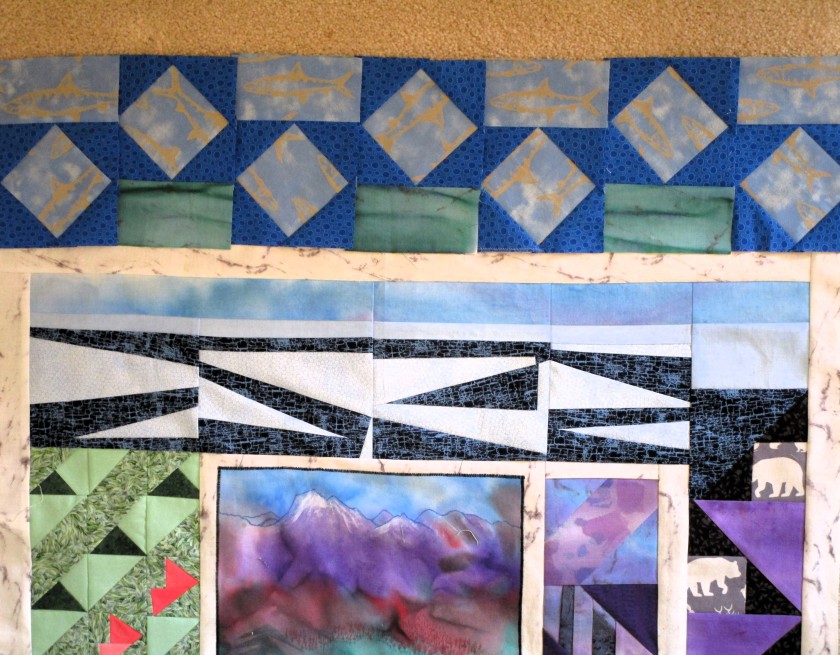
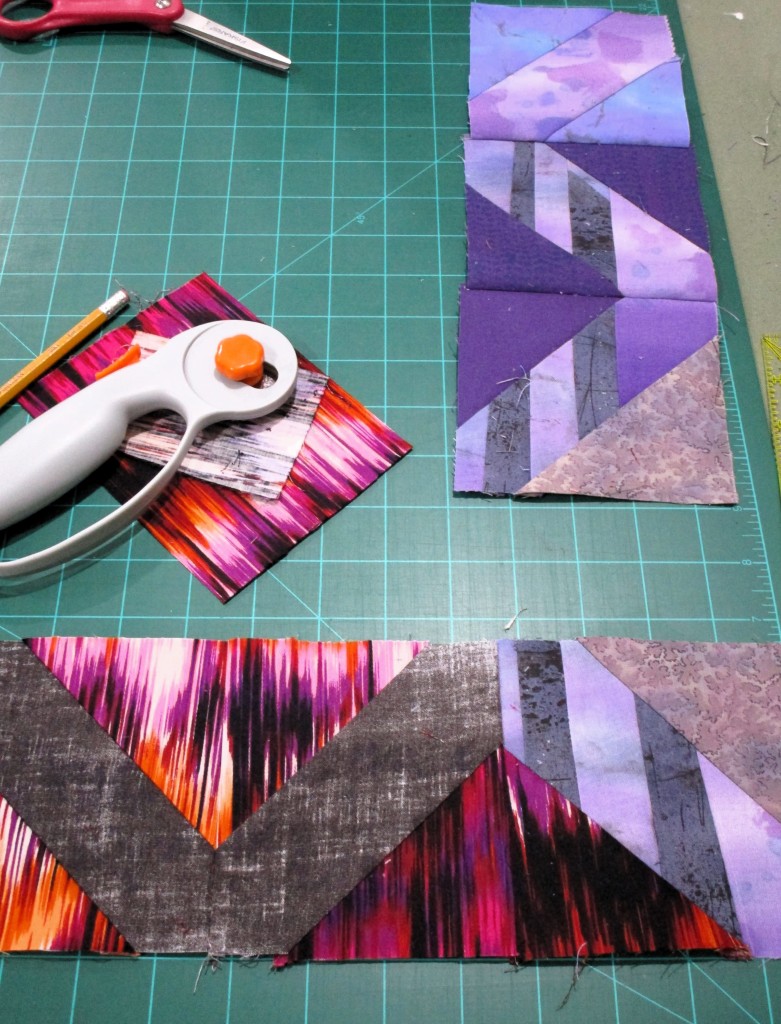
To move forward, I did what everyone else does. I looked at other quilters’ work. I noticed one quilter put together a square in square that totally changed the appearance of the block, simply by mixing up the corner triangles’ colors. The lesson: you can use more than one color. Ahhhhh! Out came the seam ripper to completely disassemble my entire border. I threw away all the corners and made new ones. Now I have six square in square blocks that work together the way I envisioned.
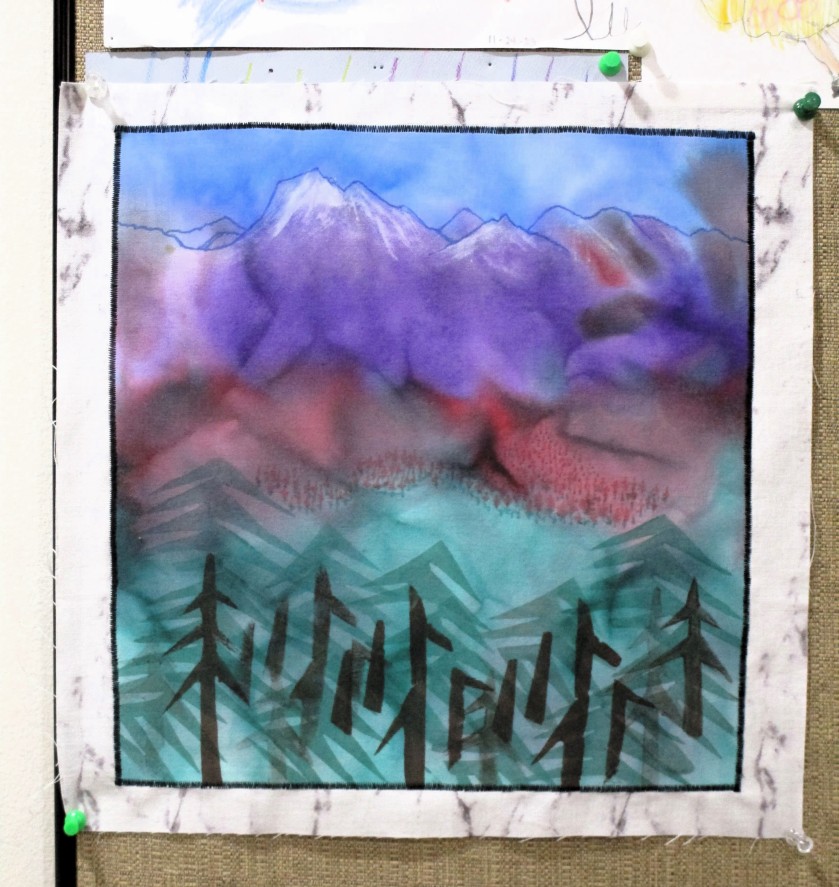
Deep, breath – on to my refugees. Using my inspiration photo, I made a sketch that caught the essential elements. Then I turned the sketch into a pattern. Because the shapes of the people are not straight lines, this part of the design was not made by paper piecing. It was appliqued to a background of sky and water.
The finished block is 12 x 6 inches.
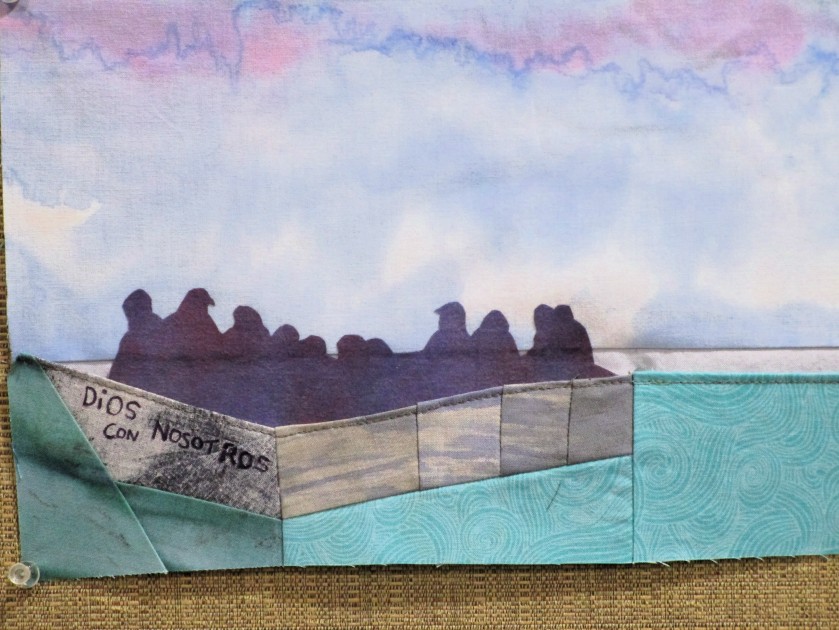
And if you look closely, you can see how I met this week’s challenge by adding the lettering that appeared in the inspiration photo.
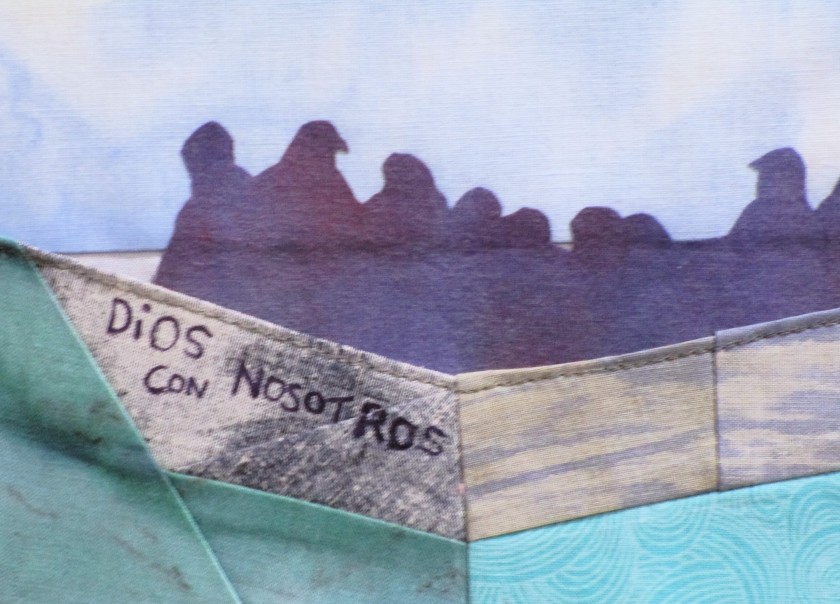
I wrote the words with a purple fabric pen.
This morning, I threw together several four-patch blocks to fill in the right side of the quilt. And while it’s not completely sewn up, and two corners need transition blocks, this quilt top is close enough to a finish that I can post it on the linky party site.

If you are still with me, thanks for reading all of this. It felt important to me to share my process. Maybe it’s a way to clear my mind for what may come next.
This week’s Linky party is hosted by Kathleen McMusing. Visit her to see the quilts of other participants.