Almost two weeks ago, I started work on a baby quilt that will be a gift for my niece who lives in Oregon. Her baby is due in August.
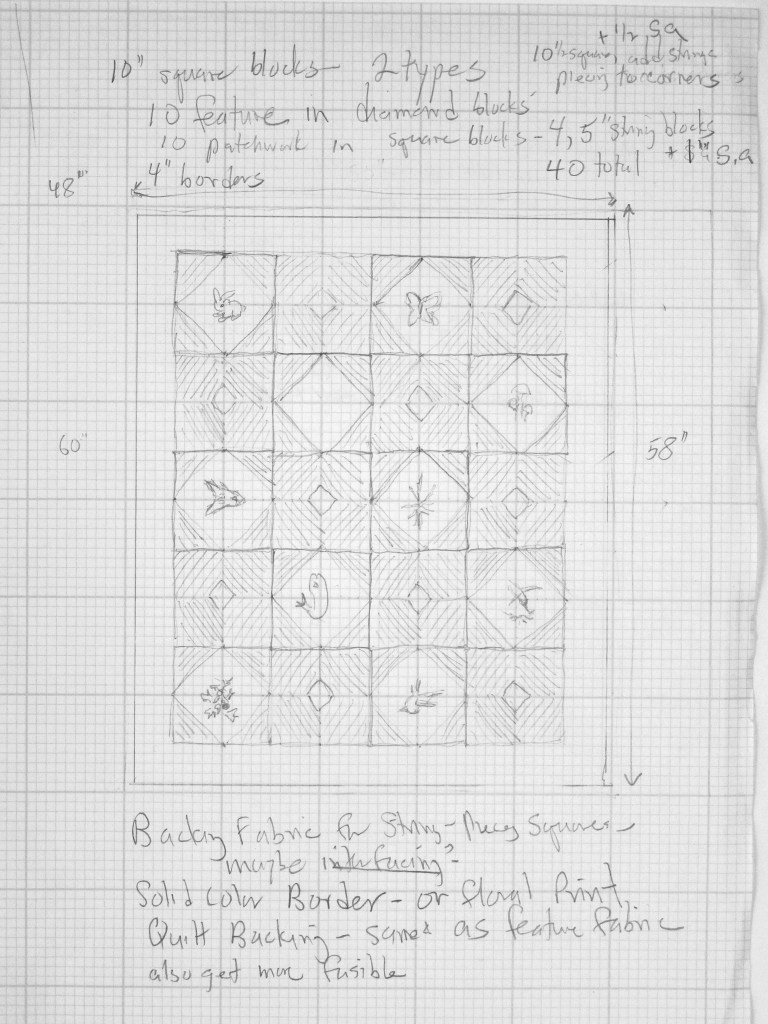
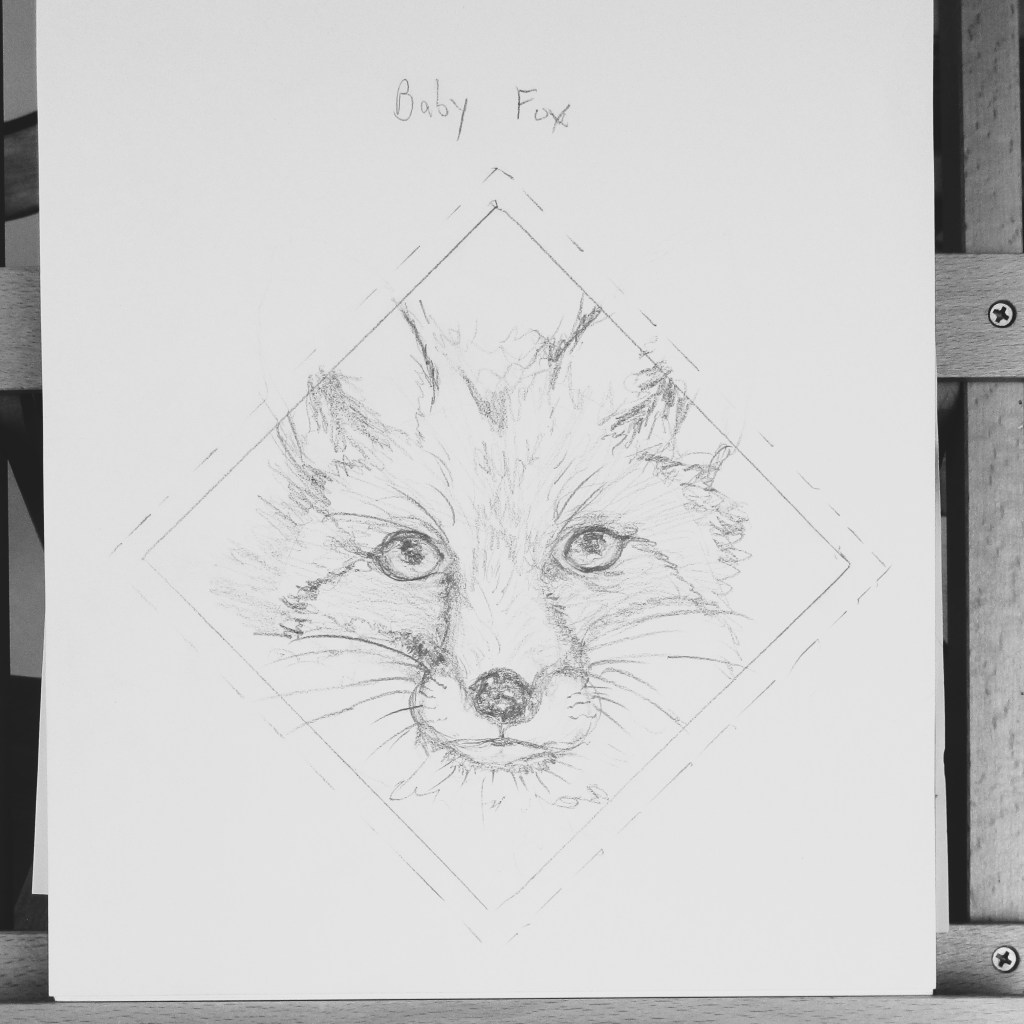
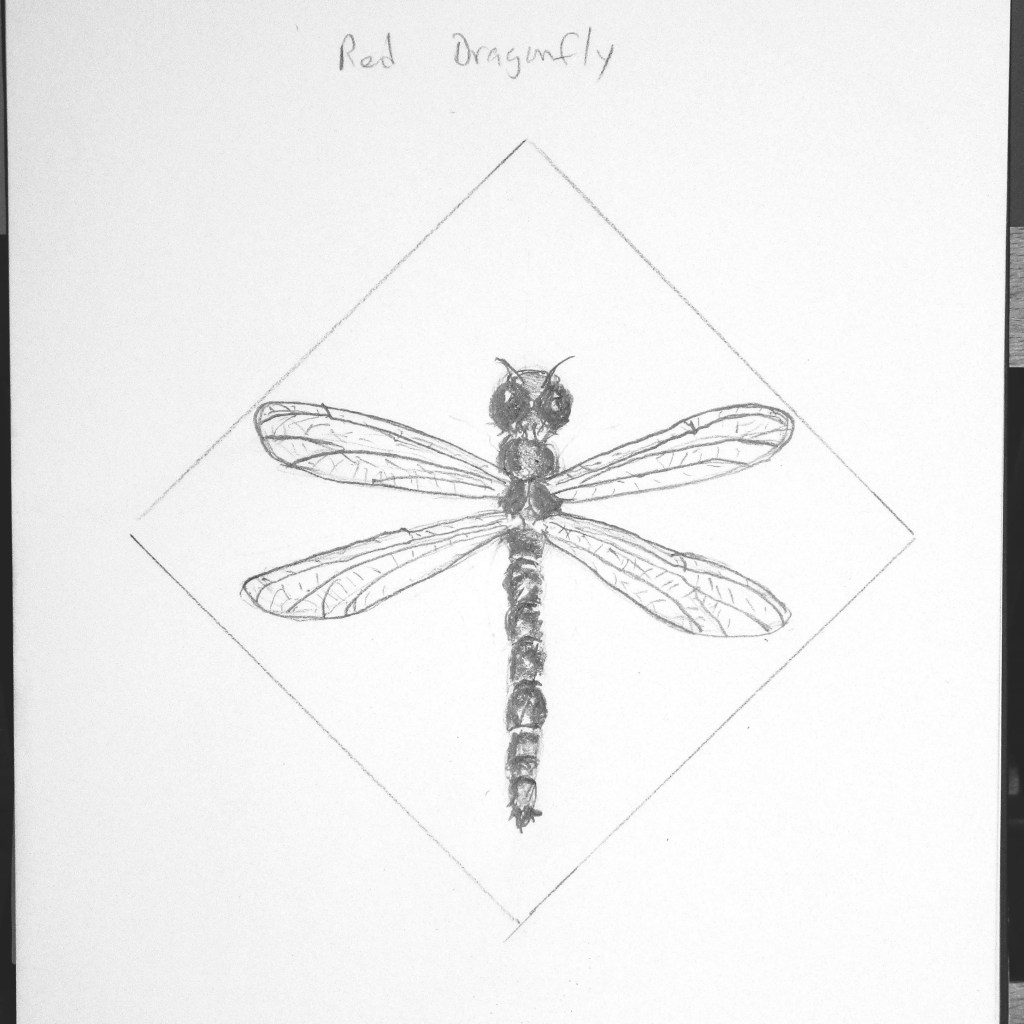
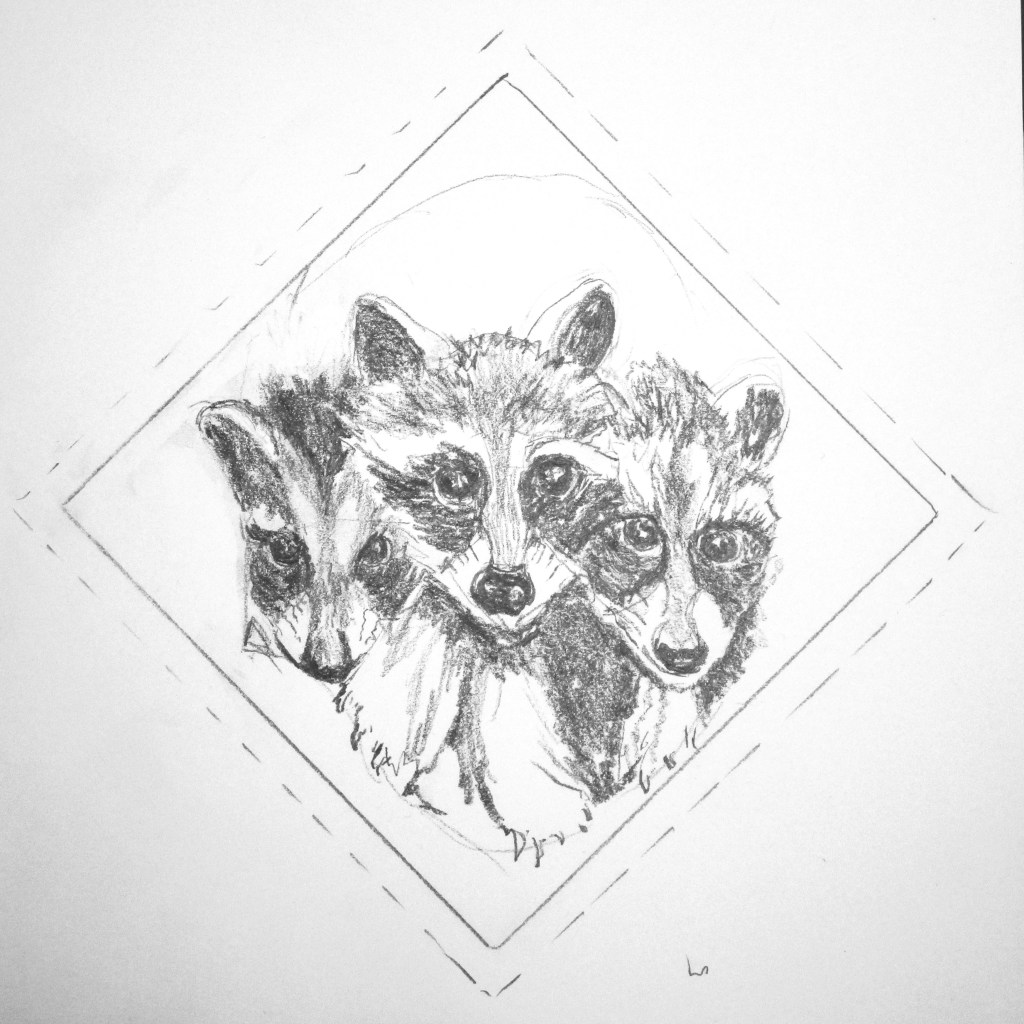
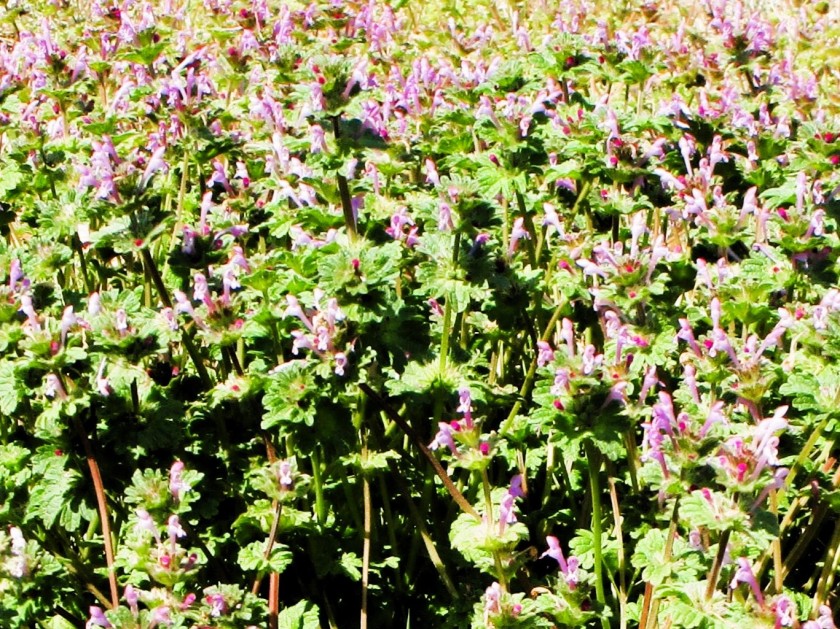
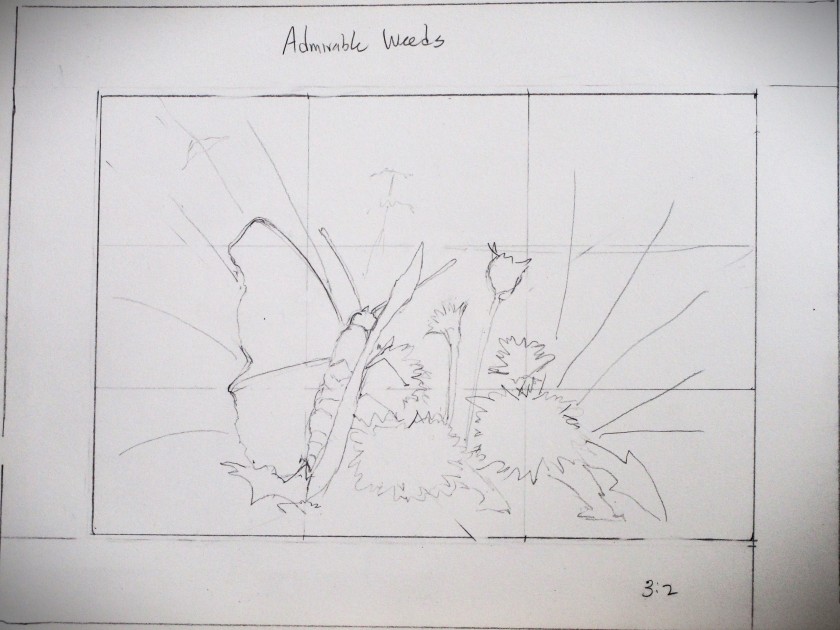
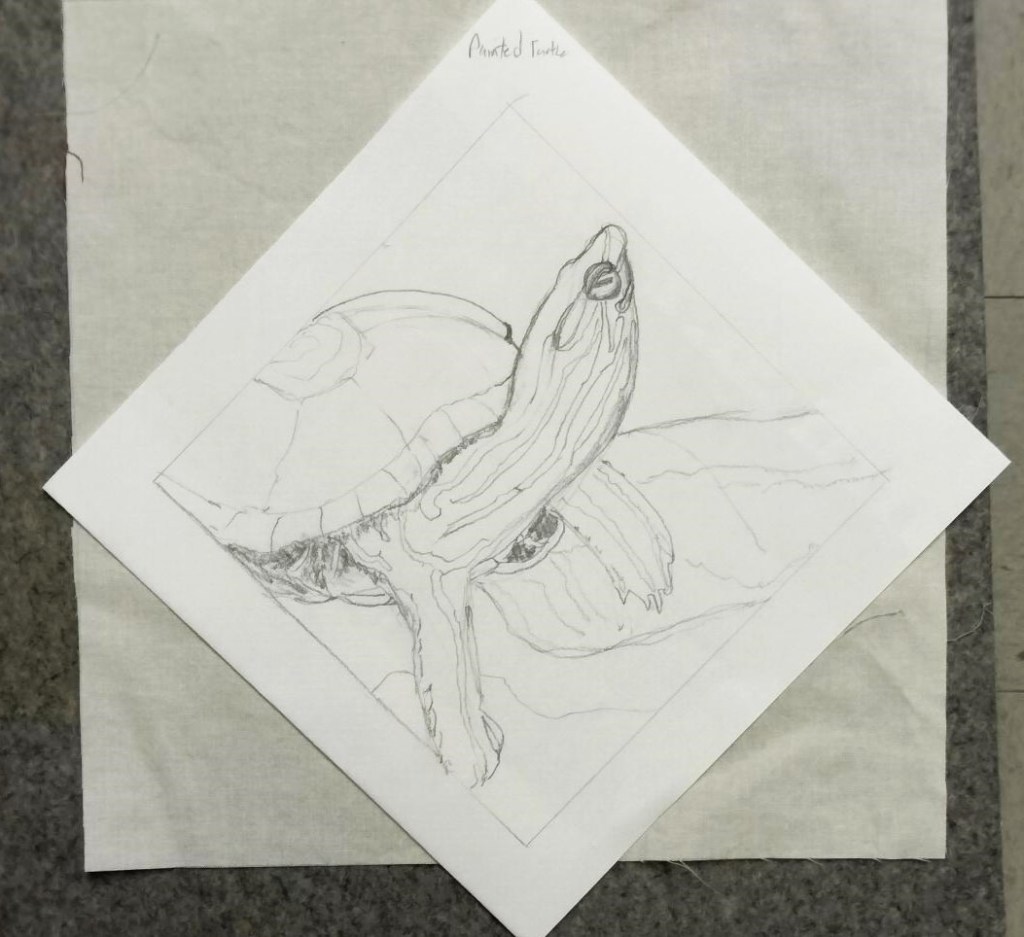
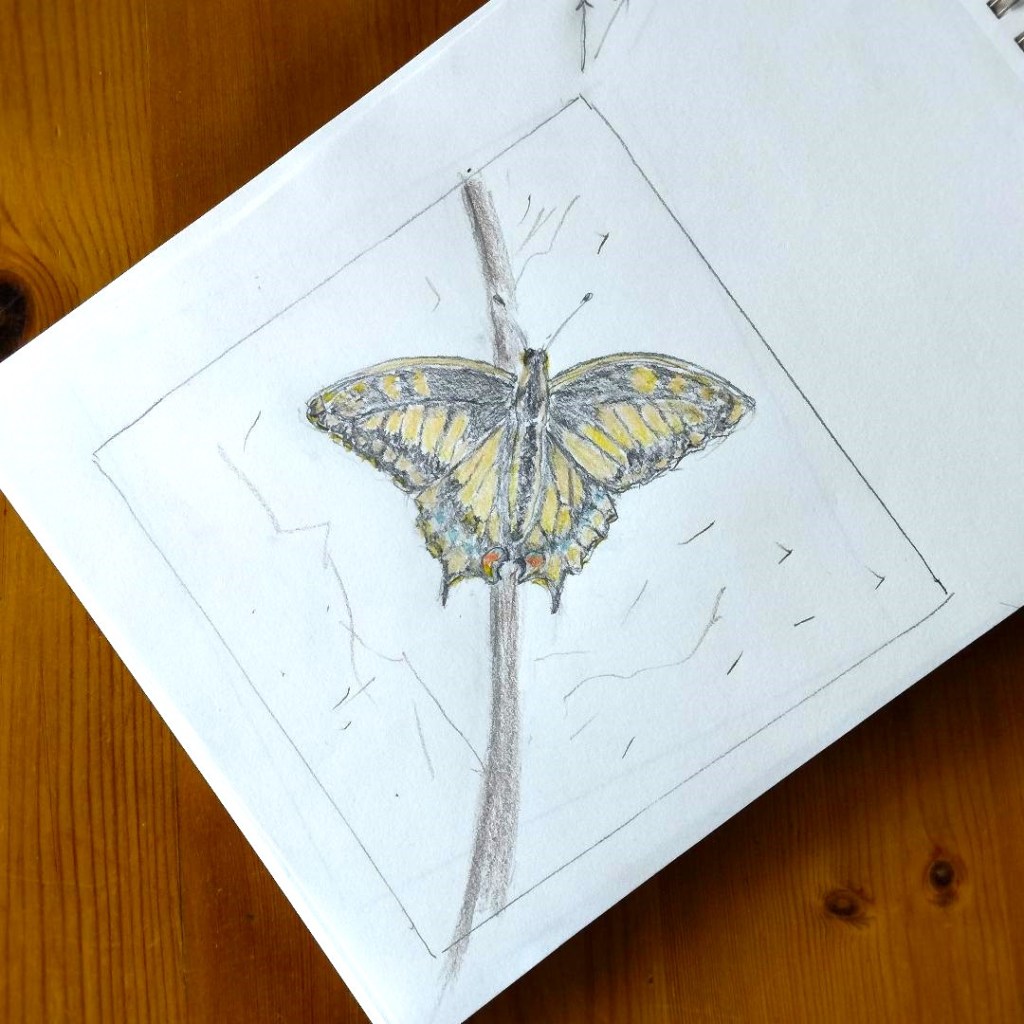
I have no title for this project, so for now I will call it the Oregon Baby quilt. In my first project post, I shared sketches under consideration as subject matter. They focus on animals and plants native to Oregon. This week I added two more:
Having received a lovely bundle of fabrics from Connecting Threads, I have proceeded to cutting and sewing. Here are a couple of images of strips. They are not cut precisely, but range from 1 1/4 to 2 inches in width.
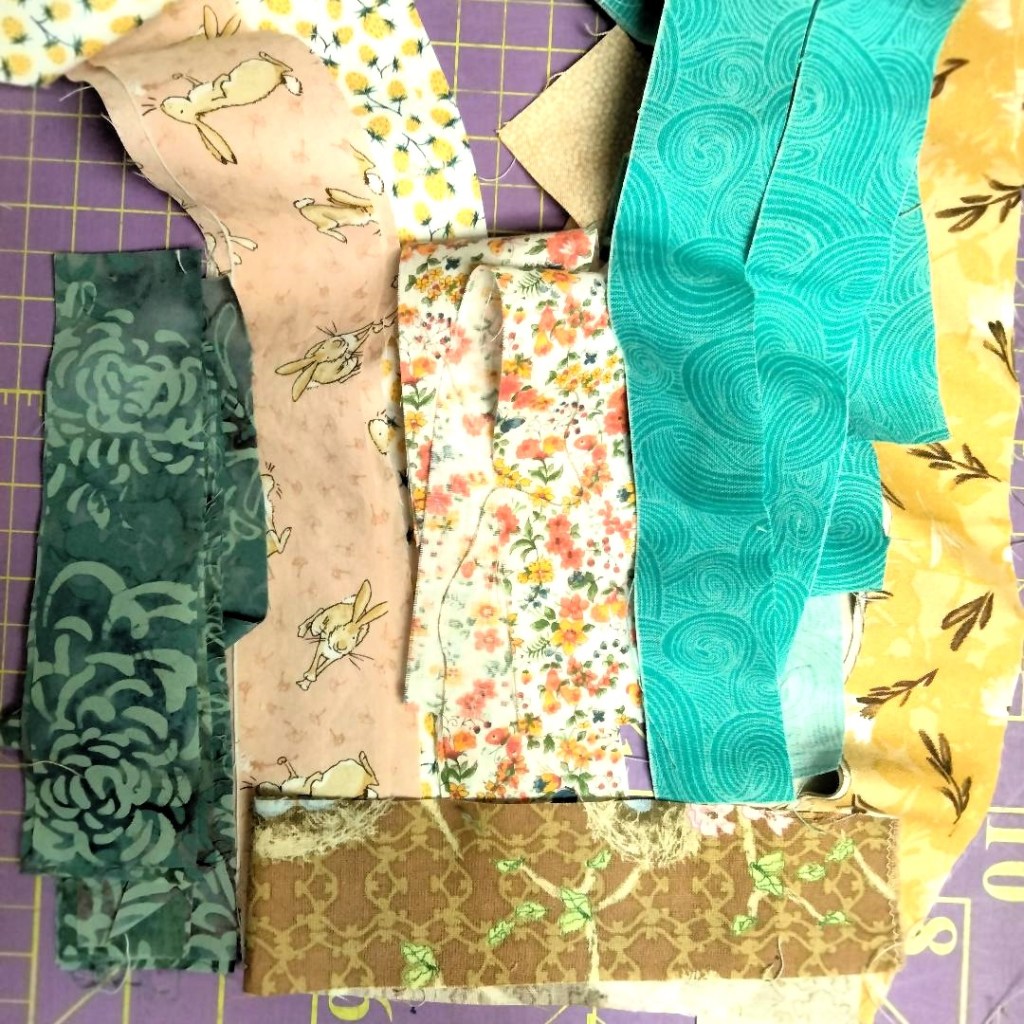
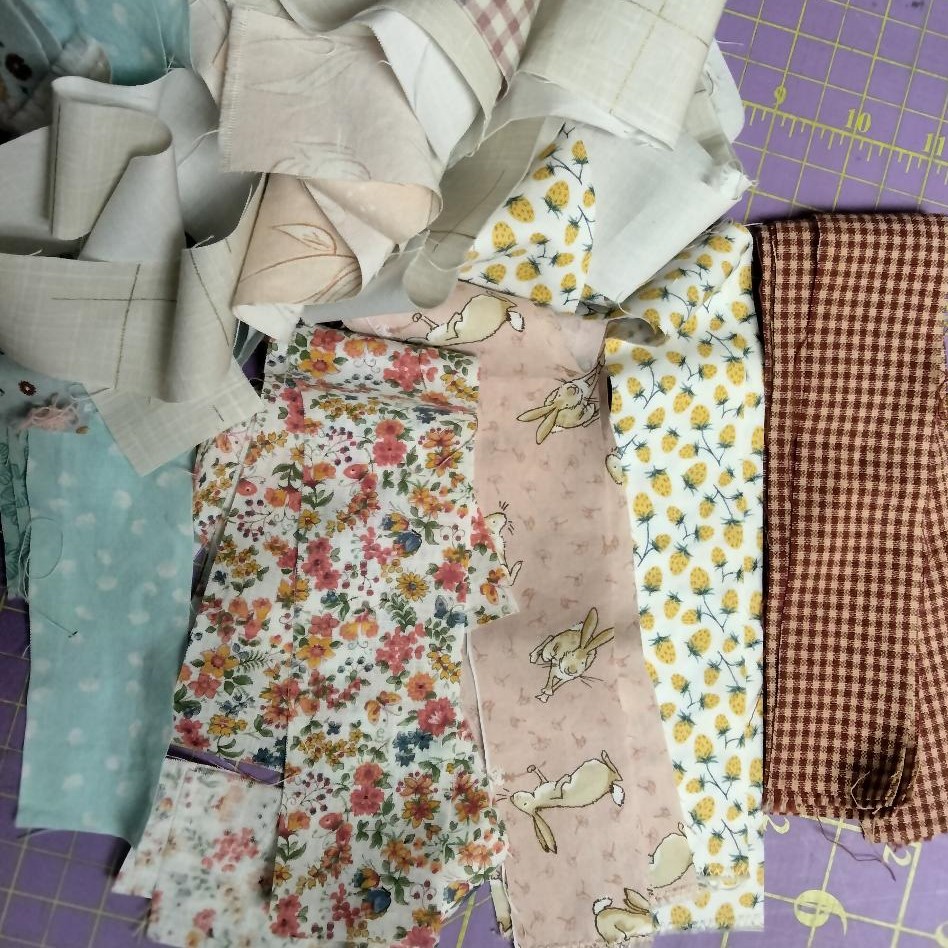
After cutting, I shoved the strips into four baggies: Solids, lights, mediums and darks. My plan is to alternate the strips, not so much by color as by value. Forging ahead, I completed the first block, which is assembled from four strip-pieced squares.
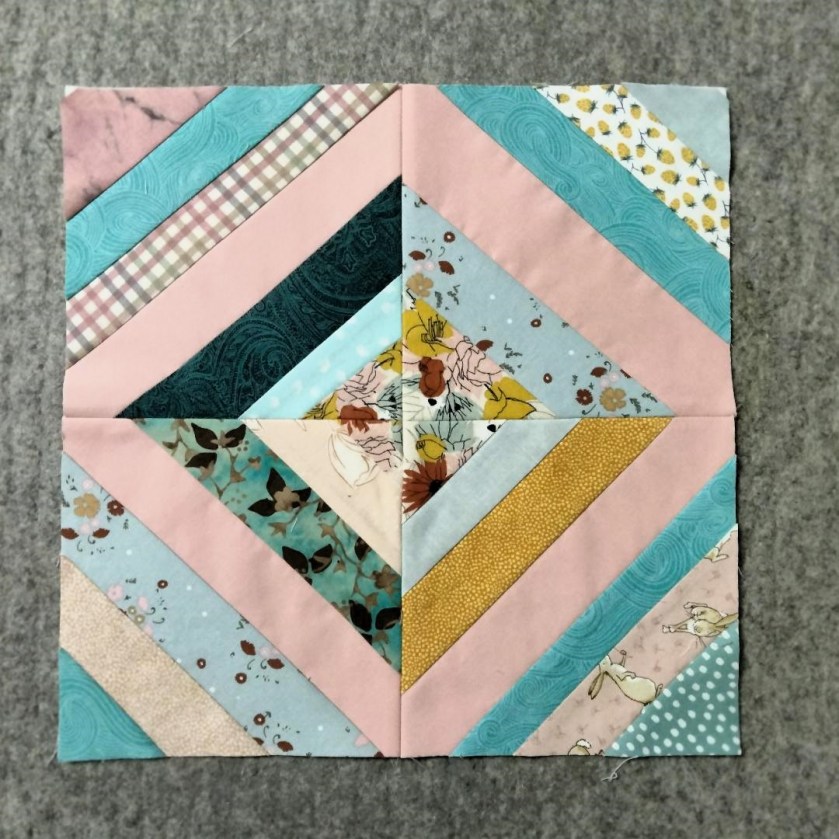
The solid 2 inch strips (In this block, the pink strips) will be placed consistently at the widest point on each square. I chose a brightly colored floral fabric to act as a mini focus point for the block. These two elements should serve to unify the multitude of fabrics that will be used in this quilt.
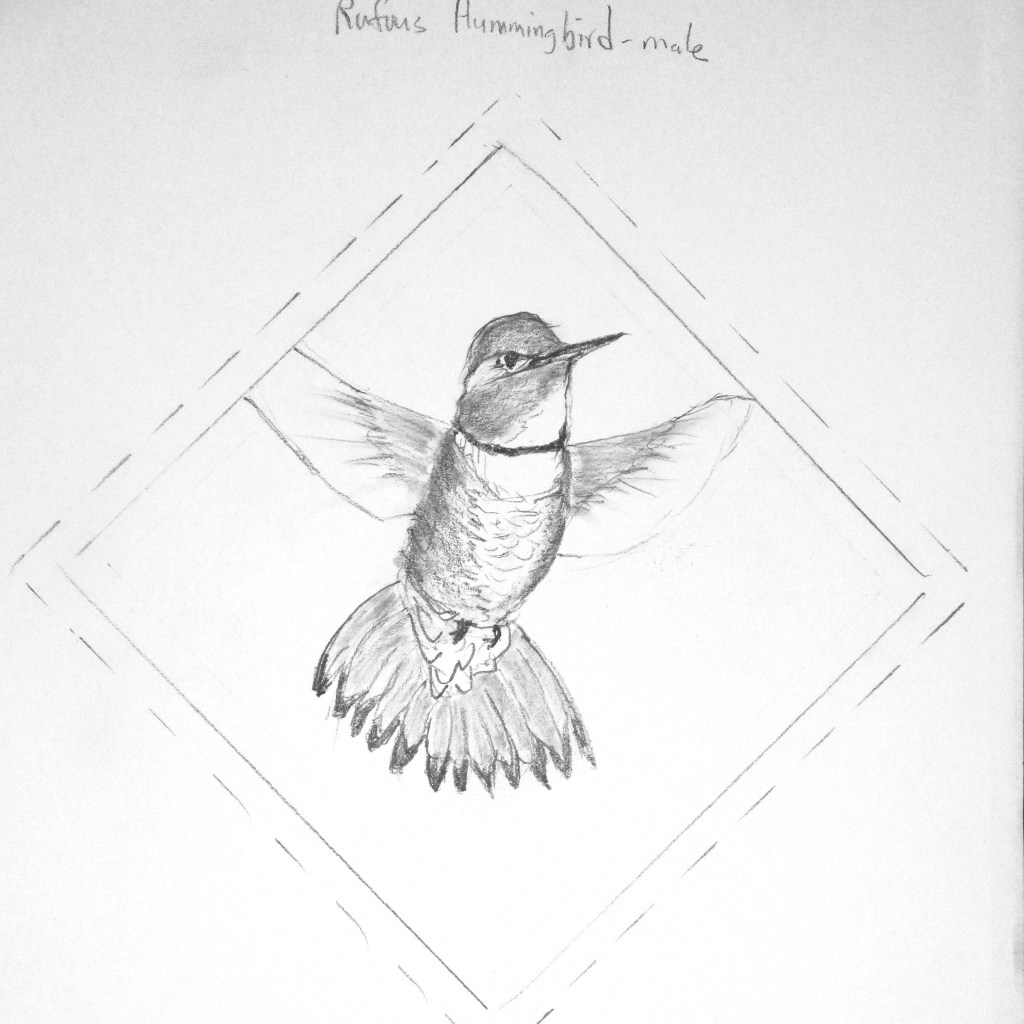
Moving on to the first feature block: I chose the rufous hummingbird. After making a pattern from my sketch onto tracing paper, I cut out the parts to be appliqued and fused them in place onto background fabric.
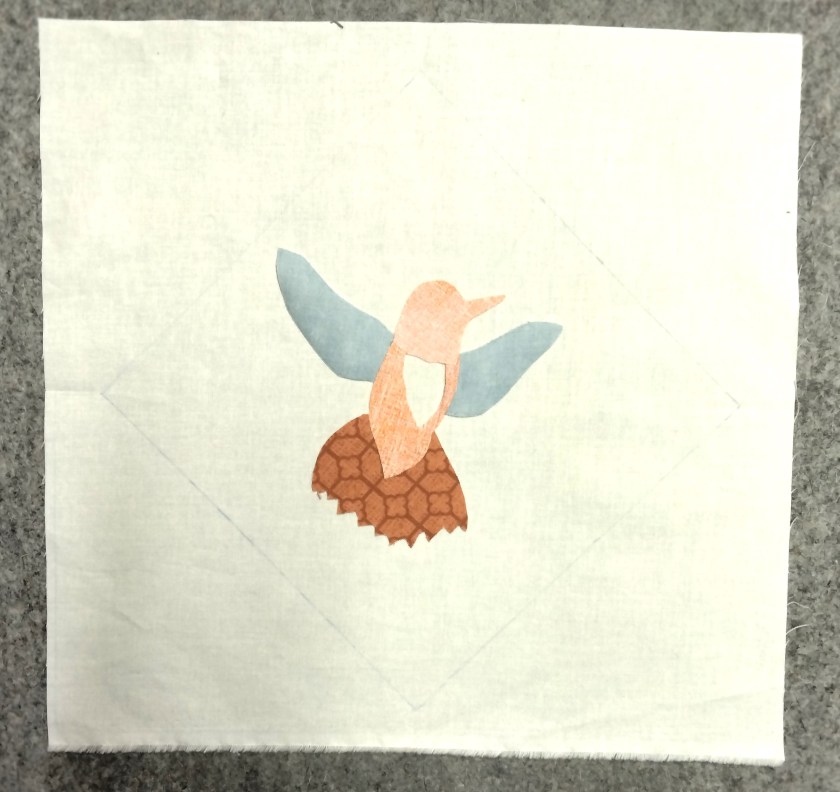
Eventually, shading and details will be painted on, the applique edges will be machine stitched and hand embroidery will create finishing touches. That’s secret code for I don’t know for sure what I will do next.
For now, I am waiting to receive more Jacquard Textile paint.
I’m so relieved that I’m back into action at my new address.
What are you working on this month?