Posted in quilting

SAHRR Quilt Round 1 Challenge

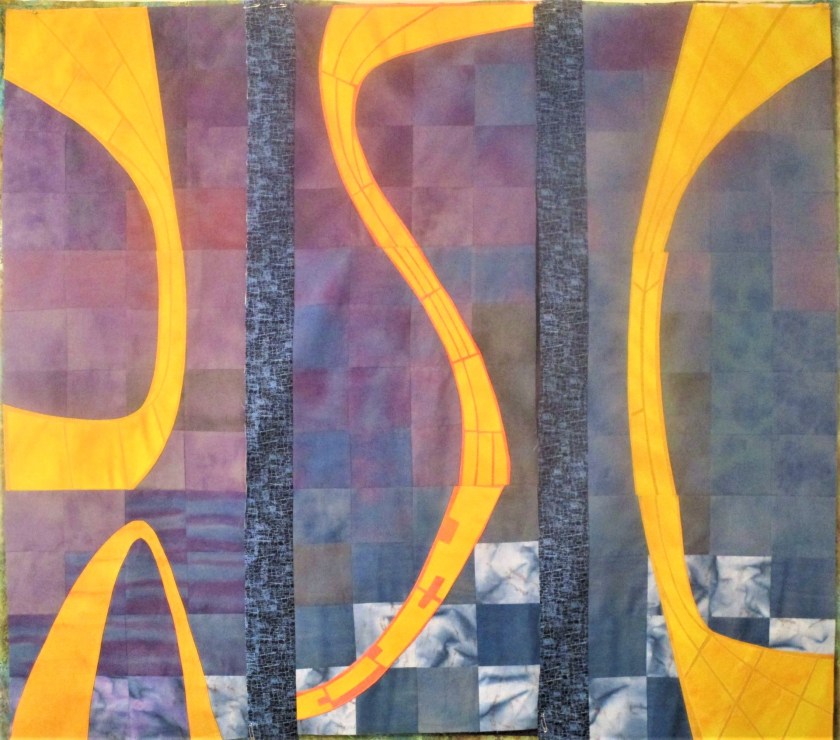
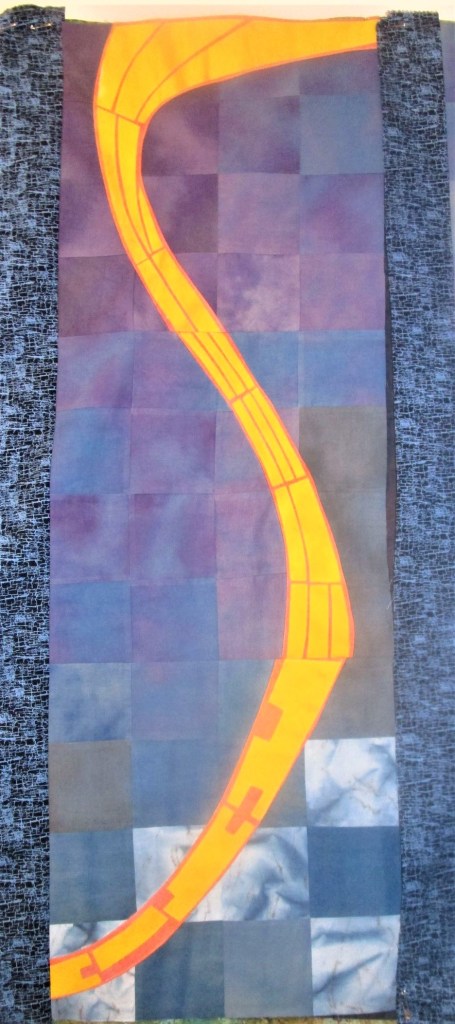
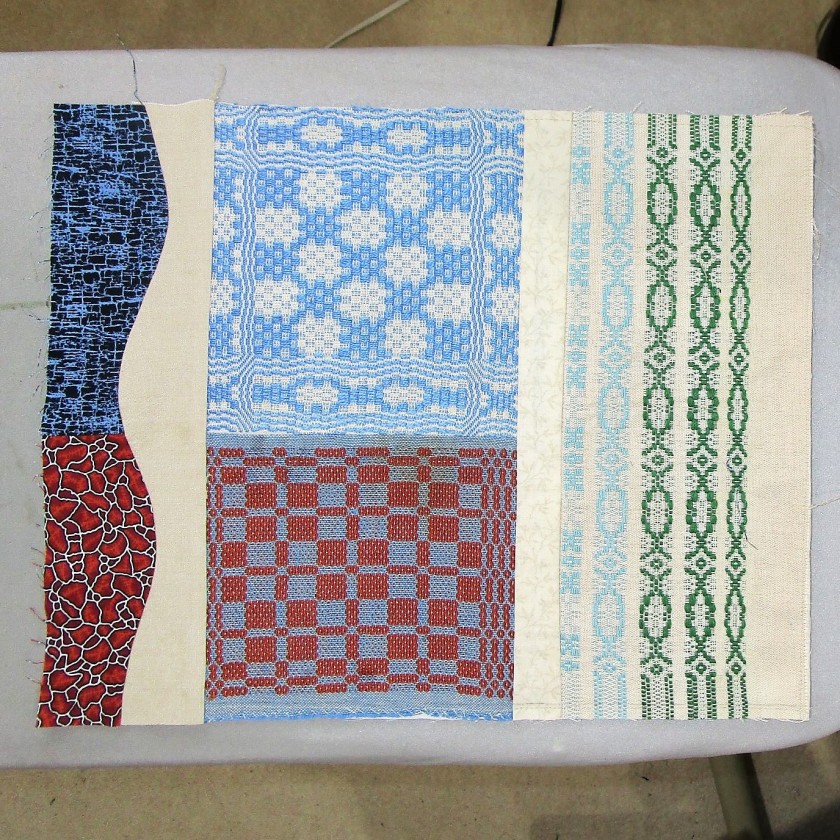
I was so glad that Anja chose the prompt of Curves for the first round of this year’s Round Robin quilt along. In working with the vintage weavings chosen for my center block, I had observed that the maker had used lots of curved lines in her color patterns. Some were vine-like, some looked like hairpins and some are just little wriggles. I was keen to echo these curves in the quilt as I built it.

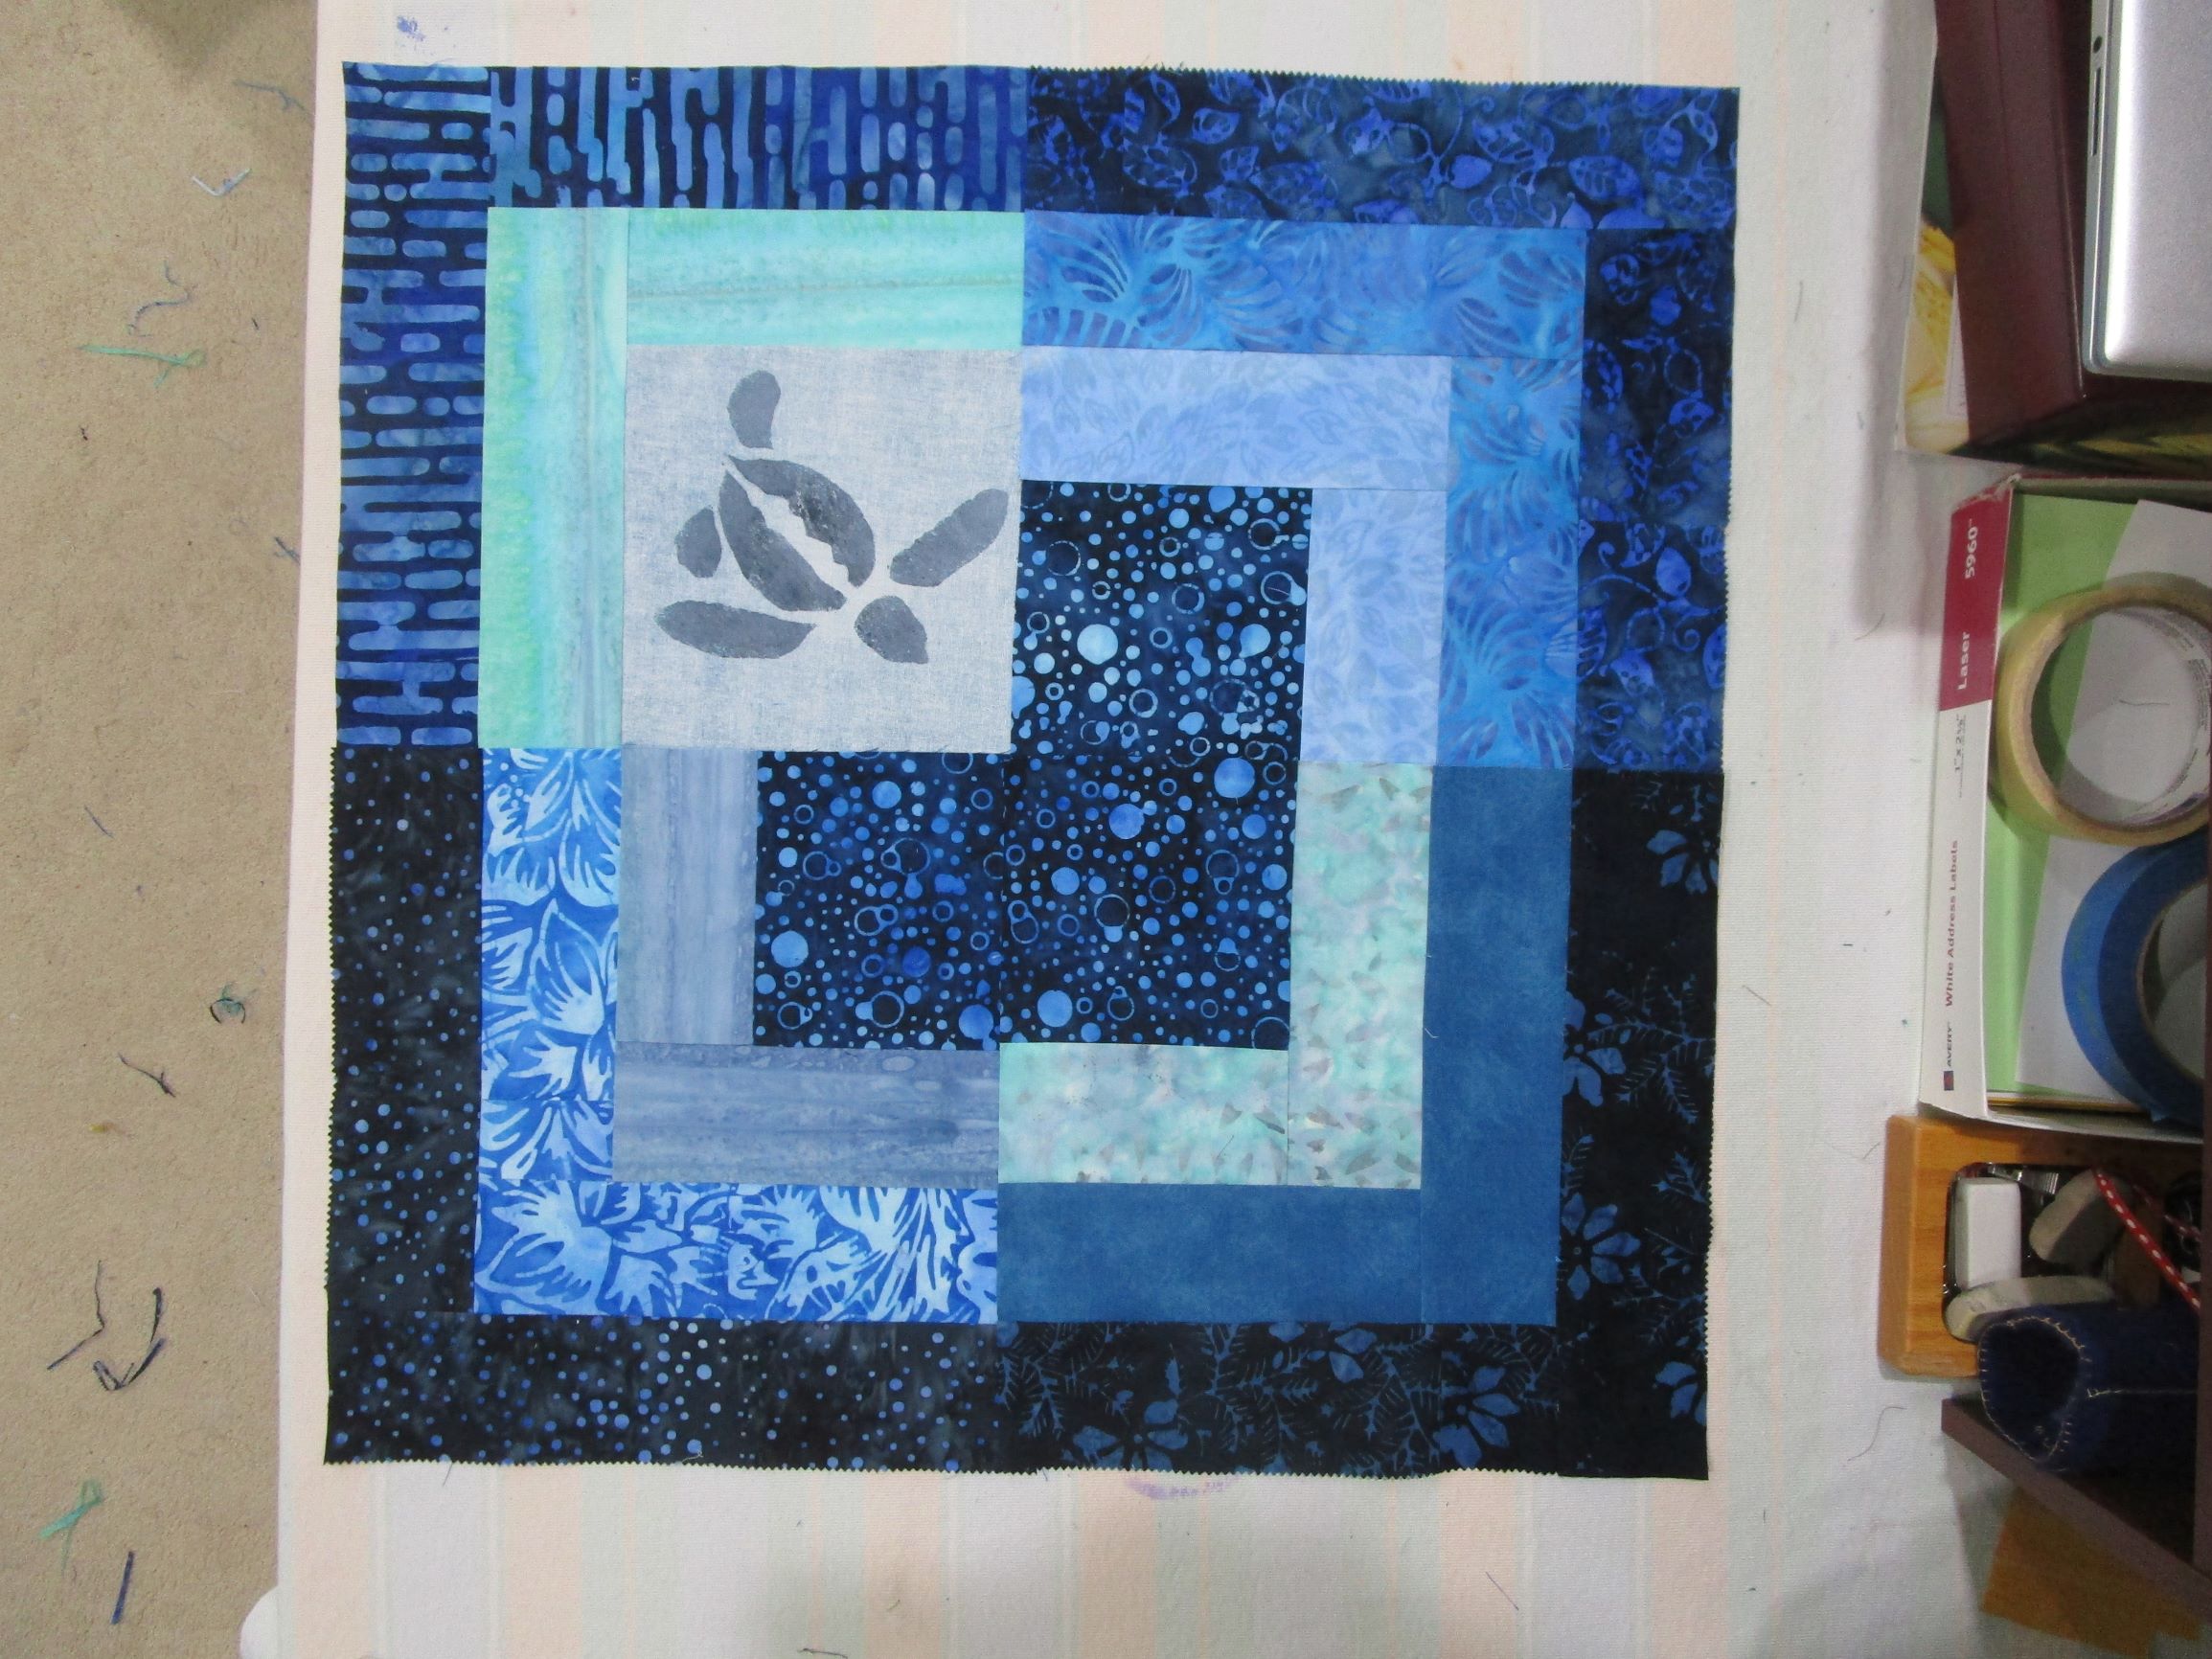
To start my round, I chose four fabrics with colors and patterns that reinforce the theme of the four elements. I am using the linen-colored background fabric to make the other side of the curve. Next I made a little template for the corner blocks. These will have a quarter circle in the inside corners using the background fabric. Here are my pieces, cut and ready to be sewn.

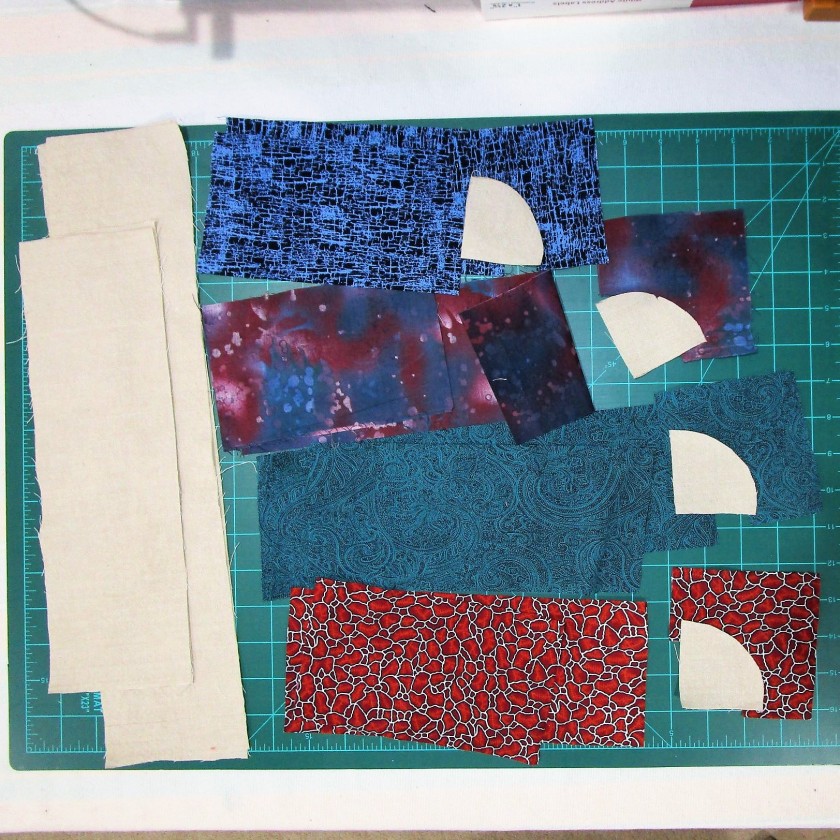
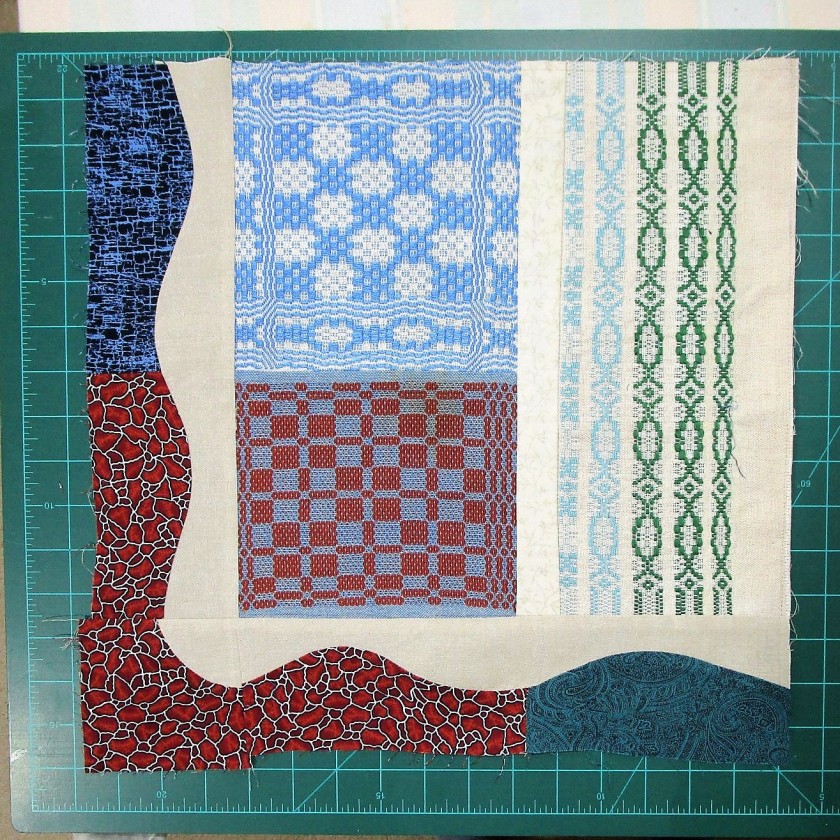
First I joined strips of two different colors for each side of the block. Then I cut strips in the background fabric to match the length of the block sides

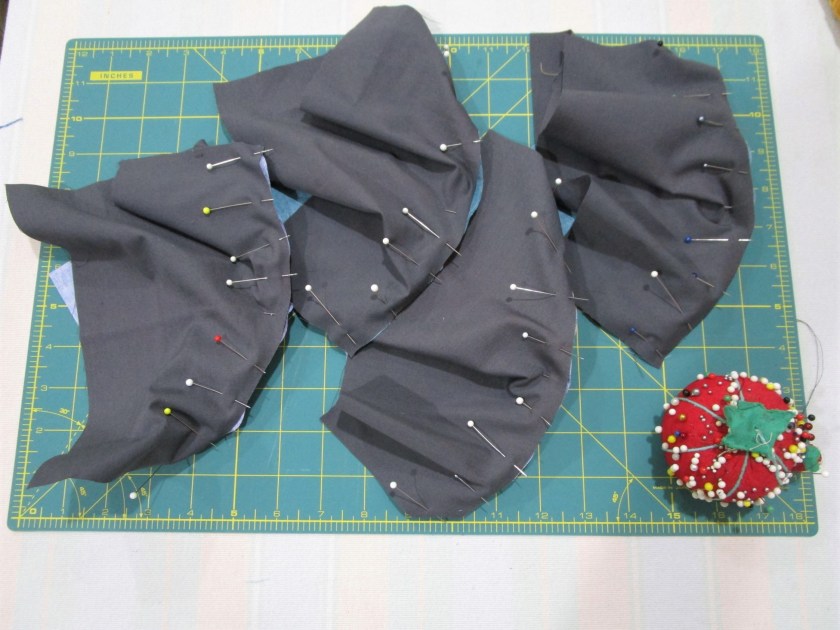
After sewing together the corner blocks, it was time to make my curves. With the front of fabric facing me, I overlapped the two strips and just sliced a curve through the center of the strips with my rotary cutter.

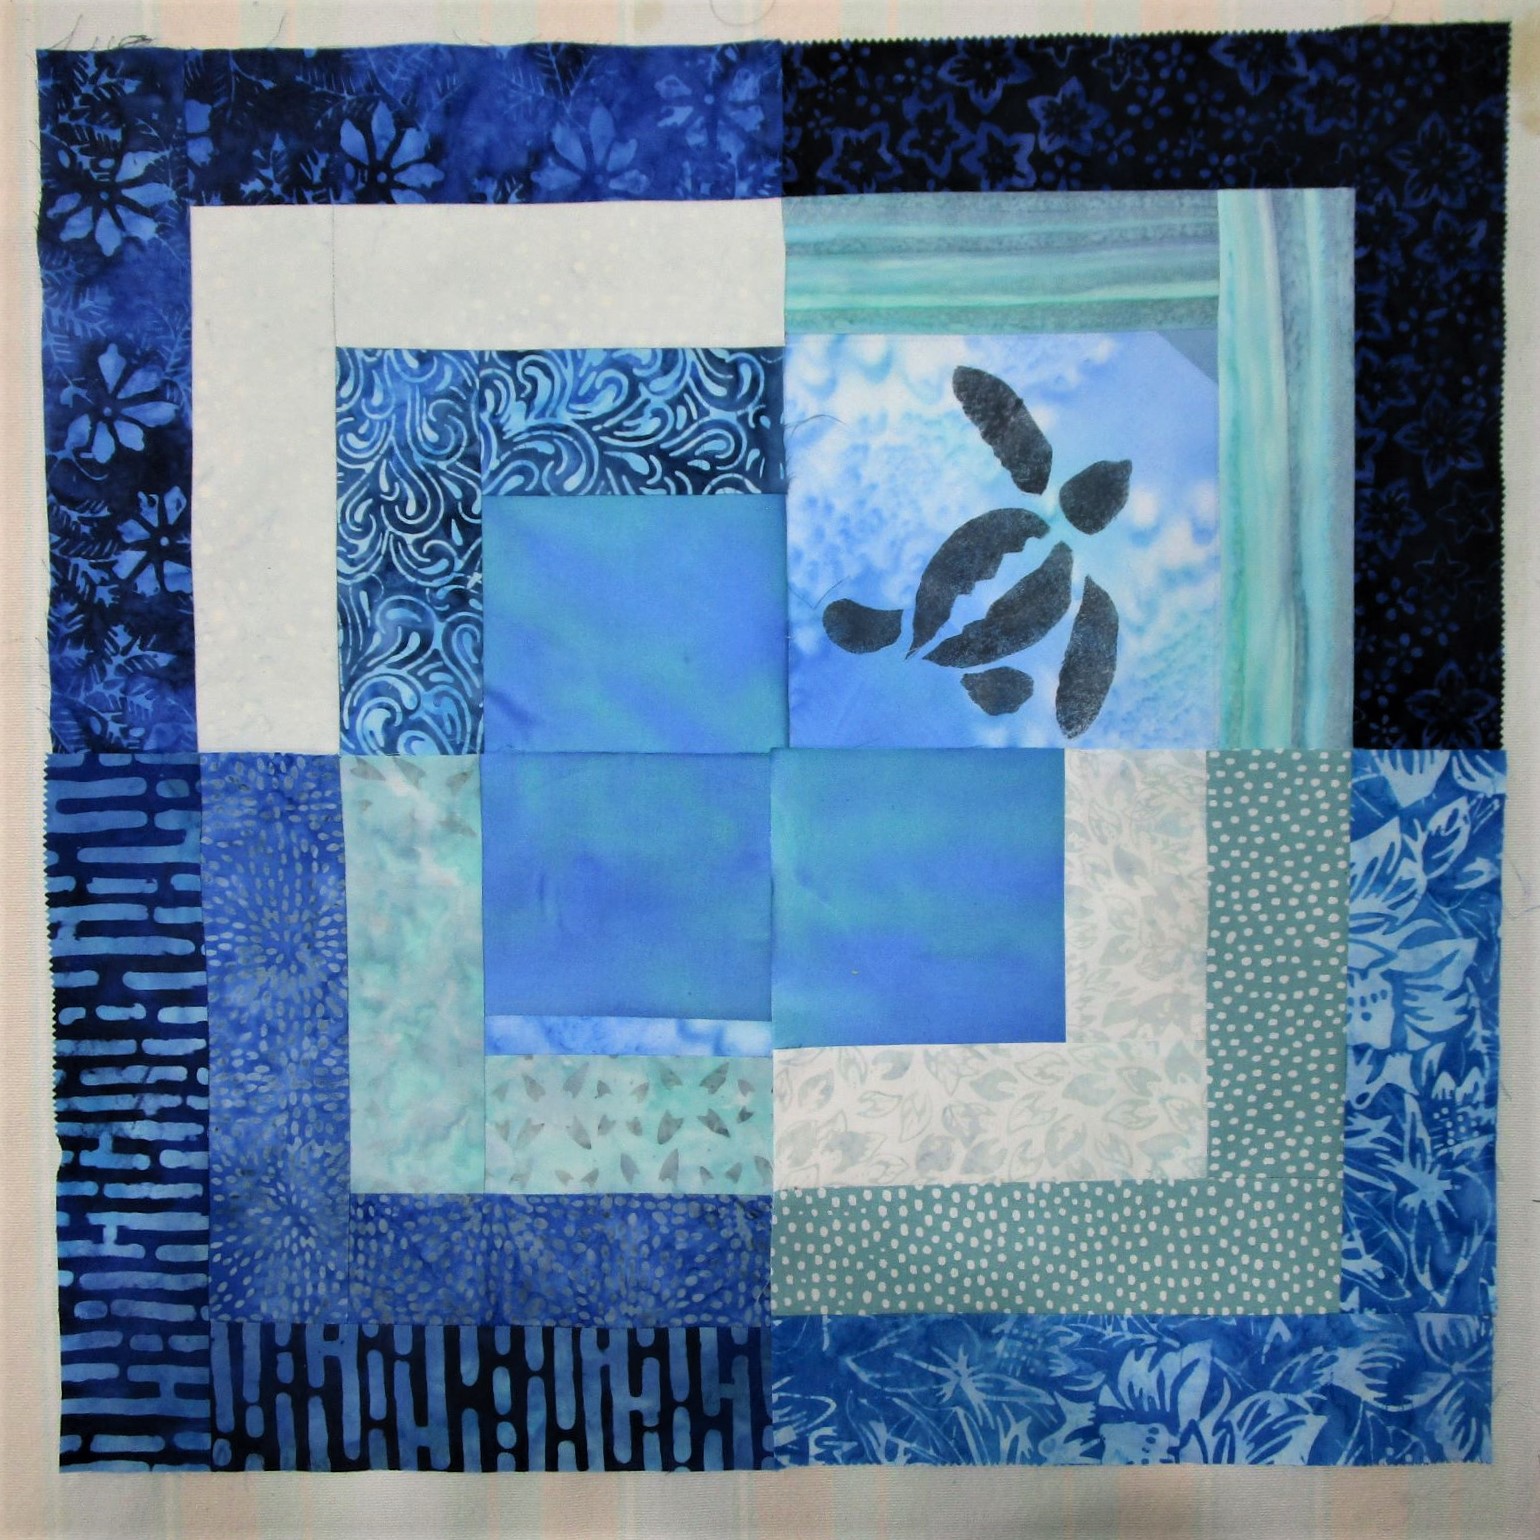
Here is the first side sewn together and ready to attach to the center block

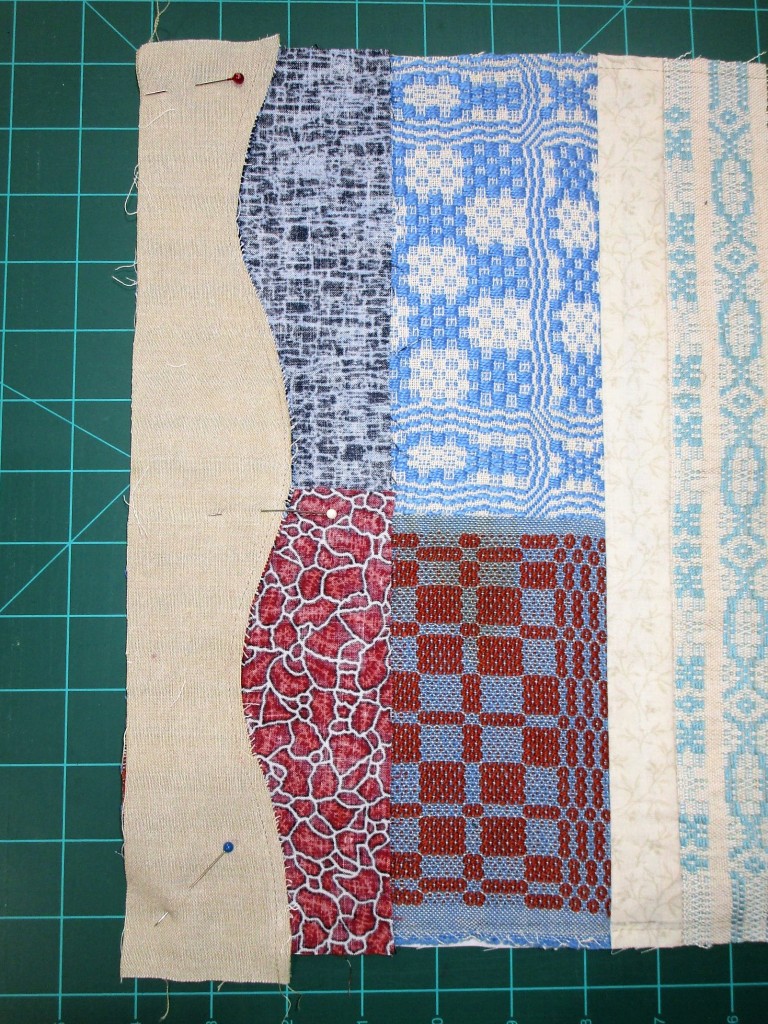
And here it is, sewn and pressed.

Side two and one corner block are added.

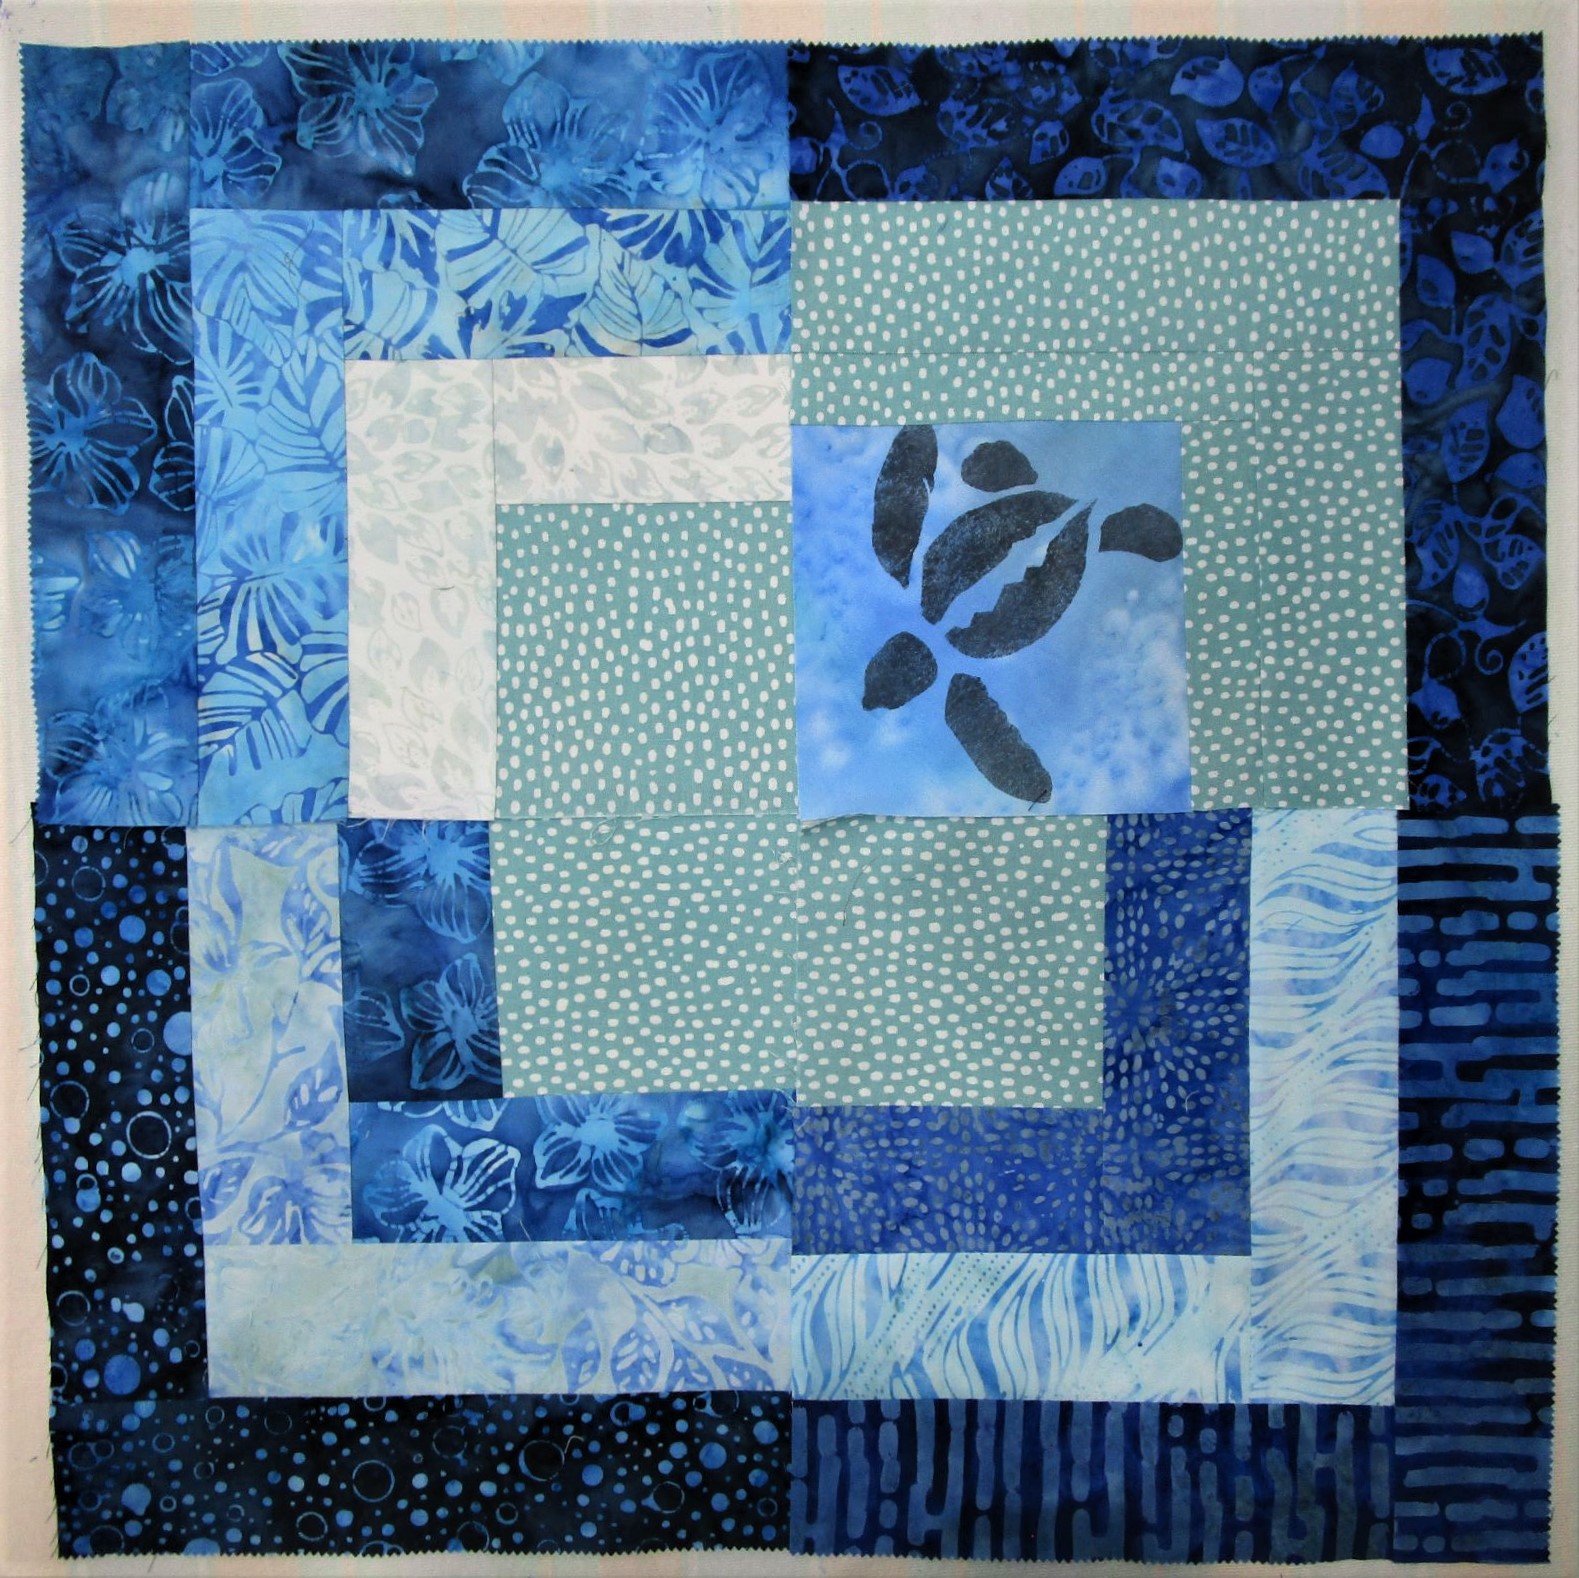
Working carefully, matching up edges as well as I could, I finished this round in about three hours. Here is my block, pressed and squared up.

I like the way the dark colors draw the eye to the three woven pieces,
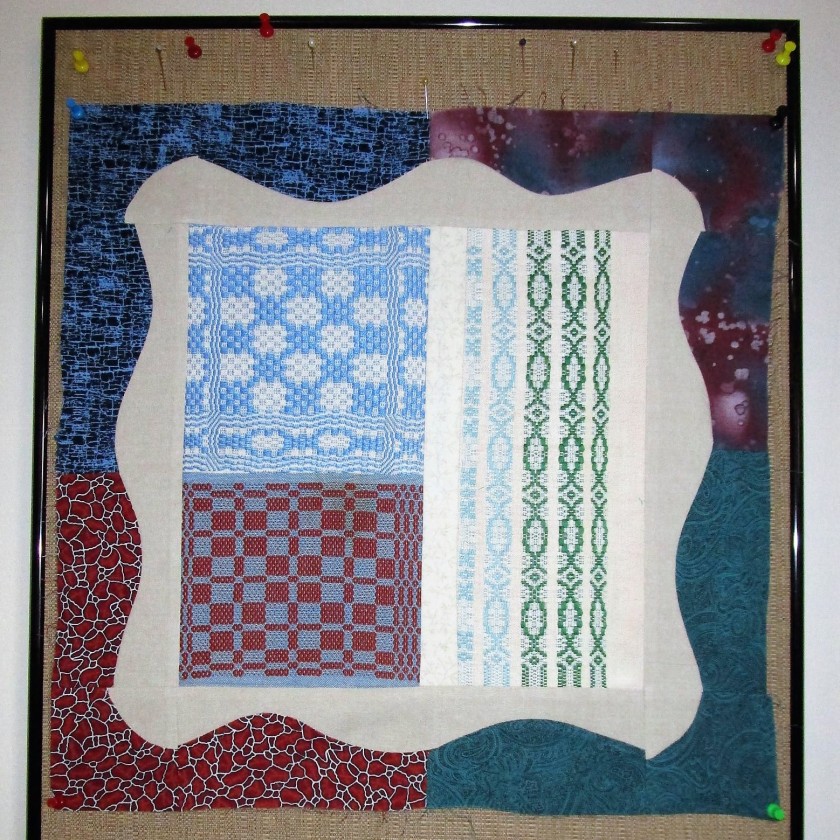
which are outlined in the background color.

It now measures 18- and 1/2-inches square and is ready for the next round. I had no trouble with the woven samples shifting or bunching. I think my tactic of backing the pieces with muslin did the trick.

If you would like to see how other participants are making their curves, check out the linky-party, below.

https://anjaquilts.blogspot.com/2022/01/stay-at-home-round-robin-round-1-curves.html

To learn more about the Stay At Home Round Robin event, visit Quilting Gail’s blog.

Posted in quilting

Under the Sea Progress Update

Today I finished assembling all of the log cabin blocks for Under the Sea quilt. While arranging the blocks in groups, I quickly realized that my original plan did not serve the overall design. So I switched to a layout in which each group of four blocks is rotated with the center squares touching. Now I have ten groups surrounding a central panel with the large sea turtle in the middle. Here is an overhead view.

This image excludes the top three groups. I couldn’t fit it all into the photo.

I’ve had so much fun coming up with images of underwater creatures. Ultimately, I decided to make my focus life found on a coral reef. Here is the center panel with some tropical fish, big and baby sea turtles, and an assemblage of sea horses…..

Next to and surrounding the panel can be found some jelly fish

The stinging tentacles will be added after the block is assembled.

… a living sand dollar (did you know that this animal is a type of sea urchin?)…..

….. a group of starfish, more tropical fish, and four additional baby turtles swimming across four different sections of the quilt.

Working with the batik pre-cut strips was such a pleasure. First of all, hey, I didn’t have to cut them. Secondly, the front and back of the fabric is the same, so you never end up with the wrong side on front. And finally, the fabric was so tightly woven that no twist or stretch happened while under the needle. This made the boring parts of piecing go quickly. I could spend time designing and painting my little sea creatures.

Next up will be sewing the blocks together, choosing a backing fabric and the actual quilting. There is a long way to go before this project can be put to bed. (Ha!)

Posted in quilting

Status of Arch Quilt

I have finally finished piecing the Gateway Arch quilt. Next I stitched the blocks into three panels.

Left

Center

And Right.

Before I move on to making the quilt sandwich and quilting, I will be adding some details to the blocks using fabric paint and possibly some embroidery. This step will allow me to practice a new technique I learned over the holiday.

Posted in quilting

Piecing with Free-Form Shapes

The first thing I did in my studio today was re-sew the wonky row of yesterday’s triangle quilt sampler. It looks better now, but certainly not perfect. I decided I could live it. Now I feel free to move on to free-form piecing, a skill I have been wanting to try for several weeks. This technique utilizes the rotary cutter, but not always the grid ruler. Leslie Tucker Jenison treats her rotary cutter as if it were a pen or a paint brush to do improvisational piecing. Her quilts look very gestural. You can see her tutorial at https://www.youtube.com/watch?v=4vT08esPfzw

I’m not ready to improvise yet. But I do have an idea for a semi-abstract design based on sunflowers. Here is the sketch of my idea.

This piece is divided horizontally into four rows. I assigned color values to the various sections, and divided each row into workable blocks. The fabrics I selected have a nice range of values, and three of them are solids. I think they will play nicely together in this design.

The next few hours were spent puzzling over the shapes, cutting, re-cutting, stitching, and, oh yeah, ripping out at least once. At the end of my allotted time, I had finished the three blocks of the bottom row. What do you think?

The width is going to be roughly 12 inches. I think it will end up about 24 inches tall.

So far, I really like it. It’s going to be an interesting experiment. And maybe even turning into very nice fiber object.

Posted in quilting, sewing

Blocks with Curves

At a quilt show I attended recently, I saw several quilts that featured circular piecing. It looked so mysterious. How did they do it? Here is an example from the show.

I am very interested in making contemporary quilts in a similar style. So it is necessary for me to learn to this technique. For today’s exercise, I will be making blocks with pie-shaped wedges sewn into the concave edge of a background fabric. I turned to U-Tube for a little help. One of the instructors is Leslie Tucker Jenison. Here is a tutorial on fitting concave and convex shapes together. https://www.youtube.com/watch?v=4vT08esPfzw

My design inspiration was the sun and planets. Because of the fabric selection I had available to me, I decided to make a piece featuring a gaseous planet.

Dark grey for the background fabric, green and pale blue for the pie shapes.

After cutting out the two types of blocks, I marked the curves with a compass. The trick is that, at the curved line, the pie shaped piece needs to be 1/2 inch wider than the background piece, to accommodate the seam allowance. I used a compass to draw the curves and cut them out with scissors. Here are the four blocks pinned and ready to sew.

It’s important to mark and pin the two centerpoints and align the block edges. Then place a pin about every inch. Stitch with the concave piece (background) up, so that you can ease the curve. Here are the blocks before pressing.

I have most the points matched up pretty well. Next is to sew the pairs of top and bottoms together and then sew the center vertical seam, matching the pie shape edges and nesting the center seam.

My planet block, sewn and pressed

I’m relatively pleased with this first attempt. Only the lower right block is slightly off. The final dimension is 18 and 1/2 inch square – a very good size for a cushion cover.