Posted in drawing, quilting

In the End – Confetti

My creative bent took an unexpected turn today. I started the day by thinking about Van Gogh. You see in the photo the sunflowers I planted this year. I took this image over my garden fence with the idea that it would make a good reference photo for artwork. To further this end, I made a sketch of the photo this morning.

This is a simplified image that I thought would work well for either water color or fiber. Since I am currently up to my eyeballs in reference photos suitable for water color painting, I decided to make a small art quilt featuring sunflowers.

This is what led my brain to Van Gogh. Sunflowers were a favorite subject of the artist. He liked to paint them as still life images, cut and arranged in a vase.

https://www.vangoghmuseum.nl/en/art-and-stories/stories/5-things-you-need-to-know-about-van-goghs-sunflowers

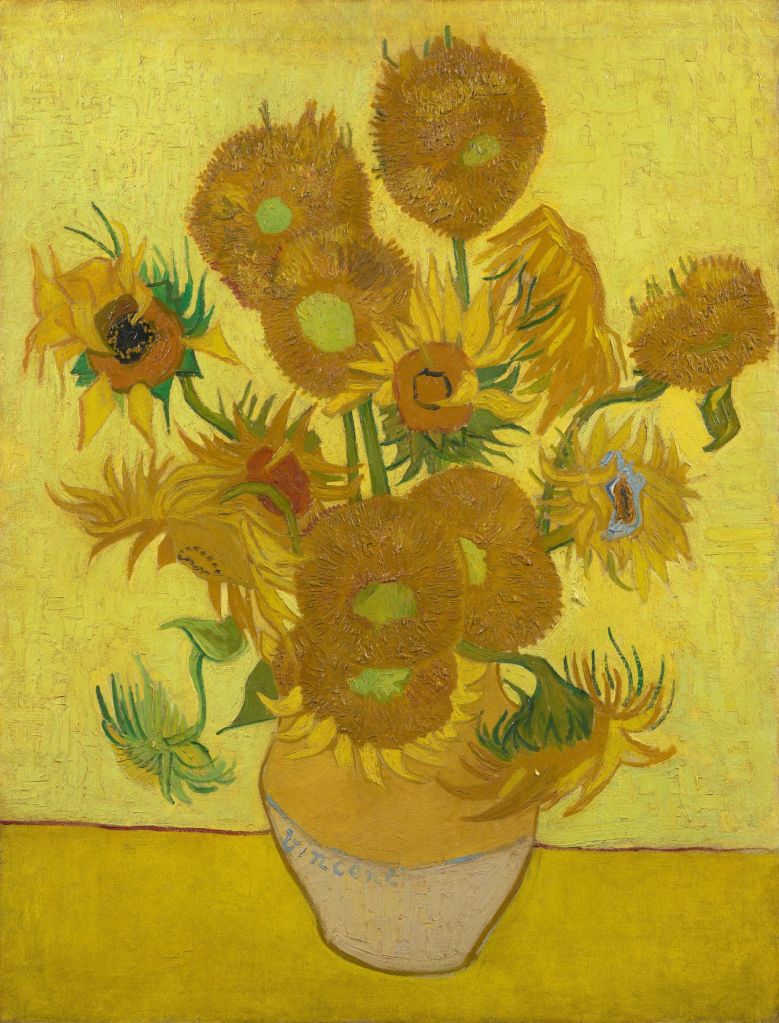
I intended to portray them growing in the garden. But I wanted to create a “Van Gogh” like background – full of color, motion and energy. Think of Starry Night as an example.

During my blog browsing today, I came across a post from the group 15 by 15. This is a very creative group of quilters who like to work challenges. One of the members mentioned that she used the “confetti technique” to create the background of her new work for the current challenge.

My brain started firing up! What is this “confetti technique?” I must learn more!

Of course You-tube came to the rescue. I found an explanation on how to add confetti to a quilt. There are several techniques, but I watched this one by Gail Hunt.

The rest of the afternoon went like this:

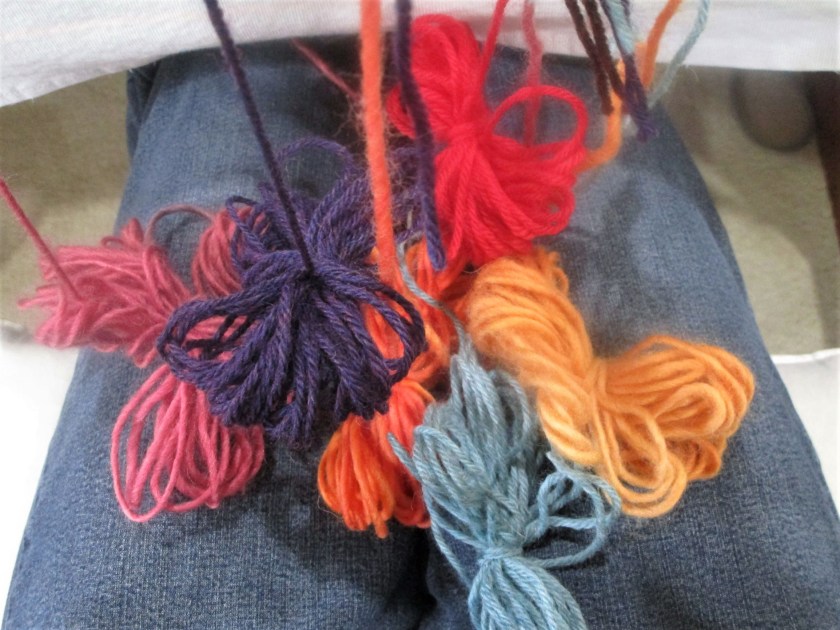
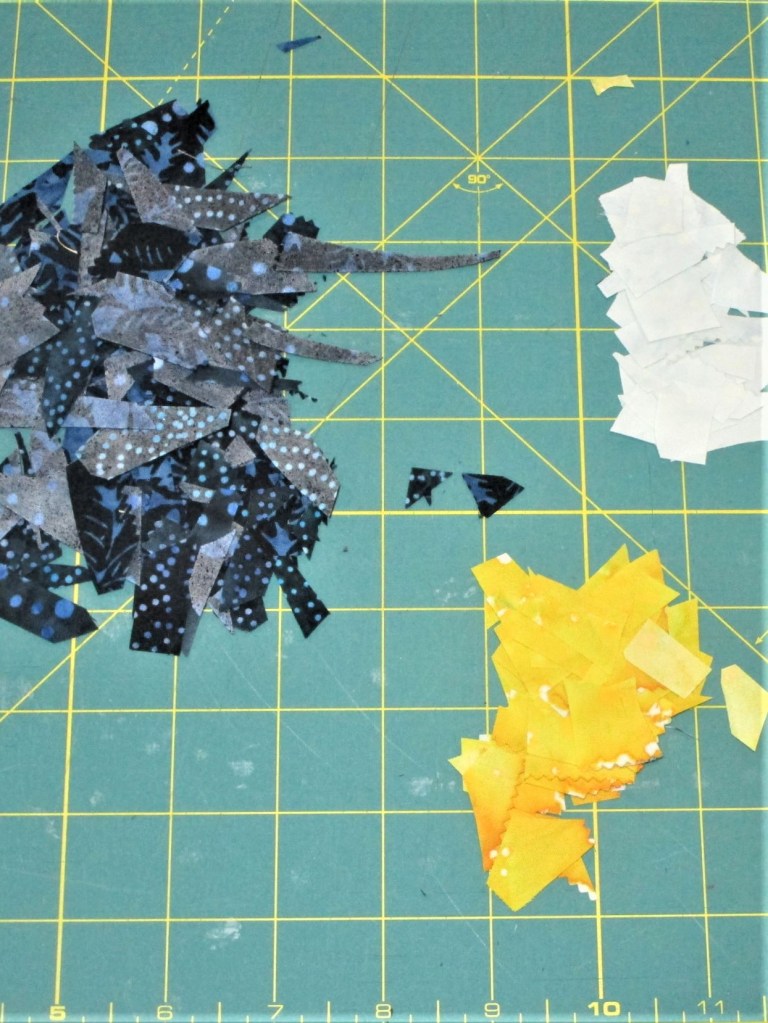
Find a bunch of scraps. (I used several from my Under the Sea quilt, because they already had adhesive attached to them.) With your rotary cutter, slice them to bits.

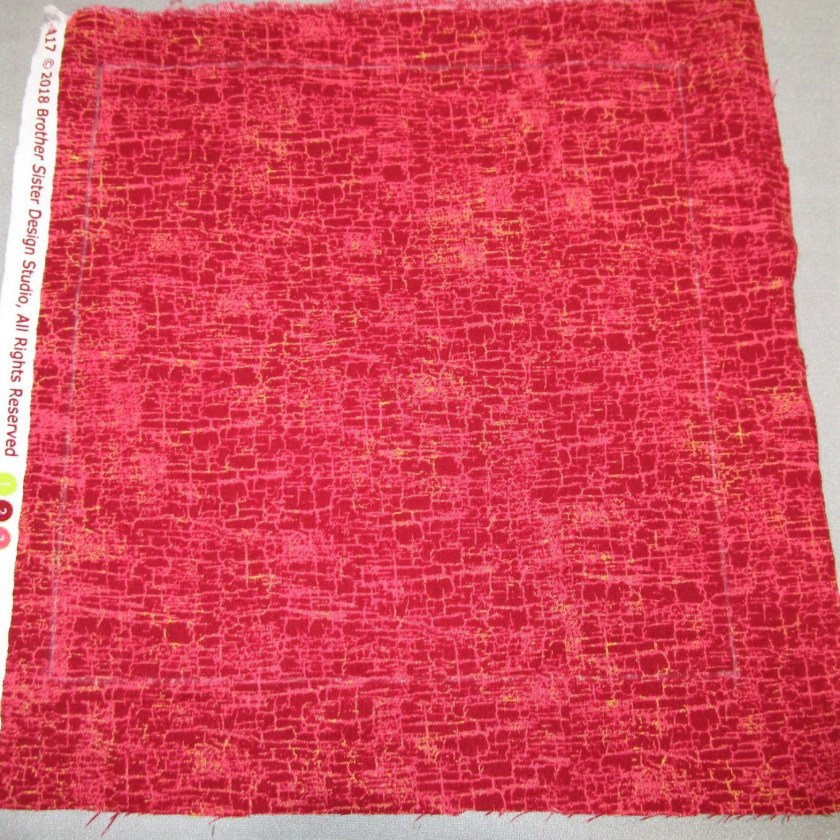
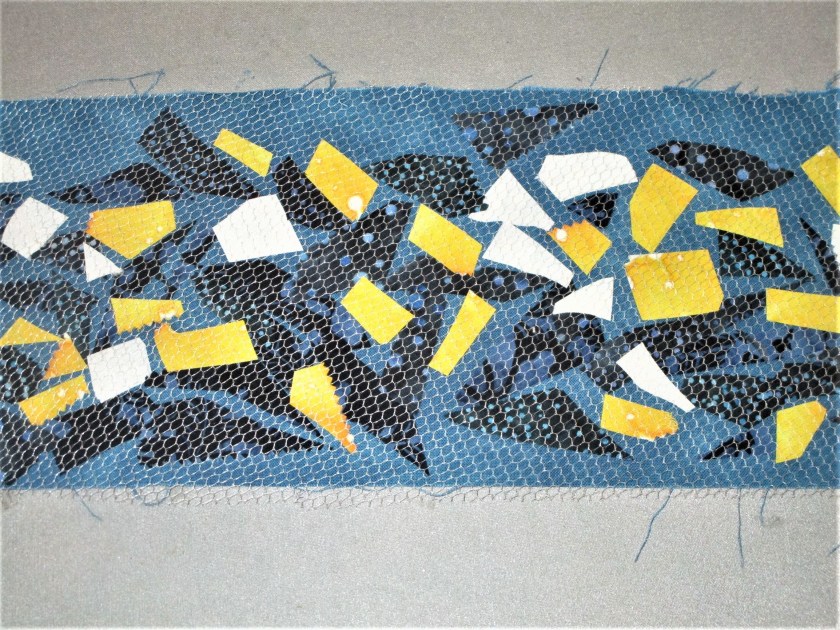
Arrange on a background fabric and press them down with your iron.

Cover the piece with a bit of tulle or netting. Glue or stitch it in place.

With sewing machine and free motion foot, stitch over the piece like crazy. (I used black thread to meander on the background and sew straight lines over the pale bits.)

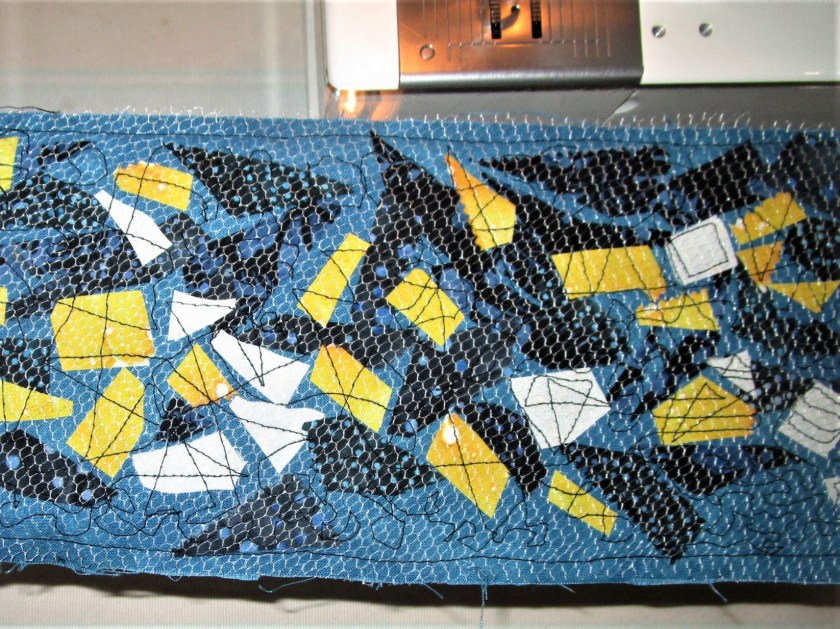
I then switched to white thread and made swirls into the dark areas.

Just like Van Gogh’s “Starry Night.”

Posted in knitting

Butterflies In My Lap

Not the usual place one finds butterflies. These little twisted pieces of yarn are called butterflies, wound up in pursuit of knitting multiple colors at once. I am attempting to make a colorful vest for my daughter. Here is what I have so far:

This is the start for the back of the vest. The concept is to create a riot of color while keeping the front very plain. Back interest is a tactic that I use frequently in my knitting designs. Sometimes I use a dramatic over-sized cable, sometimes a fancy lace panel. I like to make a good impression both entering and leaving the room.

In the picture above you can see a chart that I made for this project. The actual concept, however, isn’t mine. I have to give credit to Irishman Kieren Foley, the creative force behind knit/lab.

https://www.kieranfoley.com/index.html

I have been a fan for years. The first project I made inspired by his work was a skirt. I incorporated one of his fair isle designs into the hem area. Completing this project really helped me to gain confidence as a knitwear designer.

The next project I made was men’s scarf. I actually made two of them – one for my dad and one for my husband. The pattern, available for free on Ravelry, is called Fair Isle Rapids. Here it is on the knit/lab site.

https://www.kieranfoley.com/knit_lab_fair_isle_rapids.html

The design I am aspiring to follow for daughter’s vest is called Weaver’s Square. Here is how it looks on the Knit/Lab site.

My version omits the lace trim and adds another vertical band of color, so that I can achieve the width I need.

Foley’s website offers detailed charts of his beautiful designs in the form of pdf files, for a very reasonable price. If you like color work, I encourage you to visit knit/lab.

Posted in hand embroidery

Sparking Creativity with Embroidery

While studying embroidery in books and on-line classes, I learned about a method for practicing stitches by working on printed fabric. The concept is to use the design found in the print as a template for your design, then embroider it with your choice of stitch and thread. This is well illustrated by the designs found in damask napkins. These are often woven with clearly delineated fruits or flowers.

That’s not what I chose to do. I started with some quilting fabrics that had more abstract, textural designs. Here they are:

Settling on the third one, I started to analyze it. Hm. The terra cotta color reminded me of clay, and the geometric print suggested faceted jewels to me. I came up with the concept of jewels in the clay.

Have you ever had the misfortune of losing a beloved piece of jewelry? One minute the necklace was securely fastened around your neck. The next time you checked, it was gone. This has happened to me more than once. The most notable incident was while visiting Paris, where I lost a necklace the very day I was given it. But that’s a tale for another day.

Have you ever had the great fortune of Finding a piece of jewelry? You’ve just locked your car in the parking lot at Lowe’s , glanced down, and there at your feet is a silver bracelet in perfect condition.

This little fiber object will look as if someone dumped her jewelry box into the red dirt. I started out by making some gemstones in colors of amethyst, topaz, ruby, emerald and turquoise. Using the faceted squares on the fabric, I stitched outlines in split stitch and then worked satin stitch over top. The centers of the jewels were made with French knots and sequins.

Turquoise finished. Showing the split stitch base for the amethyst. I simply sew along the lines of the pattern.

And here are all the jewels. I added some diamond looking stones made with more sequins and connected the jewels with a silver “chainstitch” chain. The chain follows the lines of the print, which give it a crumpled look.

Found Jewels in the Clay

It took me two days to finish the embroidery. I like the dimensional quality of the work. One feels as if she could just reach down and pick it this lovely lost treasure.