Posted in knitting

12-03-25 Unraveled in DBQ

It’s time to share my second CuscoCozzy Kimono project with the band of faithful Unravellers. On Wednesdays, As Kat Knits provides a link for sharing – Thanks, Kat.

By Monday, I had finished knitting both halves.

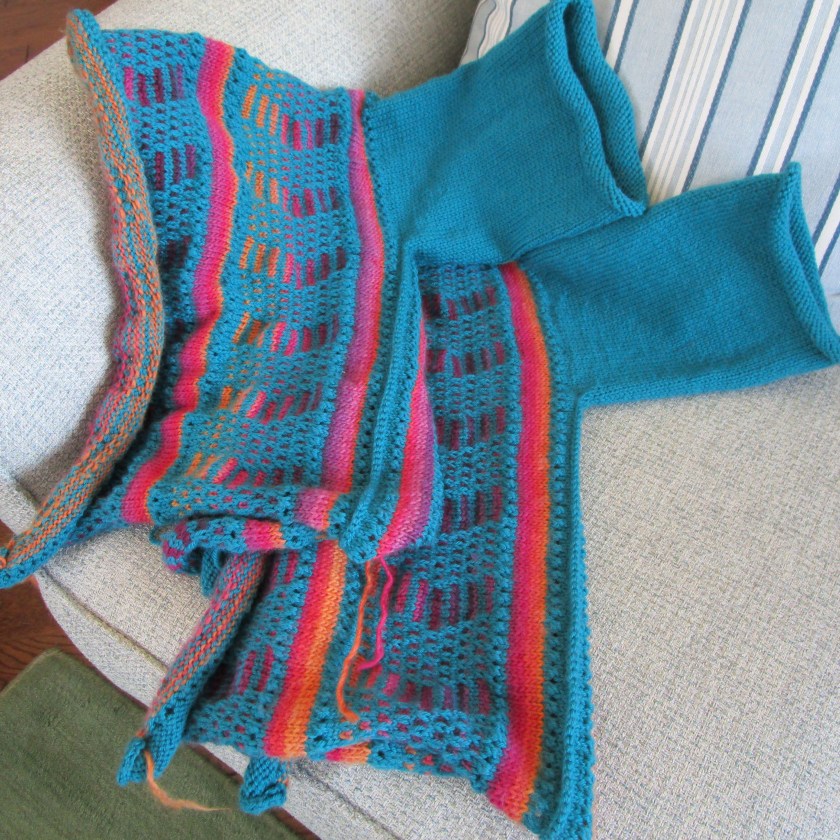
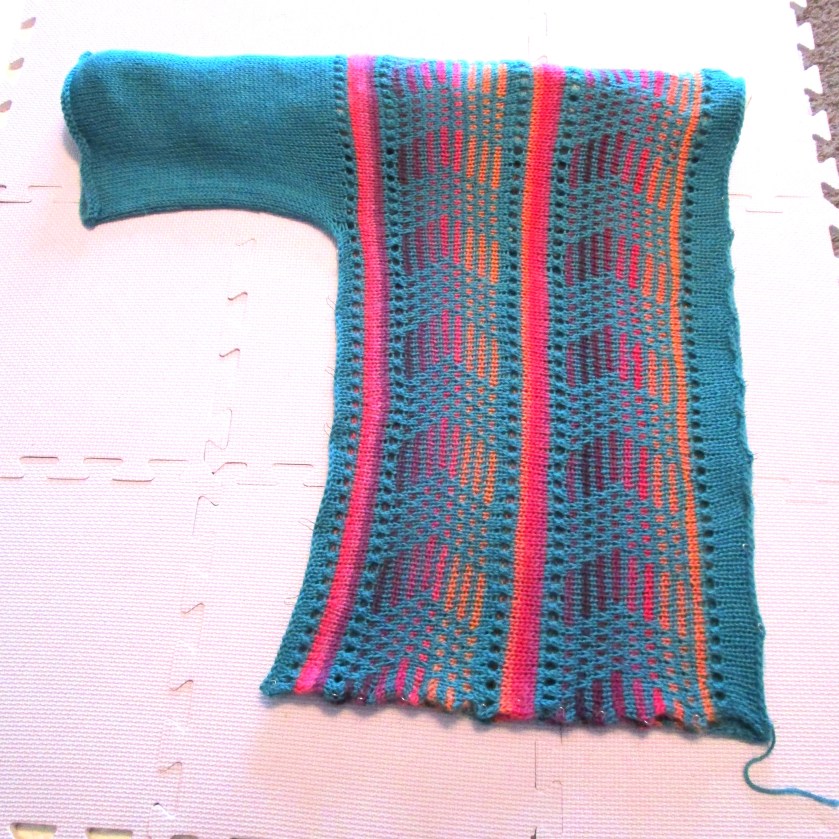
The pattern calls for these to be joined at the center back using 3-needle bind-off. I tried to work this step, with no real success, giving up after about an half hour. The edges were so curly that I couldn’t pick up the stitches. It was clear to me that the pieces would need to be blocked now. Because I had only one set of drying blocks, I washed and blocked each piece separately.

First half pinned out to dry.

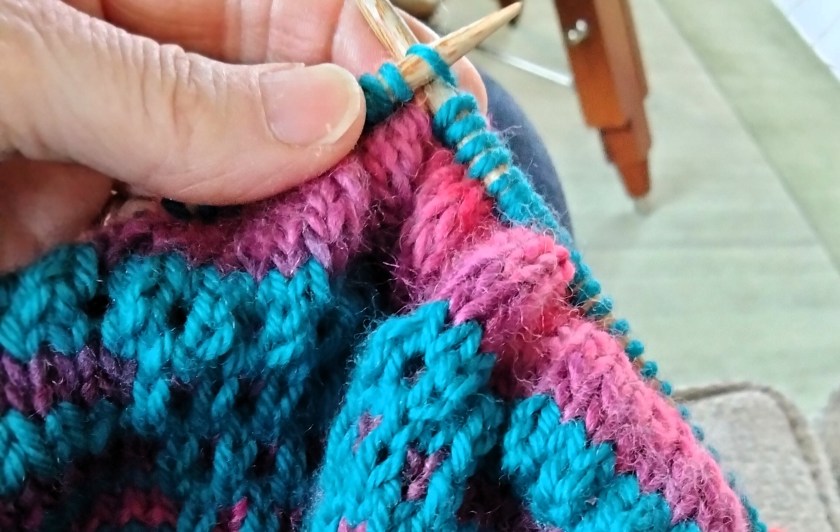
Two days later, after both sides had dried, I completed the maneuver: Using two long cable needles, pick up stitches at each center back edge. Align the two edges right sides facing. With a third (short) needle knit together a stitch from each needle. Repeat. Pull first stitch up and over second stitch. Do this until all stitches are worked into the bind off.

Viola:

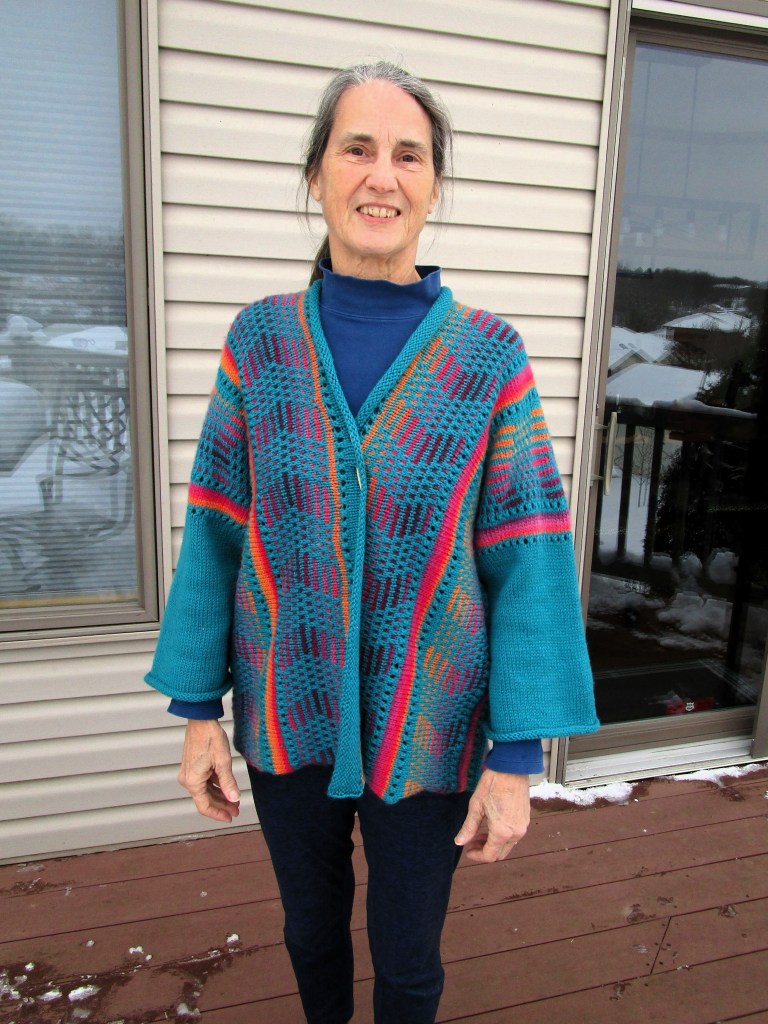
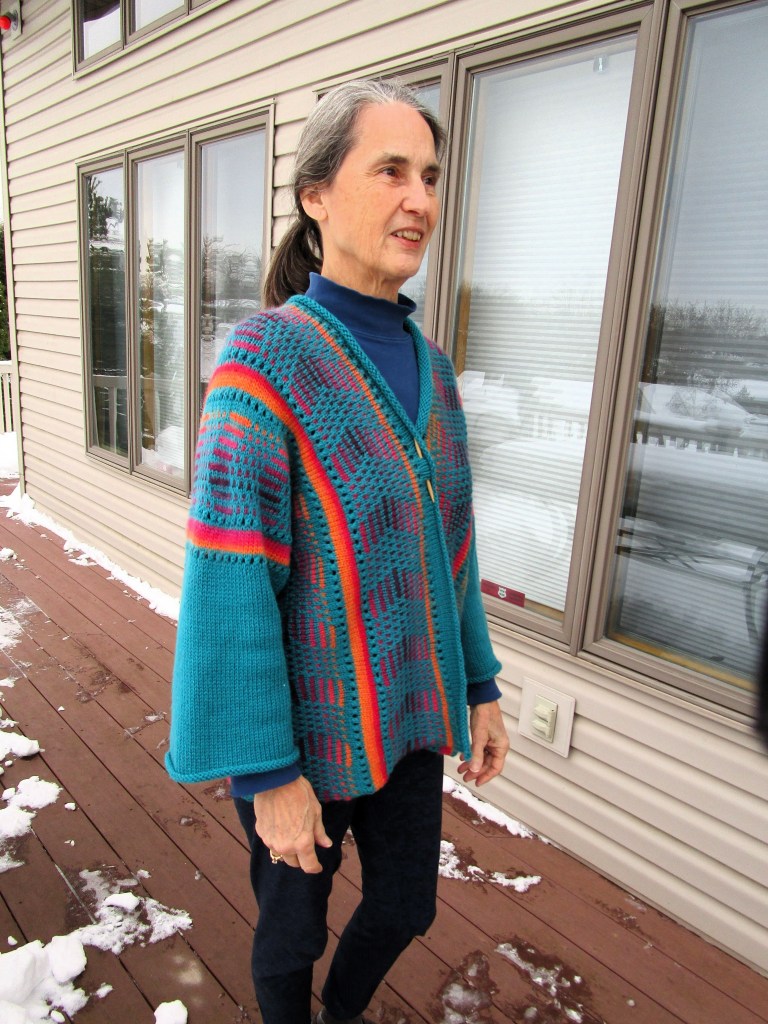
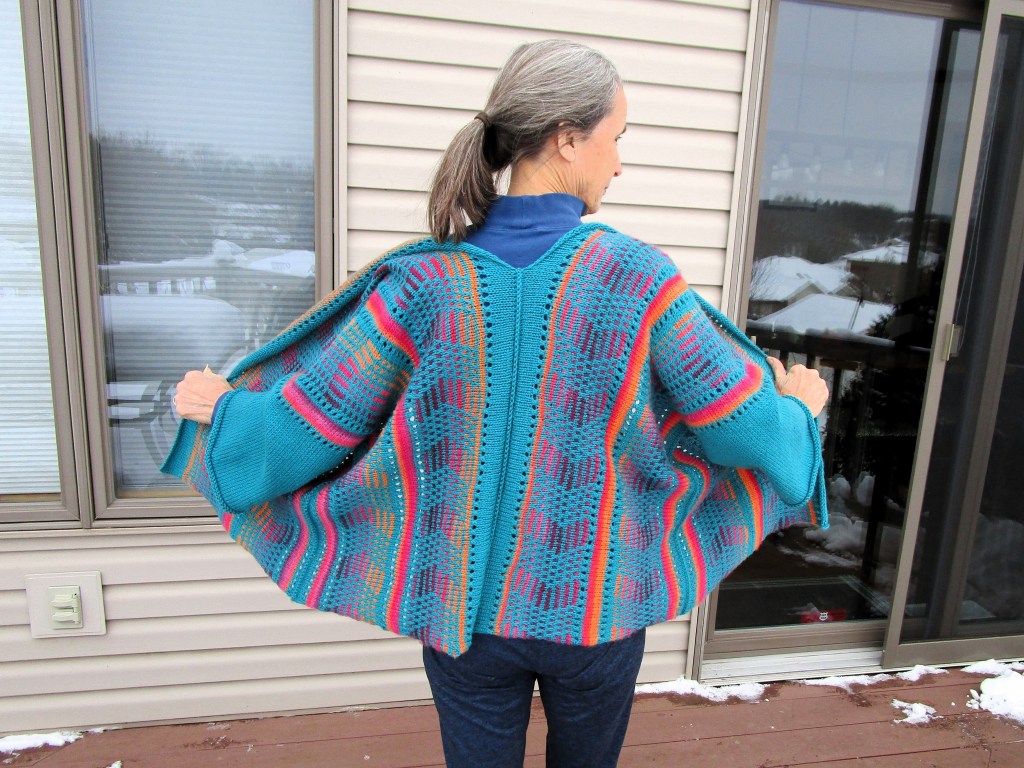
I know, friends, the finished object is enormous. And the intended recipient is narrower than I am. (sigh) Hopefully, she will not mind being swamped. At least the sleeve length looks good.

For those who are curious, here is a link to my first kimono knit from this design. My yarn for this version is Cascade 220 in Teal and KnitPicks Chroma in Lava Party.

To see what the other Unravelers are making this week, click here.

Posted in knitting

Cast on Monday Again

Yes, I am still working on the pair of socks that I started last Monday, using the rainbow colored Berroco yarn. It’ another cold and rainy day – really, the beginning of a cold and wet week here in Oklahoma.

But I am starting another project, just to keep things interesting. My daughter has requested a pair of gauntlets. You know the thing I’m talking about – to keep your arms and wrists warm. I chose this pattern, from the book “60 Quick Luxury Knits” featuring Cascade yarns. I like the fresh graphic quality of the colorwork. For the main color I have chosen a spicy pumpkin superwash merino from Knitpicks, size DK. Now I must dive through my left-over bits of yarn to come up with eight contrasting colors.

Despite a large number of odds and ends available, I don’t have enough selection in the range of values I need. I’m short on light colors. Oh why didn’t I choose a pattern that uses a sock weight! That I have plenty of.

Does this mean a trip to the LYS? I’ll let you know later.

Posted in colorwork, knitting

Hat Alert!

The message came in over the week-end, with a tone of some urgency. It seems that the baby toddler girl had outgrown her hats, and the carefully saved wool hat of #1 grandchild was no where to be found. With the onset of cold weather, there was no time to waste in meeting the need.

The criteria was pretty simple. Earflaps were desired and a cord to tie the hat under the chin. Consulting my stash I found an almost full ball of Cascade 220 Superwash in a pale yellow color. I had purchased this yarn two years ago when I first learned of the baby’s expected arrival. I was excited to try out some stranded patterns using this yarn and various bits and bobs left over from other projects.

First I consulted my knitting stitch dictionary (750 Knitting Stitches – The Ultimate Knitting Bible.) For this project I needed a pattern with a fairly short repeat. I also needed a motif that would fit on the ear flaps.

These two will do nicely. Cosmea will work for the earflaps and Aubrieta can circle the body of the hat. I also liked that the pattern repeat was six stitches. With my gauge of 5.5 stitches, a multiple of six will help me achieve the 18 inch diameter I needed. Here is my chart for the earflap and body, and my calculation for the cast on. I came up with a total of 96 stitches, which is divisible by six.

Ear Flaps done.

After casting on, I completed a modified version of Aubrieta, stopping when the hat body was 4 and 3/4 inches tall from cast on. Next I consulted the pattern I had used ten years ago for grandchild #1’s hat to figure out the crown decrease rate. I added a few rows of dots in the first three rounds of decrease, then completed the rest of the decrease in the solid yellow yarn.

Ear Flap hat in the blocking stage.
All Done.

This was a fun and quick project to make from one’s stash. I was pleased that I could use up some yarn scraps of a beautiful Malibrigo yarn that was left over from my blue ribbon vest.

UPDATE: Hat was received, and put into use quickly. Not only does it cover the ears, it covers the cheeks as well. It’s so big that it will still fit her next winter.