Six months into my adventures with Daily Fiber Fun, I find myself surrounded by a bunch of Unfinished Objects. Here they sit, silently reproaching me for leaving them in a partial state of completion: unfinished, unused, unloved.
Help me! 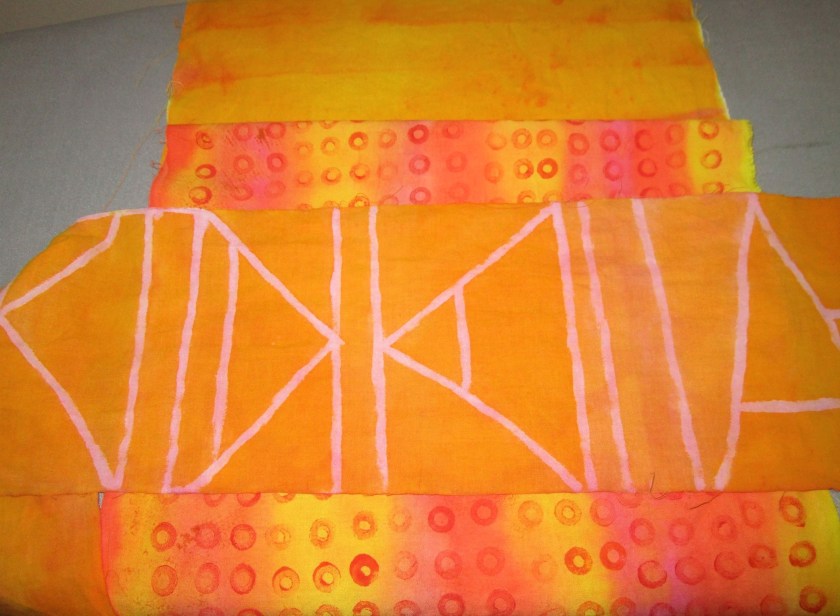
Help me! 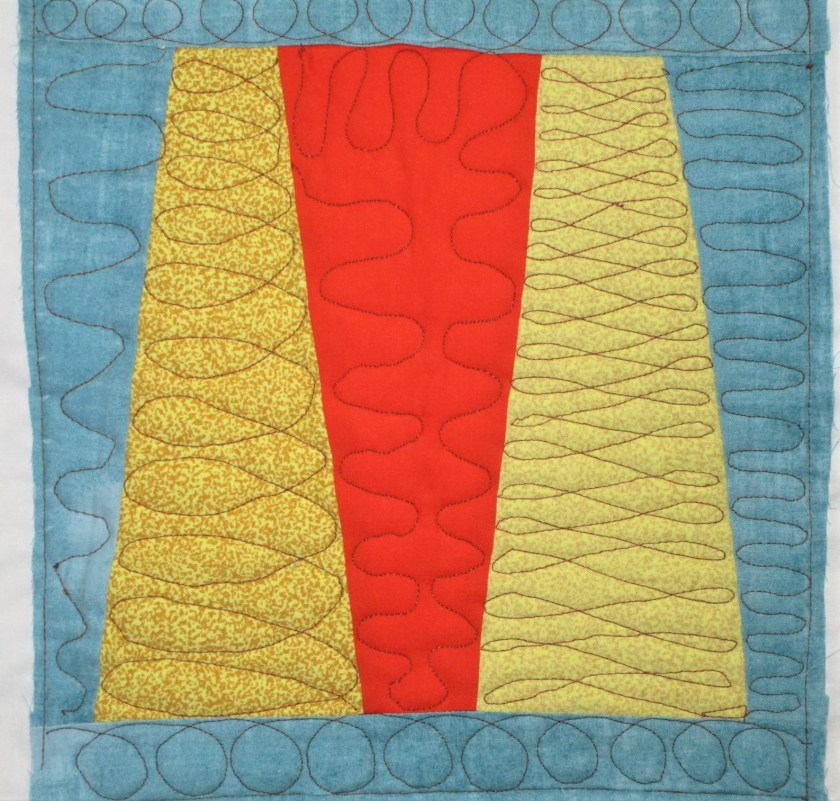
Help me! 
Help me! 
Help me!
Resolved to address the cries, I have selected this guy to work up into an FO.
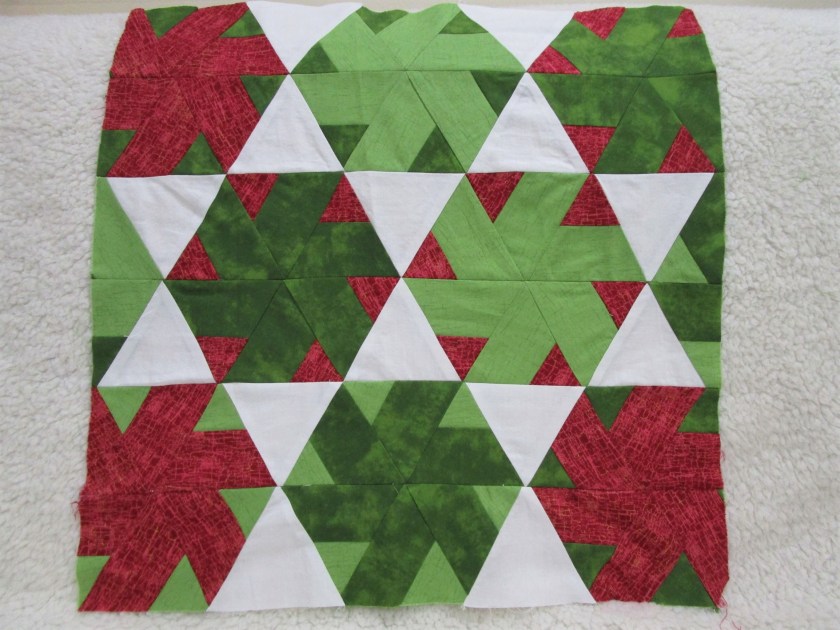
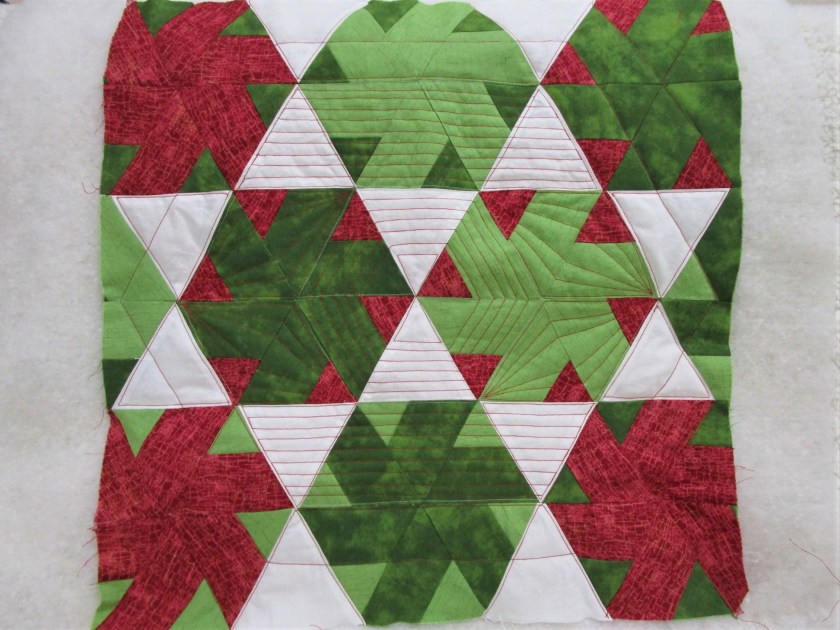
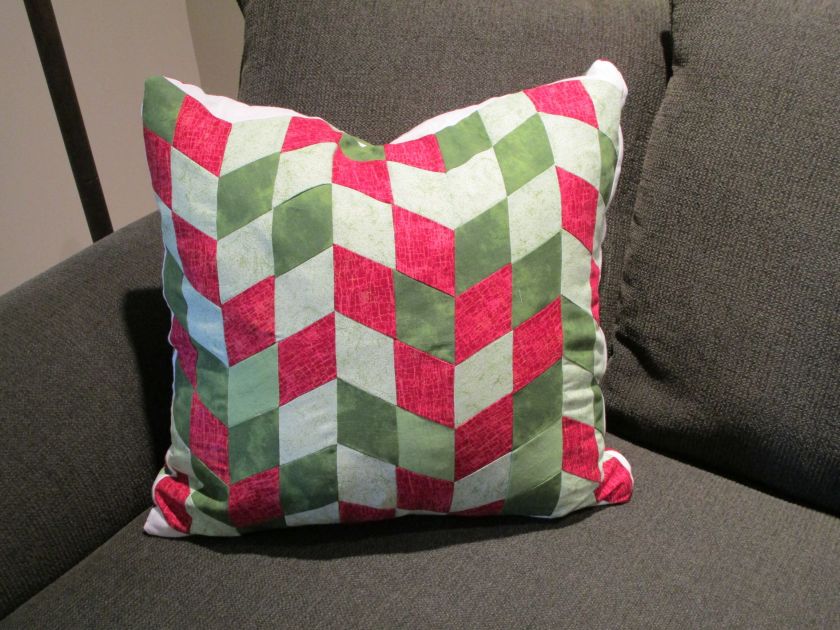
I made this 21 inch square block of hexagons during my week of learning to piece angular shapes. The teacher behind my success is Joanna Figueroa and her class on Bluprint, “Smarter Strip Quilting.” Since I had a bunch of fabric left, I turned to Joanna’s class again for another lesson. This time, I used the same type of piece – a 60 degree triangle, but cut in a way that makes diamonds.
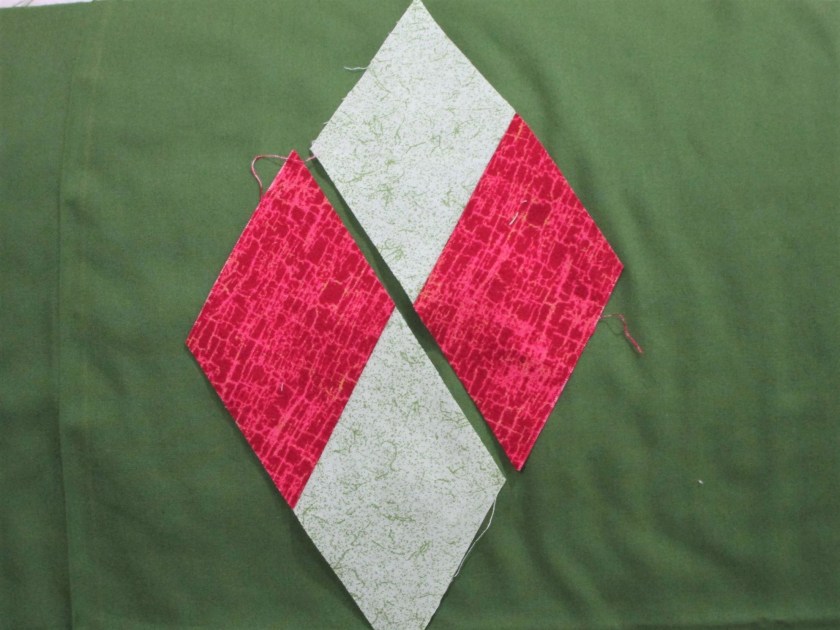
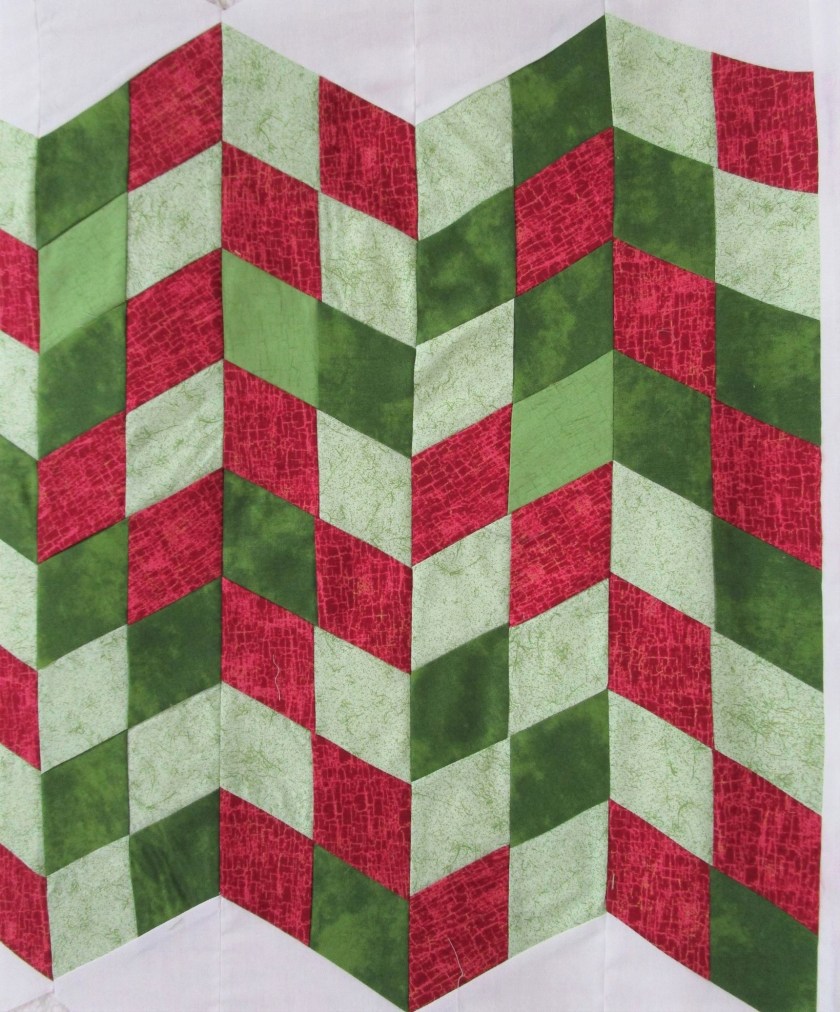
I reasoned that this shape would work nicely with the hexagons as the back side of a large sofa cushion (!) After sewing and cutting many 1/2 diamonds, I came up with an arrangement that ignores the diamond shape (!) I’m going with chevrons instead.
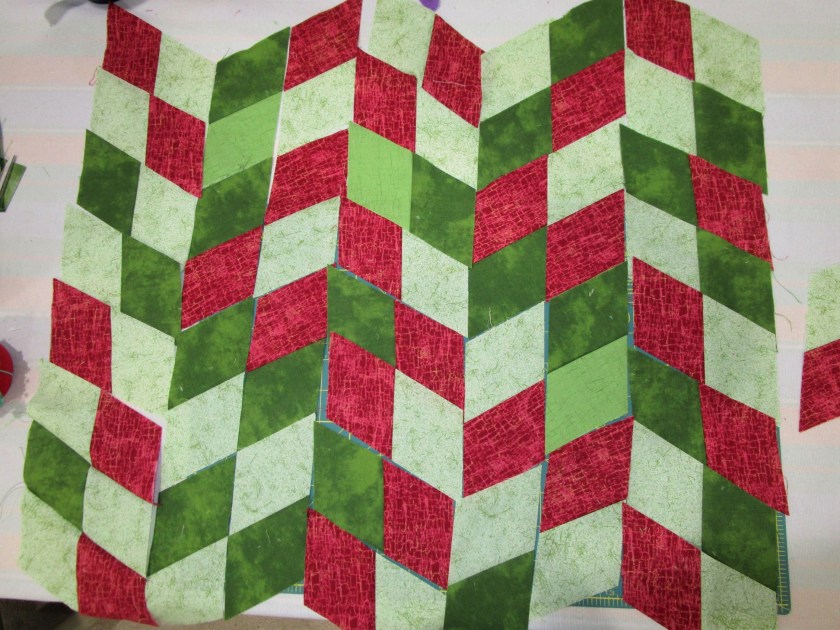
Skills that I learned in class the first time helped me speed through any little technical difficulties encountered while making this block.
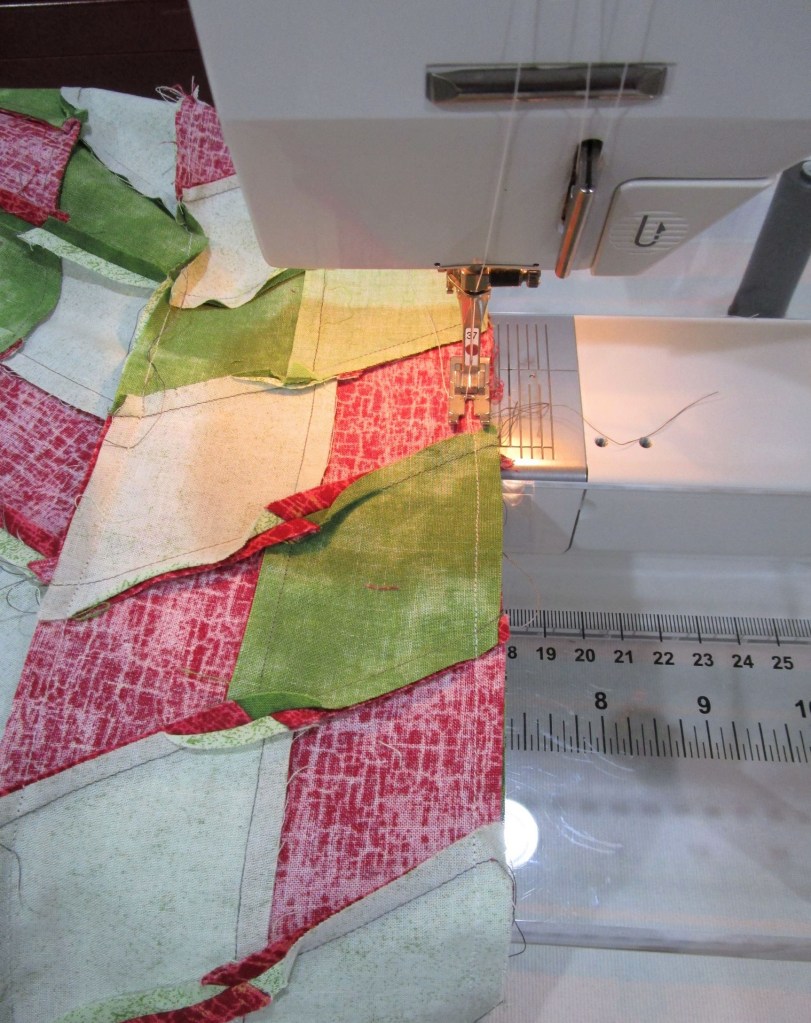
That said, it still took me the better part of Sunday and Monday to make.
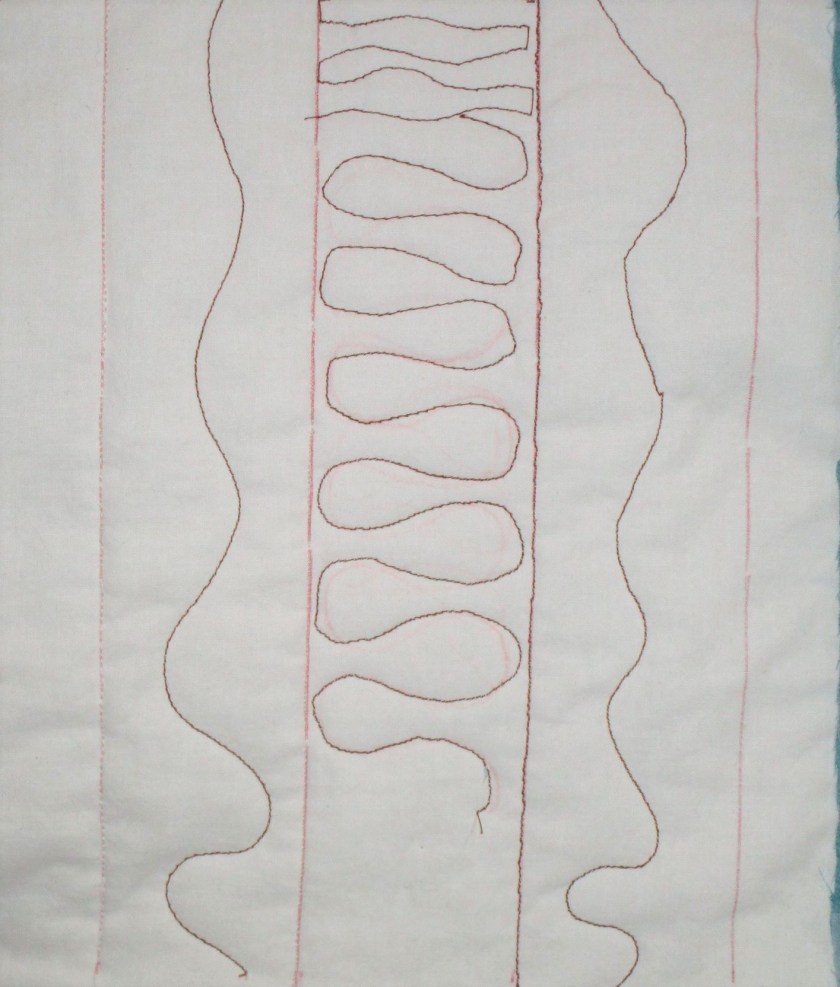
The next step is quilting. There was so much going on in the chevron block, I decided not to risk messing it up with bad machine quilting. But I did choose to quilt the hexes, using parallel and dot to dot machine quilting technique.
Now to construct the pillow: I recycled a zipper from a disassembled cushion and a king-sized feather pillow which had got slightly mashed over the years. After I squared up the two blocks, the zipper was inserted into a side seam and the four sides sewn together. Using 1/2 inch seams and zig-zagging the seam allowances make it sturdier. Here is the completed pillow, resting peacefully on my sofa:
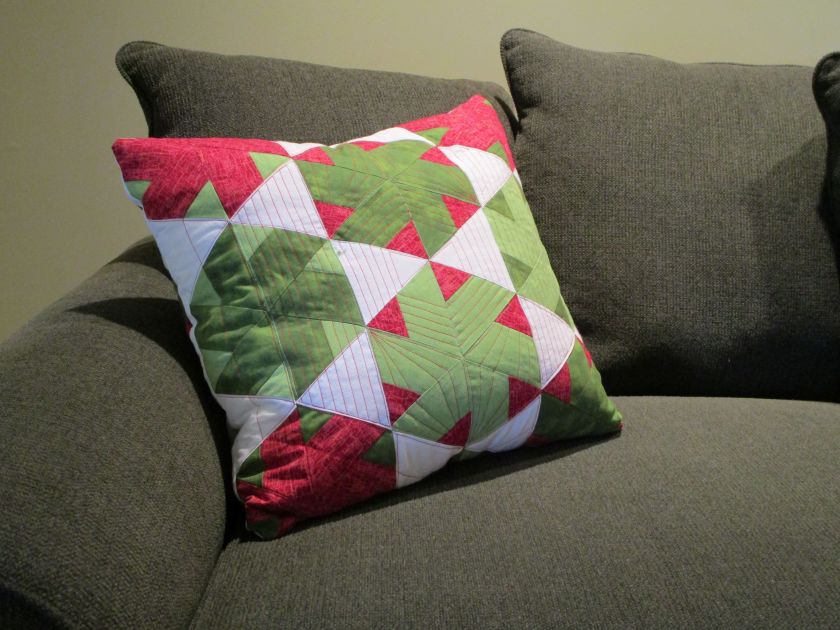
And here it is showing the chevron side:
Which side do you like better?
A big shout-out to Joanna Figueroa. You can find her class here: https://shop.mybluprint.com/quilting/classes/smarter-strip-quilting/40436?utm_expid=45q-ktsMT9eh9lDyPHy43Q%3A2&utm_referrer=https%3A%2F%2Fwww.mybluprint.com%2Ftopic%2Fquilt&redirect=svodPlaylist&skipMod=true