Posted in colorwork, knitting

Friday Finish: Sequences Convertible Shrug

Hot of the needles, just finished making my version of Sequences Shrug.

https://www.ravelry.com/patterns/library/sequences-shrug

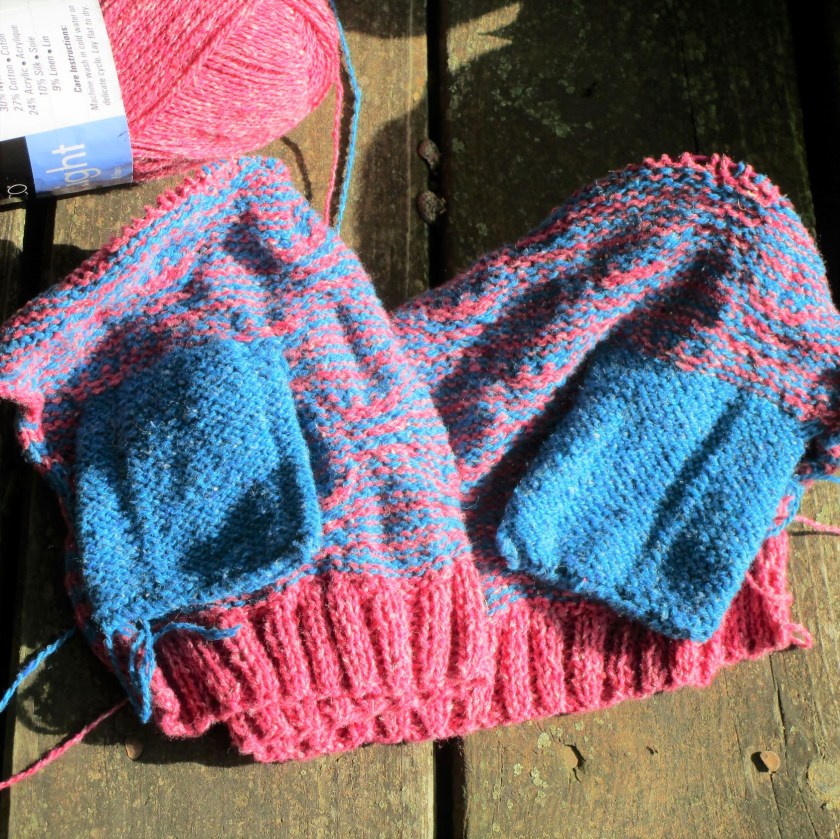
I started this project in early summer, as one of several stash-busting efforts. The yarn I wanted to use up was Remix Light, by Berroco. I had three colors of the stuff.

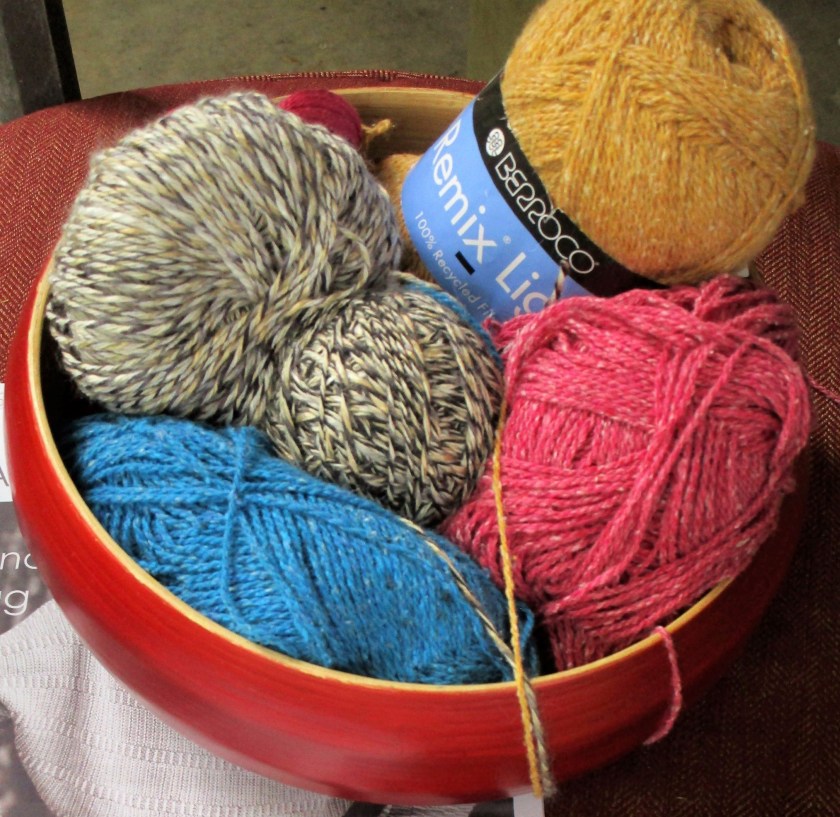
This yarn was crafted by recycling left-over fibers from other yarns and includes cotton, acrylic, silk, nylon and linen. I tossed in some left-over cotton marled yarn, to give me four colors to work with.

Swatch showing the sequence of colors I chose for my version

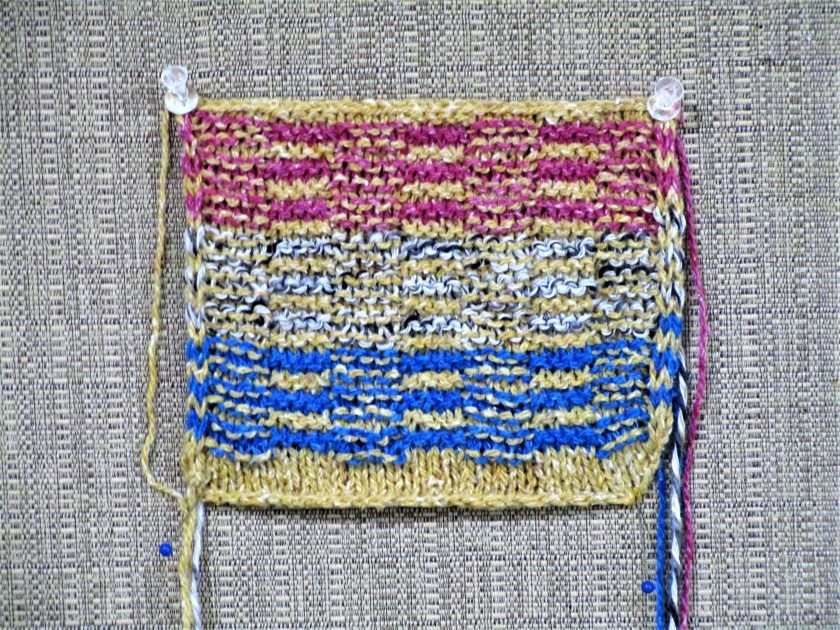
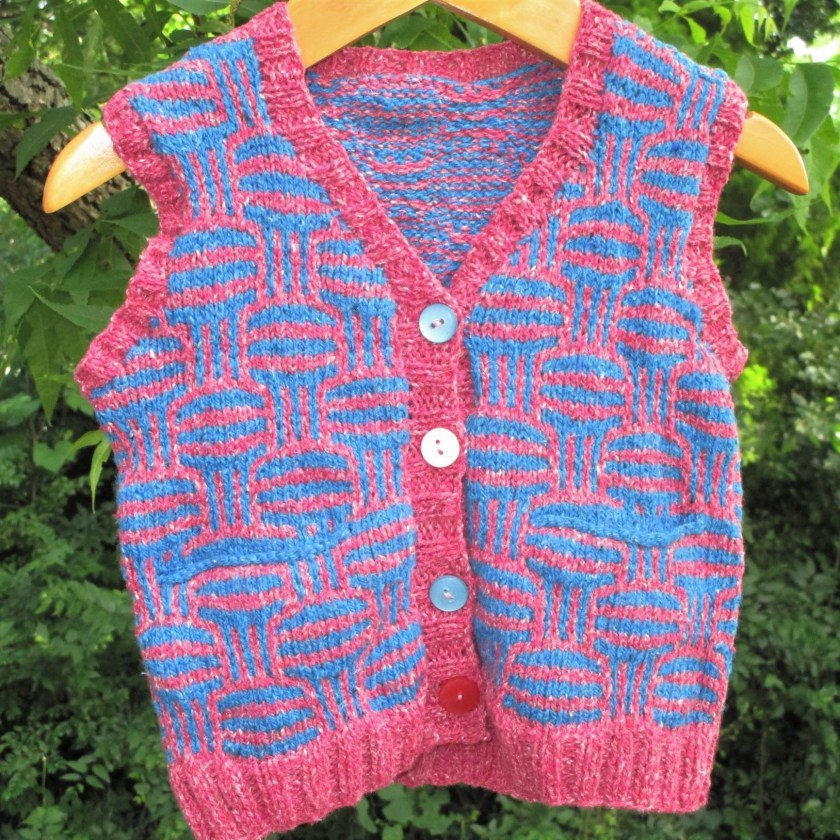
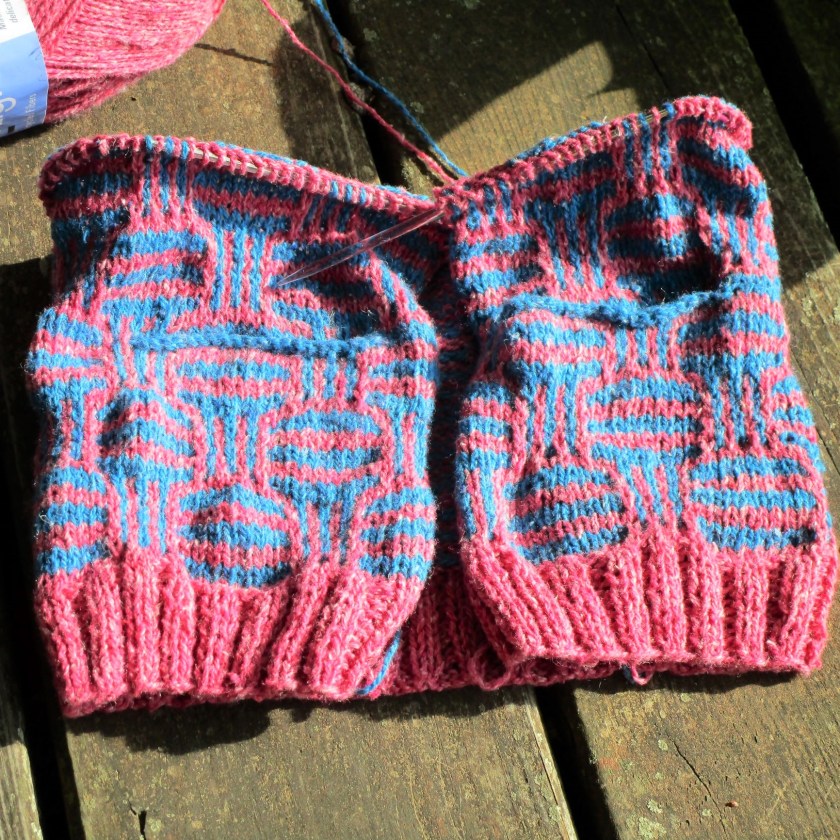
The designer did an amazing job in creating this pattern. By alternating columns of knit and purls stitches within the garter stitch rows, she made the garment reversible. I-cord edges on all four sides bring a nice finish. Of course, with my constant color changes, I had a bunch of ends hanging down one side. As I mused about the time and the potential disruption to the design weaving the ends would cause, I resolved to incorporate them into a fringe. Here is the fringed side about 2/3rds along.

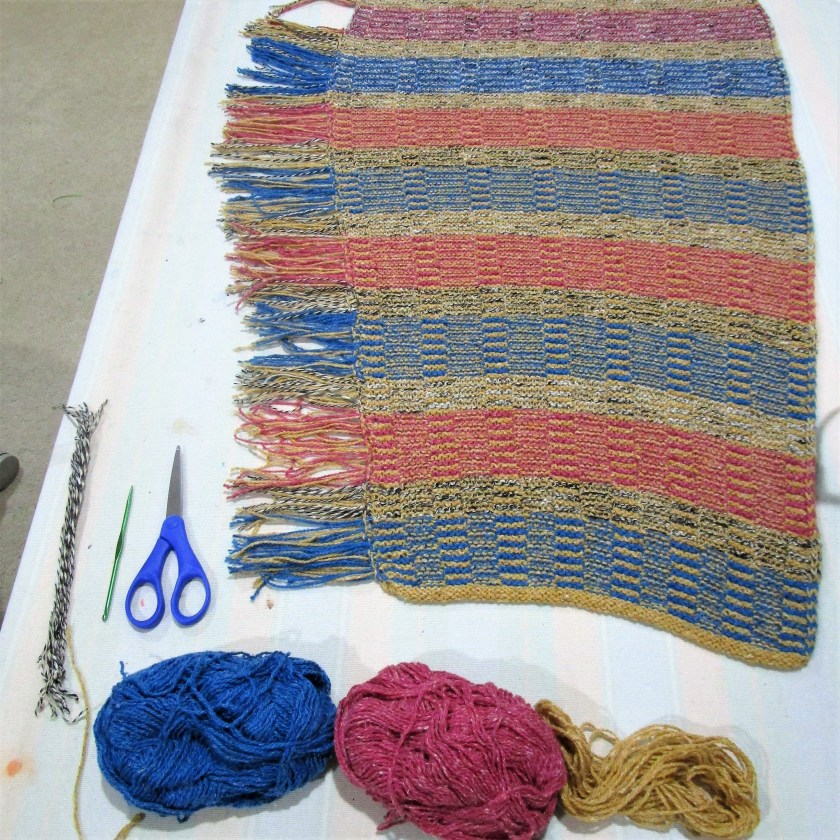
And yes, I did have enough yarn to finish. I used the gold and white/black marled yarns completely. I have small amounts of the blue and pink left.

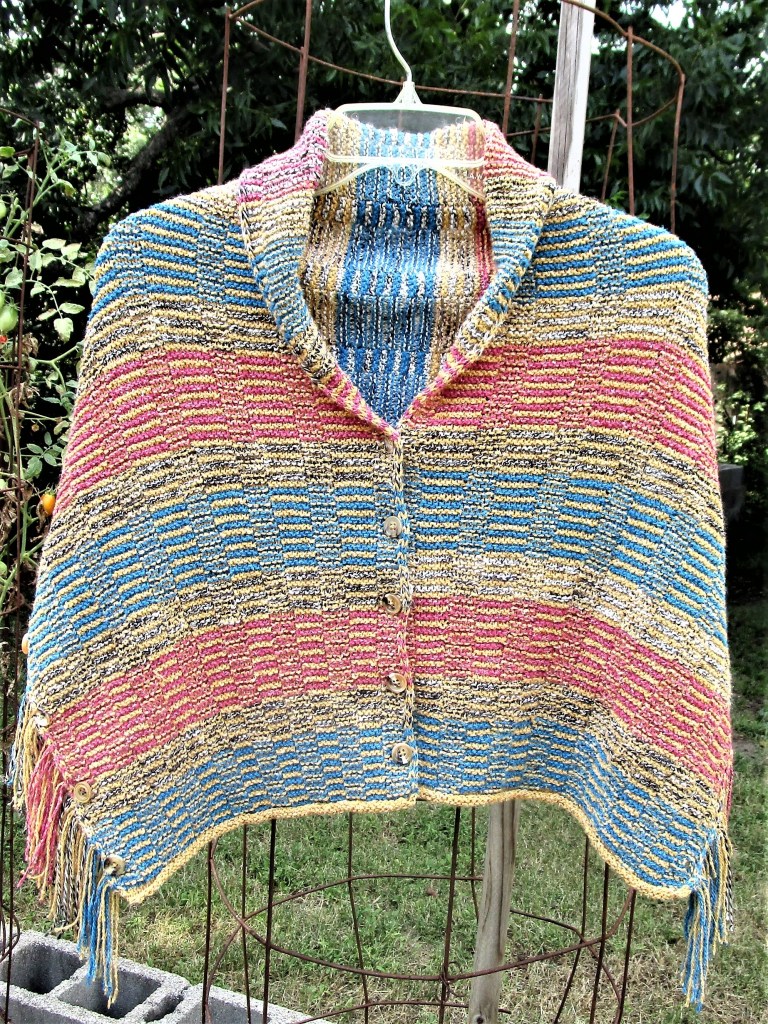
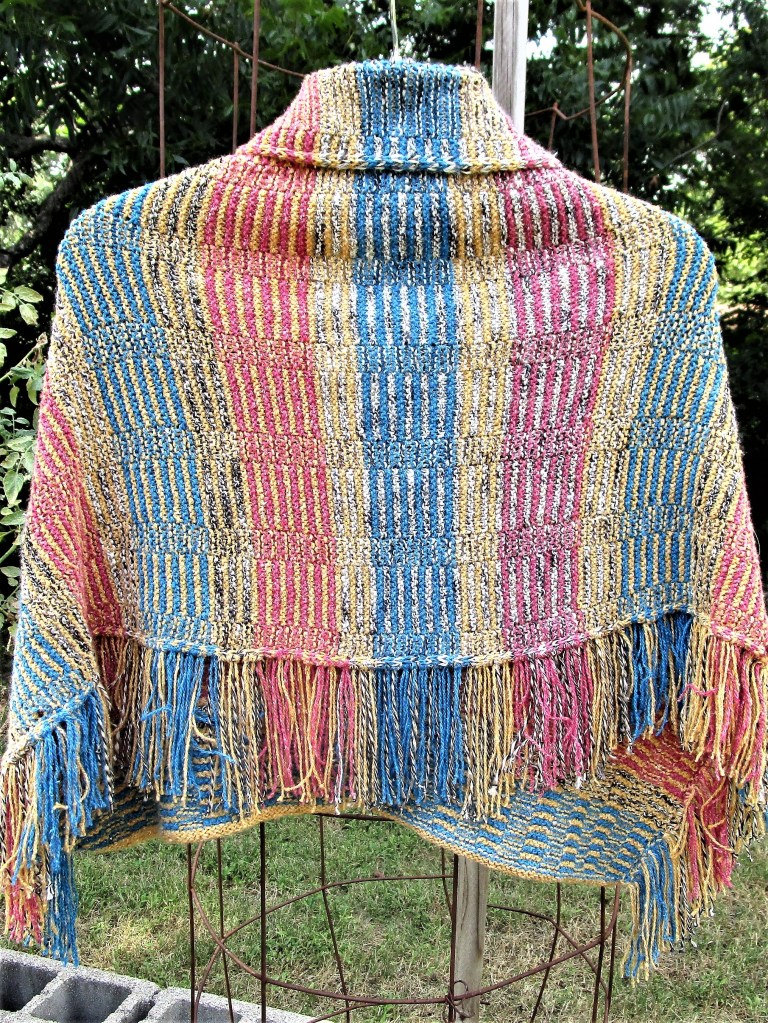
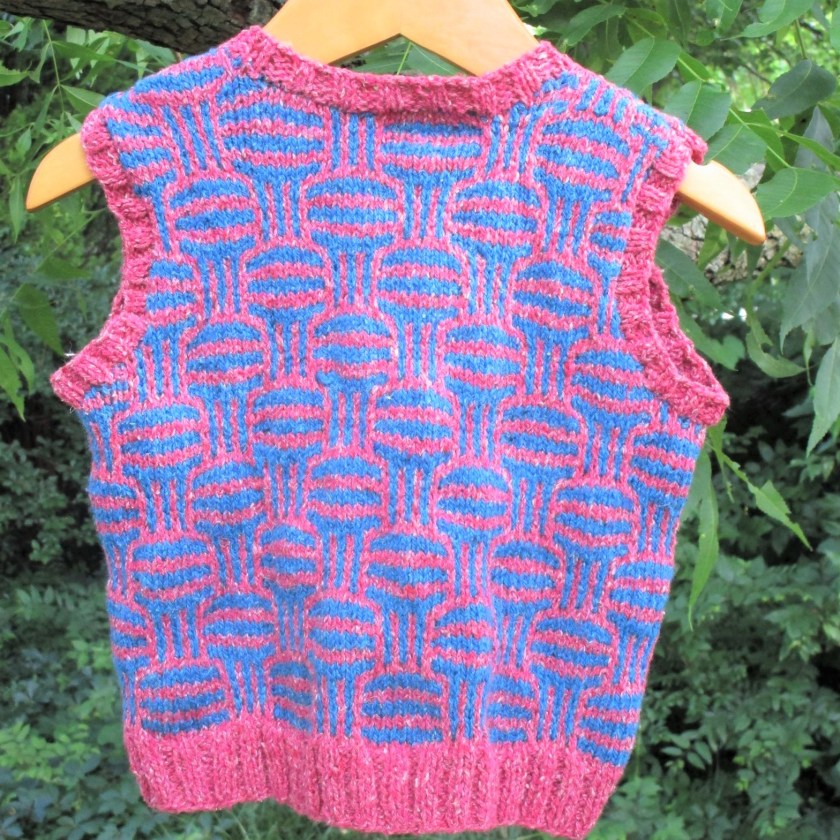
Look Ma, no ends to weave it!

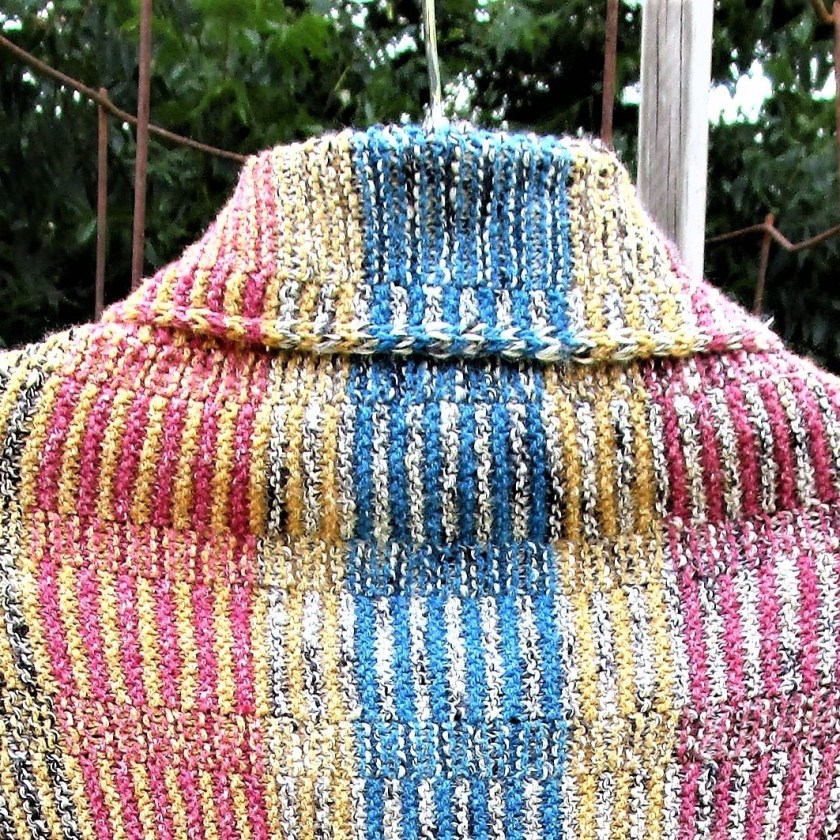
I’m also really pleased with the I-cord edges, especially along the neckline.

Oh, and you may be wondering how it converts. This garment can be worn as a shrug, shawl or scarf. Soon I hope to upload a photo shoot demonstrating all the looks that are available.

Thank you, Lori Versaci. I highly recommend your Sequences Shrug.

Posted in knitting

Cast-on Monday, She Shrugged

I pulled one of my stash project bags out of the yarn closet for today’s cast-on.

This group of yarns is mostly sport-weight cotton. The marled white is left over from my husband’s sixteen-thousand-stitch pull-over (aka jumper to the Brits) made more than ten years ago. The Berocco Remix yarn was purchased two years ago to make a summer vest for Lu. I ended up using only the red and blue. The yellow seemed such a dreary color. I couldn’t think of who would want to wear it. Then I came across this charming pattern by VersaciKnits.

https://www.ravelry.com/patterns/library/sequences-shrug

It is knit with the broken garter stitch in two colors. I began to see how the yellow yarn could be a background to more interesting hues. With cuff-to-cuff construction, the stripes would be vertical while the textural changes ran horizontally. My enthusiasm for the project rose quickly after I worked up a swatch.

Other elements of this design include I-cord edgings and button closures on the sleeves. To make it even more interesting, the garment can be worn three ways: shrug, shawl or scarf. I couldn’t wait to cast on.

I like what I see so far. This could be a good travel project, assuming I can manage the constant switching between purl and knit stitches while riding in the car.

Posted in knitting

Finished Object Friday: Knitting – Reblogged

While visiting my daughter’s family last month, I had a chance to get the recipient’s reaction to her new vest. You can judge for yourself, but it looks to me like she is really pleased.

“Why, thank you Grammy!” “You are welcome, my love.”

Here is the post, originally published on Juny 12th.

Yes indeedy, today is Saturday But I assure you that I was able to finish this project yesterday, qualifying it as a Friday finish.:

I first wrote about this project in early May, having purchased the yarn while visiting Madison WI in mid spring. This Polkastripe vest is intended for my granddaughter.

The basketweave slip stitch pattern and general design I am using comes from Norwegian designer Anna Schei.

Ravelry: Polkastripe pattern by Trekkentar Deg

This pattern downloaded in pdf format. Consequently I was unable to use a translator to turn the instructions into English. No matter – what was important to me was the color chart. For the construction of the vest itself, I relied heavily on another baby vest pattern, also downloaded for free from Ravelry.

Ravelry: Milly Tank Top pattern by MillaMia Sweden

I recently learned that Lu likes wearing vests, and is practicing her buttoning skills. So I made sure that her summer vest included a front opening and button closure.

The pocket design is my own. You can read about it here.

Who Needs Pockets? – Daily Fiber (wordpress.com)

Now I can jump into some real summertime knitting: socks! Check back in on Monday for the next cast on.

Posted in knitting

Who Needs Pockets?

My first reaction is to say everybody needs pockets. But that is not necessarily true. Many grown-up persons carry bags, satchels, pouches and other accessories to ferry about their cherished possessions. But those persons young in age and close to the ground generally don’t have that option.

If so, these little ones need someplace to stash all the treasures they find along the way. And when you are that close to the ground, there are So Many Treasures to pick up: shiny pebbles, feathers, a snail or two, marbles, bottle caps and pieces of Lego.

Especially Lego People.

Little Lu will agree. So I made some pockets to insert into her summer vest.

I chose not to seek out a pocket making pattern. Come on, this can’t be very hard.

Cast on 40 stitches, leaving a 6 inch tail, then distribute stitches over three double point needles. Join together to work in the round. Work in stockinette stitch until piece is 3 inches tall. Flip the work inside out so the purl stitches are on the outside. Now move the first 20 stitches to one needle and put the second on waste yarn. Using the tail, sew the cast on edge together with whip stitch. Make a second pocket to match. Your pockets will be about three inches square and look like this:

When the body of your garment is longer than 3 inches, you can insert the pockets. Place stitch markers at the point where the pockets will go, marking 20 stitches between markers. Work to first marker. Holding the pocket against the back of your knitting, knit together each stitch of the garment with a stitch of the pocket. When you get 20 stitches knitted, turn work. Bind off the twenty stitches you just knit. Now slip the remaining 20 pocket stitches on to your left needle. Working in your pattern, continue to the second set of markers. Repeat to insert the second pocket. That’s it!

Here’s how the pockets look in the vest I am making:

Outside of vest:

Inside of vest:

This is an experiment. I promise to report back to you on how well this vest held up under vigorous, treasure-hunting use