Posted in hand embroidery, painting, quilting

Milestone

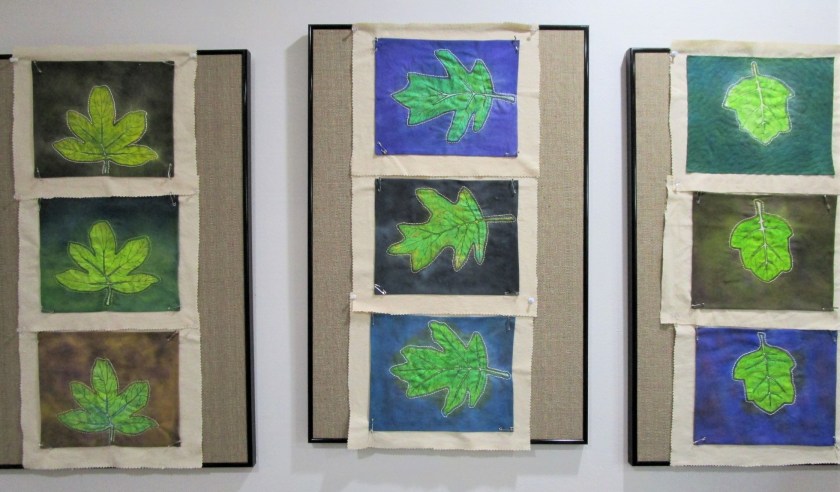
Today I am writing my 100th post on Daily Fiber blog. I am pleased that this milestone arrives at the same time as another mini-achievement: the completion of my oakleaf hydrangea block series. After some consideration I determined that the final block count will be nine, as you see pinned to my wall boards in the photo above.

Decisions still need to be made on how to finish. After consulting with a few friends, I have settled on the arrangement of blocks and the decision to use a dark border around each block as if it were an individual painting. Also, I will add a border around the whole quilt – width and color yet to be determined.

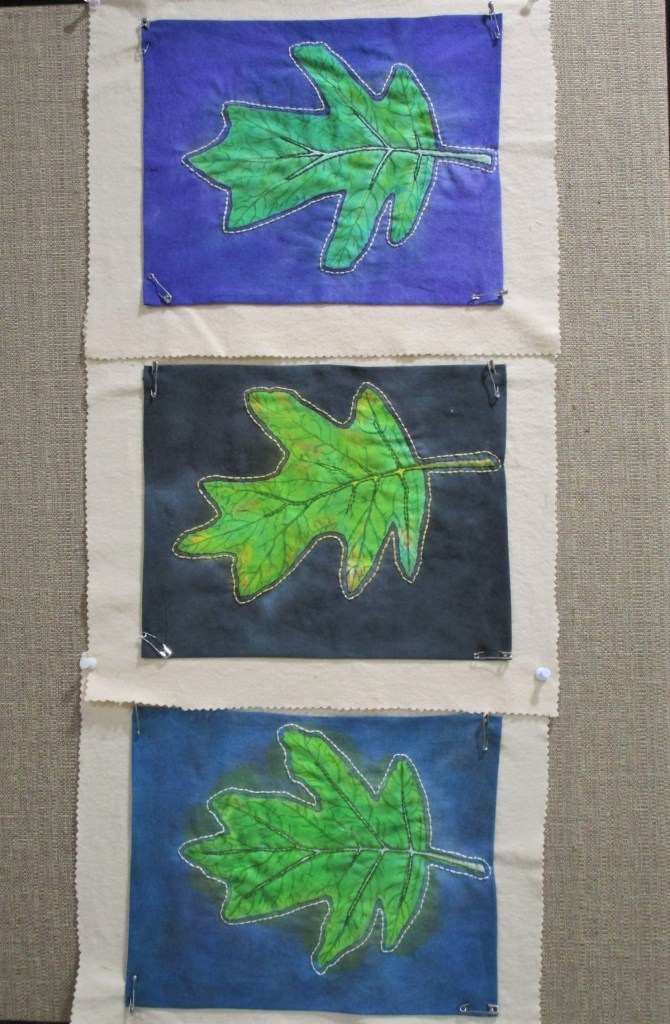
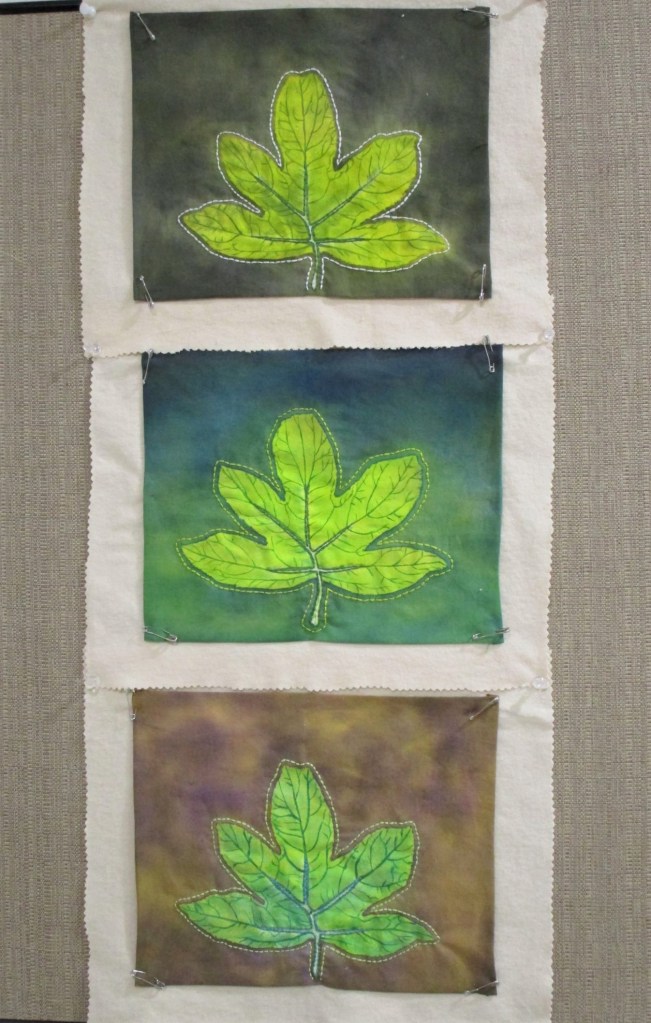
Here are some close-ups of the groups;

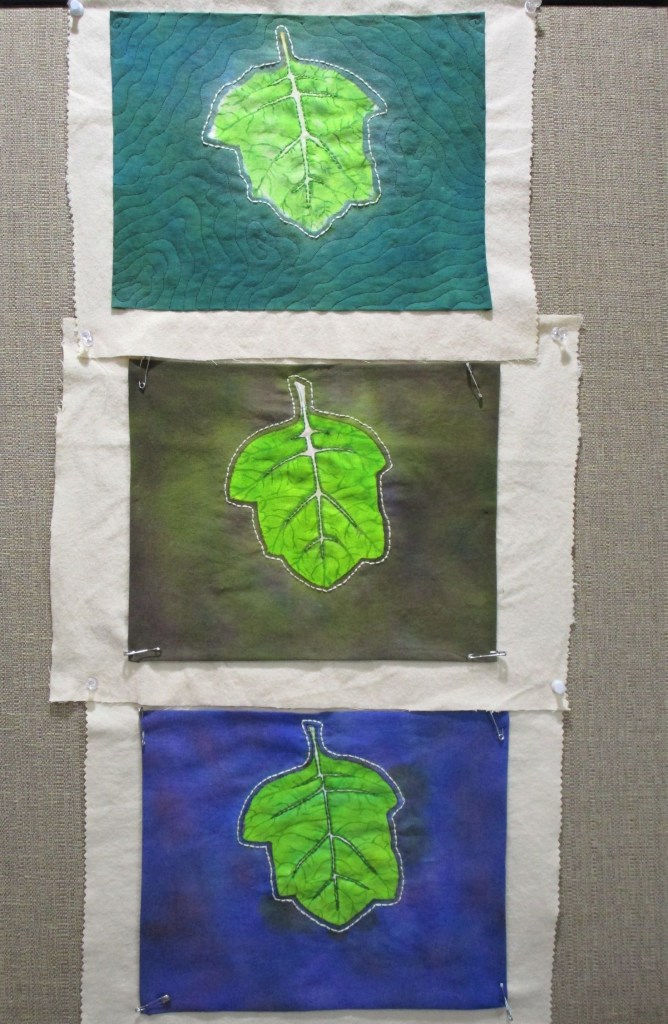
As you can see, only the first block is quilted so far. I will finish the quilting after assembling each row.

Hand-painted cotton fabric , hand embroidered with a flannel background. Each block is 10 by 12, including flannel border.

Posted in hand embroidery, quilting

Mojo Mini Quilts

This project is inspired after viewing a class by Suzie Williams, on BluPrint.com. The gist of the lesson is to improvise a mini quilt which illustrates one of various design principles. These quilts are sized to be framed as wall art. I chose to base my design on the concept of Rhythm. Here is my sketch (just a few swooping lines, really minimal) and my chosen fabrics.

I had recently purchased the black printed fabric, which is just a scrap in the picture. I like the idea of repeating bars of the circle shapes on a background of orange.

The design is cut up, so that it can be pinned to the fabric and fabric cut out. I am using a gray background fabric. Each element is appliqued to the background, using glue as baste. I had never basted fabric with white glue before, but it seems to work just fine. Here is the design at the beginning of the layout stage.

Truly fun little cogs in multi colors.

After a few adjustments to the design, and more than one re-cut of the shapes, I finally have all the pieces in place, glued down, pin basted and ready for sewing.

Hmm, what color thread will I use?

I started by zig-zagging along the raw edges, to minimize fraying. Next I stitched some swoops of machine quilting in black and orange. Finally, I finished up with hand embroidery. It was fun choosing floss and stitches to accentuate the circles.

Here is the finished mini quilt, ready for framing or binding.

Detail of hand embroidery

What a fun project, even if it did take most of the day to complete! The Mojo Mini quilt class can be found here: https://www.mybluprint.com/playlist/11422/20696