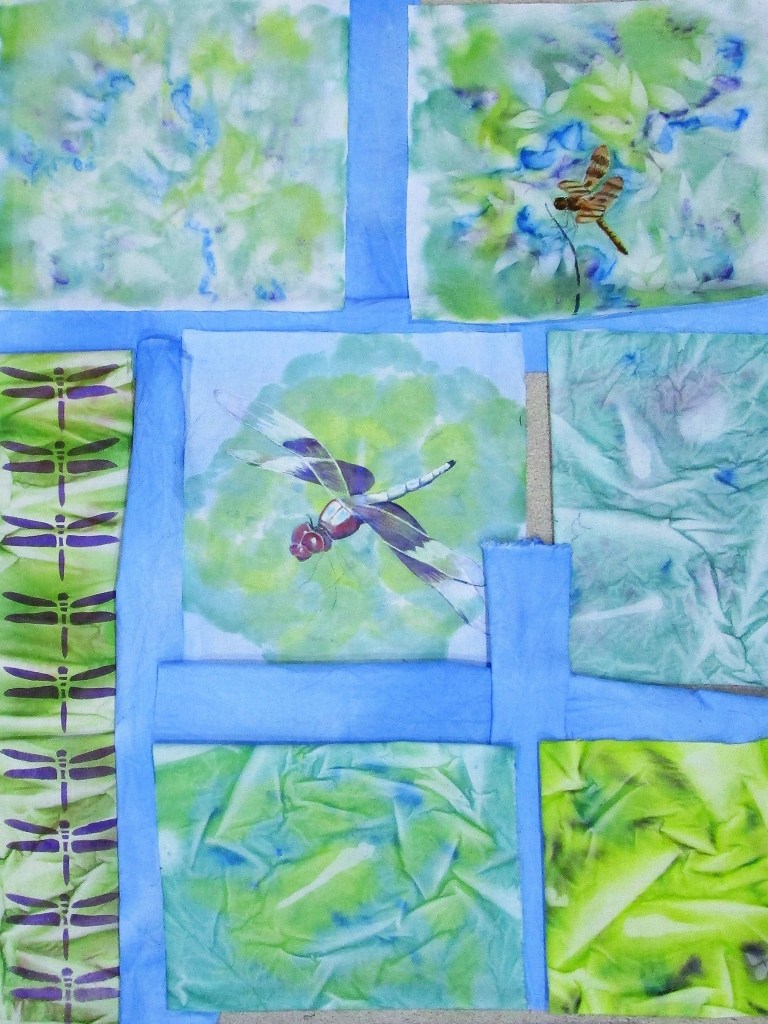
I could have called this post Wednesday WIP. But since I worked from three of Bill’s photographs to create this panel of the dragonfly art quilt, I prefer to focus on the inspiration.
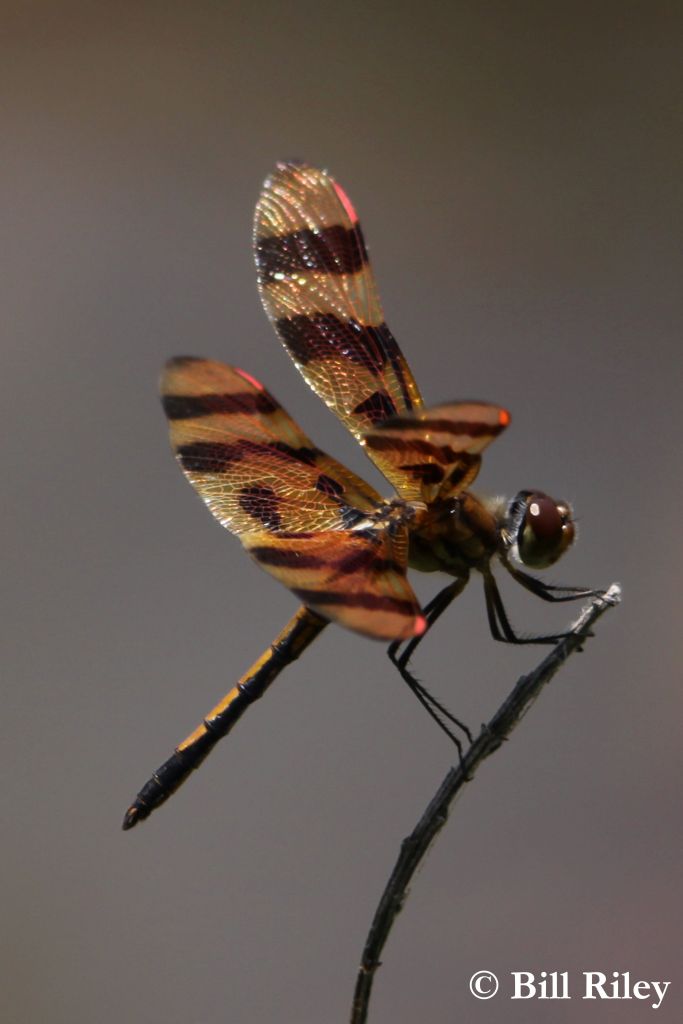
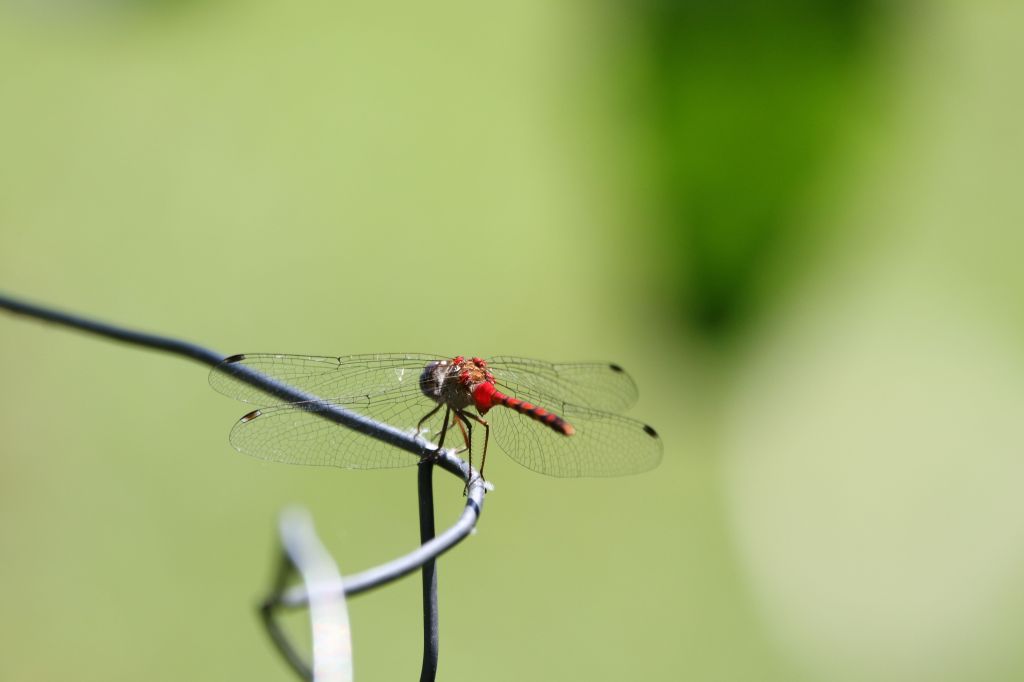
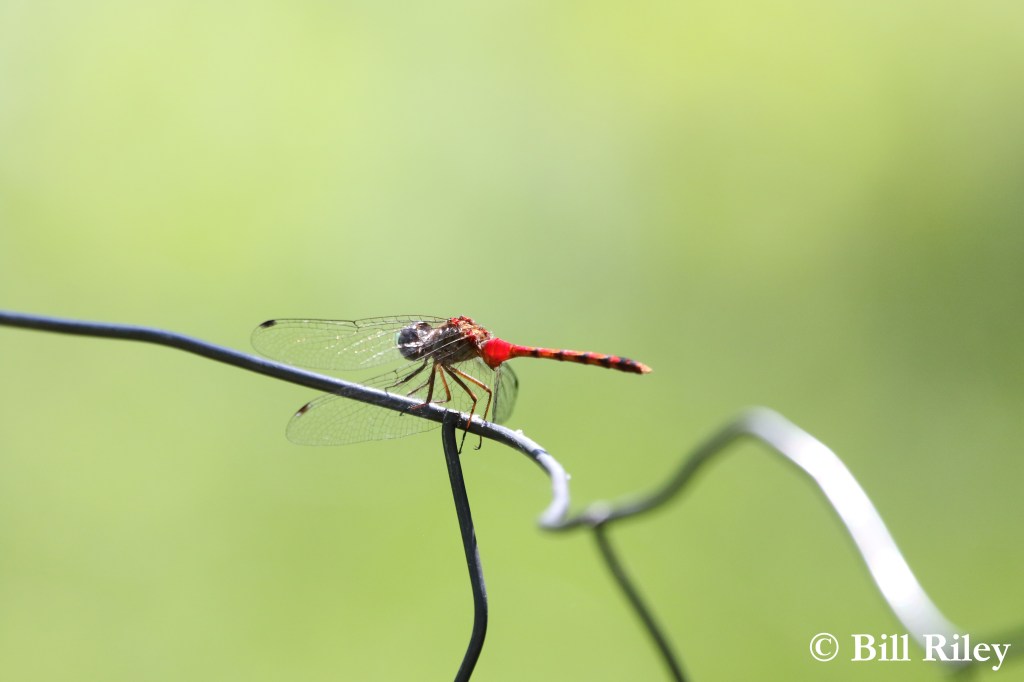
As noted above, I am still working with dragonfly photographs. In this installment, I selected two images of the same dragonfly……….
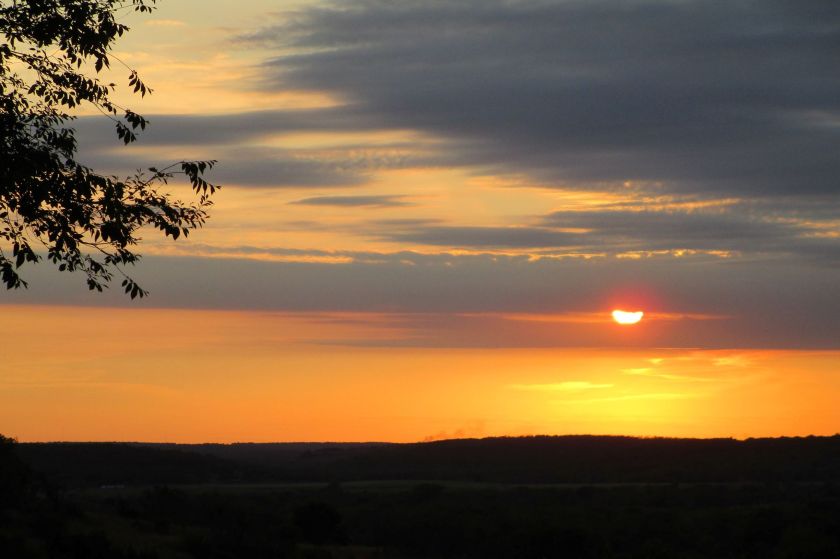
…….plus one photo of some bougainvillea blooms.
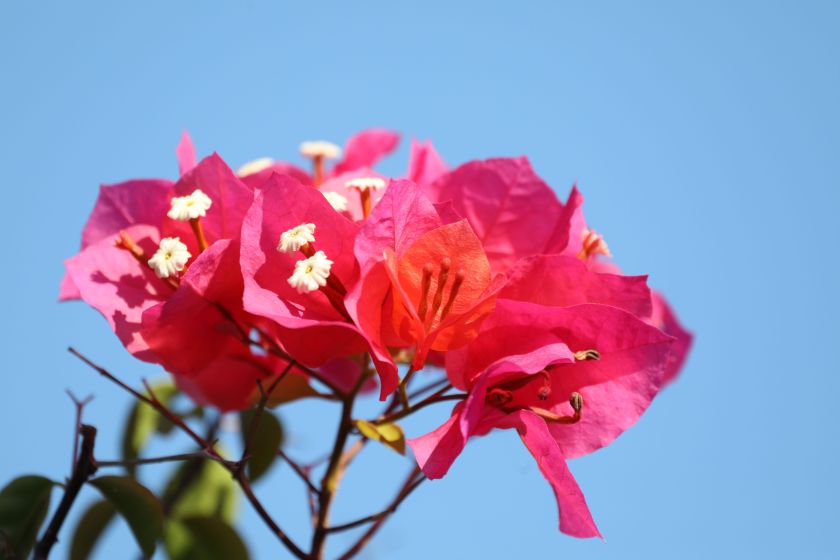
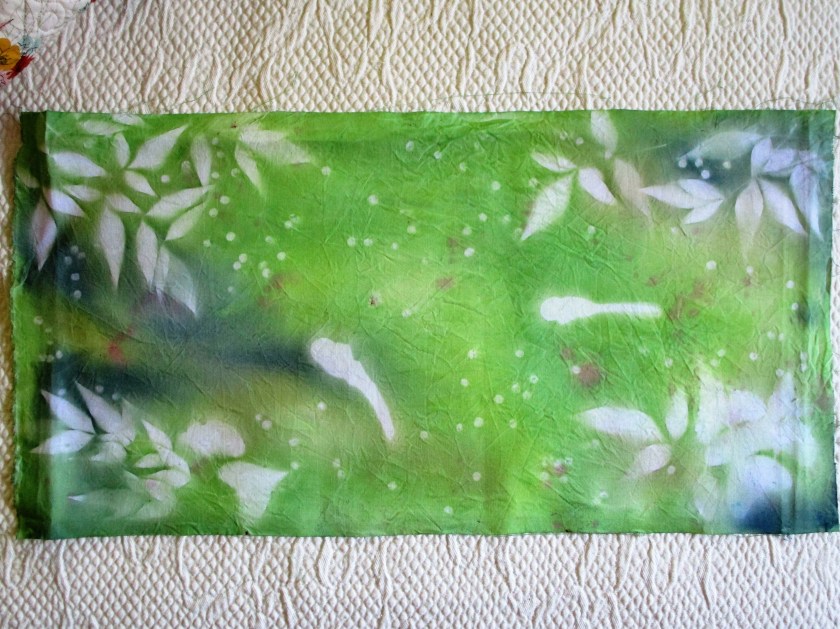
The three images will be combined in a horizontal panel measuring 12 x 24 inches.
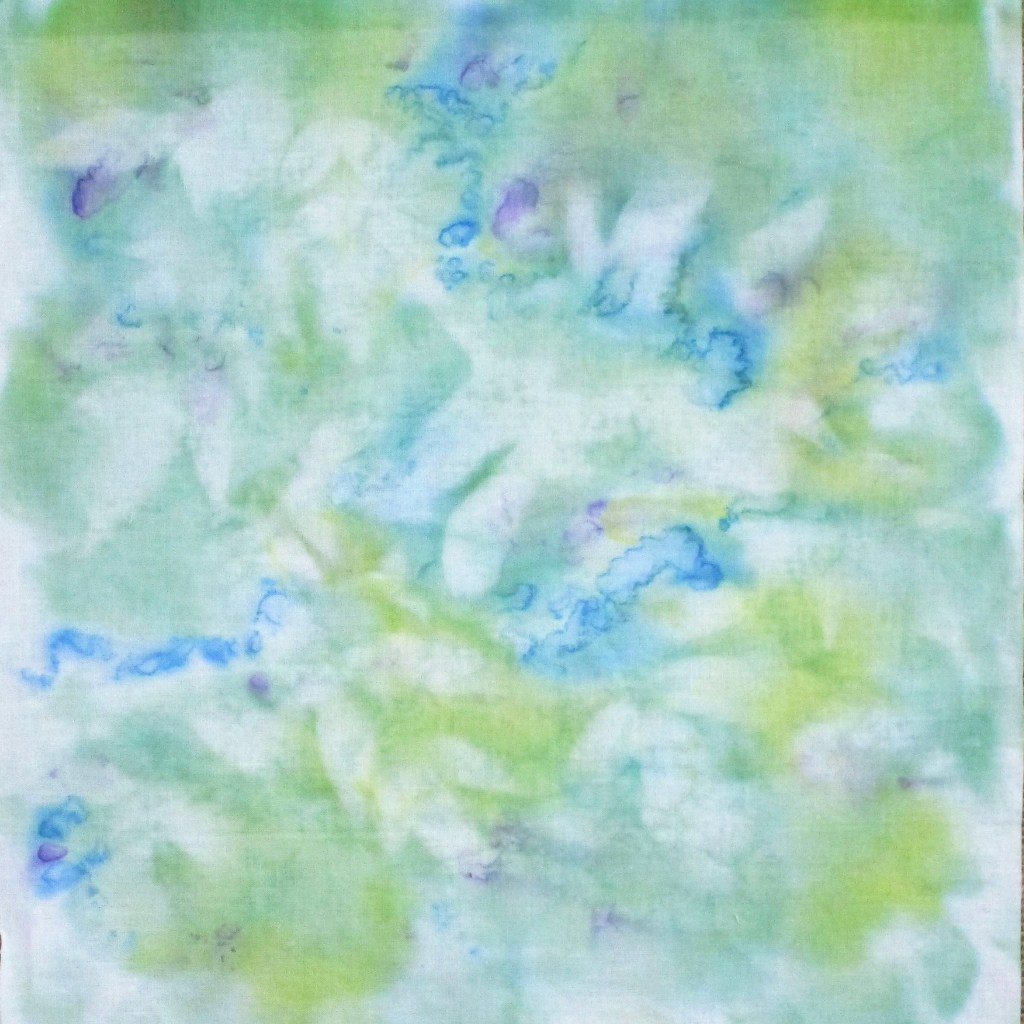
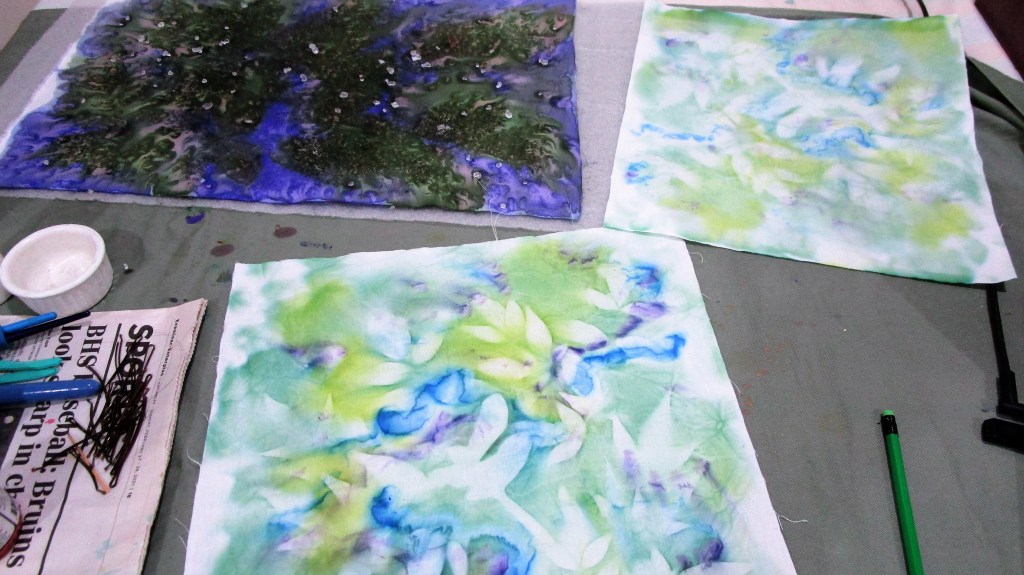
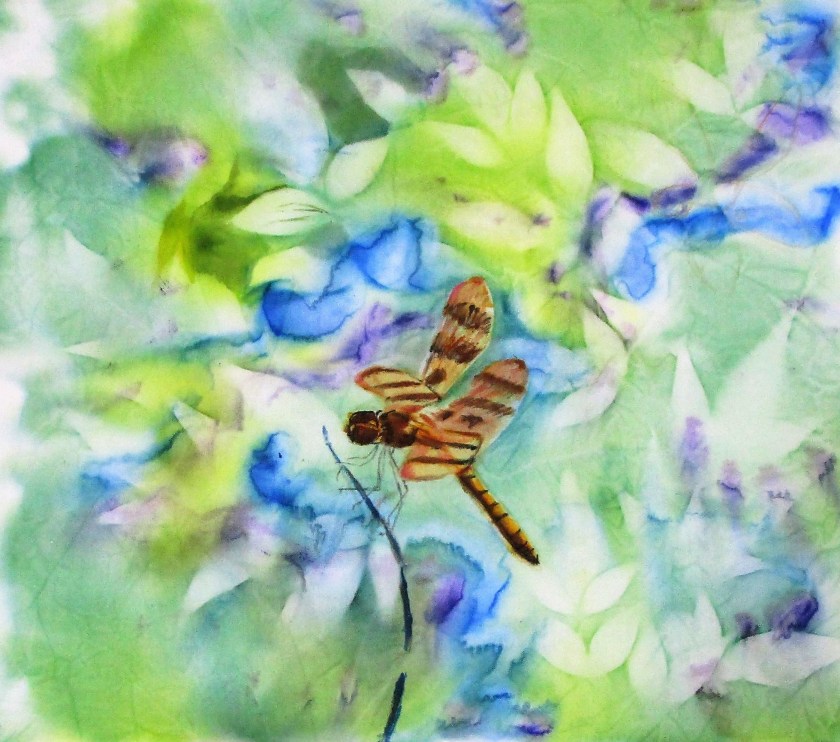
On the first day I painted the background. I dipped the scrunched white cotton into two different pigment baths, wringing it out in between soaks. After smoothing the fabric onto my dry erase board, I placed two dragonfly shaped masks, several sprigs of dried leaves, and a sprinkling of dried peas. Next, I dropped on a little bit of purple and magenta paint, then set the board outside in the sun to dried.
It didn’t take long.
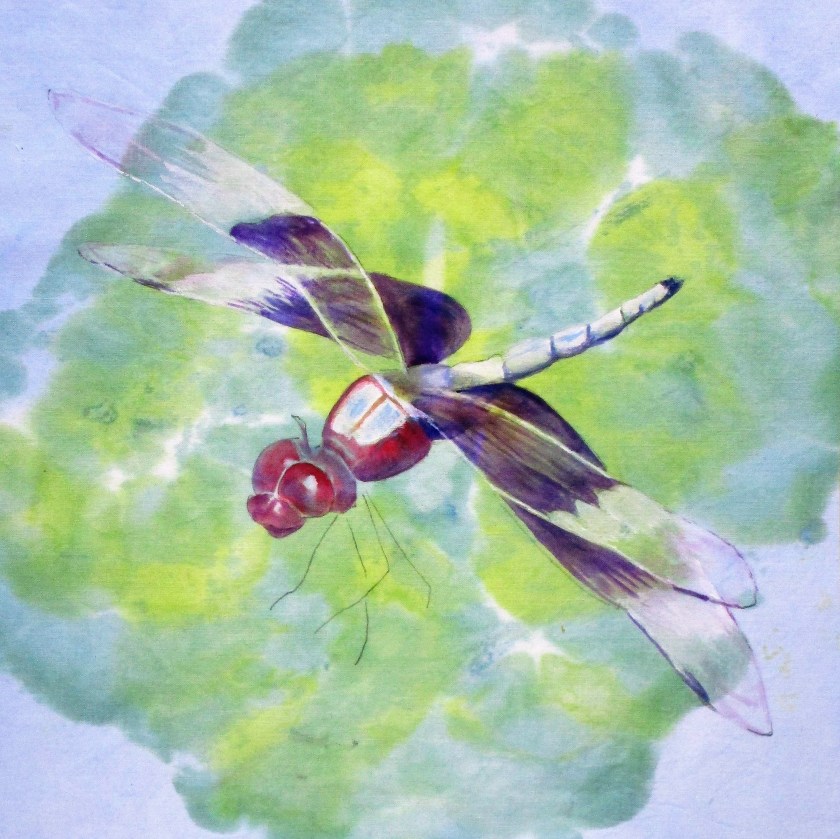
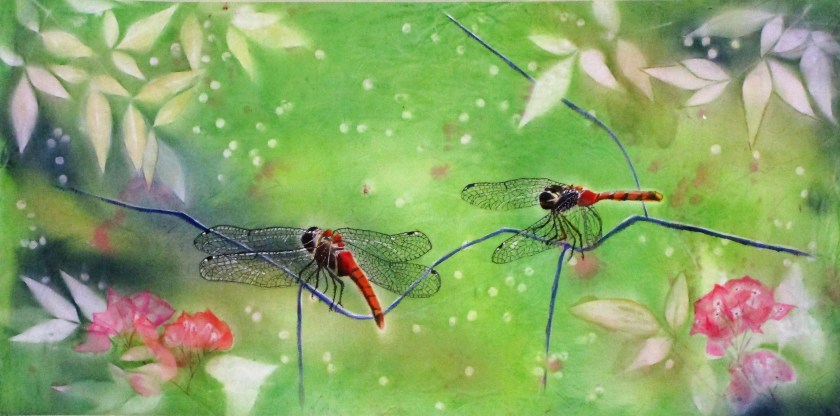
I took my time painting the dragonflies. Today I finished up by drawing the delicate wing veins. Next the background got more attention. I enhanced the leaf shapes with color, then painted a long line across the panel – my interpretation of the wire plant support seen in the photos.
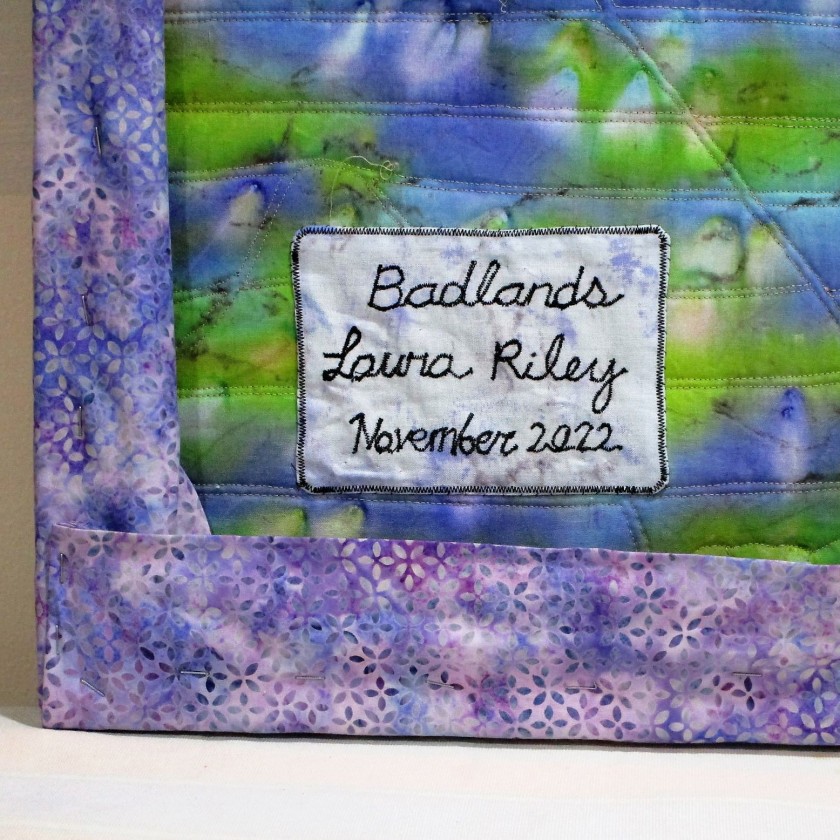
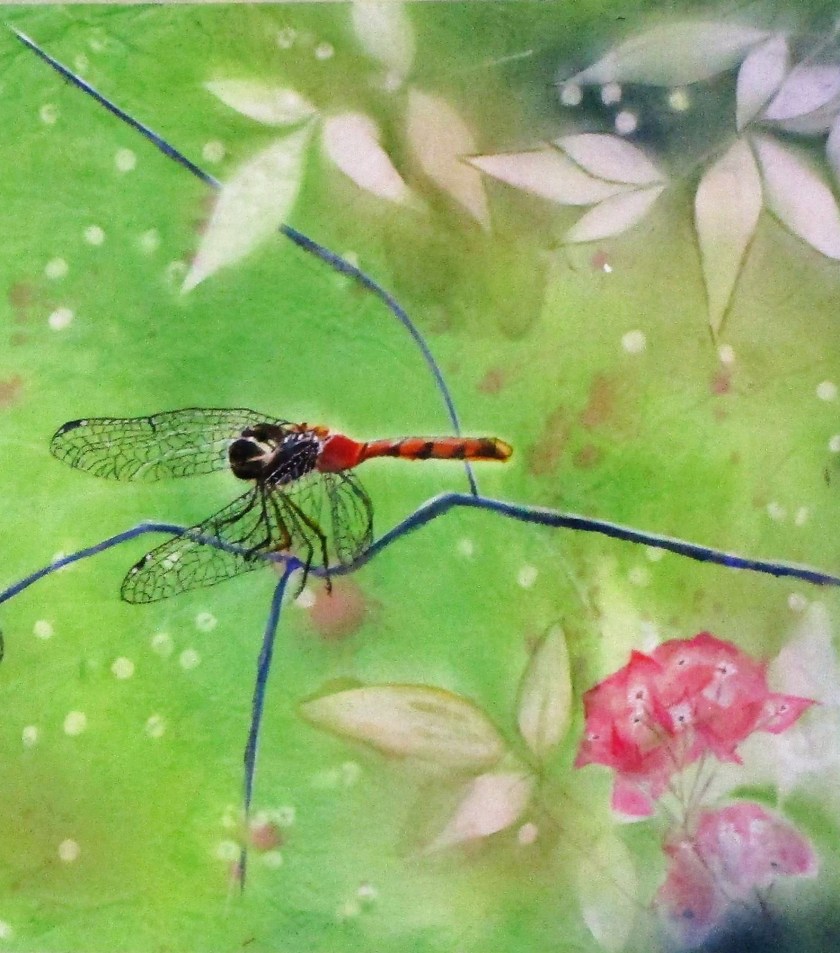
A closer look…………
another…….
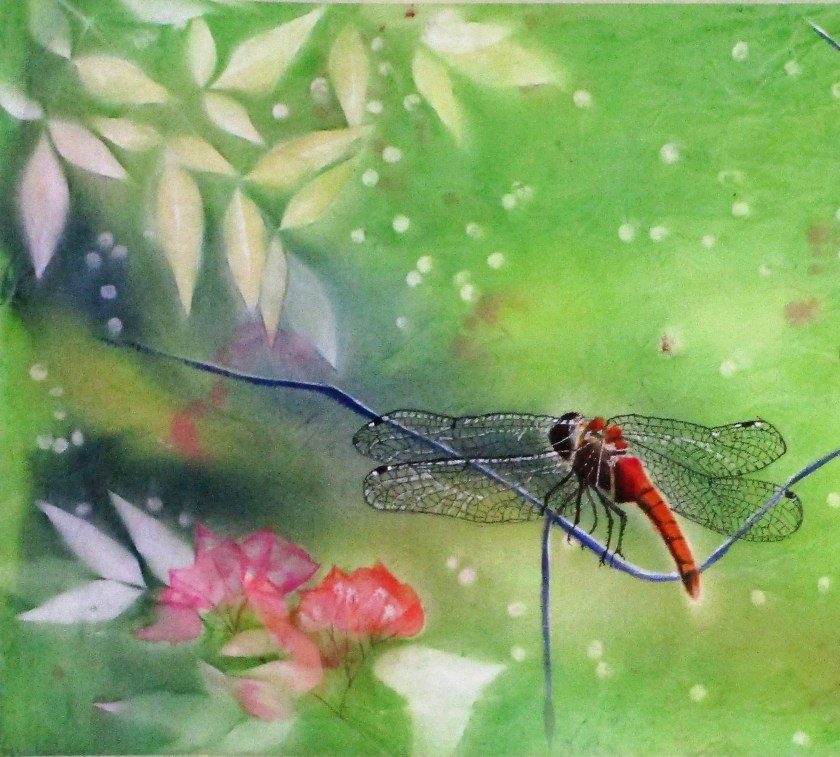
Again I used Micron pens, watercolor pencils and a little white Gelli pen for the finishing touches.