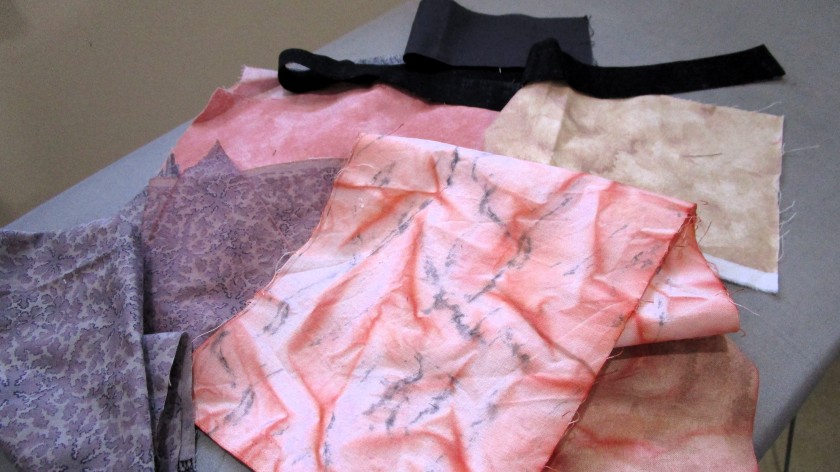
Our quilting guru for this round is Quilting Gail. She has suggested that we make this border inspired by the number 4. That can cover a lot of turf. One could use blocks made of 4 patches, or 4 different colors in the block, or build the border to be 4 inches wide, or all of the above. Here are the fabrics I have selected for the bottom row of my SAHRR quilt.
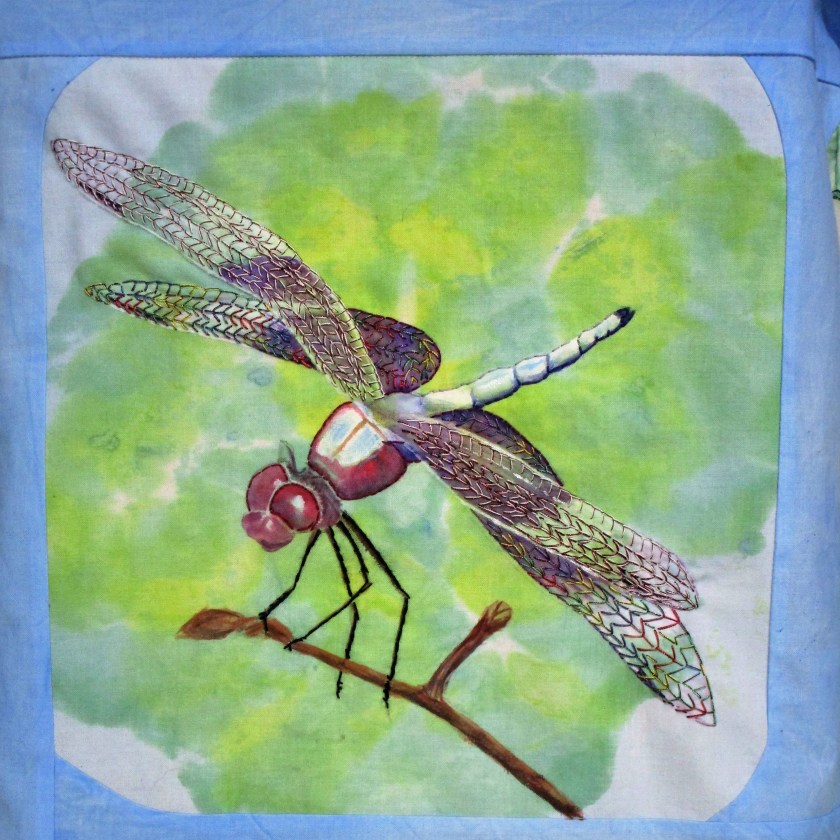
The warm and earthy palette of this round is informed by the colors of the American Southwest desert. My goal is to depict a (deadly) drought.
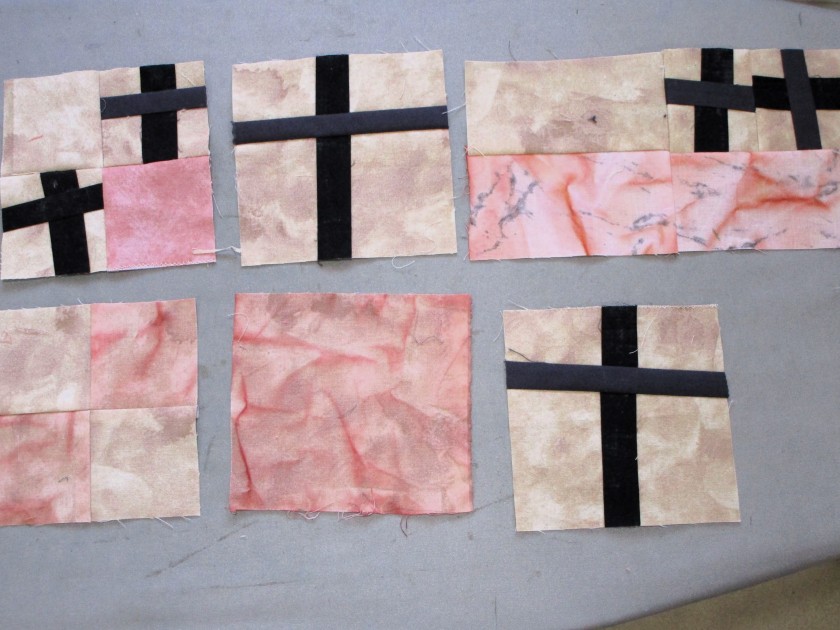
Here are the aspects of my border that accomodate the number four. I started with a piece of fabric about 5 inches square. I then transected it vertically, inserted a strip of black, cut across the block and inserted another strip. Four sections are divided by the sign of a cross. I proceeded to make four blocks containing crosses.

I also made a few four patch blocks, a few blocks sewn from 2 1/2 inch strips and a few one-piece blocks.
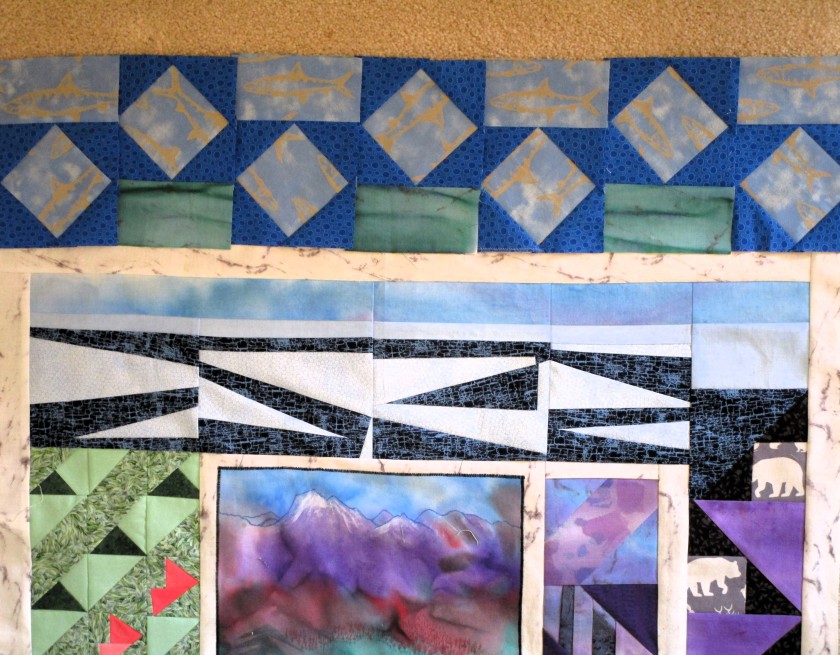
Here is my collection of blocks for the four-inch bottom border.
After this week, my quilt looks like this:

There is much left to do before I can proceed with round 6. I need to make the left and right borders of this round. I also need to finalize the top border, which now contains the fishy square in squares. While I will be seeking additional inspiration, I can reveal one thing: There will be more butterflies landing on these borders.
If you are curious to see how other Stay at Home Round Robin challenge participants have interpreted this week’s prompt, you can find the link to their posts here.