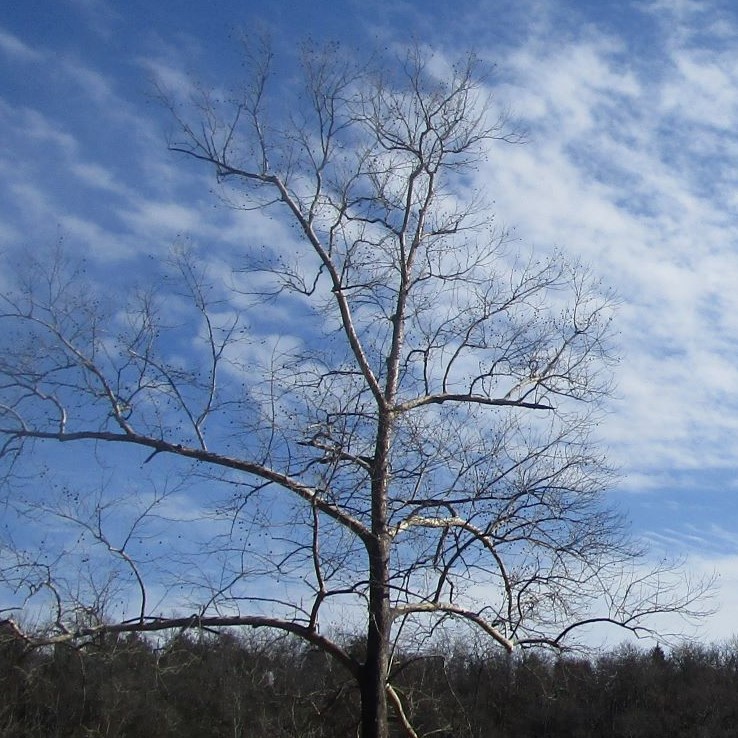
The past five days have found me in a creative slump. Having got my turtle idea started, I am mulling ideas and fiddling with techniques for the next steps. As a reminder, here is my inspiration photograph.
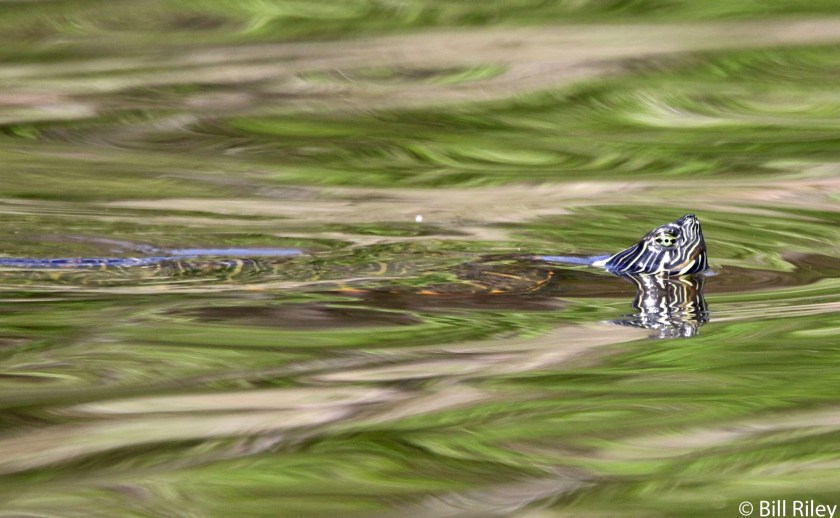
There are two tricky parts for me: 1. How to portray the reflections, and what other elements should be included.
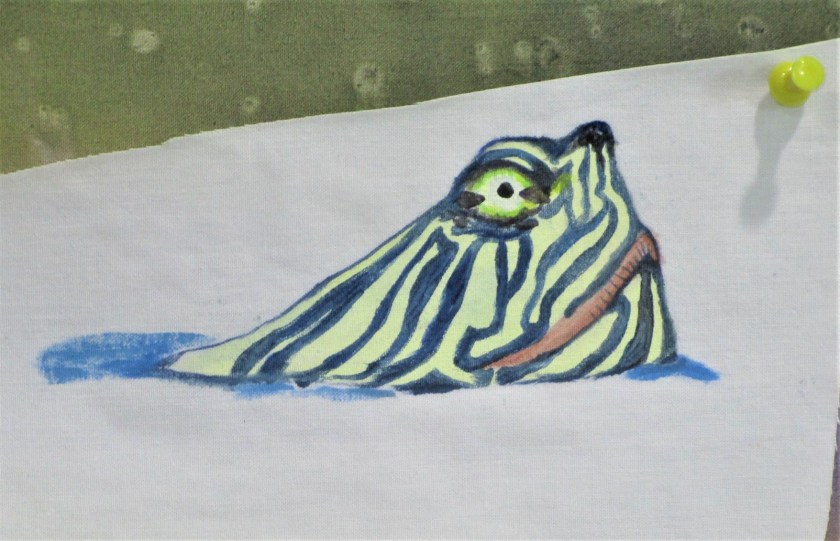
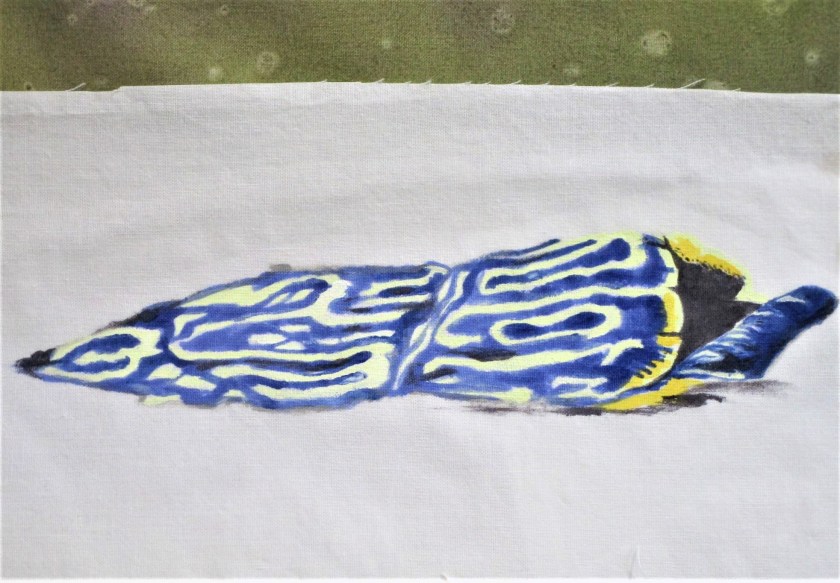
I did get the subject-turtle painted onto to white fabric, in two pieces.
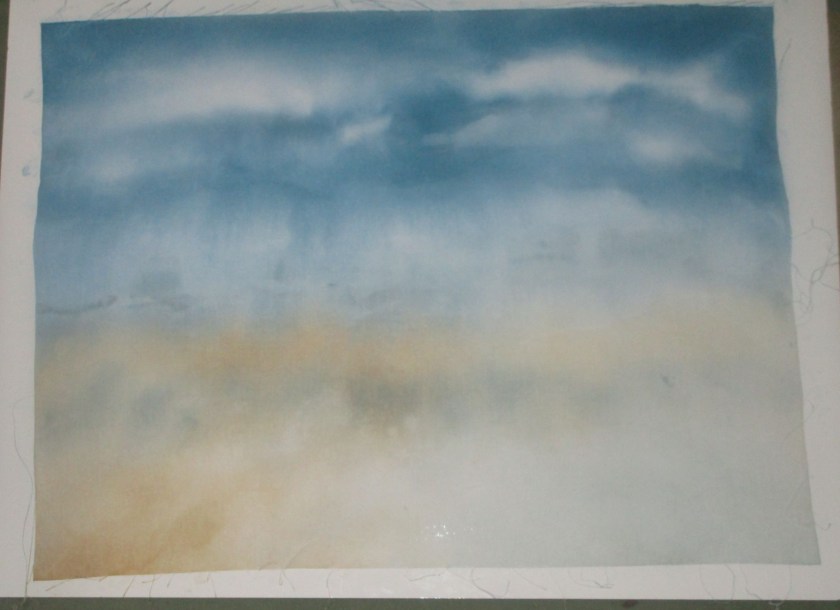
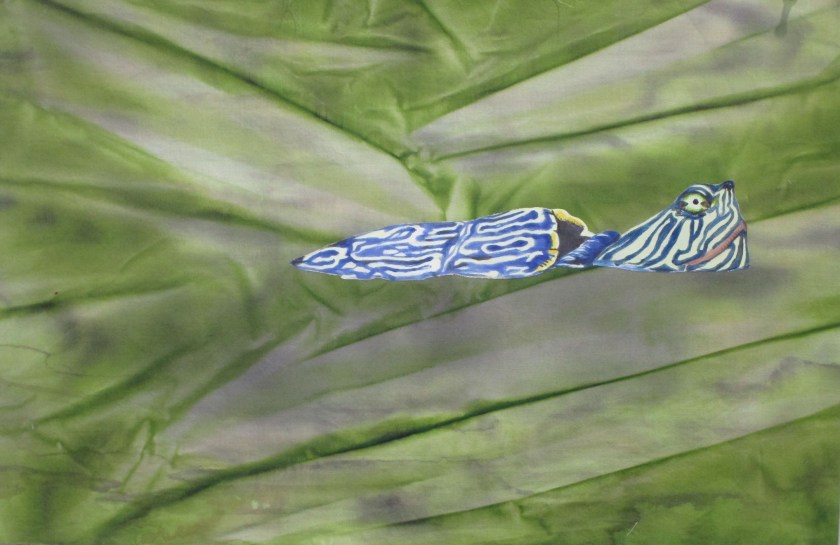
I also added more wash to the background. My goal was to achieve some depth of color and depict some of the swirls and waves in the pond. That didn’t happen but I did achieve some nice shadows. Next I fused the turtle in place with Wonder-Under.
After practicing on scraps, I decided that I have enough skill to machine quilt the reflections. The advantage of this technique is that the thread can be very light colored, even shiny, against the dark background.
For additional elements, I may go with pond grasses….

… and damselflies. Maybe a willow branch or two. But I have yet to work out the specific images and techniques.
This morning when I entered the studio, I felt momentary pleasure at seeing my recent work. Maybe it’s a sign that today I will get my mojo back.