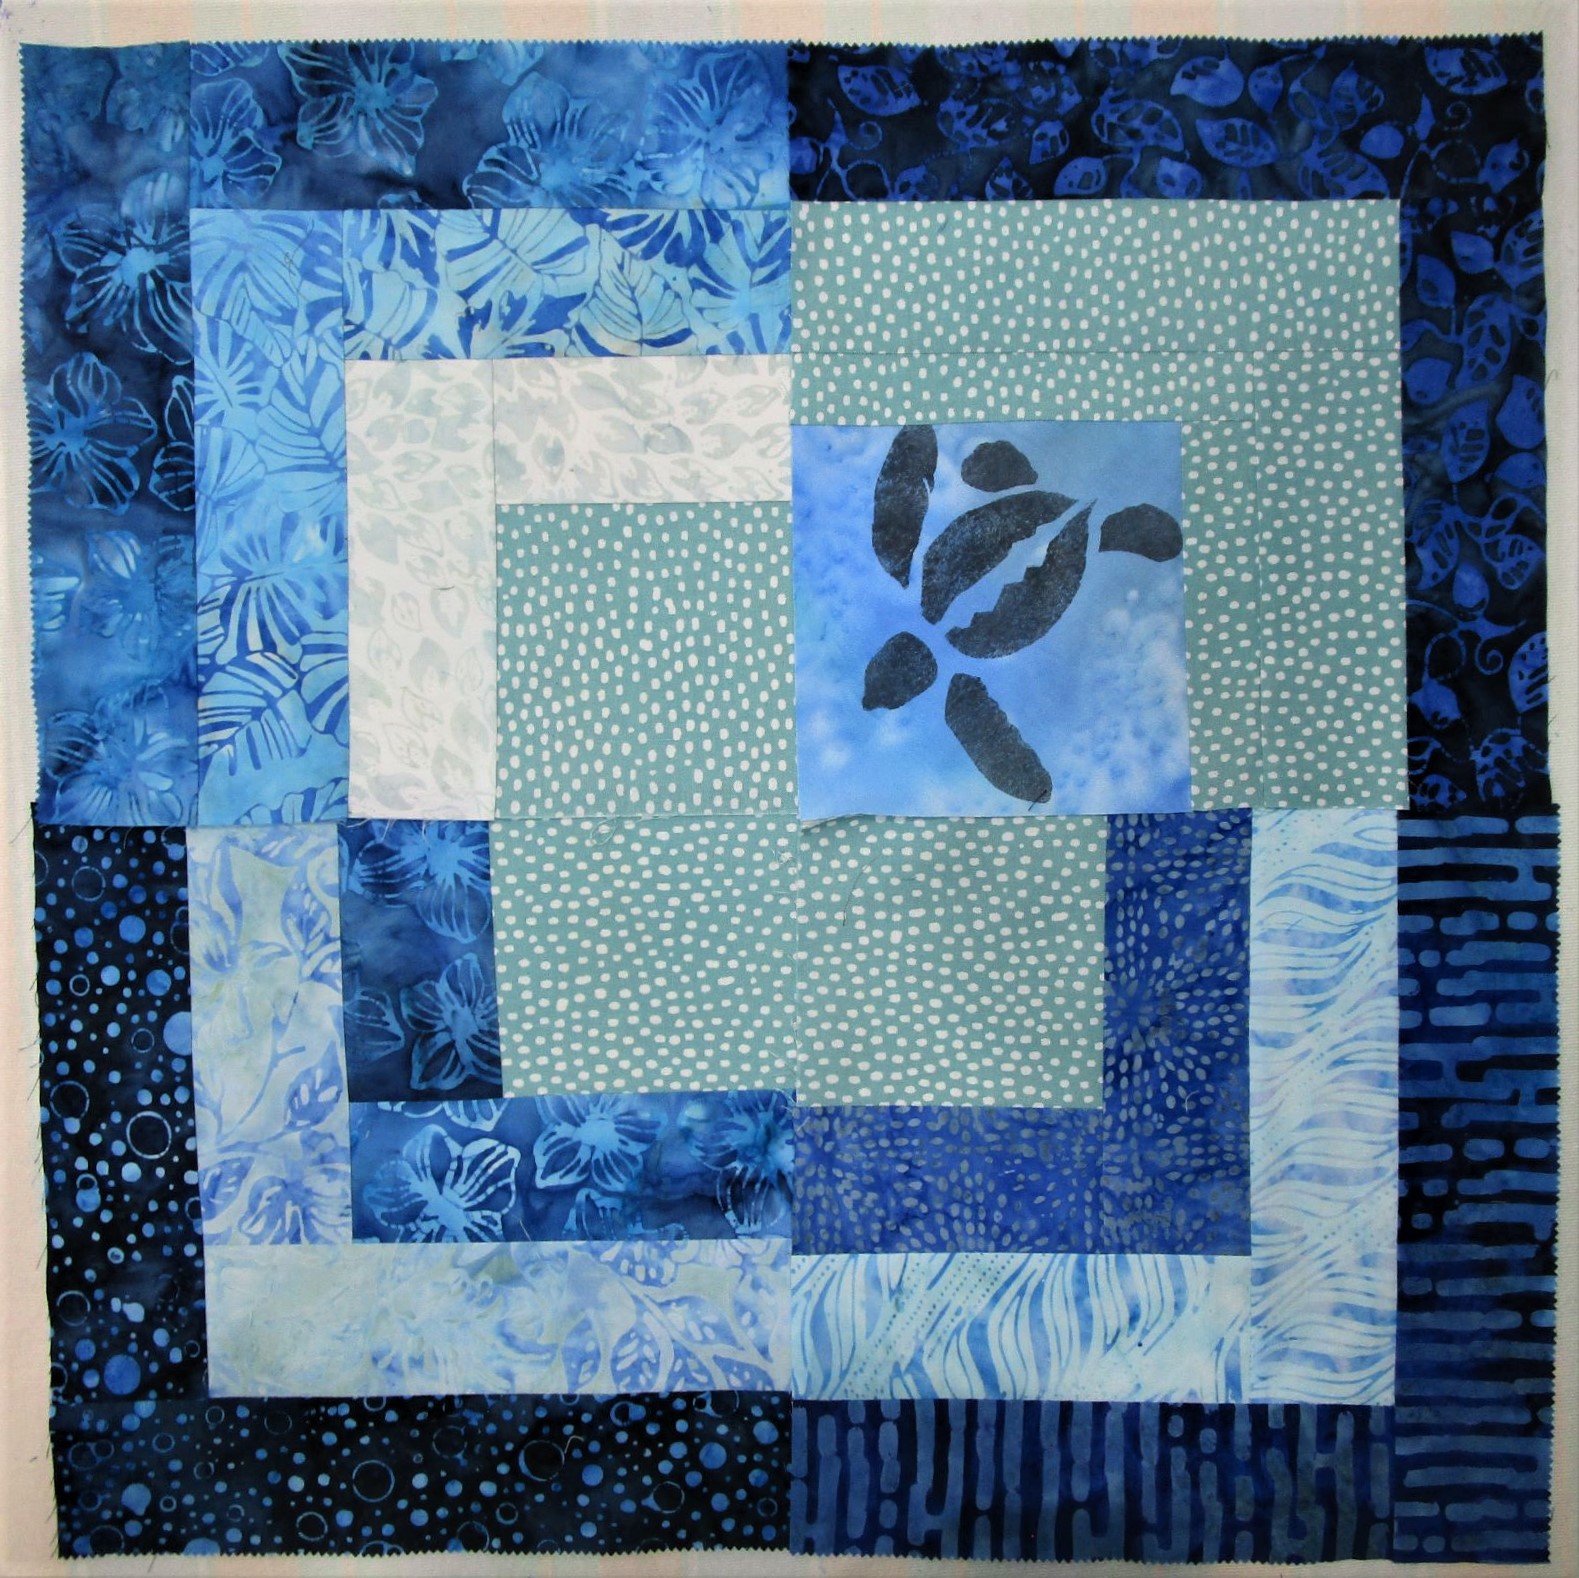
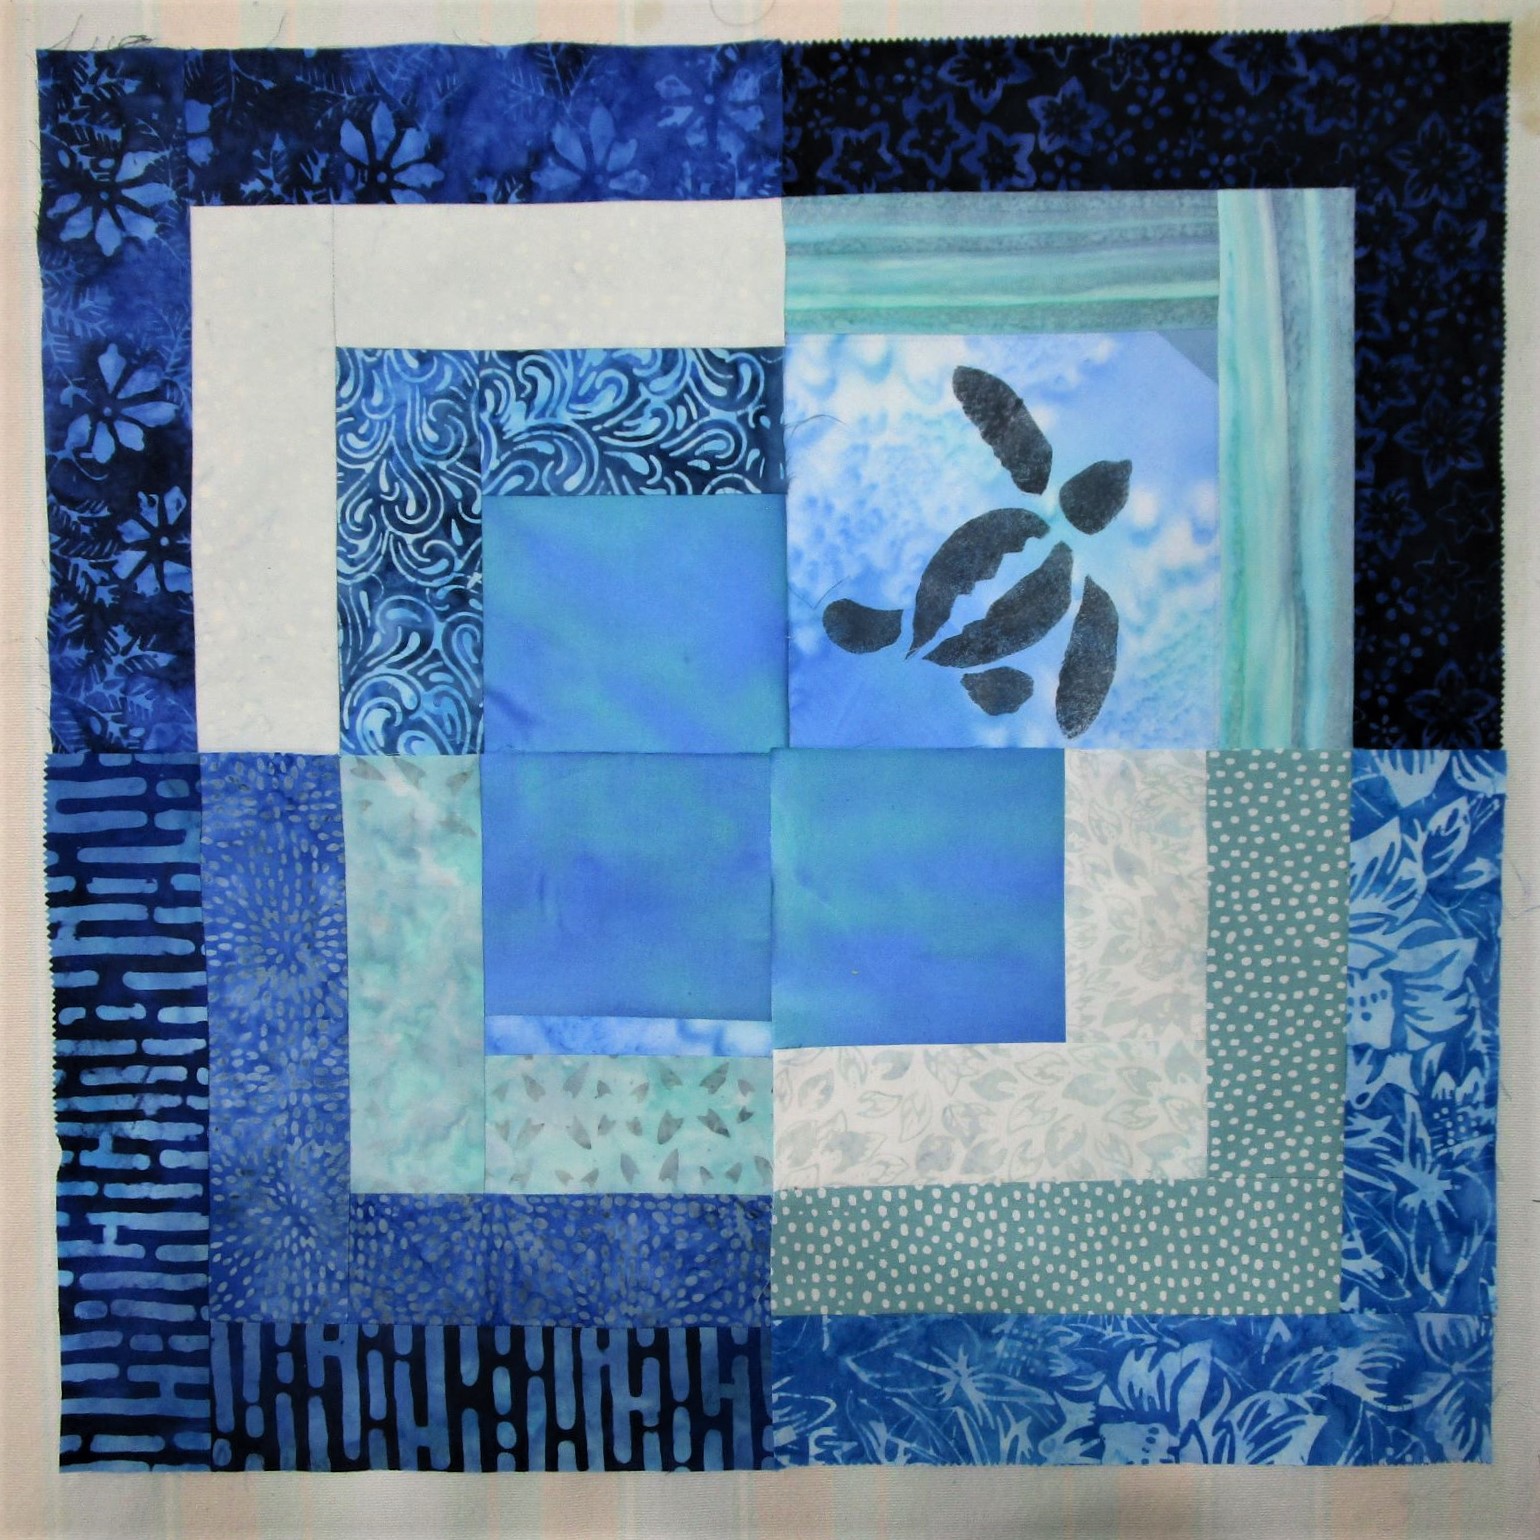
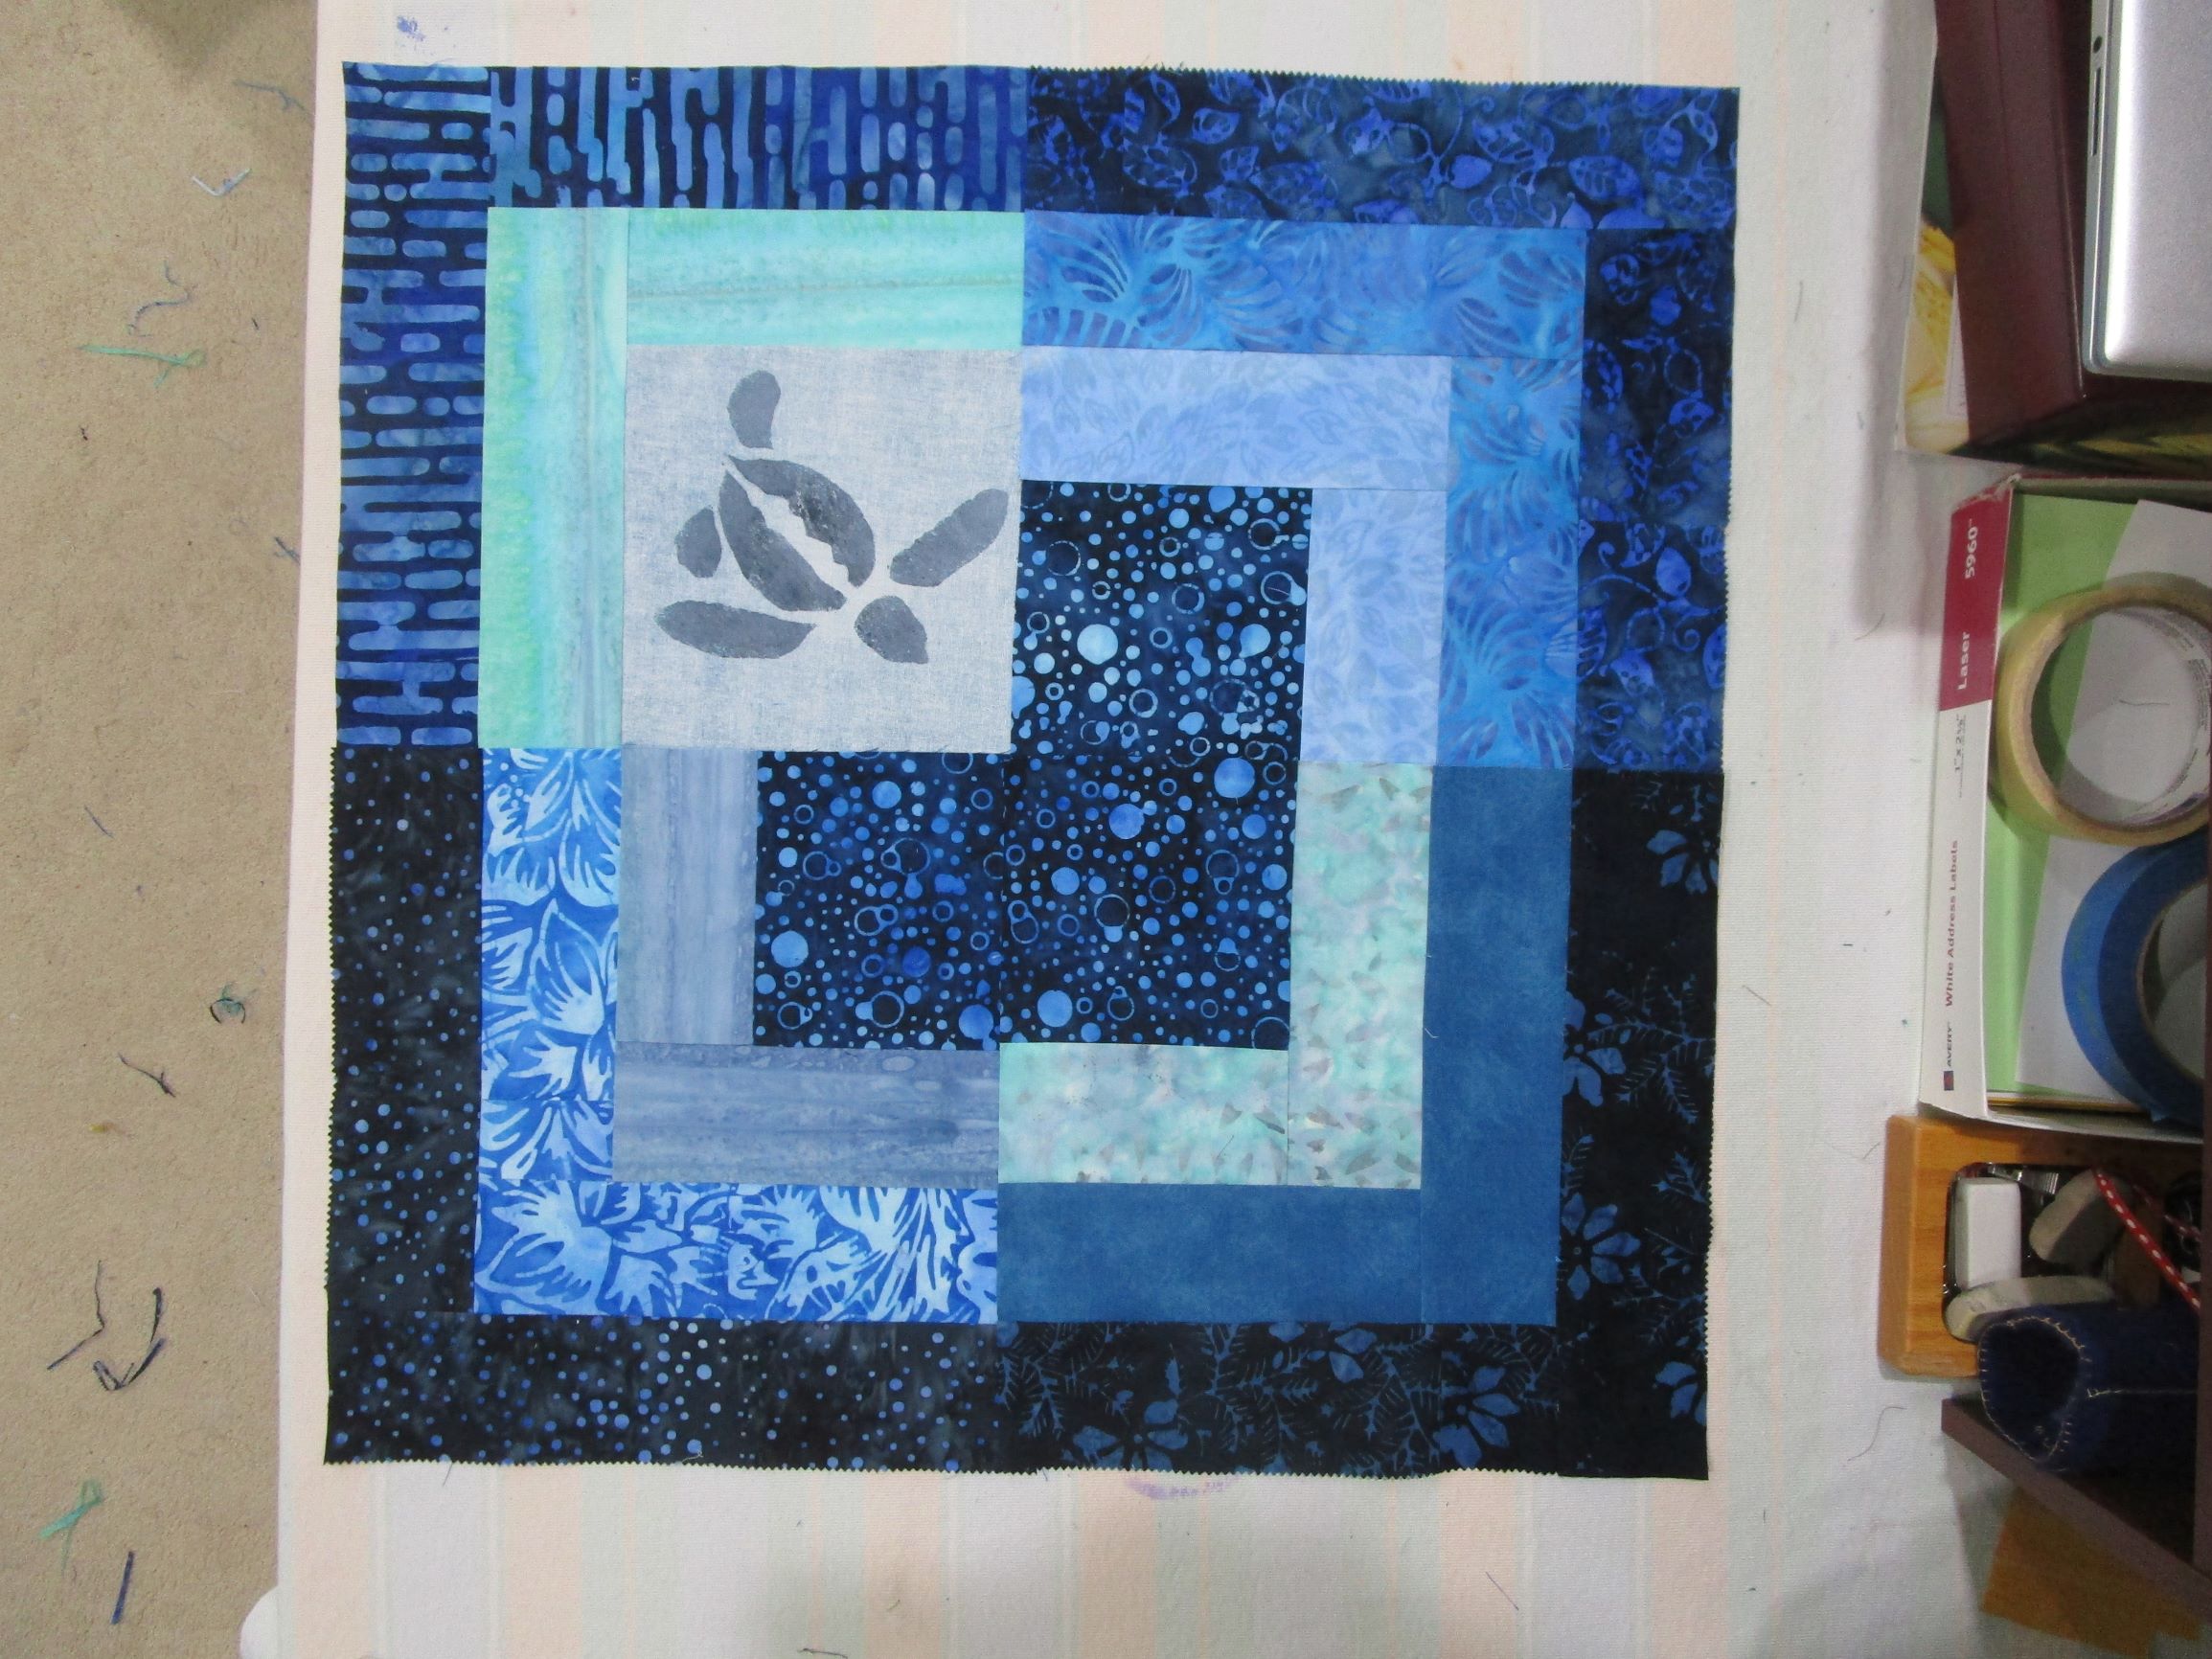
For the past week, my head has been buried in this project:
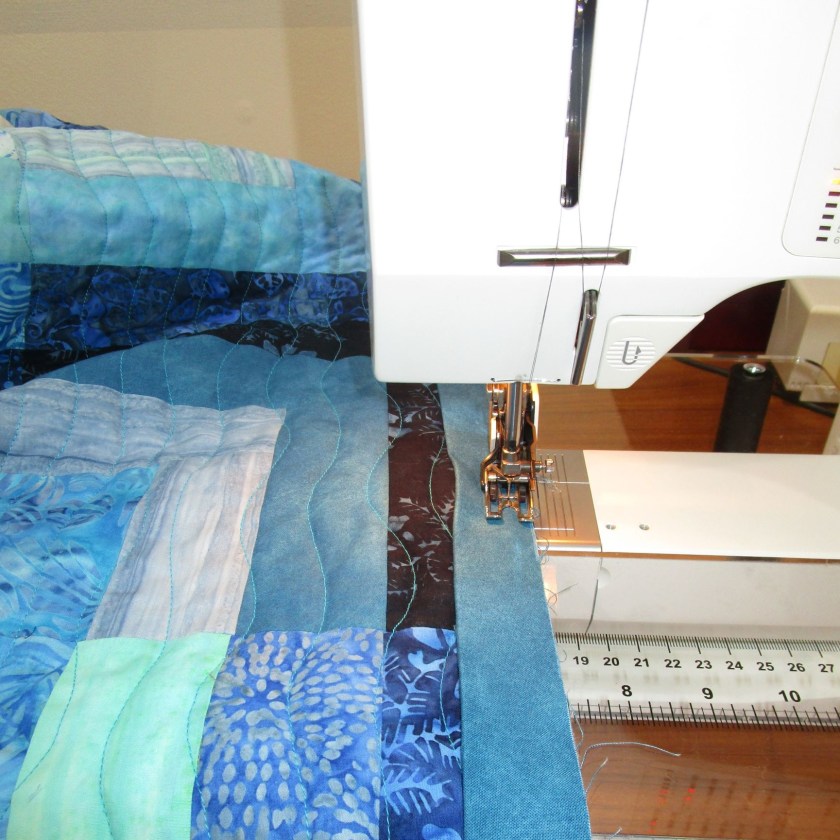
Well, today I finally finished it. The big reveal will happen on Friday. You will have to check my post then if you want to see final pictures. As a little break from all the sewing, I took inspiration from Jennell Willey, of “In the Artroom” Check out her blog about using crayons with water color paint as a form of resist.
https://wordpress.com/read/feeds/104869669/posts/2887562195
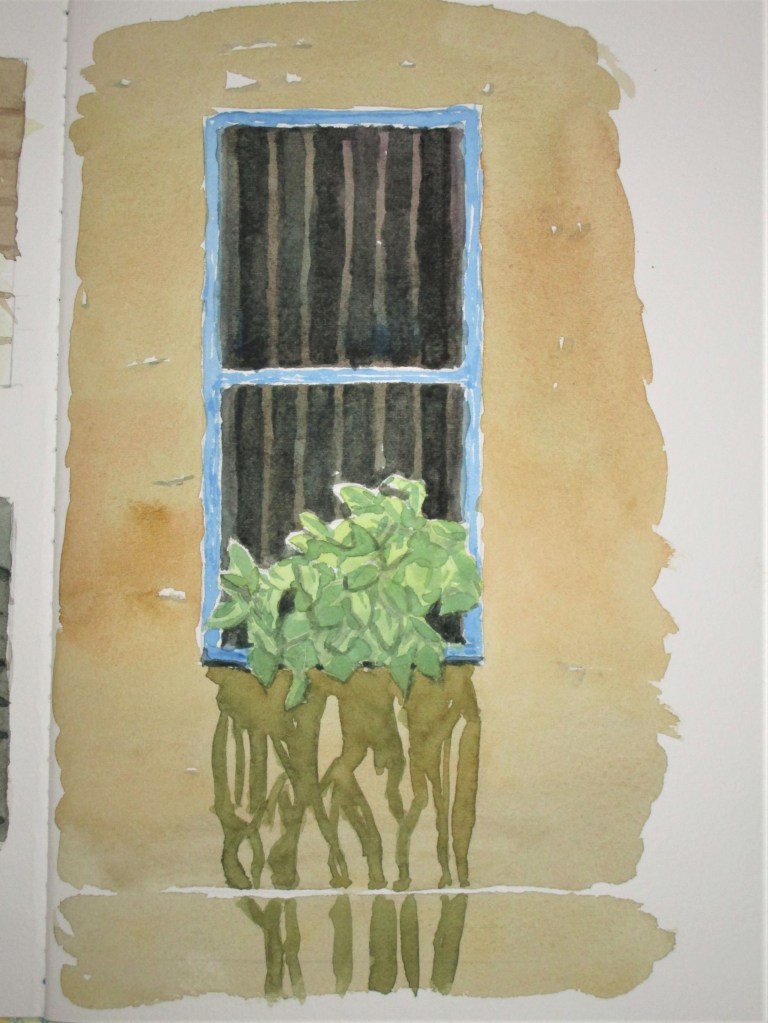
Because I have been watching hummingbirds whiz back and forth in my backyard, I decided to feature one in this little warm-up exercise. She is approaching a group of tumbling down trumpet vine blossoms.

Next comes a wash of color. I chose turquoise, orange, yellow and blue, to pick up on the crayons I used in the drawing.

After it was mostly dry, I added a bit of darker green to outline the vines.

And here is the finished painting, dried and with tape removed.
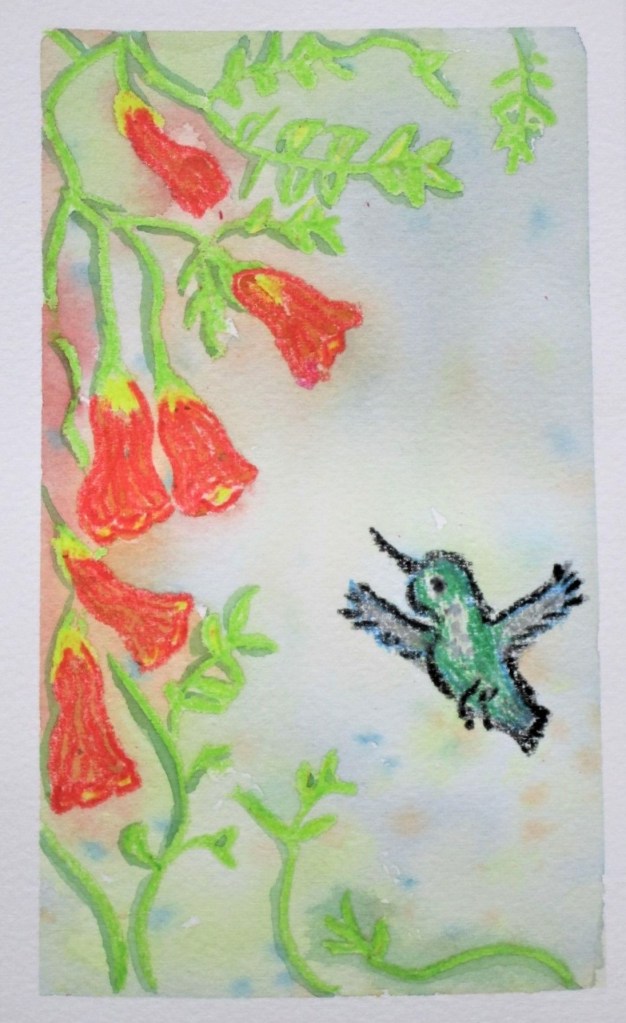
It took all of twenty minutes to make and was very relaxing. If I wanted to explore this technique further, I would sharpen my crayons a bit to get a more precise line. This would be a great technique to use in making greeting cards.