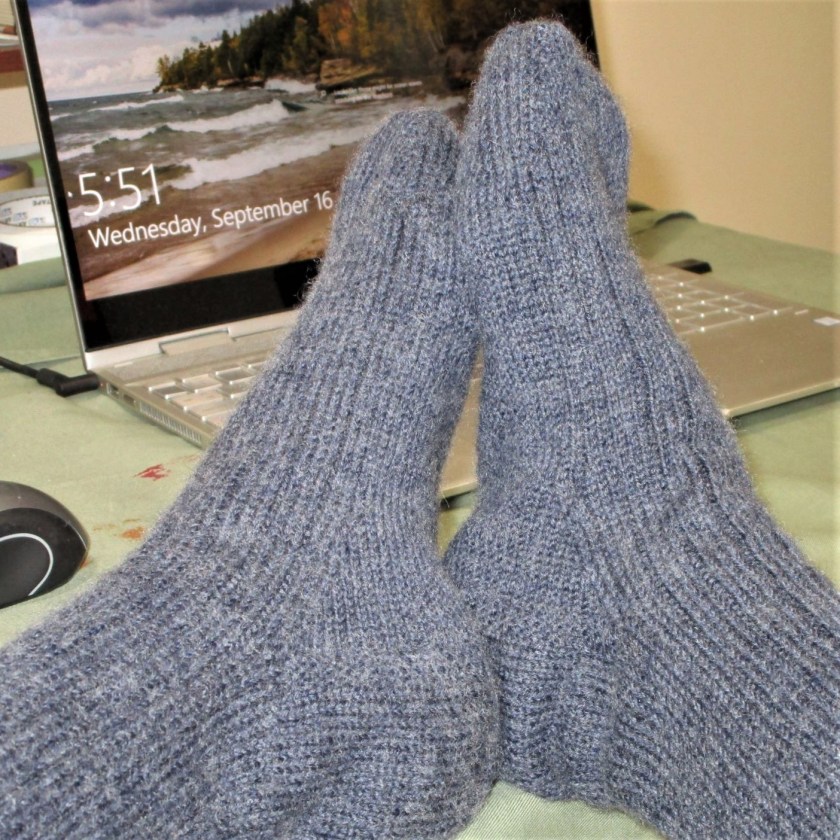
I am remiss in not sharing photographs of the completed cashmere socks that I knit for hubby. They have been off the needles for about a week. I was hoping to take a photo of them on his feet, but alas, he hasn’t worn them yet.
They are slightly loose on my feet, but look okay in the photograph.
The cuff is a 3 by 1 rib which is carried on over the foot. I used Elizabeth Zimmerman’s method for heel flap and gusset.
The yarn is from Knit Picks. I enjoyed knitting it so much that I plan to buy more in other colors. Just think how nice a cashmere-blend cowl or scarf will feel around your neck on a cold, blustery day.
The weather has been so nice that I have started knitting outside. Yesterday during our weekly knitting session, my friend Kathy helped me fit and measure the top-down cardigan that I cast on last week. The body is already half-way done! Obviously, I am enjoying the process and have spent time working on it daily.
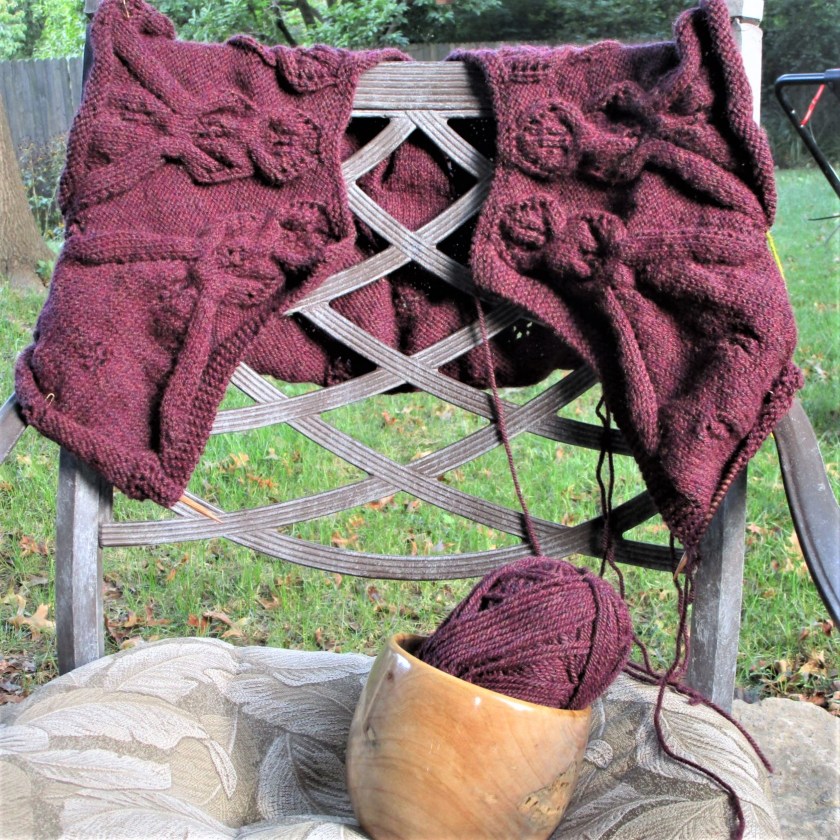
On this back view, you can see the yoke detail. The cables are finished, armhole openings are threaded onto waste yarn and I am speeding toward the hem What’s not visible is the small lace motif that I am inserting. It’s a six-row “snow” pattern. I am staggering the snowflakes about 15 stitches and 14 rows apart. This is my way of staying interested in a project that has long stretches of stockinette stitch.
The only point of suspense is the same age-old question. Will I have enough yarn? These Plymouth Encore balls are pretty hefty. I’m feeling fairly confident that the answer will be in the affirmative. Time will tell.
I continue to work through Shari Blaukopf’s tutorials.
This week’s sketches focus on painting shadows of three dimensional objects. Shari chose three rather pedestrian objects. And yet they offer all the elements an aspiring watercolorist would need for practicing shadow painting.
Fire Hydrant
Waste receptacles, also known as bins or trash cans.
Car parked in bright sunlight.
I find that if I take sufficient time to make a good pencil sketch, the process of applying paint goes pretty easily.
If you are interested in Shari’s tutorials, you can find them here:
Good morning. The sticklers among you will point out that today is Tuesday. But yesterday I didn’t have time to write this post, due to a shopping trip to Tulsa.
My original idea was to make up my own design. It was to be a loose wrap-like cardigan, knitted from the top down, incorporating both cables and lace. I had a few false starts that didn’t please me. So I searched Ravelry for something similar and came up with this delightful pattern by Michelle Porter.
It has all the features I require and I can begin knitting immediately.
The lace pattern has no name, and it isn’t charted. But I am finding the row by row instructions pretty easily to follow.
The color number is 686. While it looks brown, in sunlight it is a heather merlot.
Increases are made by yarn-overs. I love the round motif that progresses into a twining cable. The original pattern has only two pattern repeats. I am considering modifying the back to take the cables all the way down to the waist.
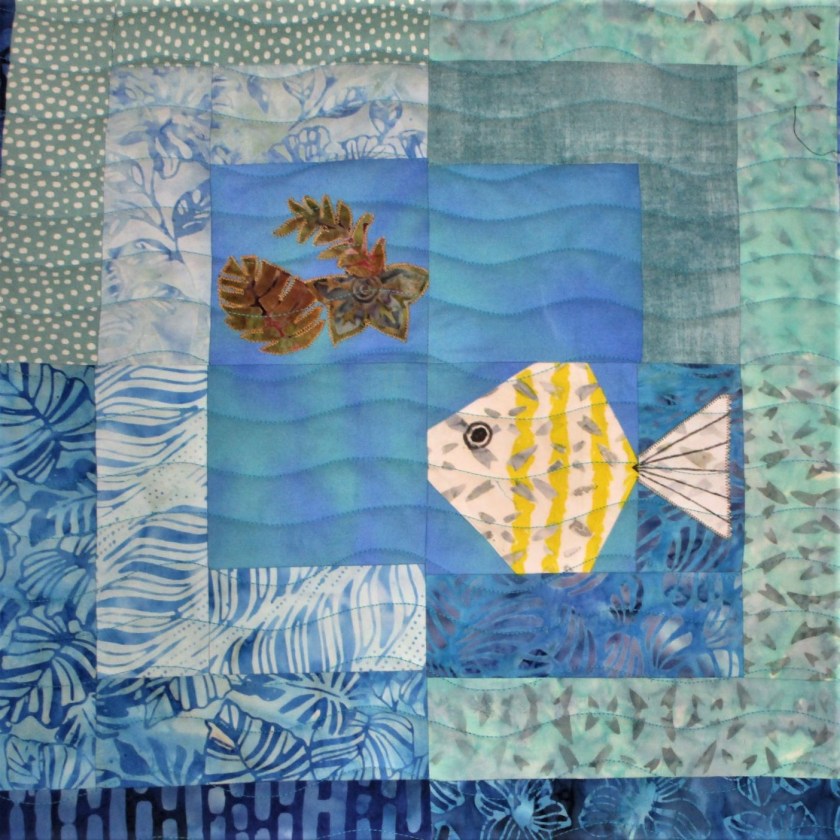
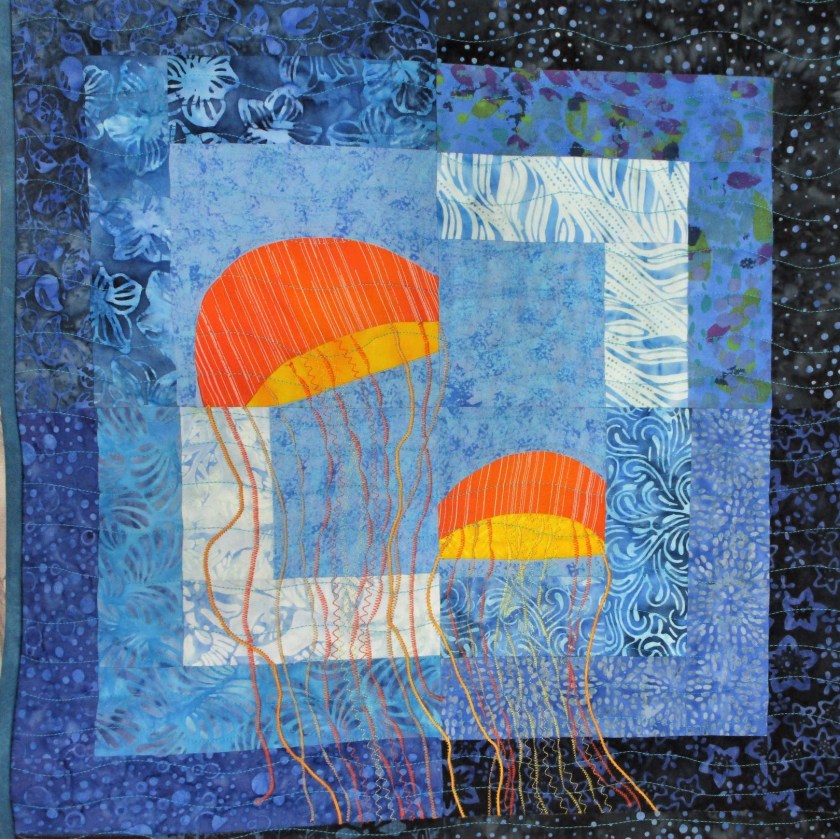
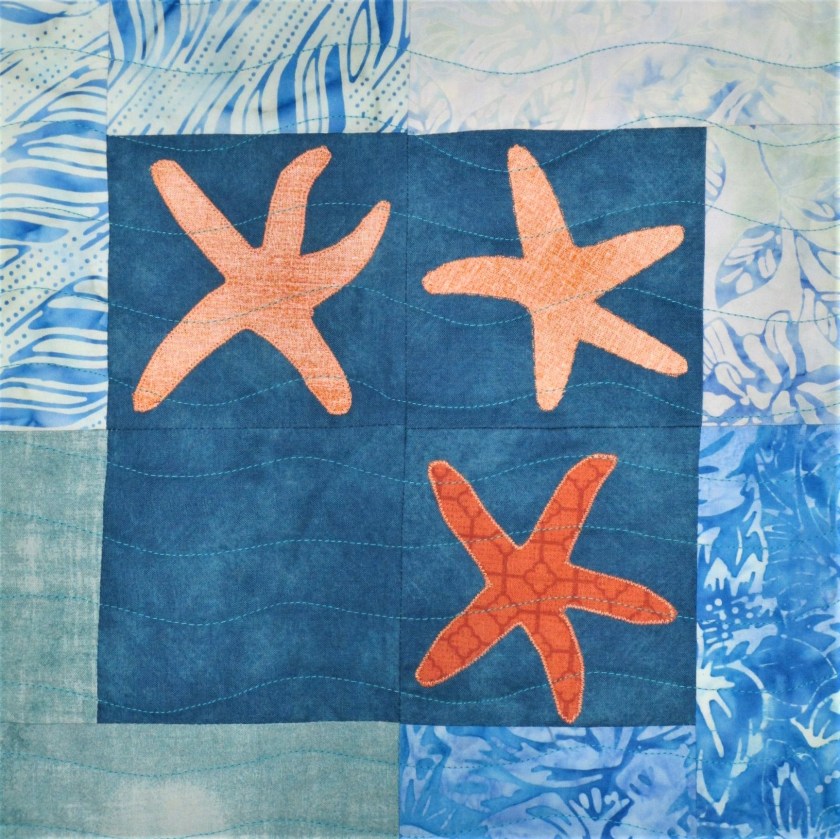
It was with great satisfaction that I sewed my last stitch into “Under the Sea” quilt. Today is the big reveal. Since many of you have already seen the completed blocks, instead I will share the inspirations for my quilt’s design.
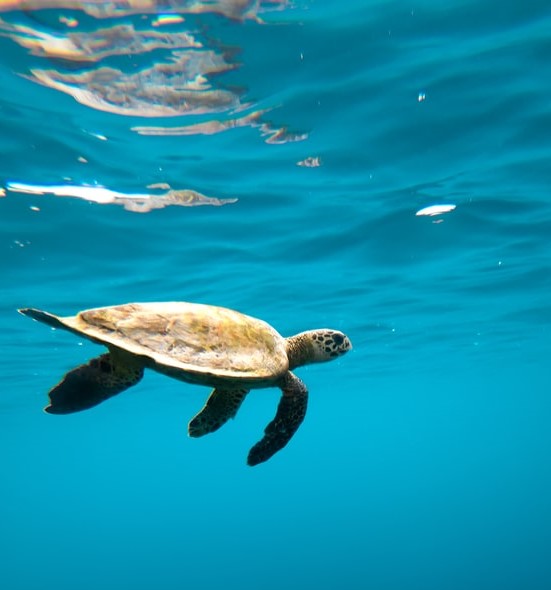
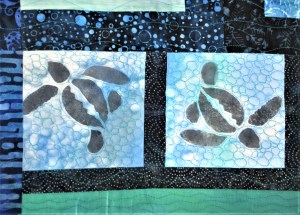
It all started with sea turtles. I painted the first one last April, on Earth Day. Ultimately, the sea turtle became the centerpiece of this project.
Green Sea Turtle, Costa Rica
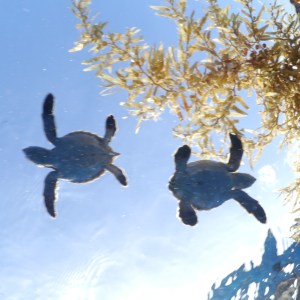
One thing I learned about these amazing animals is that they roam broadly over the ocean. Yet they always return to the place of their birth to start the next generation. It’s a hazardous journey across that beach. Many newly hatched turtles fall prey to other creatures. Even once they are afloat, life is precariously
As I spent time drawing various sea creatures, I realized that I would probably never see a healthy coral reef. Humans have done a poor job of conserving the world’s oceans. According to the National Geographic Society, a mere 7 percent of the sea has any official protection – and these are mostly weak rules, with multiple exceptions. Only 2.5 percent of the ocean is highly protected from human exploitation.
Most disturbing to me is the effect of global warming on the ocean. As more and more carbon dioxide is absorbed by the water, the ocean get more and more acidic. Following that process to its natural conclusion implies a great die-off of species. The acid water will dissolve the calcium in the reefs until they can no longer sustain life.
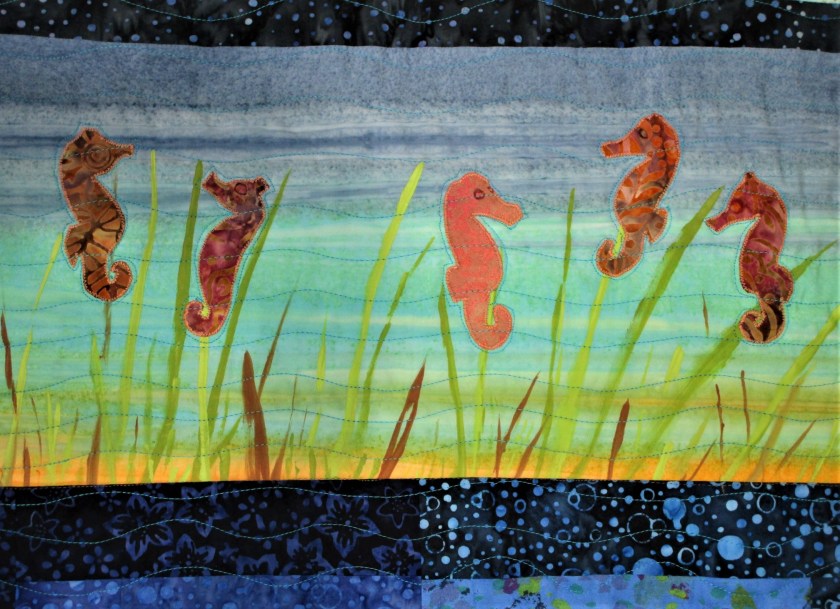
So my process of making “Under the Sea” turned into a love story about all the creatures living under the threat of extinction.
…….. and a plea to those who have the power to act on their behalf. If we do nothing, what we have left of the ocean may not be enough to sustain our own species.
Because there is always hope, I will leave you with this: The Pristine Seas project launched by National Geographic Society in 2008 has helped create 22 marine reserves across the world’s oceans. New research indicates that as a result of rigorous protection, fisheries adjacent to these no-take zones experienced a rebuilding of stock – almost doubling the catch.
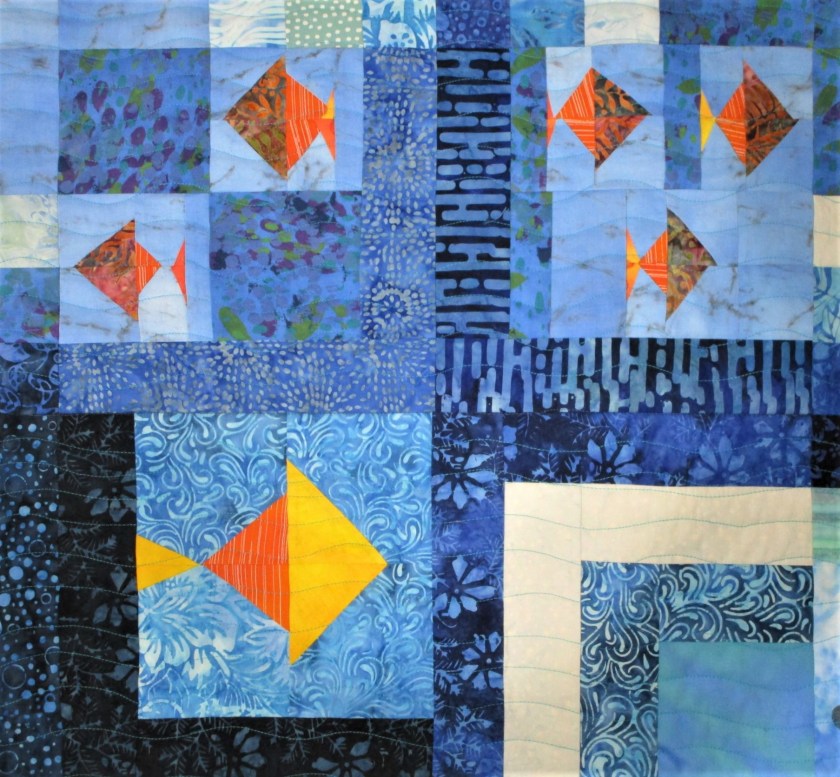
Fish blocks pieced by flip and stitch. Turtles stencil painted, free motion quilted.
It is possible to keep our coral reefs and continue to feed ourselves and our children.