Thank you, Brenda, of Songbird Designs, for choosing log cabin block for this round. It’s just about my favorite block to make, and one of the most beginner-friendly as well. Brenda has chosen to use the quarter log form of the block in her quilt. I like that, and made a few test blocks in this version.
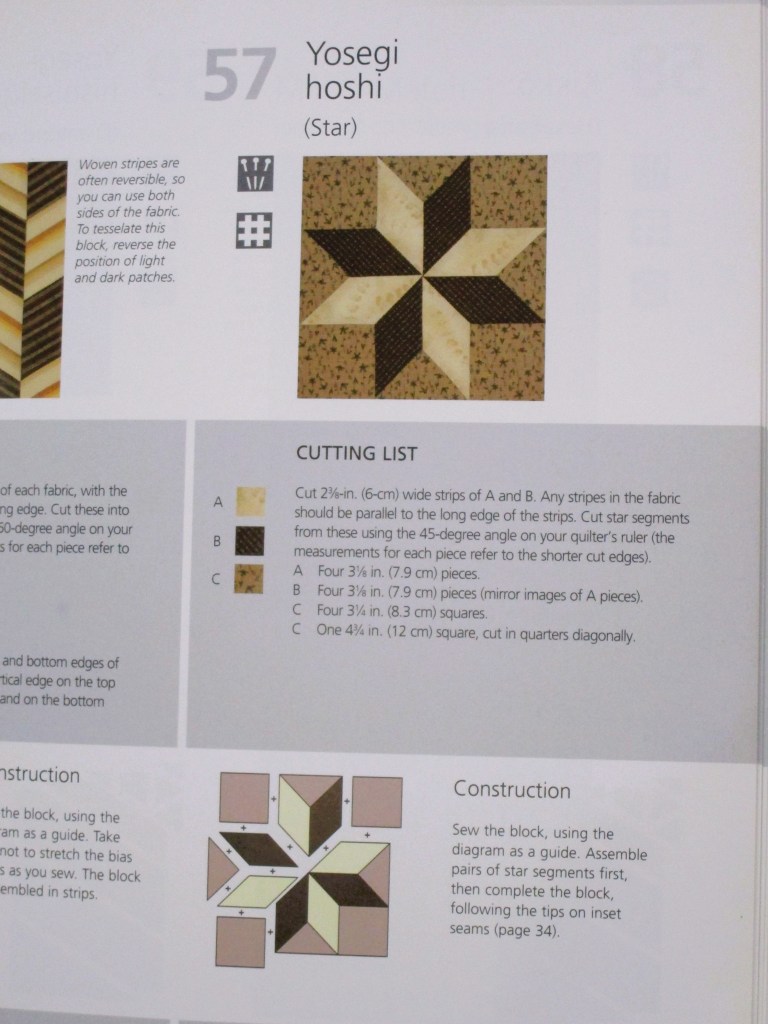
I’ll likely use quarter logs at some point. But for this round, I want to use a Japanese version of the log cabin. My block directory has two to choose from:
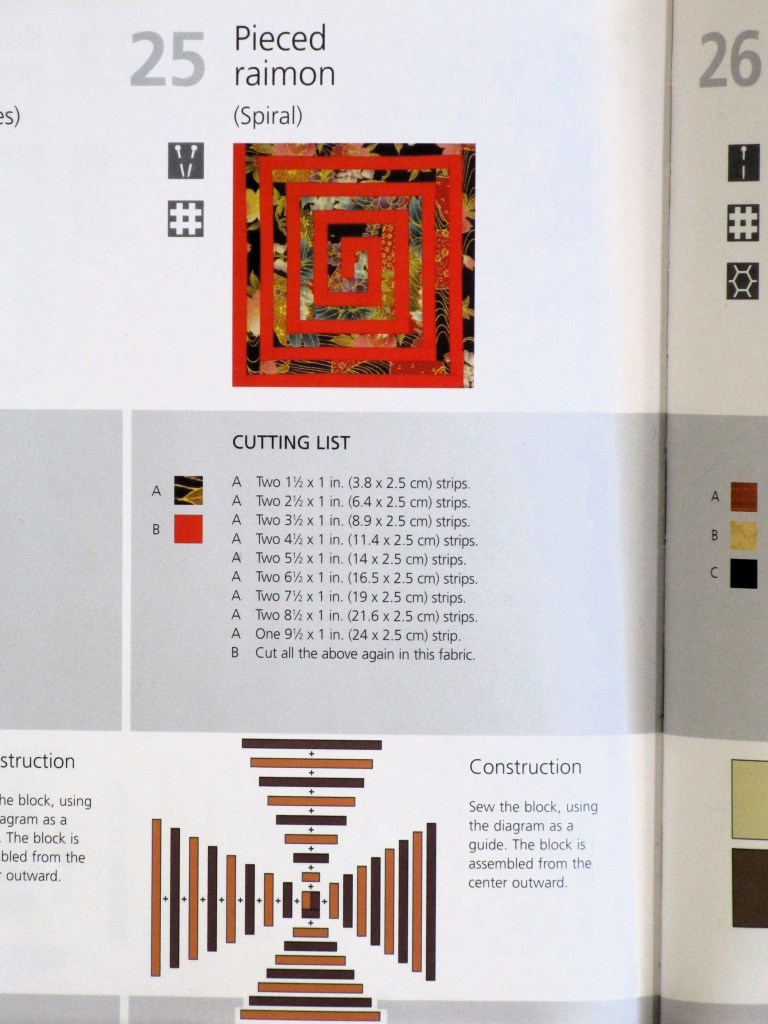
Pieced raimon, also known as the spiral block, is interesting. But those are very narrow logs to squeeze into a nine inch square block.
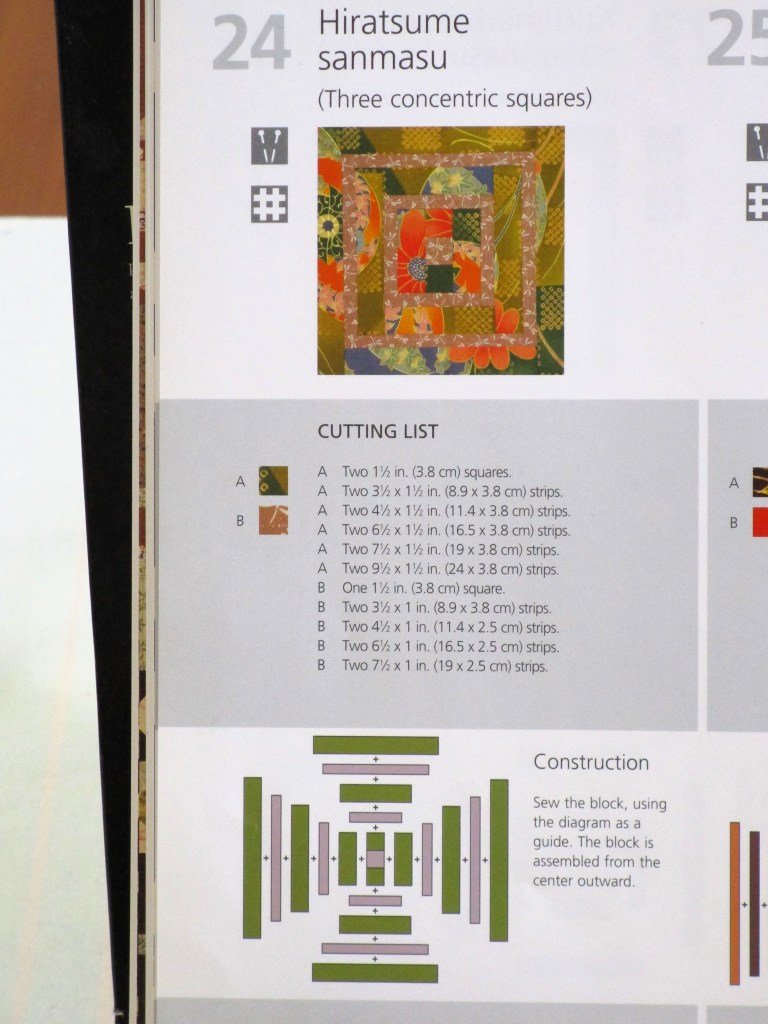
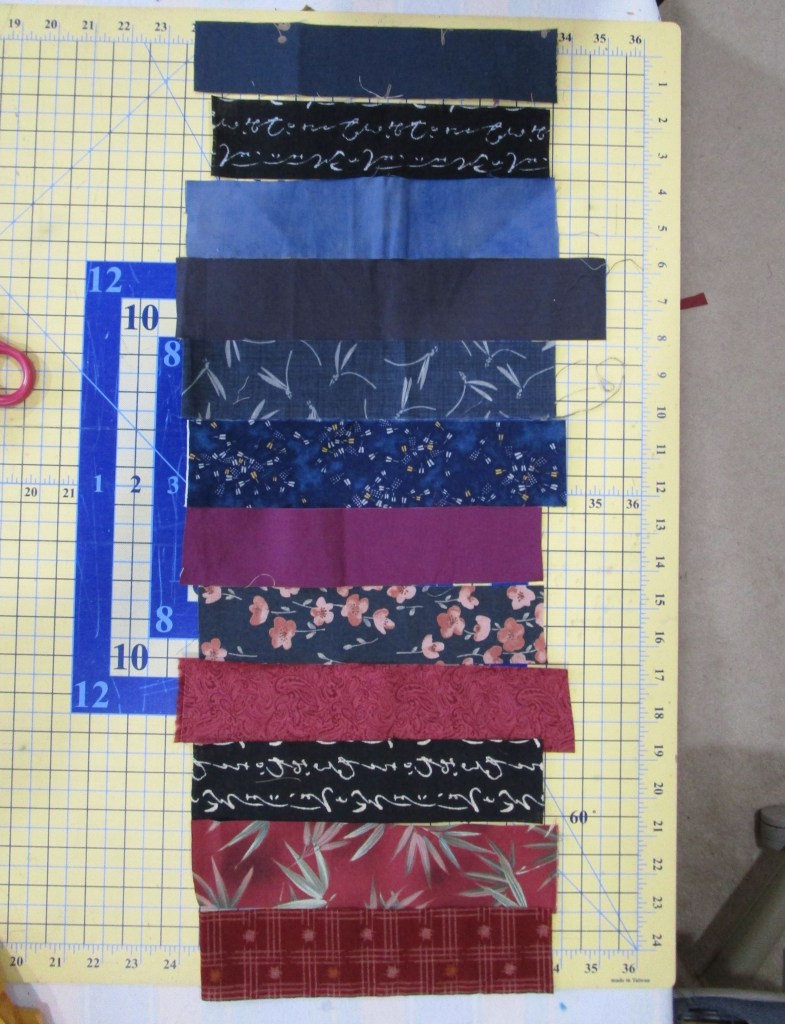
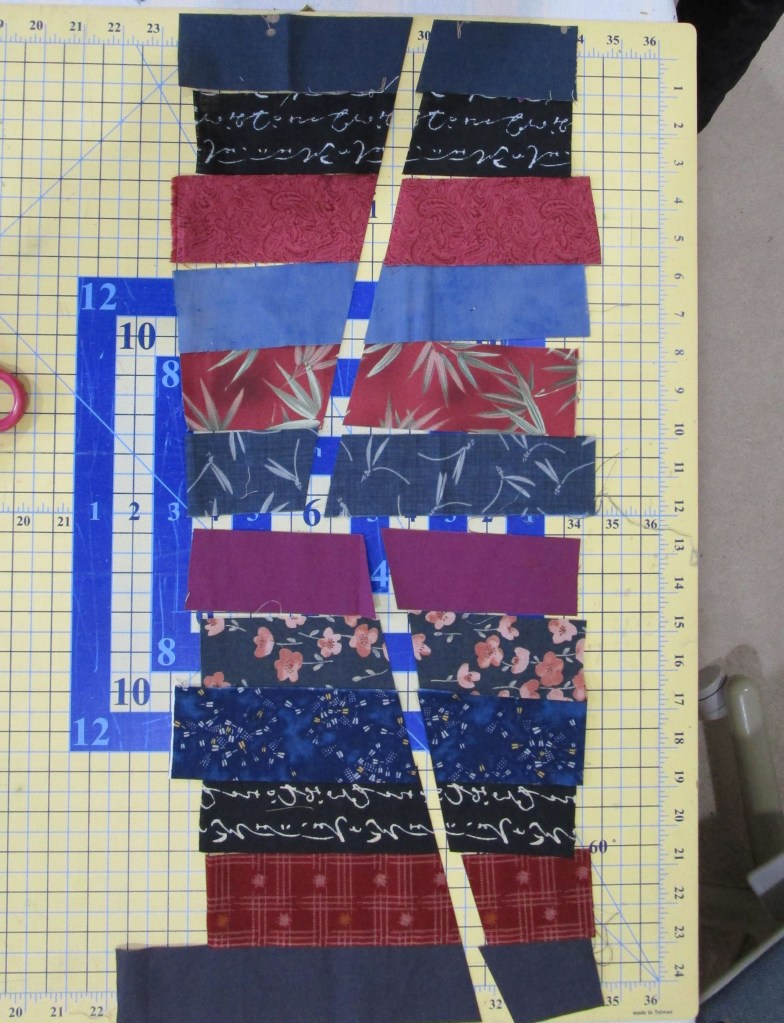
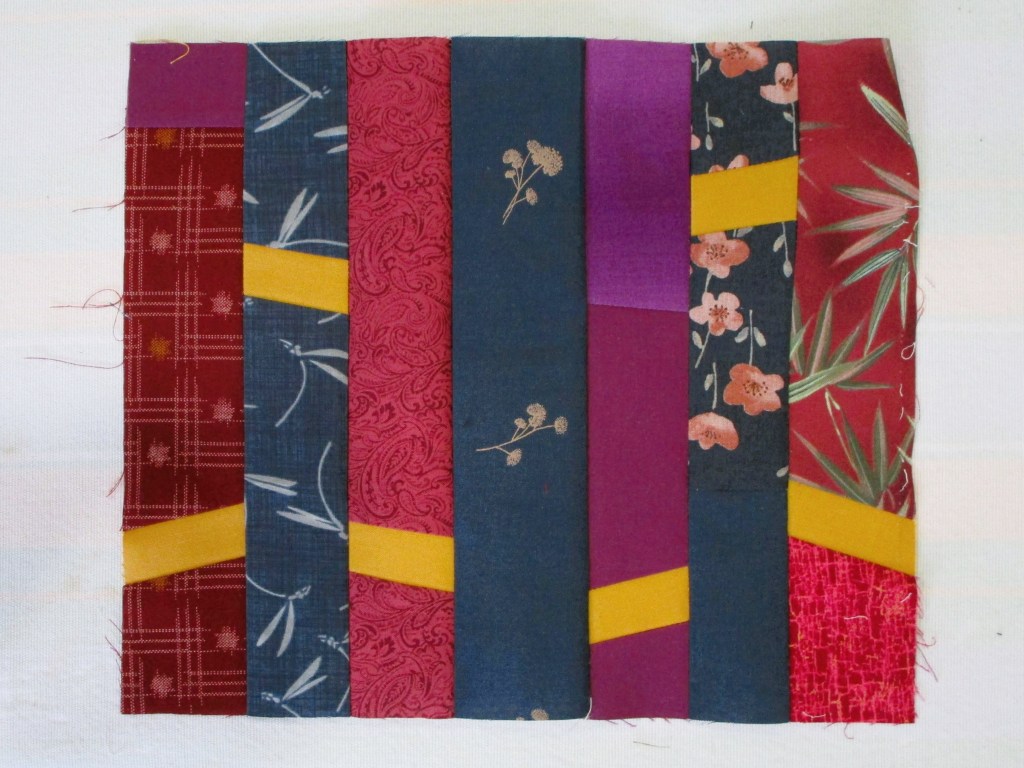
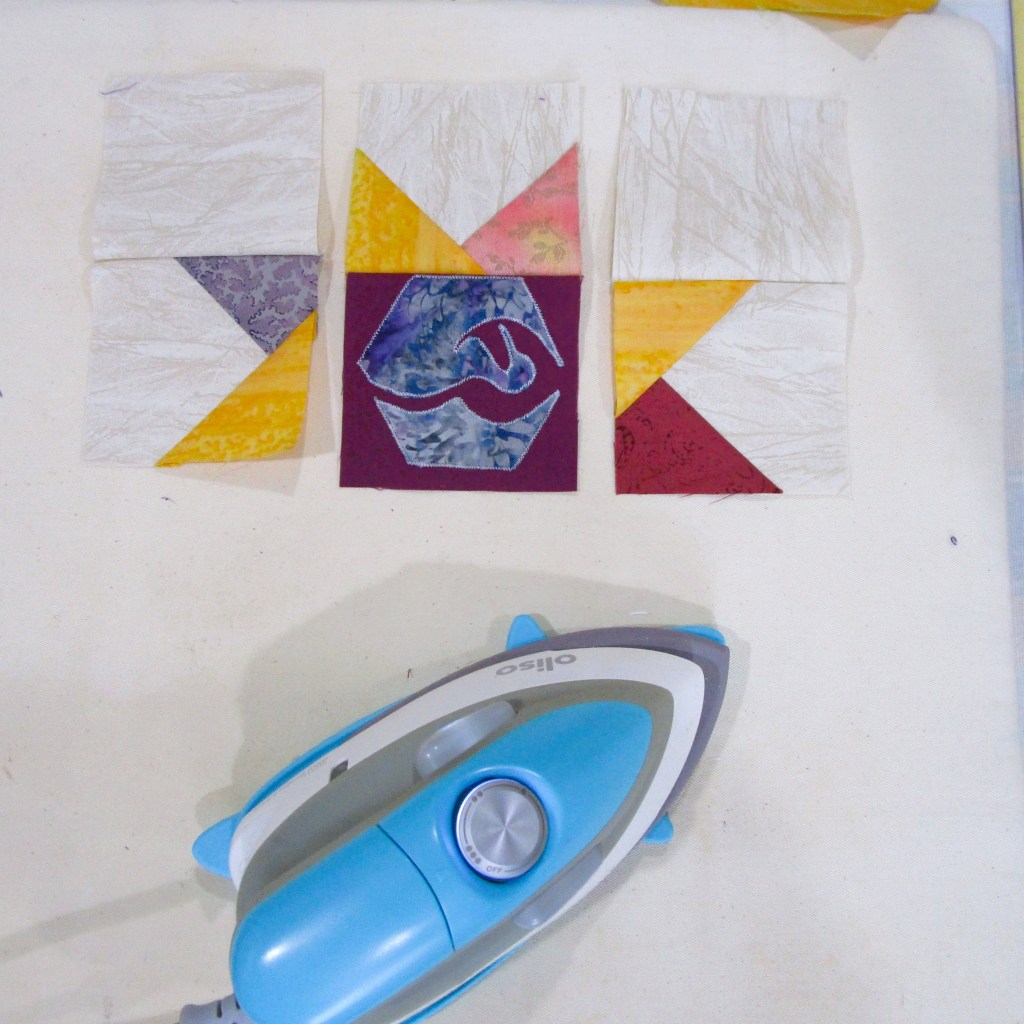
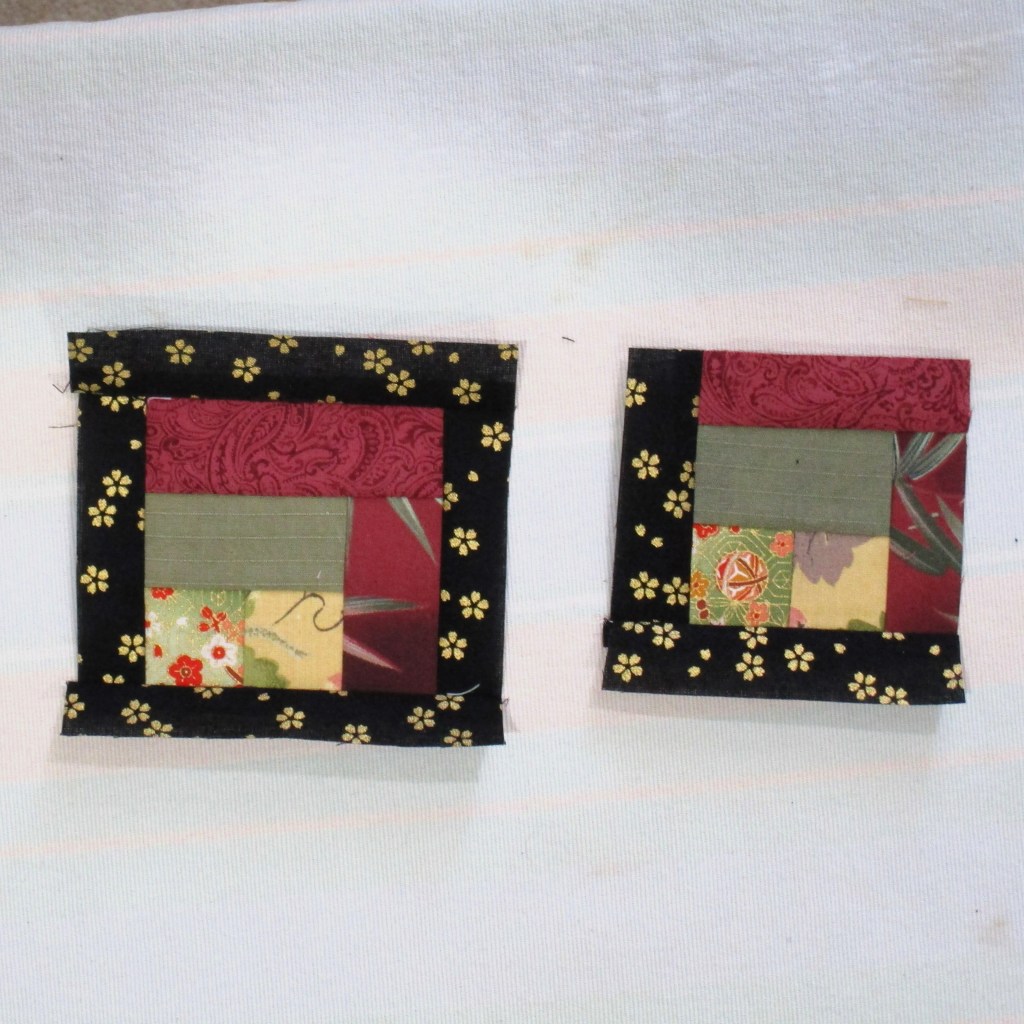
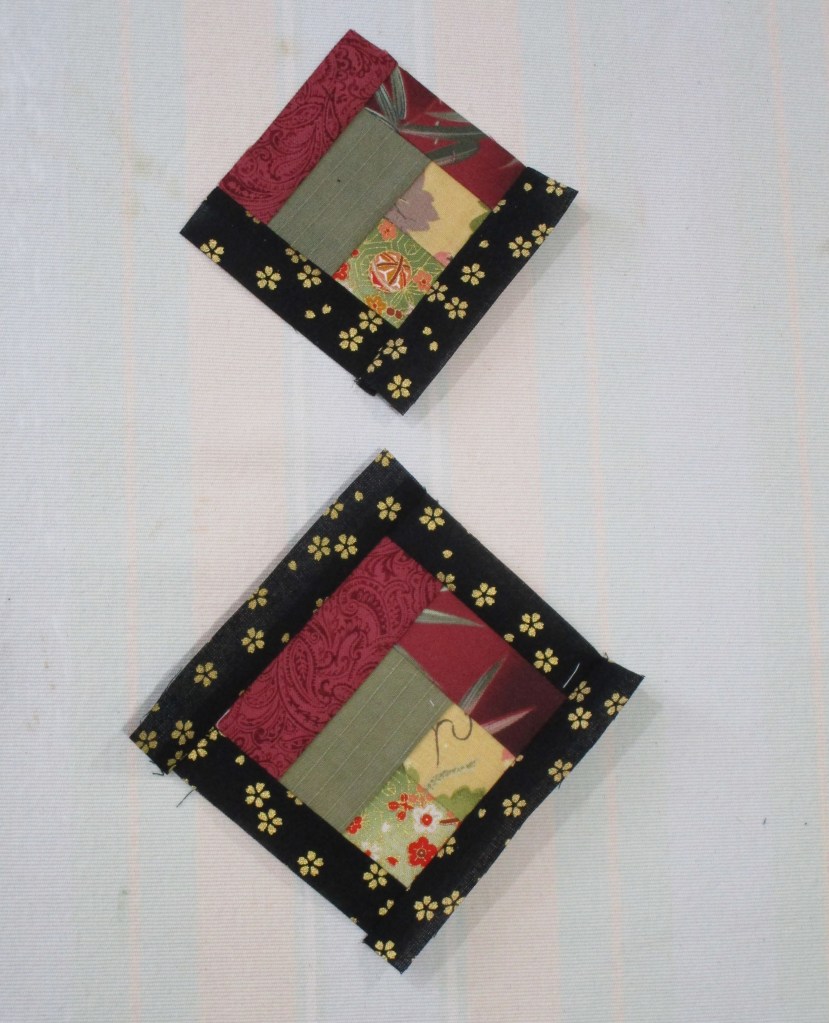
Hiratsume sanmasu is what we in the West might call Courthouse Steps log. I also like that this pattern has one set of strips cut 1 and 1/2 wide, to finish at 1 inch. And I have the perfect fabric to take advantage of the layout:
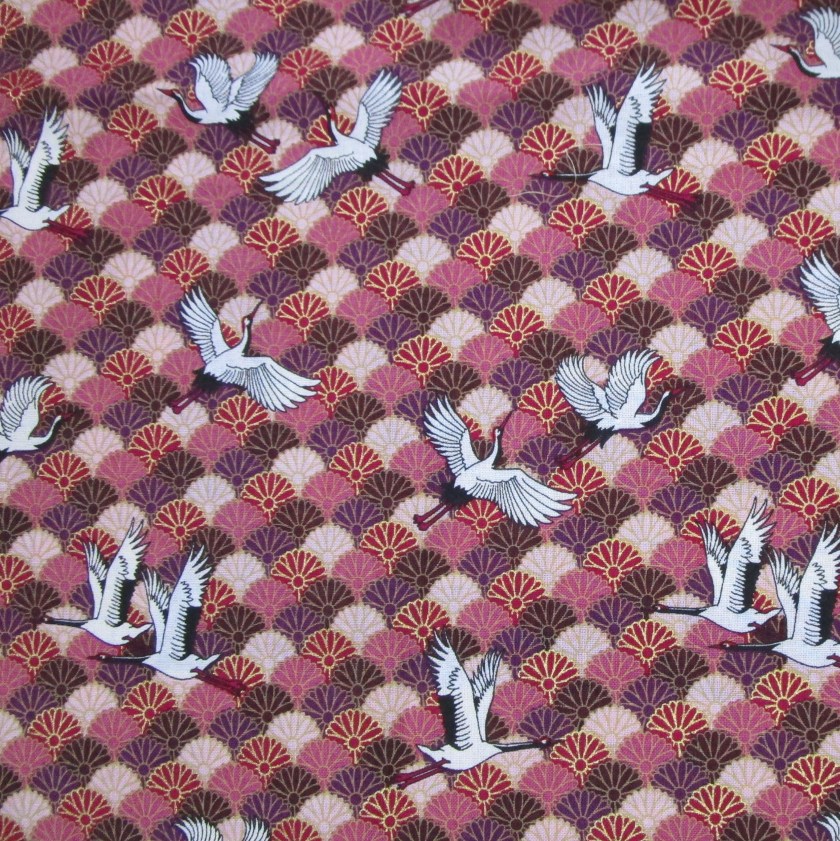
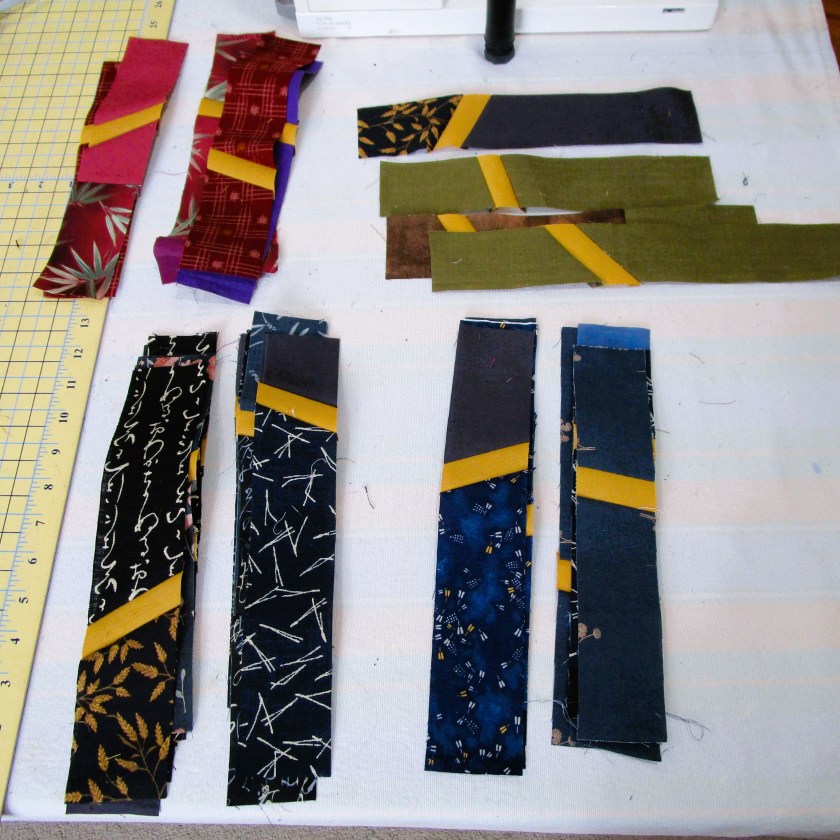
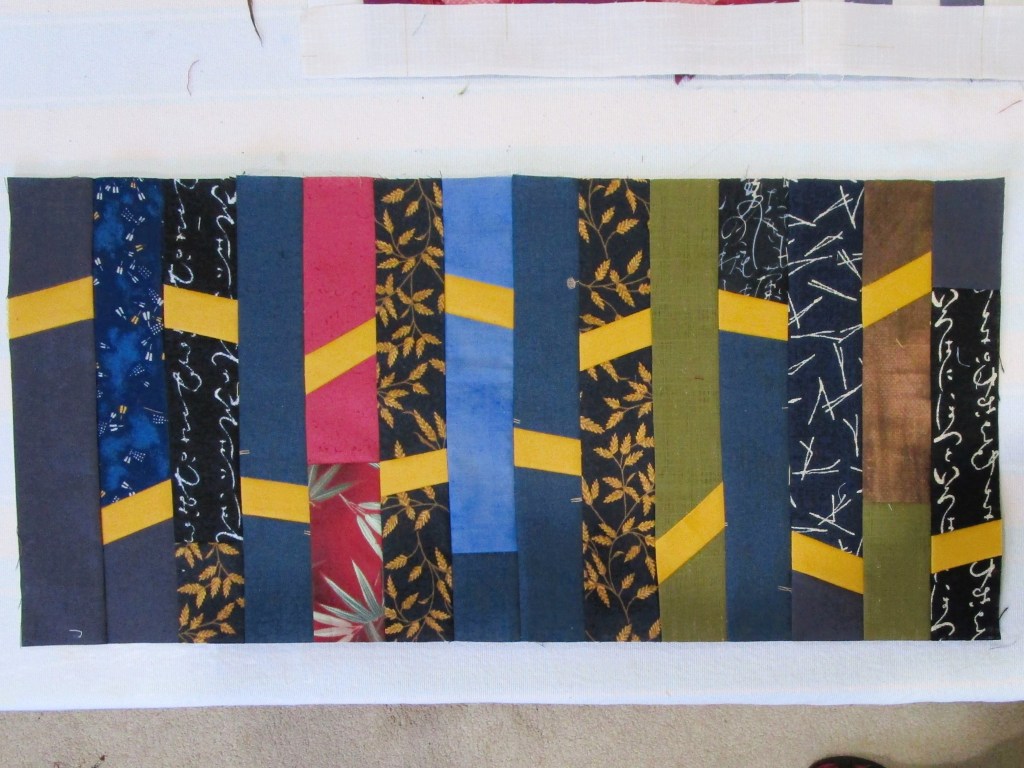
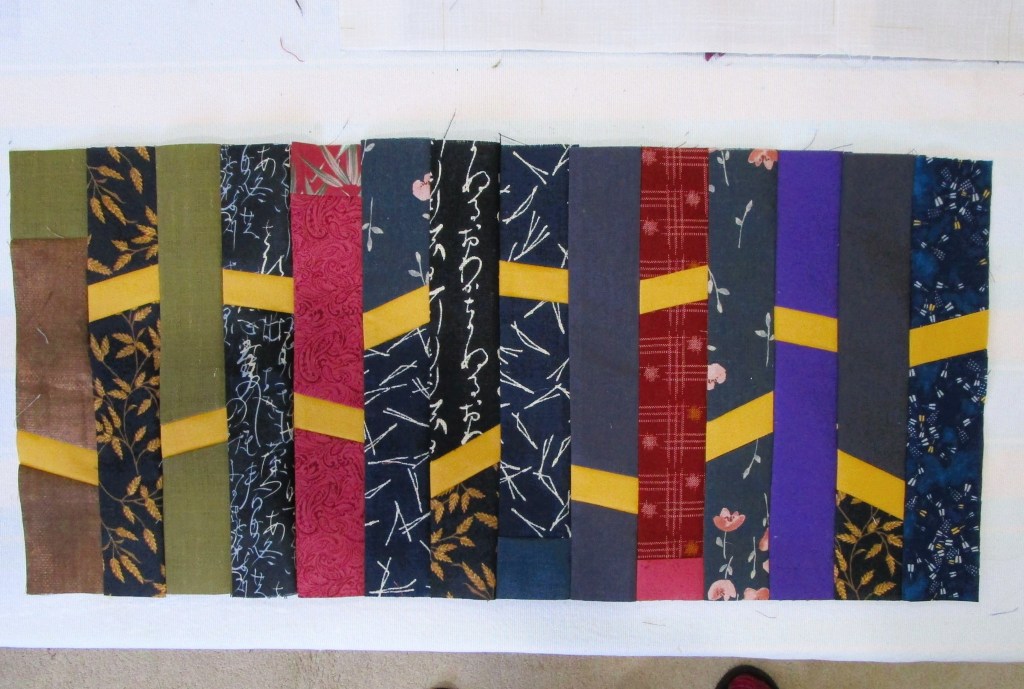
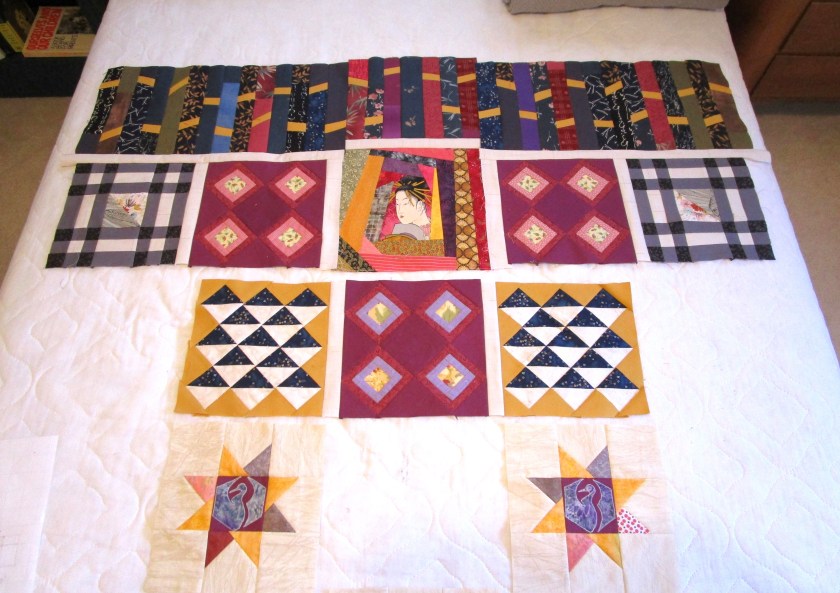
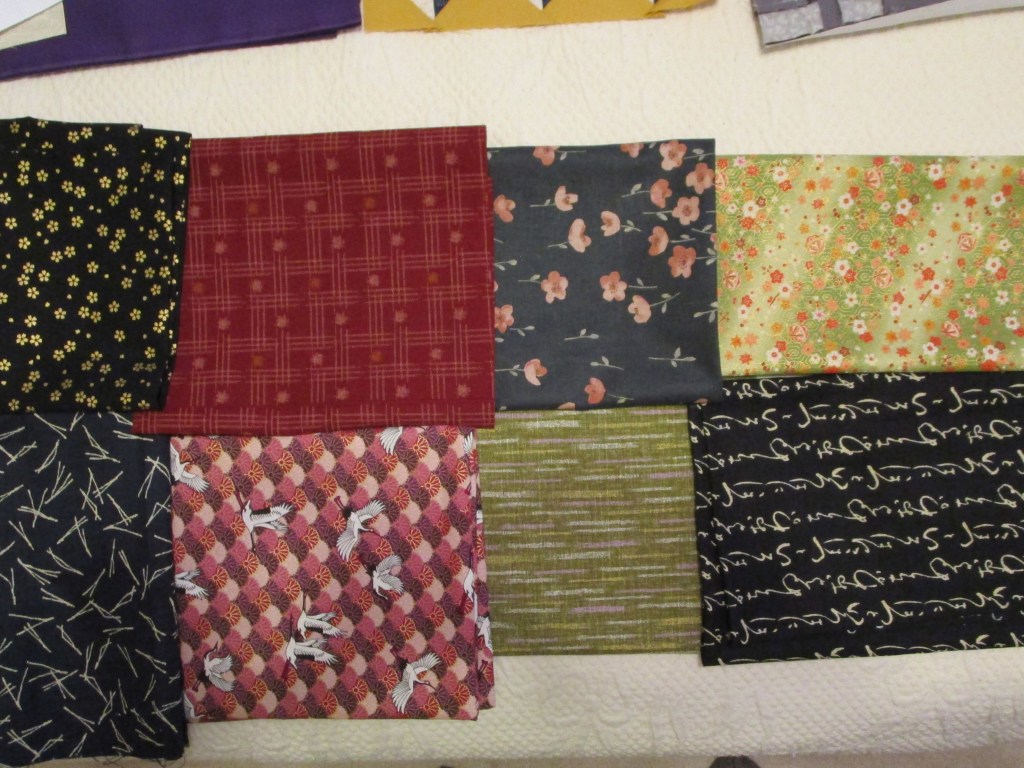
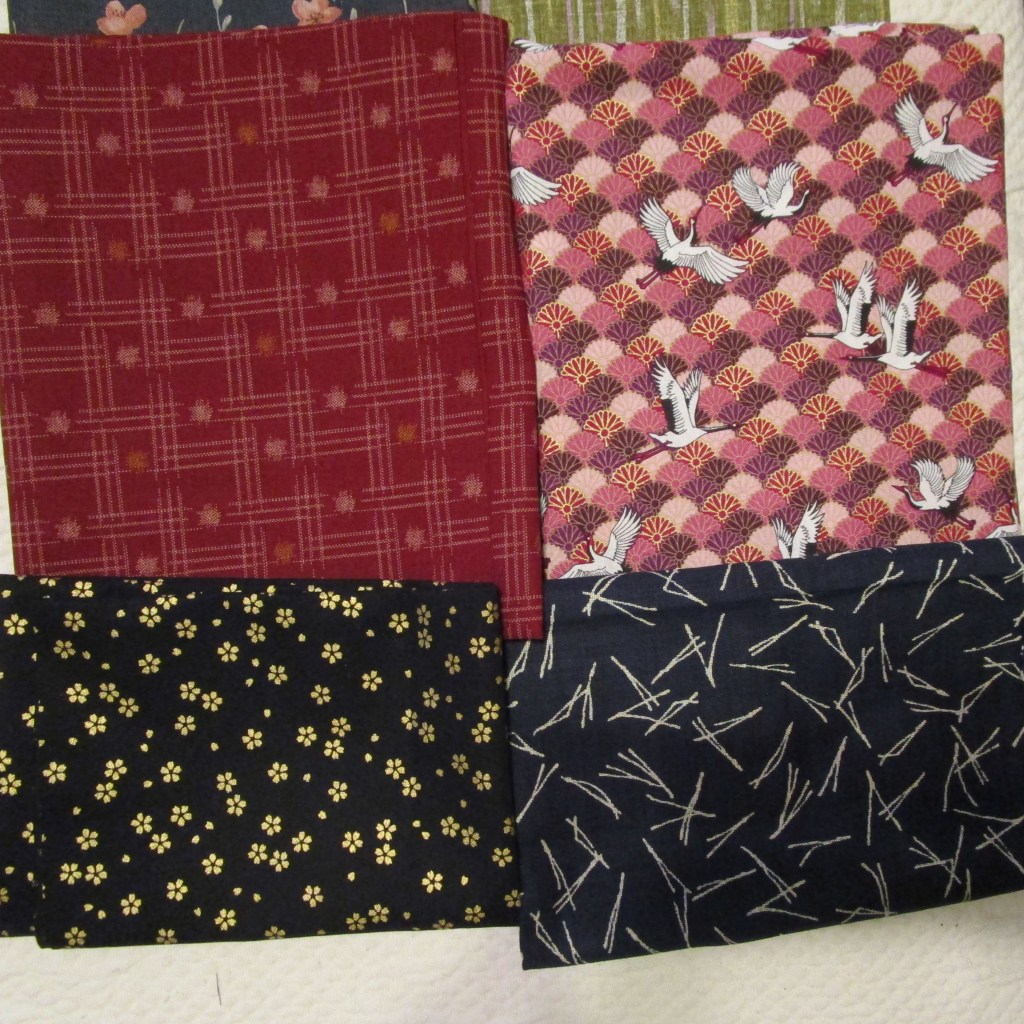
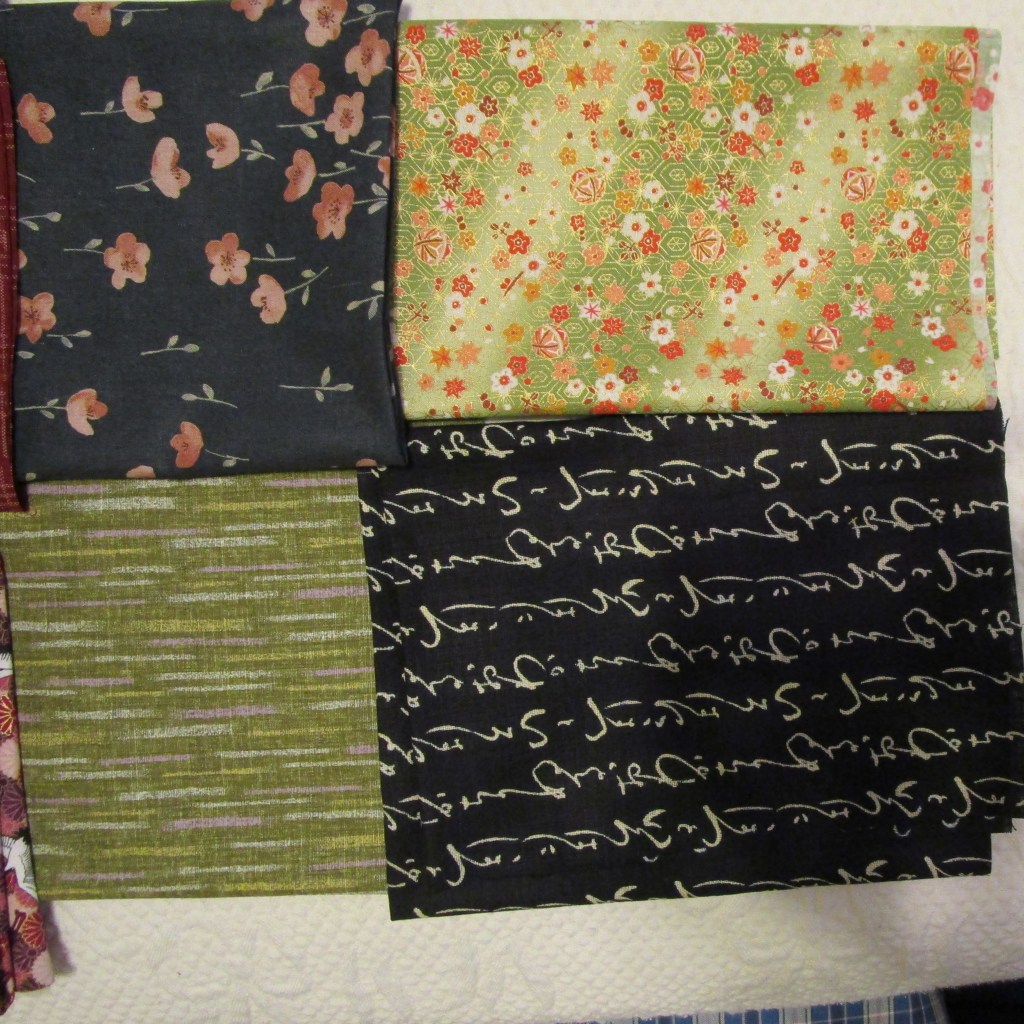
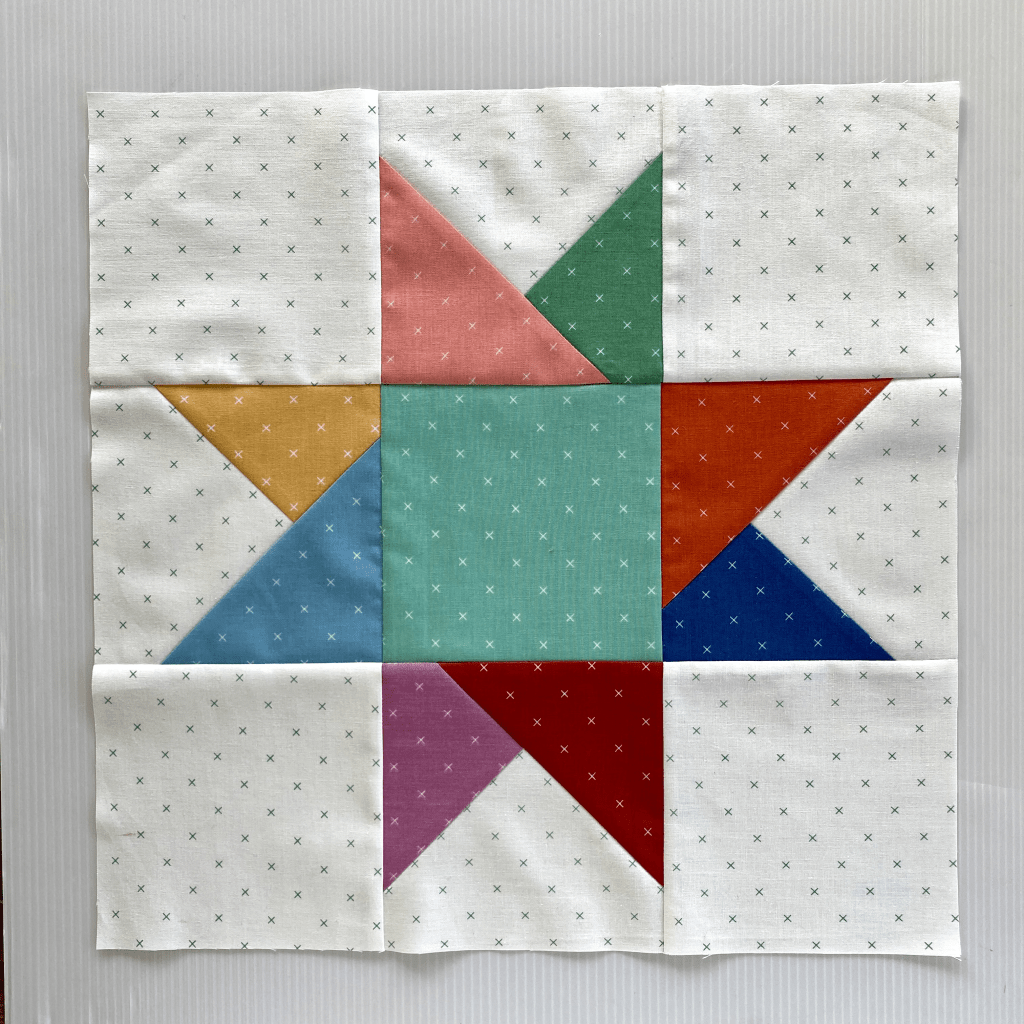
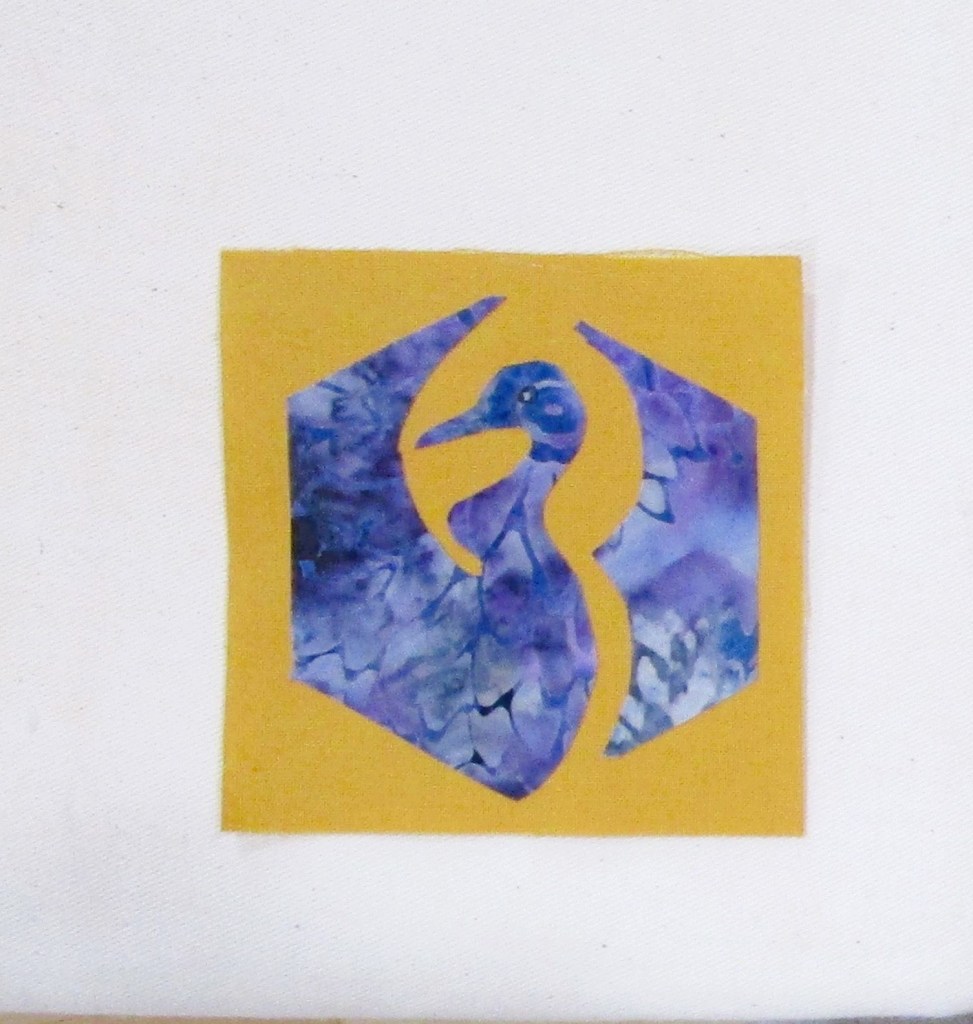
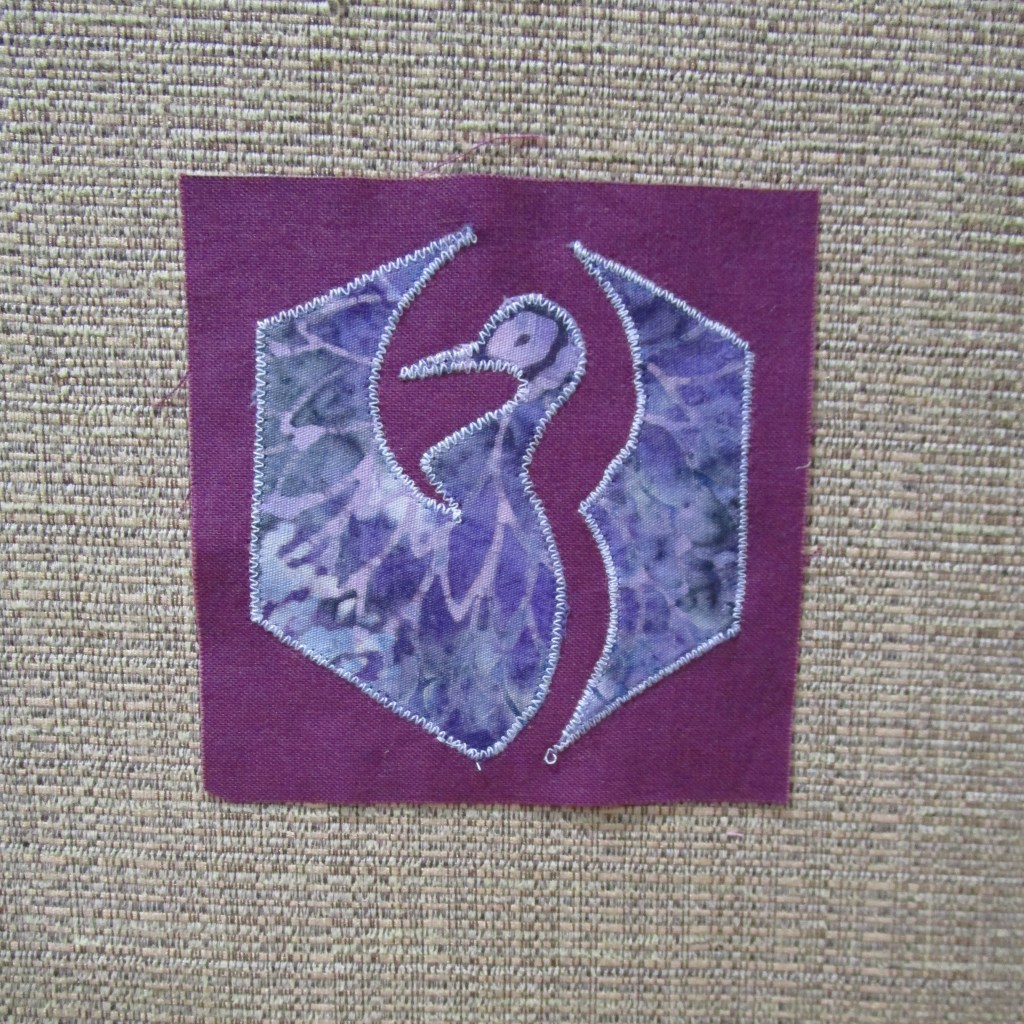
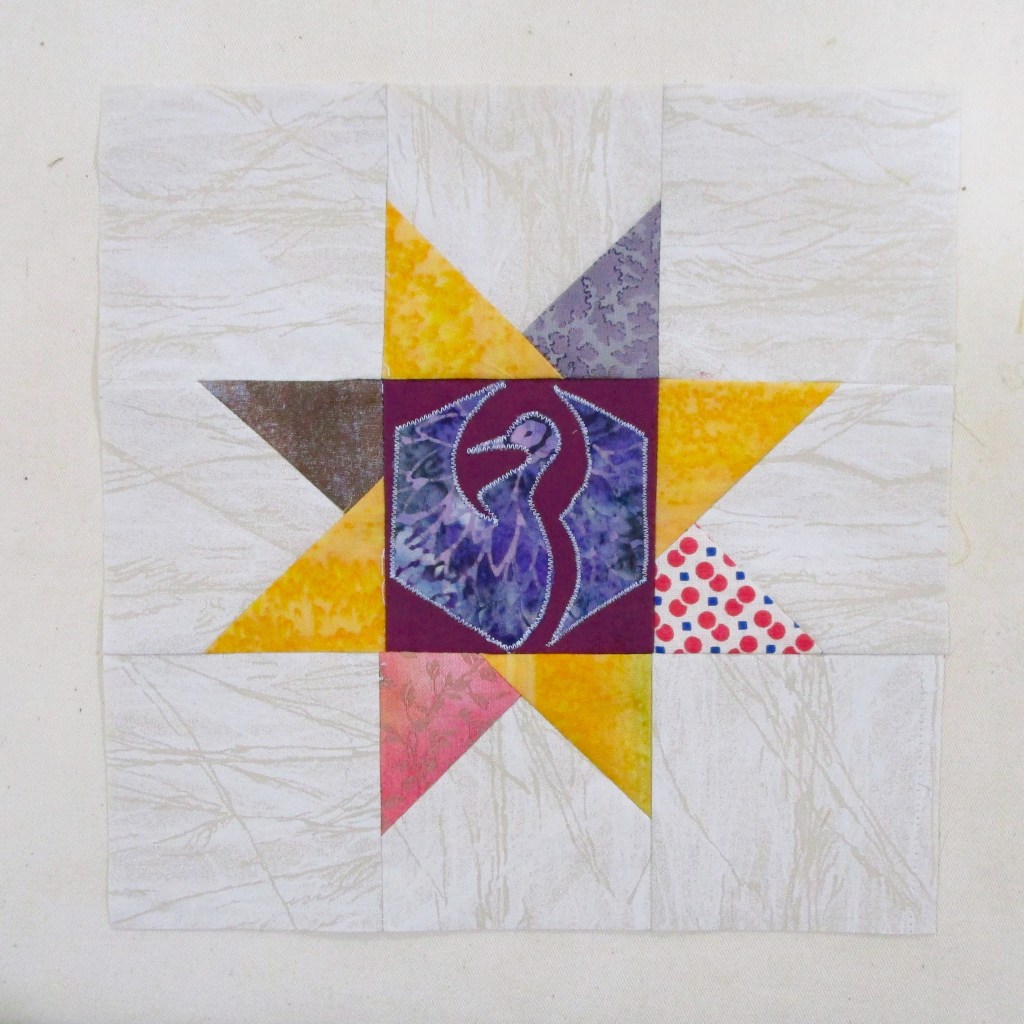
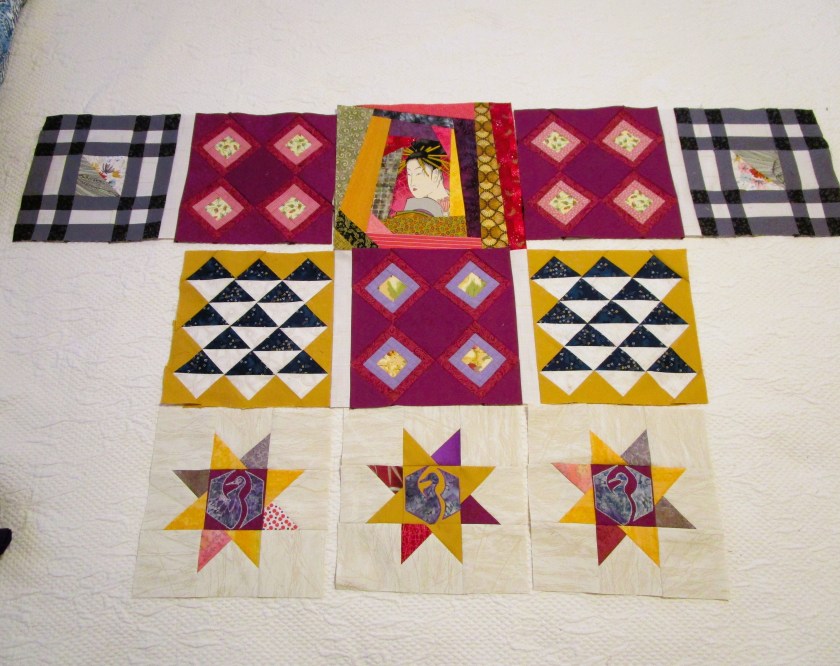
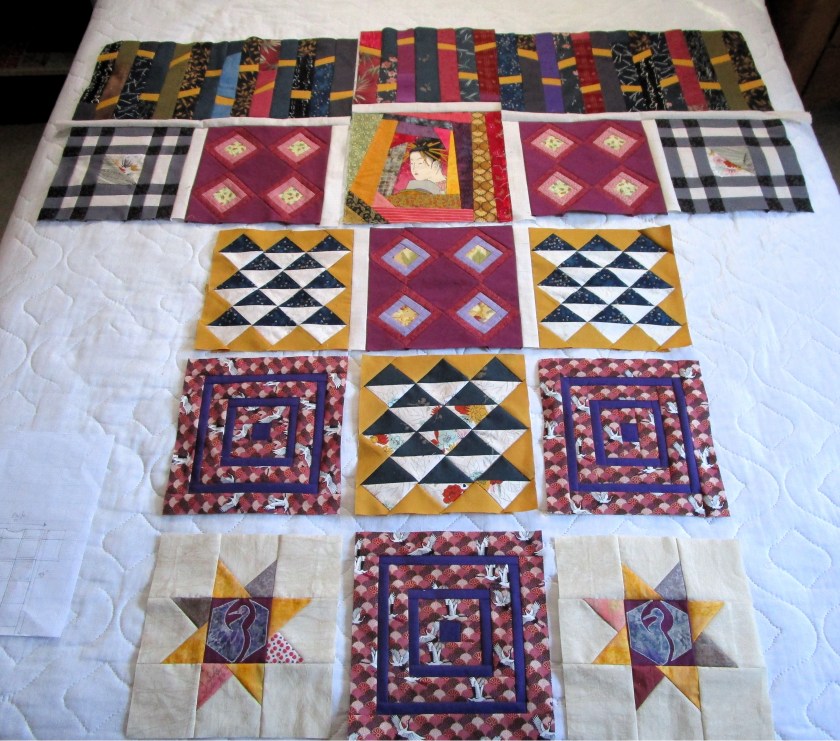
When I unwrapped this fabric, among the selection I purchased from kimonomomo on Etsy, I knew it would be a good companion for my crane star blocks. So I made three concentric square log cabin blocks. Here they are in place.
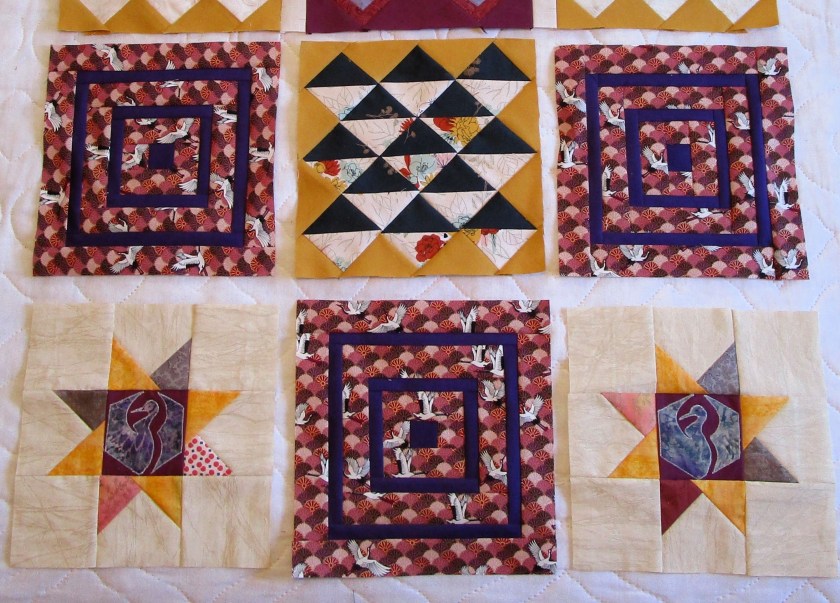
And this round finishes out the rows of blocks for the back of my kimono.
Next week will be the last challenge, and I have a whole front side yet to make. I will be repeating some of the block patterns used on the back, especially the blocks that make up the sleeve section. And I will be doing some improvisational design, inspired by Japanese quilts, of course.
To see how other quilters handled this challenge, visit Songbird Designs and click on the InLinz link. Here is the complete list of SAHRR 2025 host sites.
- January 13: Center Block Reveal.
- January 20: 1st Round: Kathleen @ Kathleen McMusing
- January 27: 2nd Round: Anja @ Anja Quilts
- February 3: 3rd Round: Gail @ Quilting Gail
- February 10: 4th Round: Wendy @ Pieceful Thoughts
- February 17: 5th Round: Brenda @ Songbird Designs – Link up here this week!
- February 24: 6th Round: Emily @ The Darling Dogwood
- March 24: Parade: showing all of your finished SAHRRs!