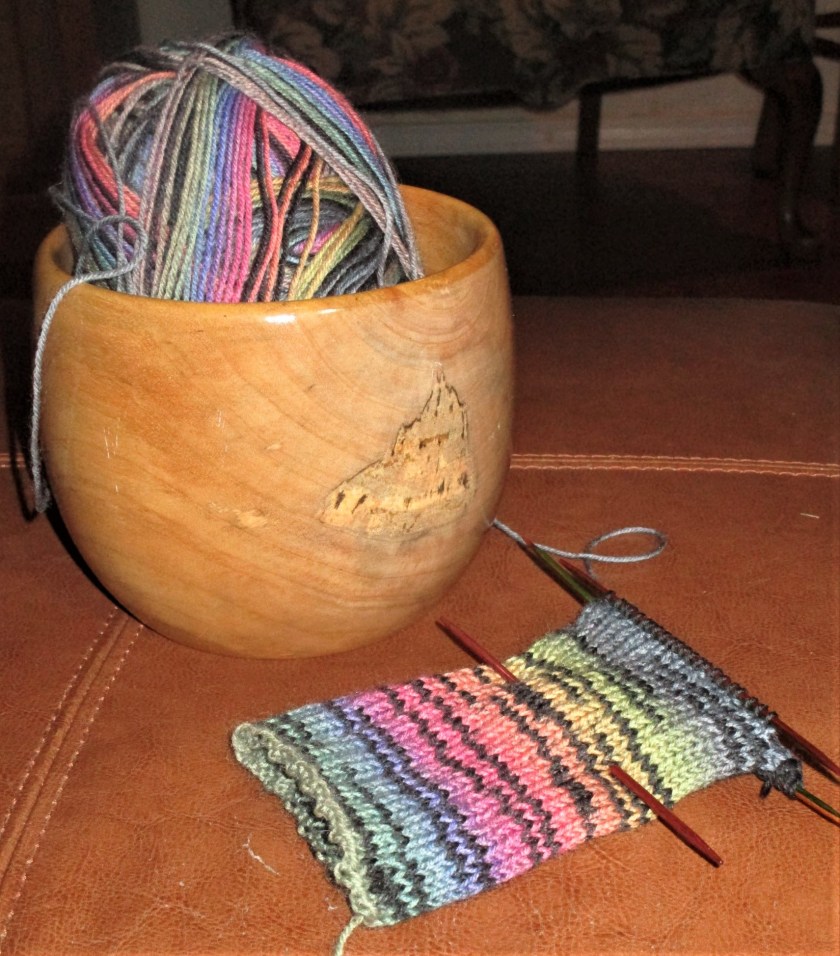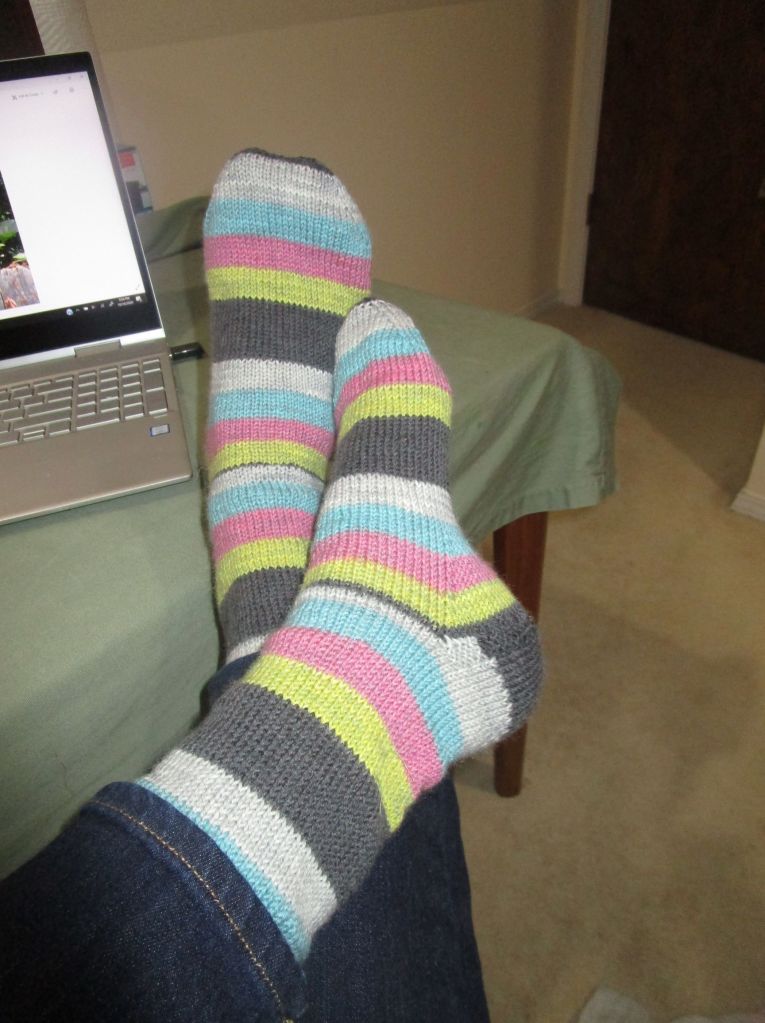
Yes, I am still working on the pair of socks that I started last Monday, using the rainbow colored Berroco yarn. It’ another cold and rainy day – really, the beginning of a cold and wet week here in Oklahoma.
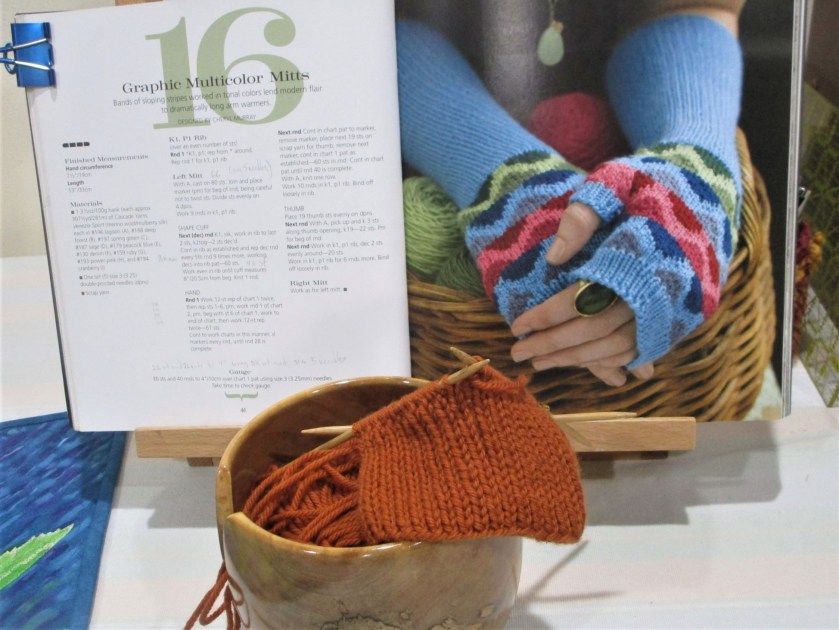
But I am starting another project, just to keep things interesting. My daughter has requested a pair of gauntlets. You know the thing I’m talking about – to keep your arms and wrists warm. I chose this pattern, from the book “60 Quick Luxury Knits” featuring Cascade yarns. I like the fresh graphic quality of the colorwork. For the main color I have chosen a spicy pumpkin superwash merino from Knitpicks, size DK. Now I must dive through my left-over bits of yarn to come up with eight contrasting colors.
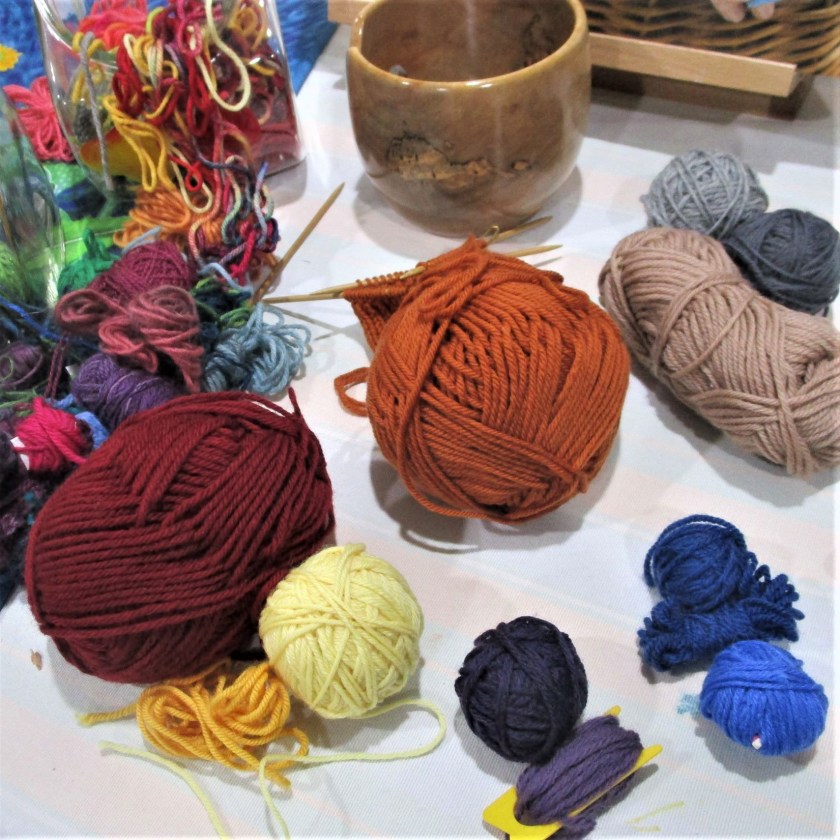
Despite a large number of odds and ends available, I don’t have enough selection in the range of values I need. I’m short on light colors. Oh why didn’t I choose a pattern that uses a sock weight! That I have plenty of.
Does this mean a trip to the LYS? I’ll let you know later.