Posted in quilting

Stay at Home Round Robin Challenge 5

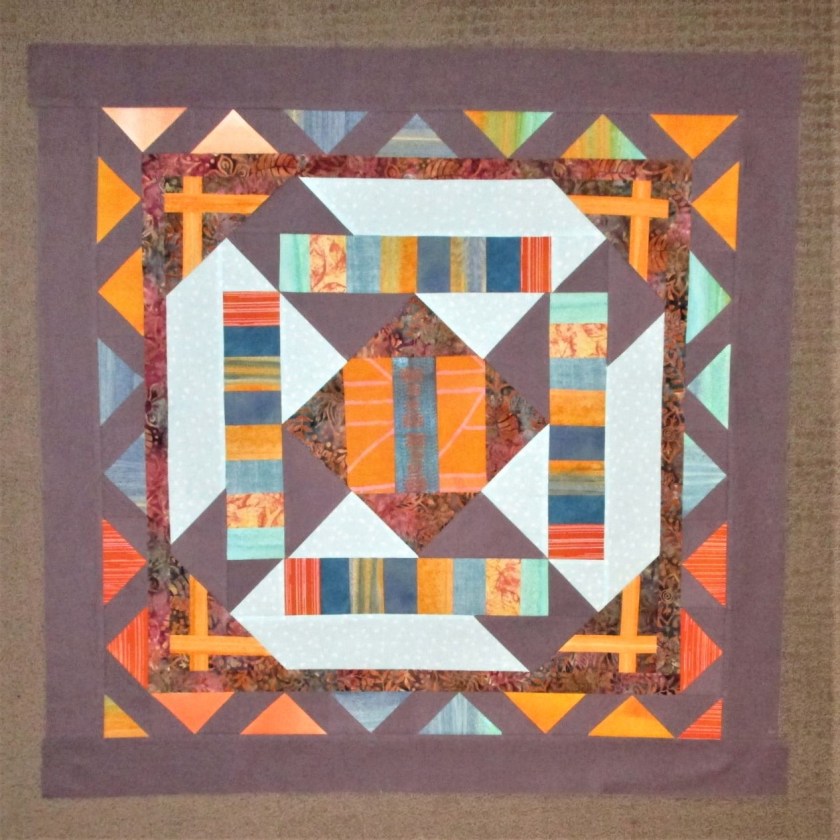
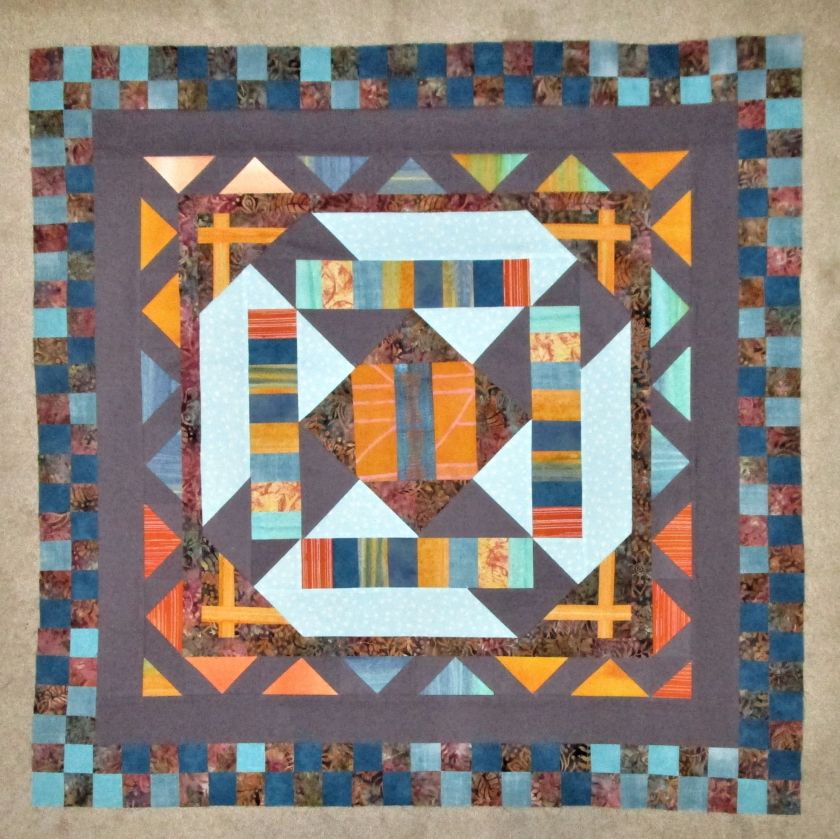
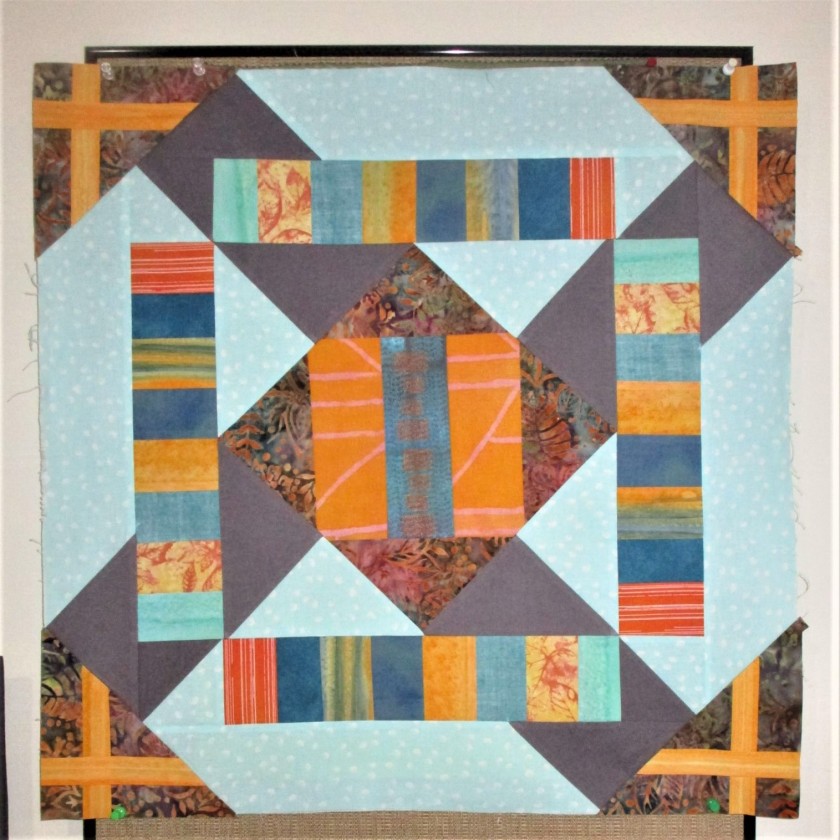
Thinking about what I have done so far on the round robin quilt, I have concluded that the work needs some breathing room. A little space and lightness from the intense colors and diverse border designs will give the eye a place to rest. So for this challenge I had already decided to add a wider border of the light blue fabric.

Here you see the effect next to the checkerboard border.

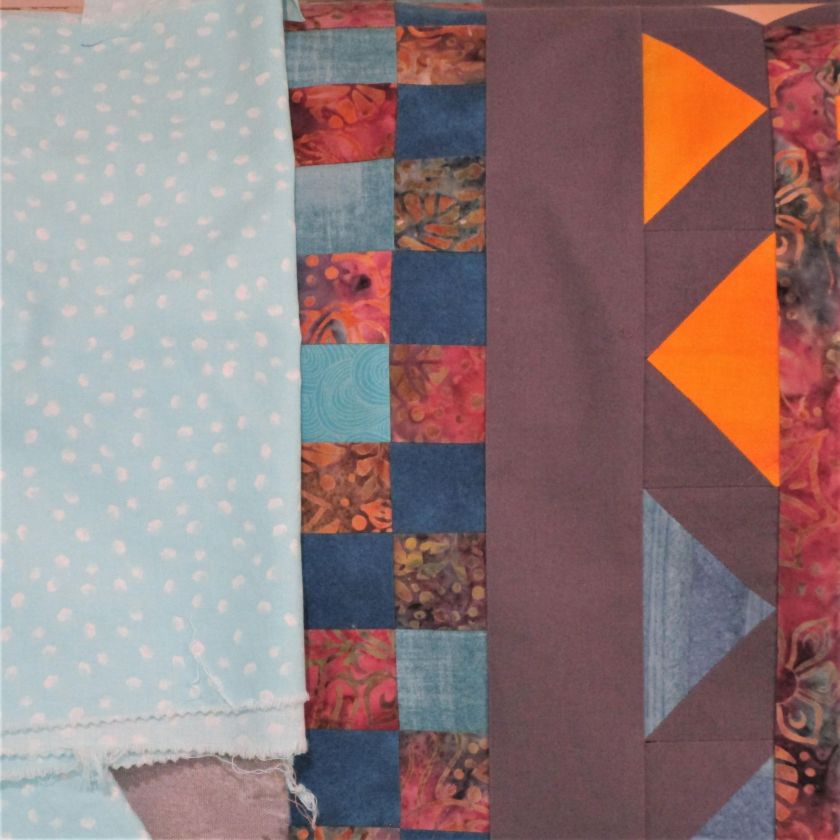
I like that the light blue speaks to the blues in the checkerboard border while still providing much needed contrast in value. So I was pretty happy with the next prompt – Wonky Stars – suggested by pieceful quilter Wendy. Stay at Home Round Robin Border 5 – (piecefulthoughts.com)

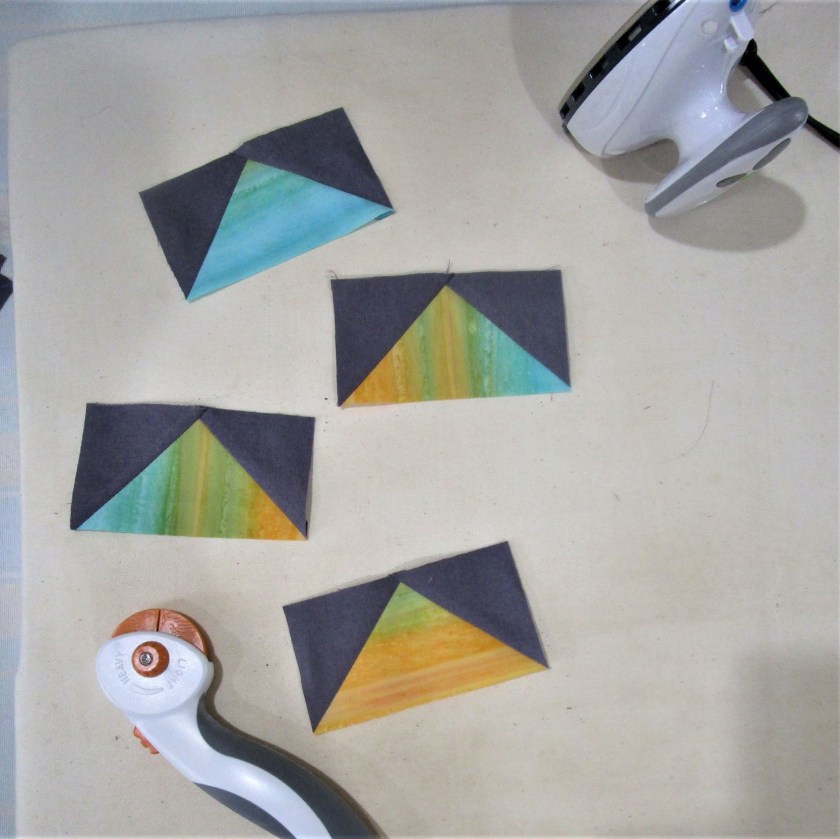
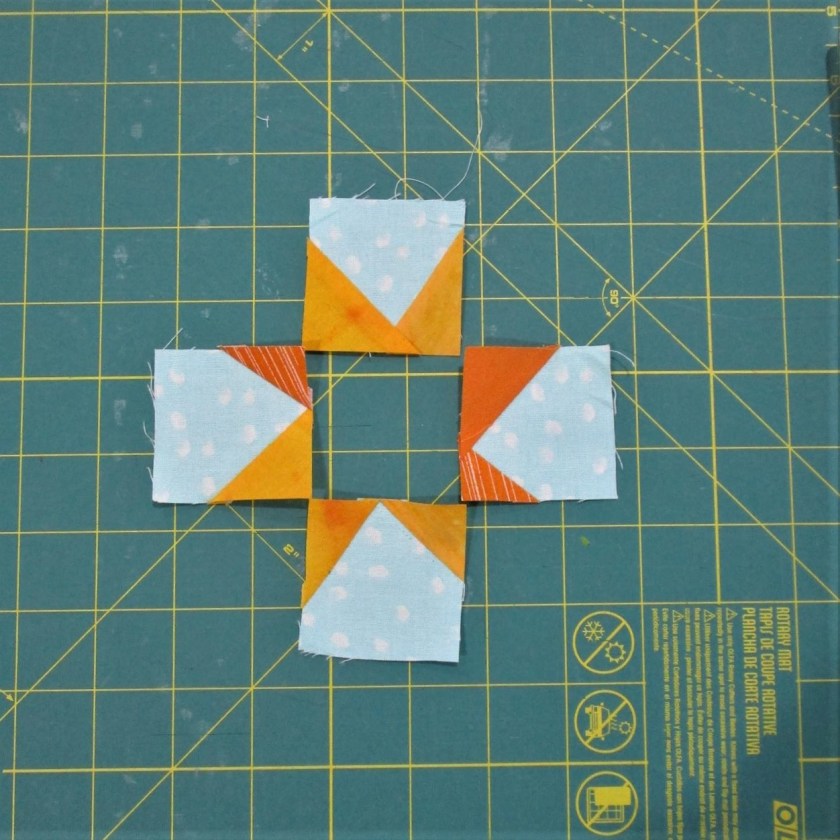
First of all, I like everything improv. Wendy gave us a link to a wonky star tutorial, and I recognized the same technique I already knew and had used in my tropical fish blocks for Under the Sea.

https://www.berrybarndesigns.com/blog/wonky-star-tutorial

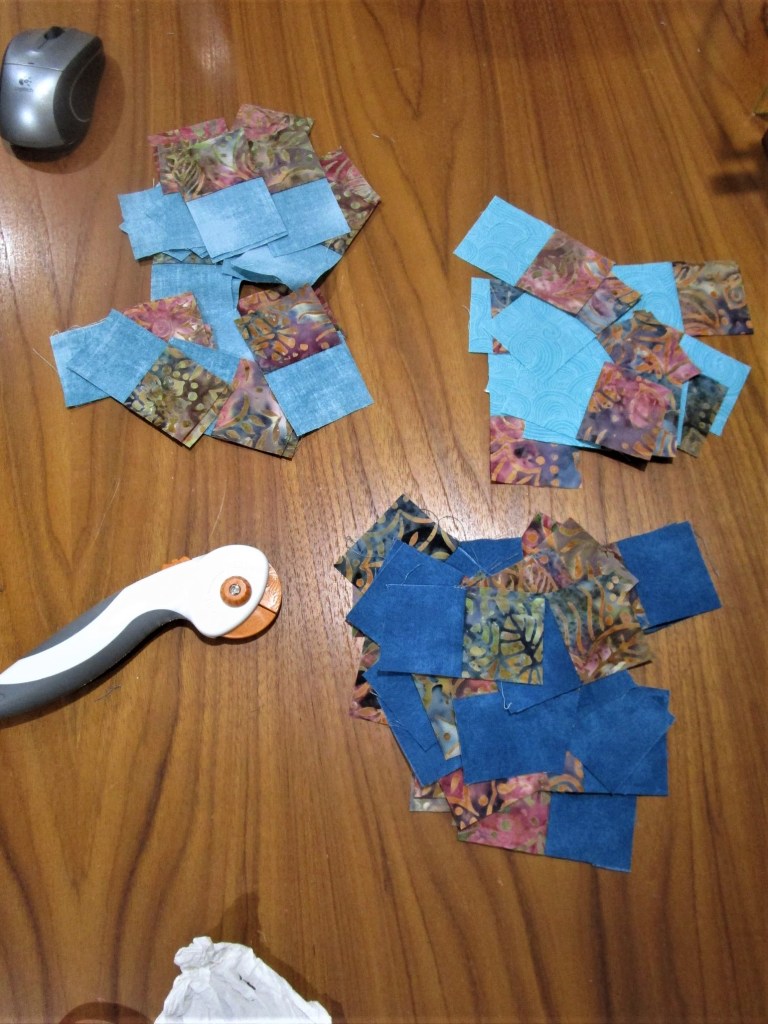
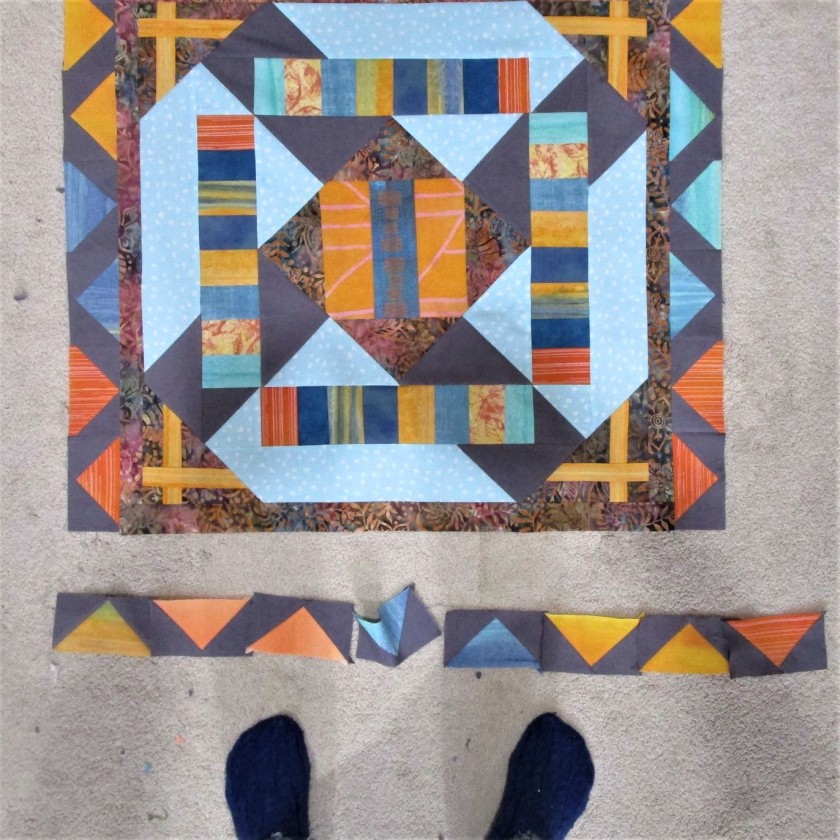
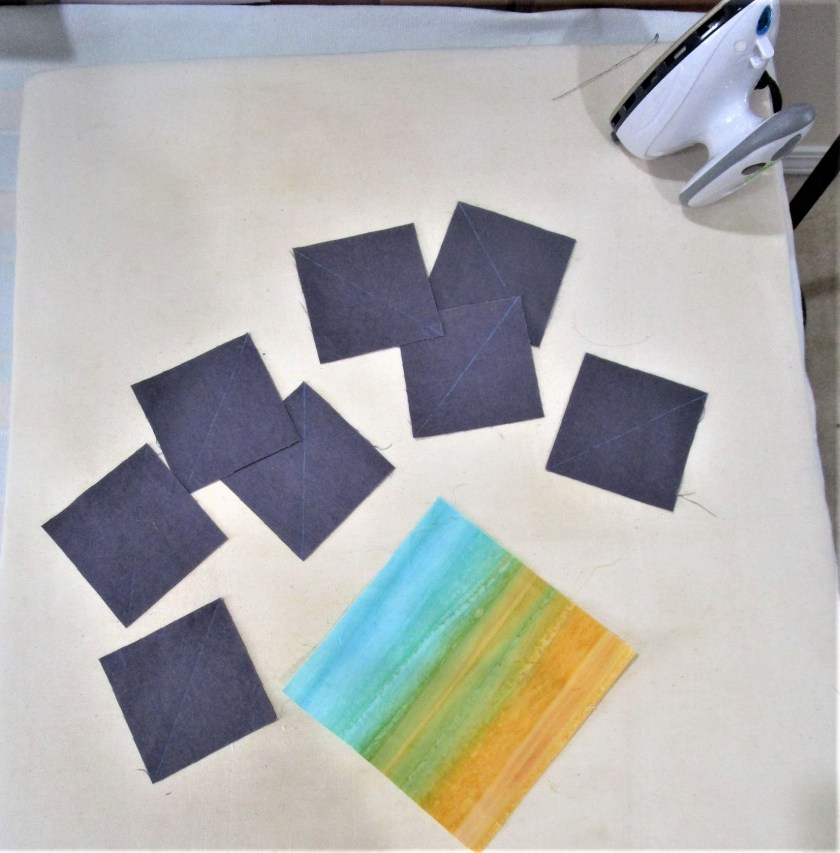
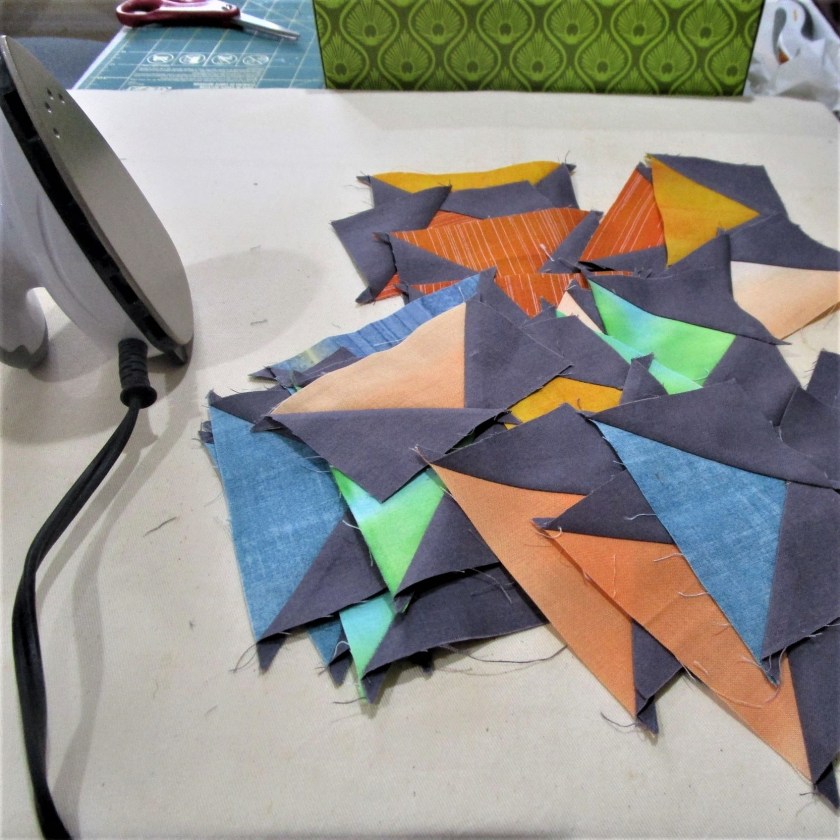
The pile of fabrics you see in my featured photo will form the substance of the stars. I will embed the stars at various places into the light blue border, which I expect to be at least 5 inches wide.

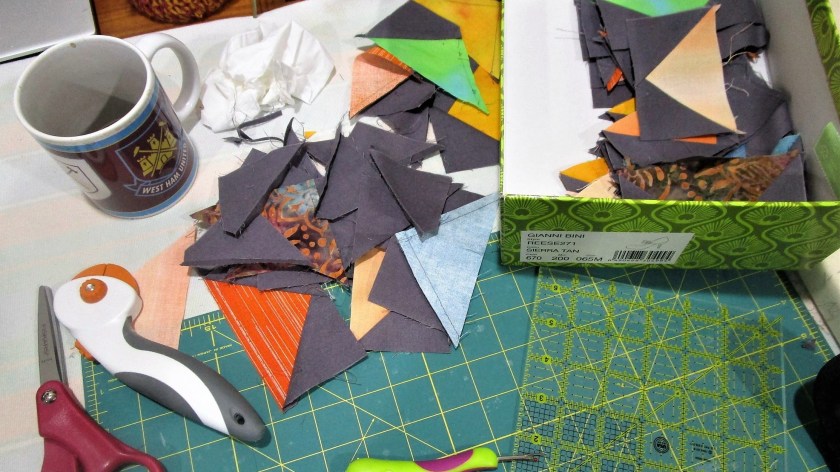
Today I got started.

Four blue patches with star points added
Central patch is one of my painted fabrics. The patches are sewn together in the photo
Wonky Star all sewn and pressed.

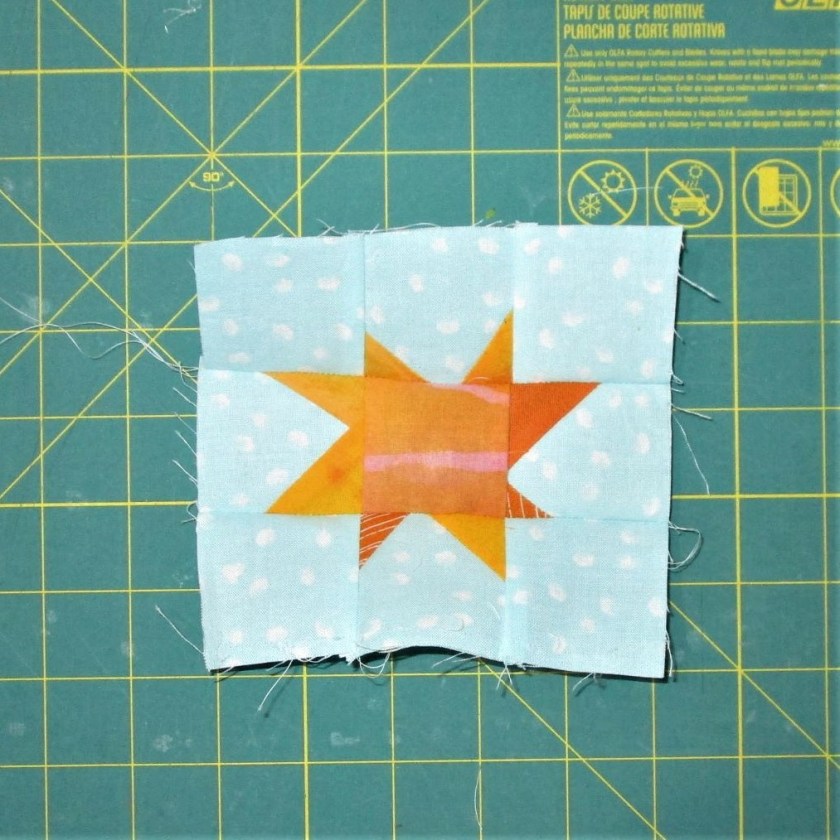
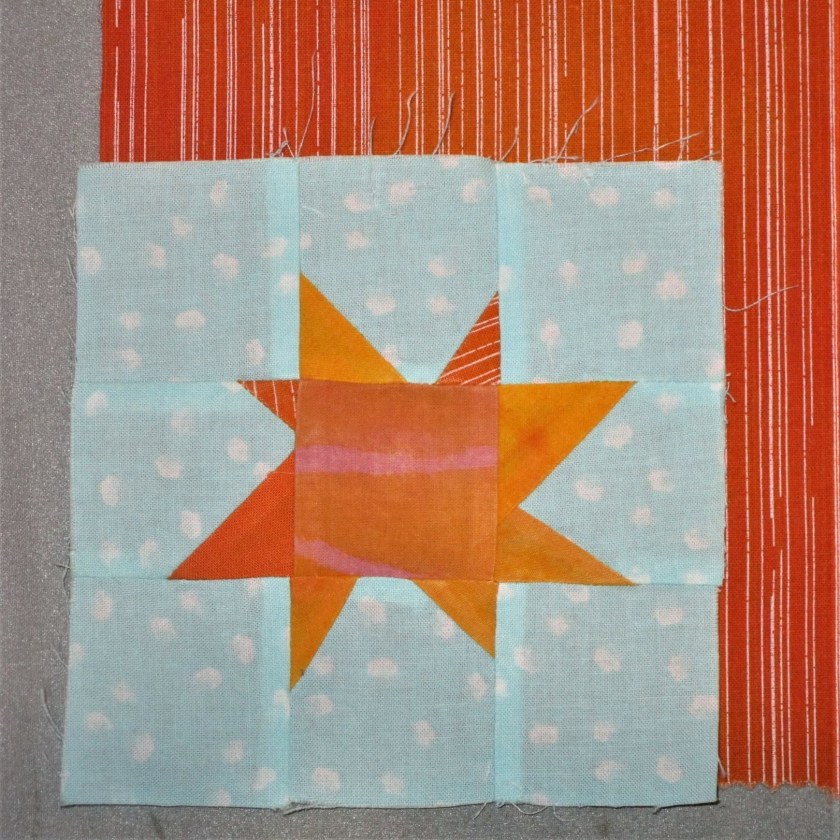
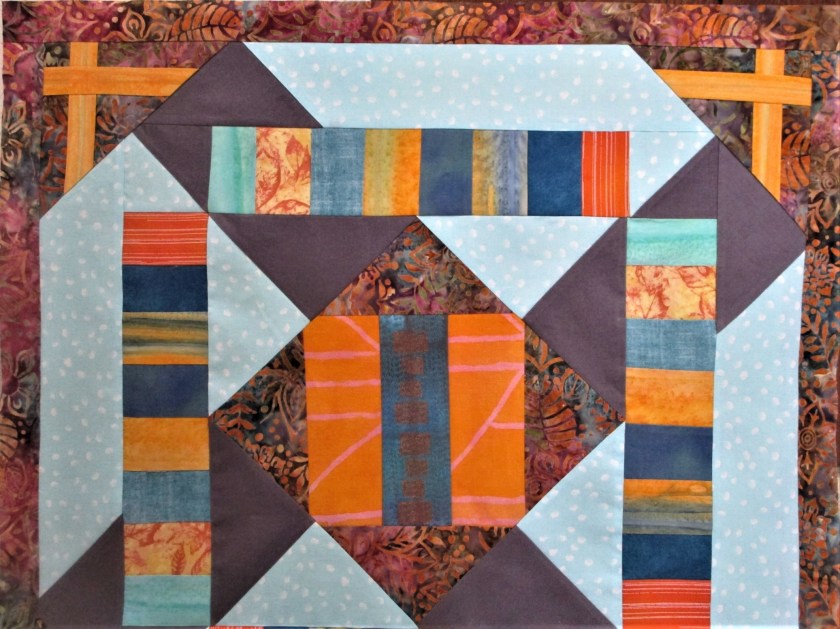
The first star is finished. Tomorrow I will start early and work in earnest to complete the round.

Posted in knitting

Finished Object Friday – Knitting

Gentle Curves shawl is off the needles. Here is my autobiographical photograph of it.

This was a quick and easy knit. To make it more decorative, I added stripes of lacy eyelet stitches spaced up gradually over the body of the shawl.

I still haven’t formed an opinion about whether I like the slanting line that forms a twisted spine on the shawl. It looks better when the shawl is wrapped well around, with the ends hanging down in front.

Yarn fibers include alpaca, wool and silk. The pattern Gentle Curves can be found on Ravelry here:

Ravelry: Gentle Slopes pattern by Quinn Reverendo

Posted in quilting

SAHRR 21 Round 4 – Checkerboard

My week has been a bit full – which is quite a change of pace for me. Among other things, I received my first COVID-19 vaccine jab yesterday. (sore arm today.)

None the less, I have been working steadily on this week’s challenge – checkerboard. I quickly decided it was important to make a definitive break in the design. It is desirable to separate out the triangular rounds from the checkerboard border, which will be strongly square. To make this, I added a wide coping border in the dark grey fabric.

I like the way the geese triangles now look like stained glass pieces.

To me, the checkerboard border can be a mosaic tile border. To achieve this effect I chose to use all medium toned fabrics, including the flowered batik. Here is a small mock-up for my design, using 1 1/2 inch square pieces.

The first step is to cut and sew together several strips, then cut the strips cross-wise into paired squares. Here you see the three piles.

Next I joined these strips into four square blocks, then joined the blocks into long strips. It took me a while to make the first side. For one thing, I again failed to true up the blocks before attempting to sew on the border. Soon, however, I was fully in the swing of it. The first side…………

……. and finally, all sides completed. There are a total of 48 four-square blocks used.

I like it pretty well. Despite my best efforts, there are some ripples. (Thankfully there are no pleats.) I can try to smooth them out by removing, adjusting, and re-attaching the checkerboards.

I’m ready for the next challenge, although I will probably have to buy more fabric.

Posted in quilting

All These Geese – Twist their Tails

Photo by GEORGE DESIPRIS on Pexels.com

Here I am, for the third day, working on Round 3 of the Stay Home Round Robin quilt challenge. Yesterday I wrote about my efforts to assemble flying geese blocks – a technique that was brand new to me.

I started with a quilt that looked like this:

To line all four sides with Flying Geese blocks, I would need to make 48. Thinking about how much time and effort I had already spent and considering that I needed another 24 blocks, I decided to change the design of this border.

What if I turned the blocks 90 degrees, and let the long side go parallel to the quilt edge? And while I was twisting the blocks around, what would happen if I alternated the direction – turn one left, the next right, and so on.

So that’s what I did. I made up more blocks anyway, because I needed certain colors for the new plan. Ditching the bright green geese, I went with my current palette of blue-green, orange and gold.

The quilt is now too big to stick on my bulletin board, so I am photographing on the floor. Here’s my round with the first three sides finished.

And here is the finished round.

I grouped the orange and yellow geese toward the corners, where they can have a conversation with the plus signs. And I laid the blue geese near the sides of the pale blue octagon. The result of this layout is a path for the eye to move all around the quilt, guided by the color groupings.

I feel very pleased. Maybe, just maybe the results were worth the effort.

If you would like to visit other quilters who are working on Stay At Home Round Robin quilts, you can follow these links:

Posted in quilting

Goose Purgatory

It’s Week Four on the Stay at Home Round Robin. The prompt is Flying Geese block.

In the beginning, I was happy and excited. The flying geese block is one that I have never made, so this was going to be my opportunity to try it out. I had what I believed to be a good concept for this round. So what could go wrong?

I decided to make my geese 2 by 4 inches. To make it work, I needed to bring the quilt sides up to 24 inches. I sewed on a narrow border of flowered batik fabric.

This also helps to define the pale blue octagon – a secondary shape.

To get started with the Flying Geese, I viewed this video by Patches and Poodles for making them four-at-a-time.

Her instructions were crystal clear. On Tuesday I made the first group.

These looked just great. I calculated that I would need 12 units per side, for a total of 48. The realization of the quantity and time required gave me pause. I decided to get started the next day.

Today, I started by cutting lots of squares and sewing them into shapes using the technique I had learned on Tuesday. Soon I had quite a collection of geese.

Here they are sewn and pressed

The last step is to trim them to size. That’s when things started to go side-ways.

It seems that all of my lovely geese, over which I had labored for two hours, were 1/4 inch too small!!!!!!!! I had skipped over the instruction about pressing the seams open. Missing this step was enough to throw off the measurement that critical 1/4 inch. Thus began another three or four hours of re-working my flock of geese………………

By dinner time, I had managed to salvage about twenty -four goose blocks. A day has been spent and I am only half way done, with a wad of unworkable blocks left behind.

So I am bowed, but not beaten. I will go back into the fray tomorrow, starting with more fabric and a fresh rotary blade.