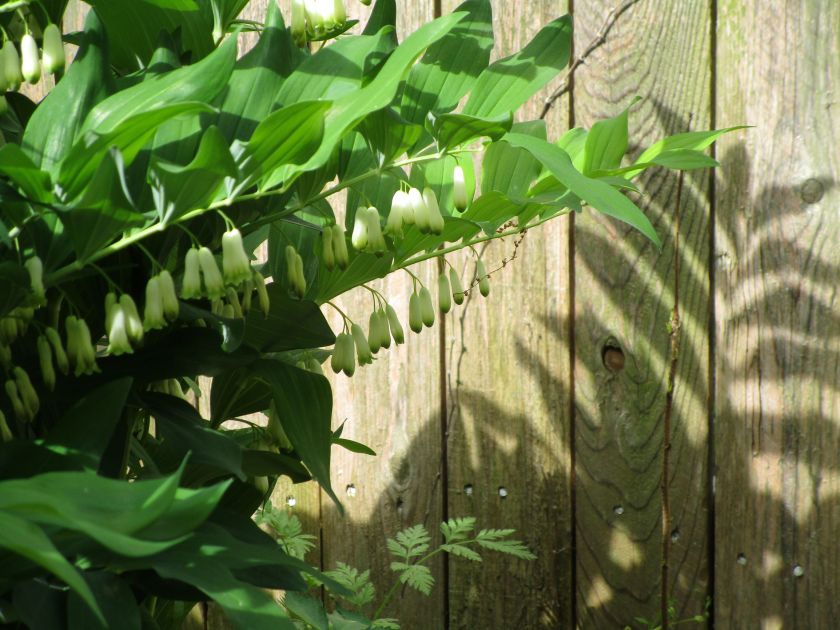
I have lots of this plant growing in shady areas of my yard. Last month it bloomed beautifully.
One sunny morning, I noticed that it had cast its shadow onto the weathered fence.
I have been wanting to sketch this view ever since. Well, truthfully I want to paint it. But I like to do a preliminary sketch before I paint. It helps me understand the details.
And boy, there are a lot of them.
I’m thinking that the scene needs some simplification to clarify its primary point. So I will work on that in another sketch. THEN I’ll pull out the paint.
I am standing firmly at the nexus of art and craft this week.
On Tuesday I attended an introductory class at my local art association’s studio. About ten of us were there to learn how to do collage technique. Our instructor was Debbie Finch
Here she is giving us some preliminary instruction.
After selecting a subject and tracing it onto a canvas board, we spent a lot of time hunting through magazines to find images with colors that we wanted to use.
Debbie offered the option to use a pattern of a peacock for our design.
Some chose to use it,
Others brought an image or improvised from what they pulled out of the magazines.
There was one artist who clearly came with an idea in mind. She worked swiftly and finished her collage in about an hour.
Note the googly eyes, which she must have brought to class.
Kerry told us this was to be a gift for a grandchild. I was impressed – very impressed.
Me – I started out pretty well. I was prepared. I had brought a copy of my hummingbird drawing, and had pre-selected magazines and torn out several pages in advance. But after three hours of struggling with paper and glue, I had barely finished the background.
Debbie was kind enough to compliment my ” blending of soft shades.” Hm.
I took it home, and have been fussing over it for the last two days.
BACKGROUND
FLOWERS COMPLETE
HUMMINGBIRD
I soon realized that the collage technique does not lend itself to realism. As I worked through my magazines, I was taken by some appealing images unrelated to my original design. In the end I inserted a woman’s face, a tree frog and a trio of flies onto the surface. I’m going for Whimsy.
To finish up I added a little metallic paint and a few pen lines.
MAGICAL HUMMINGBIRD
Before I can seal the collage with top coat, I will need to buy a wide flat brush. I have no desire to ruin my 1 inch flat watercolor brush by using it to spread glue.
We’re seeing lots of this little birds lately. The fuchsias, no, I don’t have any. But I find them charming flowers, and so I included them in this sketch.
My first reaction is to say everybody needs pockets. But that is not necessarily true. Many grown-up persons carry bags, satchels, pouches and other accessories to ferry about their cherished possessions. But those persons young in age and close to the ground generally don’t have that option.
If so, these little ones need someplace to stash all the treasures they find along the way. And when you are that close to the ground, there are So Many Treasures to pick up: shiny pebbles, feathers, a snail or two, marbles, bottle caps and pieces of Lego.
Especially Lego People.
Little Lu will agree. So I made some pockets to insert into her summer vest.
I chose not to seek out a pocket making pattern. Come on, this can’t be very hard.
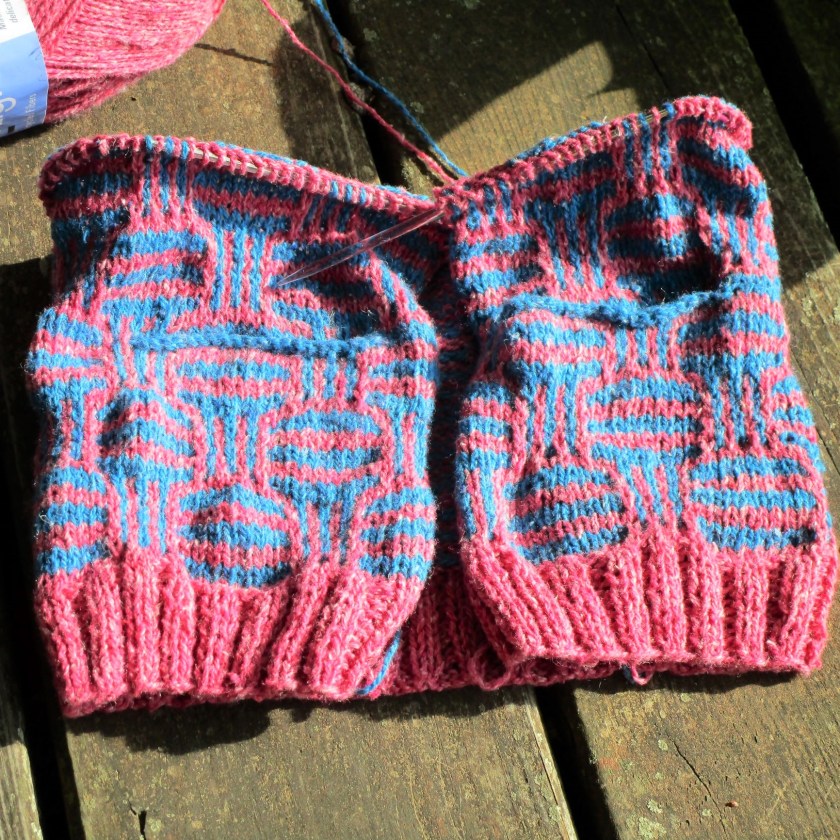
Cast on 40 stitches, leaving a 6 inch tail, then distribute stitches over three double point needles. Join together to work in the round. Work in stockinette stitch until piece is 3 inches tall. Flip the work inside out so the purl stitches are on the outside. Now move the first 20 stitches to one needle and put the second on waste yarn. Using the tail, sew the cast on edge together with whip stitch. Make a second pocket to match. Your pockets will be about three inches square and look like this:
When the body of your garment is longer than 3 inches, you can insert the pockets. Place stitch markers at the point where the pockets will go, marking 20 stitches between markers. Work to first marker. Holding the pocket against the back of your knitting, knit together each stitch of the garment with a stitch of the pocket. When you get 20 stitches knitted, turn work. Bind off the twenty stitches you just knit. Now slip the remaining 20 pocket stitches on to your left needle. Working in your pattern, continue to the second set of markers. Repeat to insert the second pocket. That’s it!
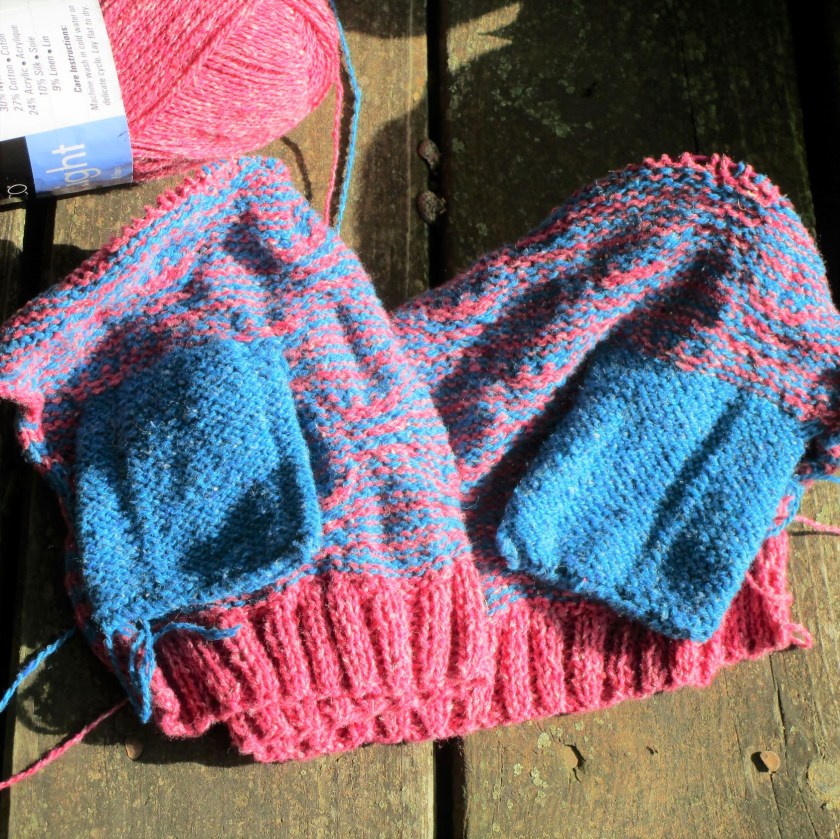
Here’s how the pockets look in the vest I am making:
Outside of vest:
Inside of vest:
This is an experiment. I promise to report back to you on how well this vest held up under vigorous, treasure-hunting use
I had an inspiration recently to try painting some converging curved lines that I saw in a photograph. While perusing my supplies, I came across some 8 by 10 boards with paper stretched on top, promoted as suitable for watercolor paints. So I thought I would test them with my current inspiration.
Boards with curved lines drawn in colored pencil
I plan to use staining pigments, starting with quinacridone rose and Thalo blue in the first two blocks. Why pink and blue? I think my brain was lingering on the yarns from my latest knitting project. Cast-on Monday – Summer Style
It took a little work to get the paper wet enough to lay on the wash. But eventually the paper was evenly wet and I laid down the paint using my biggest round brush.
So far so good. At this point, I was happy that the paper/board seemed to be performing well. After allowing the paint to dry overnight, I added two additional colors – gold and violet. This time, I let the colors bleed into the pink and blue, as a way to merge the two together. The work began to remind me of gender roles and society. Why? Again, the pink and blue, and the way the curves leveled out while flowing in a parallel fashion across the paper.
Here is the board immediately after laying down the two additional washes.
And 30 minutes later……
And here after completely dry.
Analysis: I’m not terribly sure what I am trying to say about gender and society. Something about shifting lines, blurring edges and the pressure to conform.
But the experiment on the watercolor board was successful enough to persuade me to try it again.