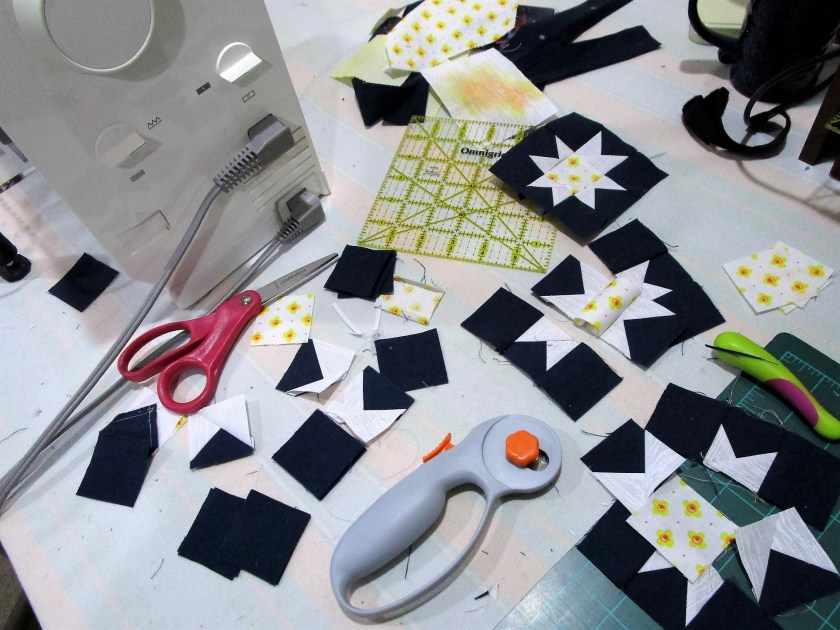
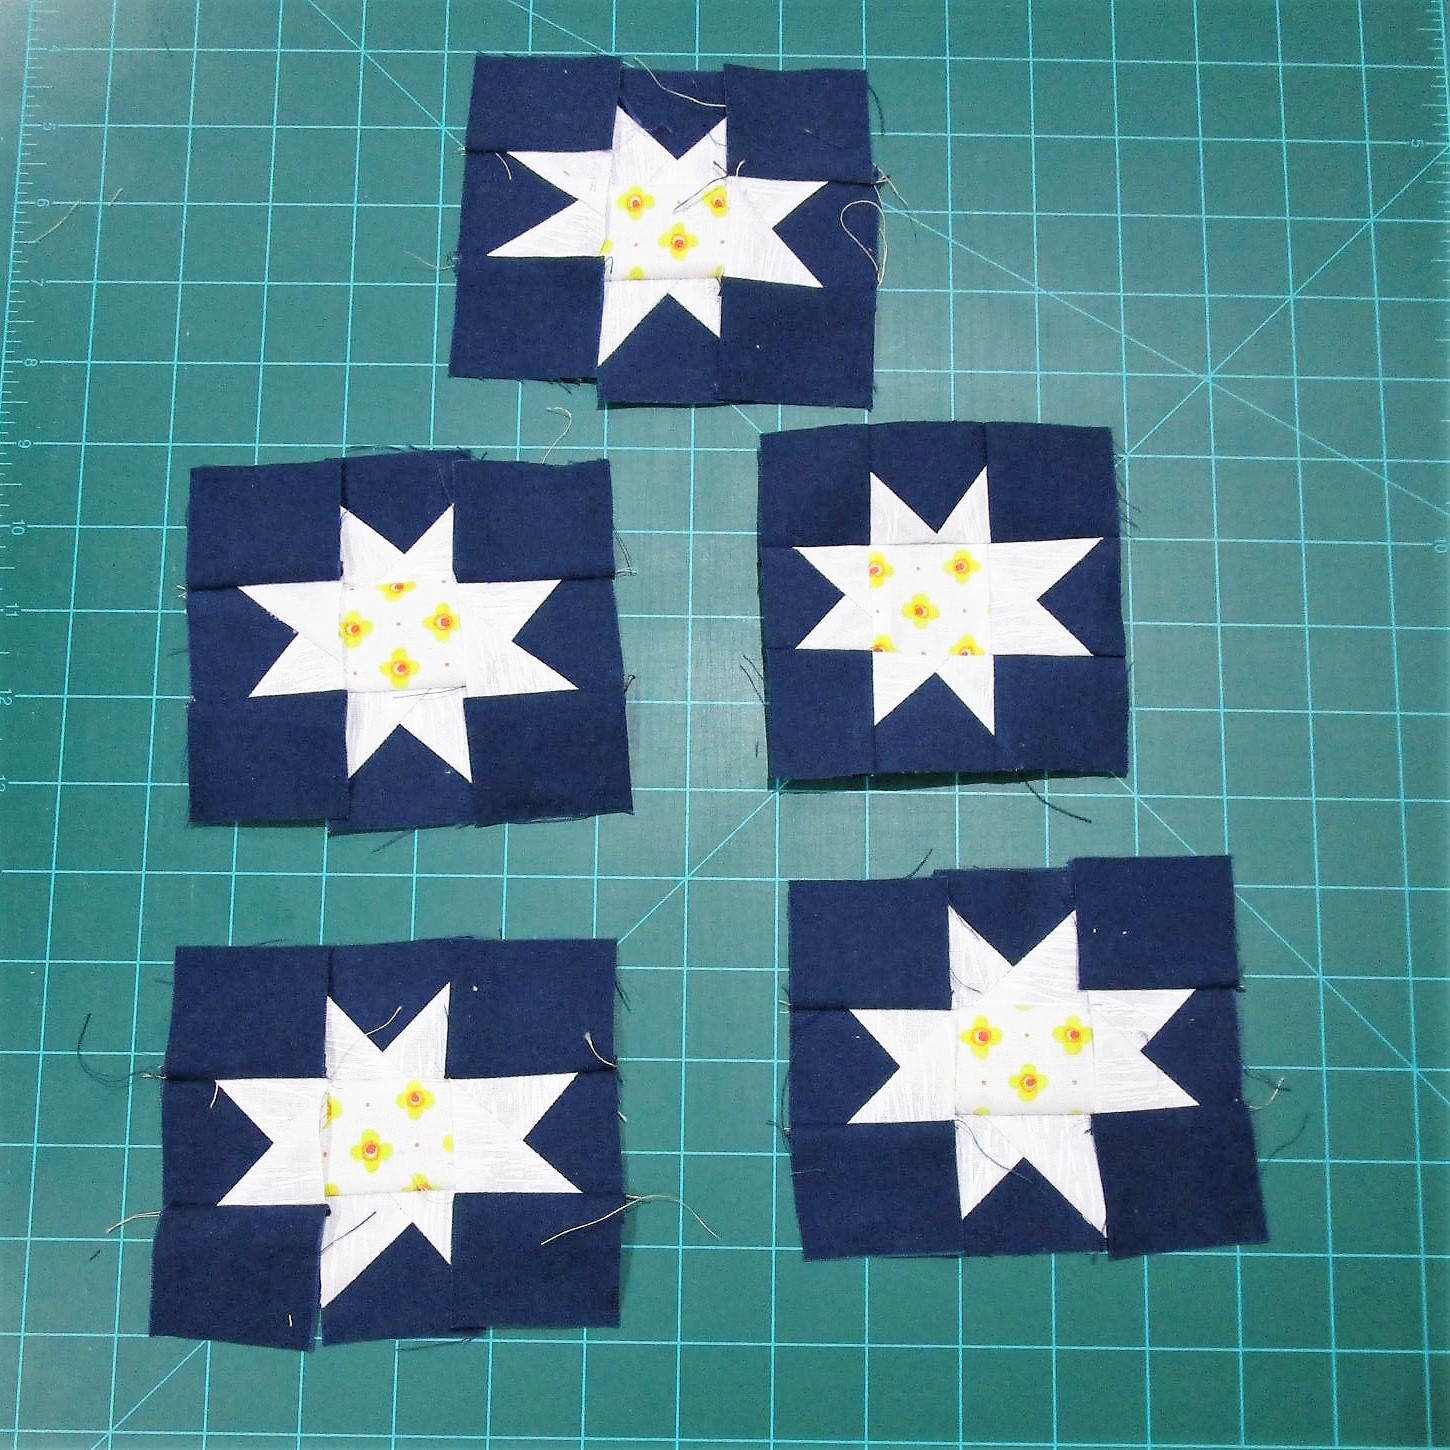
Chaos reigned in my studio yesterday as I attempted to make star blocks. Stars were chosen by Roseanne and Sue @ Home Sewn by Us for Round 3 of the round robin quilt-at-home challenge. This picture is me trying to play catch up.
I got behind during round 3. It was that week my mother, aged 91, had a stroke and was taken to hospital. Our father, who is 94, needs a little help at home. In response, my husband and I traveled home to stay with Dad and help out my siblings with Mom’s needs. We took turns visiting Mom daily while she recovered well enough to move to assisted living quarters. It was a busy and emotional time for all of us.
I’m back home now. The temporary crisis has passed, but my mother is no longer the energetic and capable person who raised me. She will need help daily.
Life can be cruel.
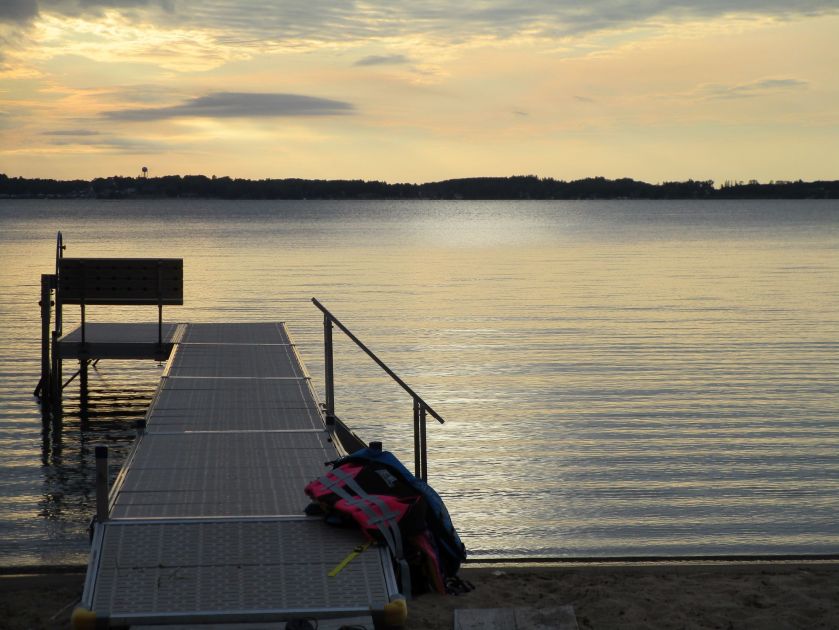
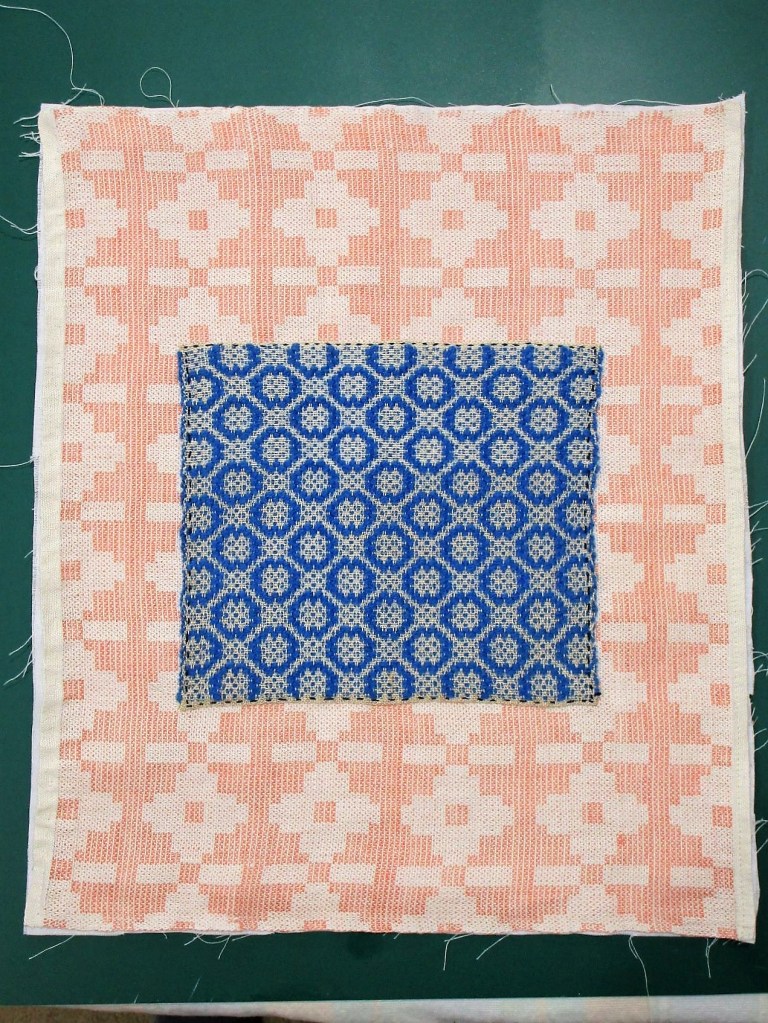
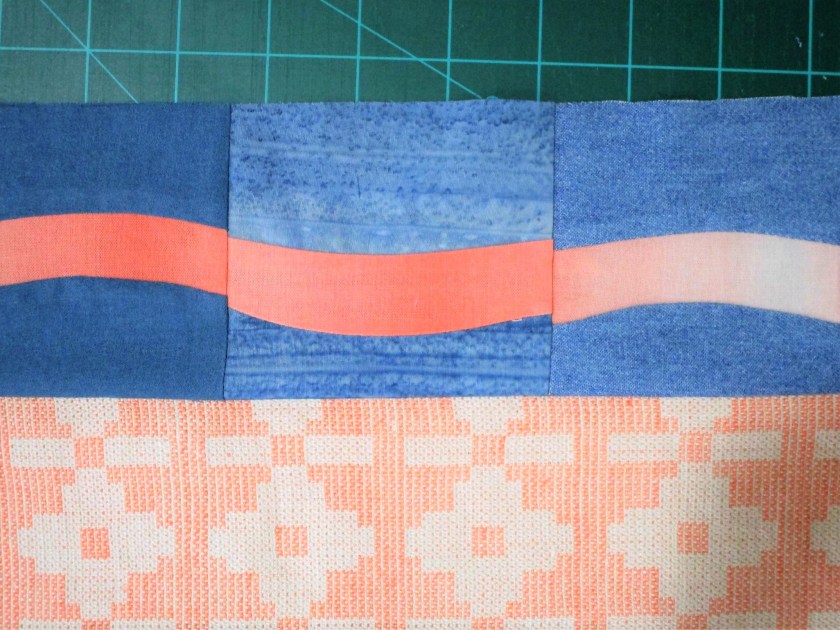
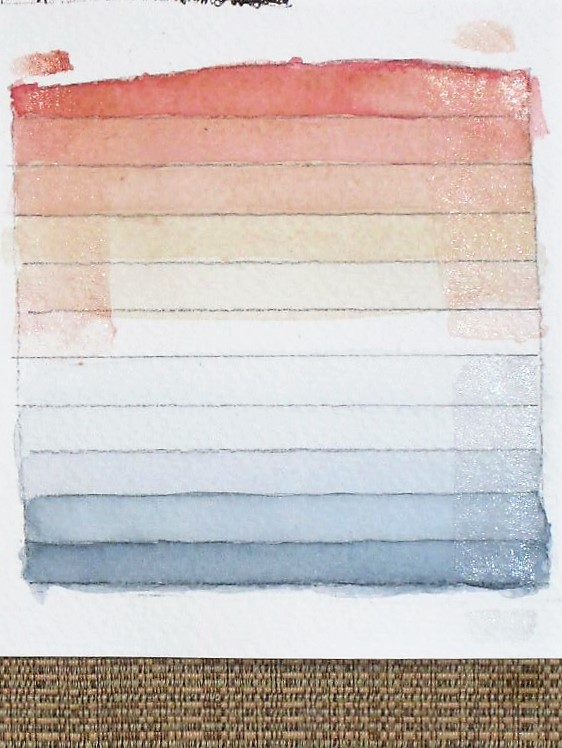
So I’m working through the chaos today. But first, here is how I started this block. I married together two weaving samples for the background of the Sky section of my quilt. This area will represent the element Air.
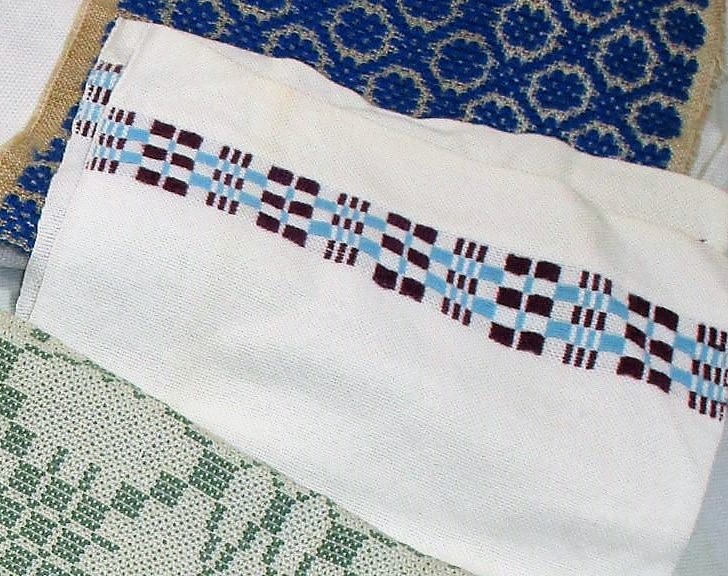
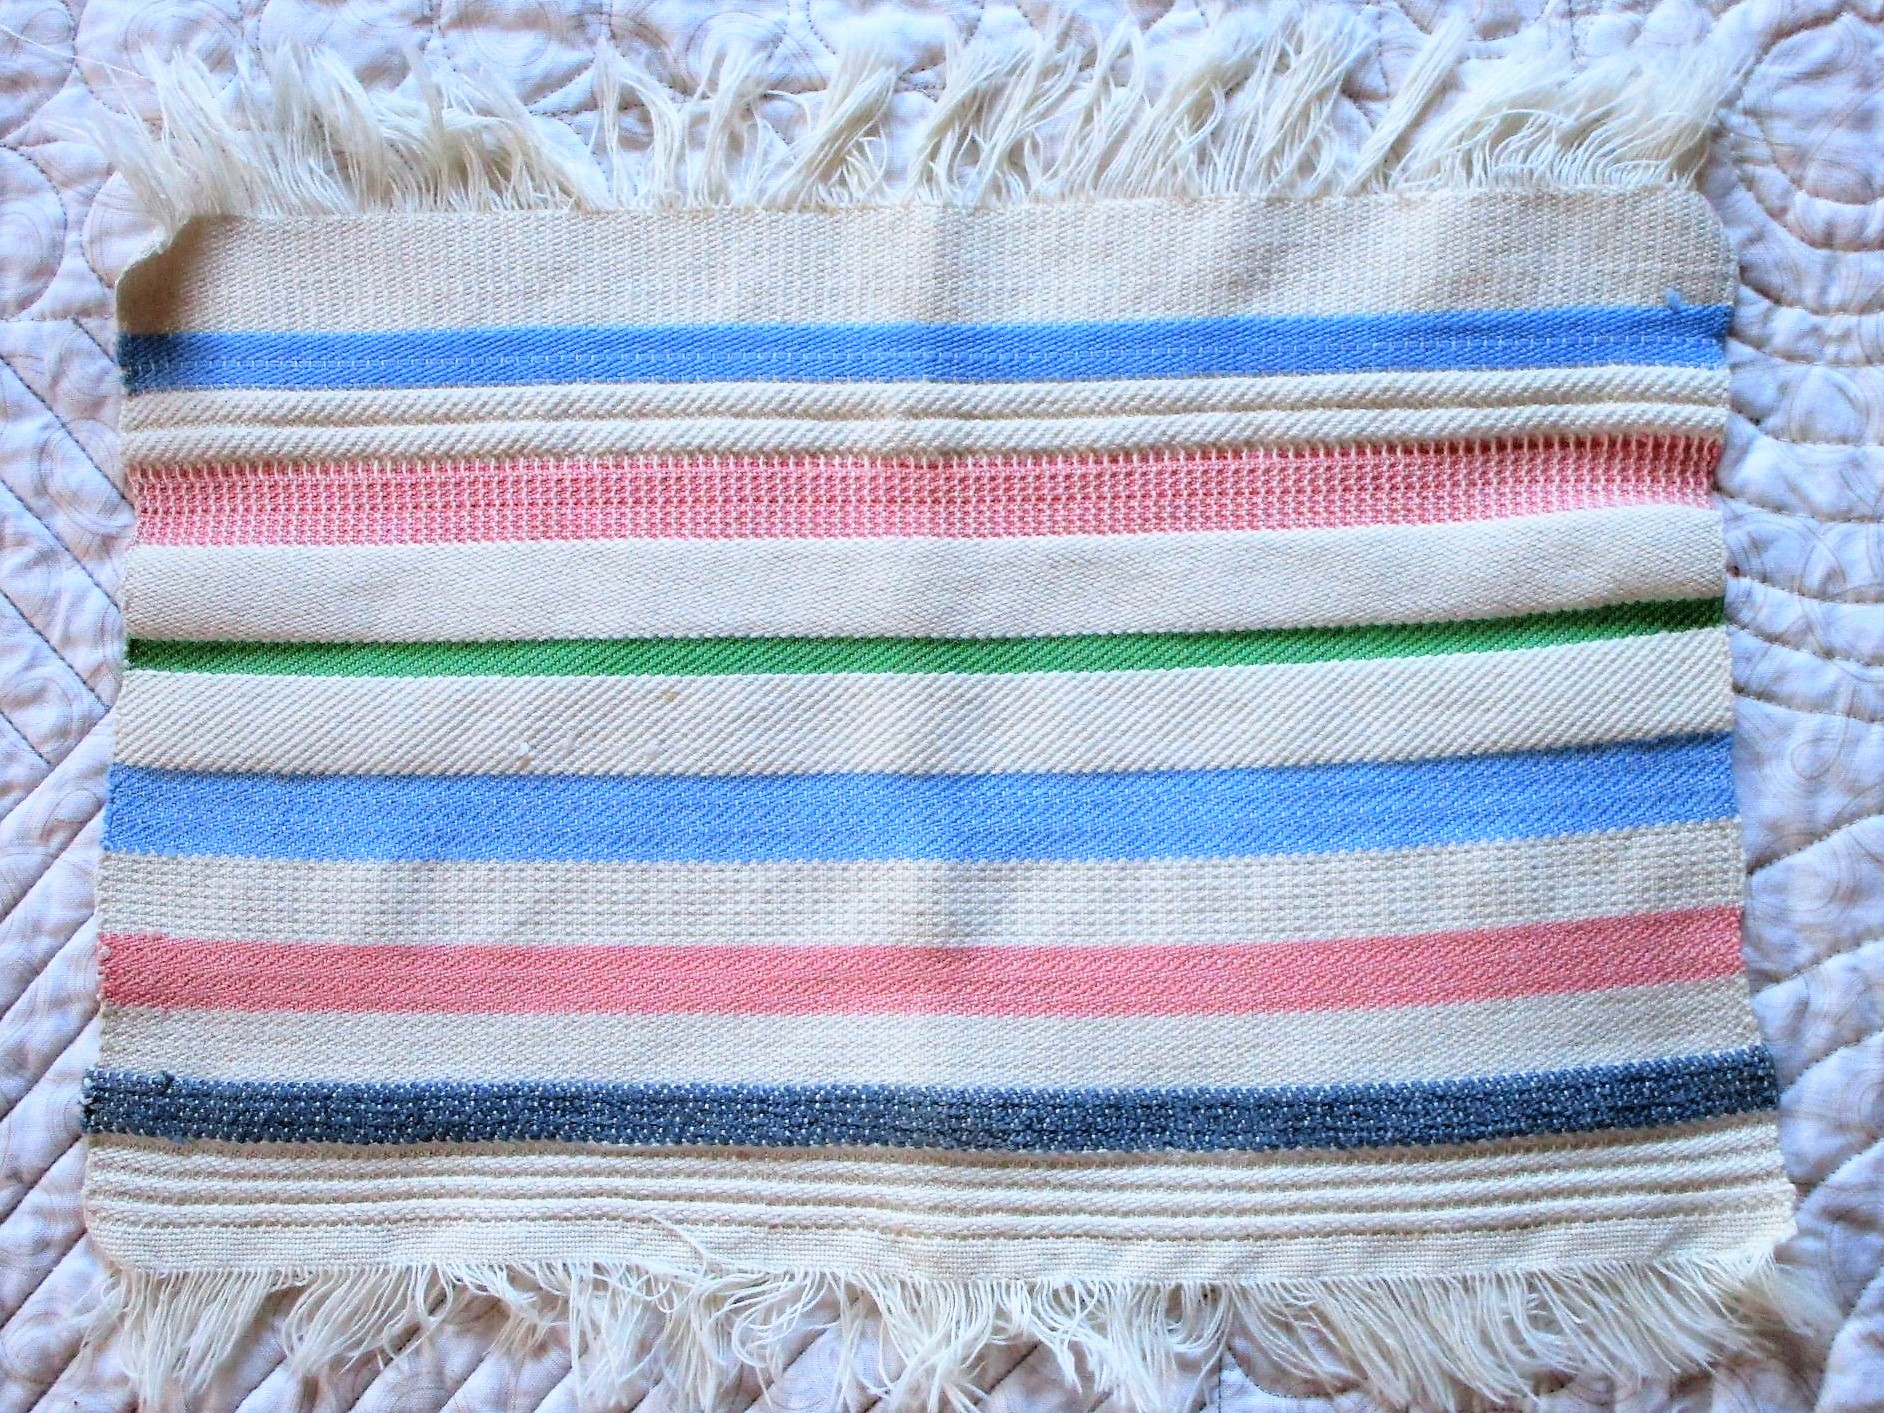
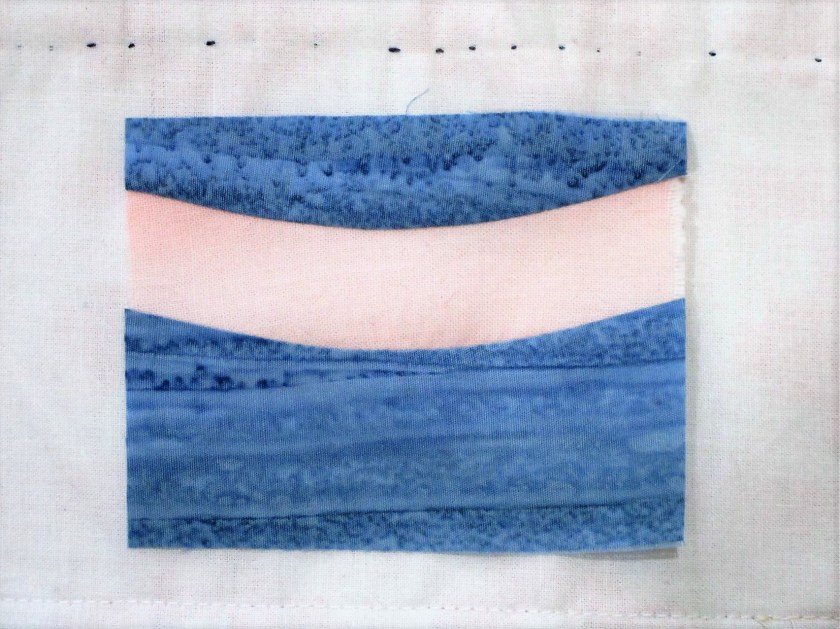
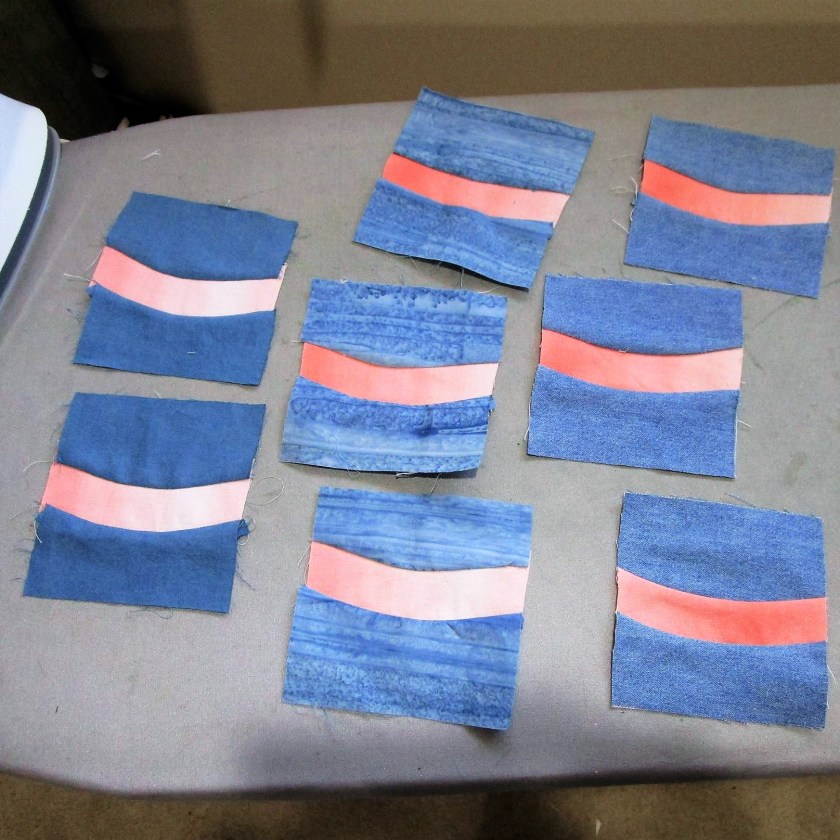
I like the horizontal bands of color. They look like clouds at sunset. To represent the setting sun, I used the foundation paper piecing method and created this:
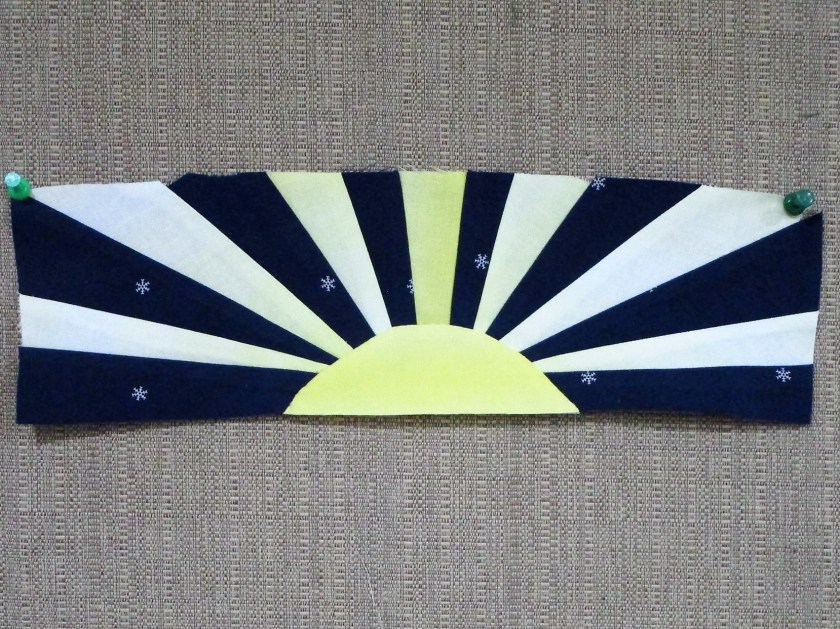
This piece will be attached to the top of the fringed weaving.
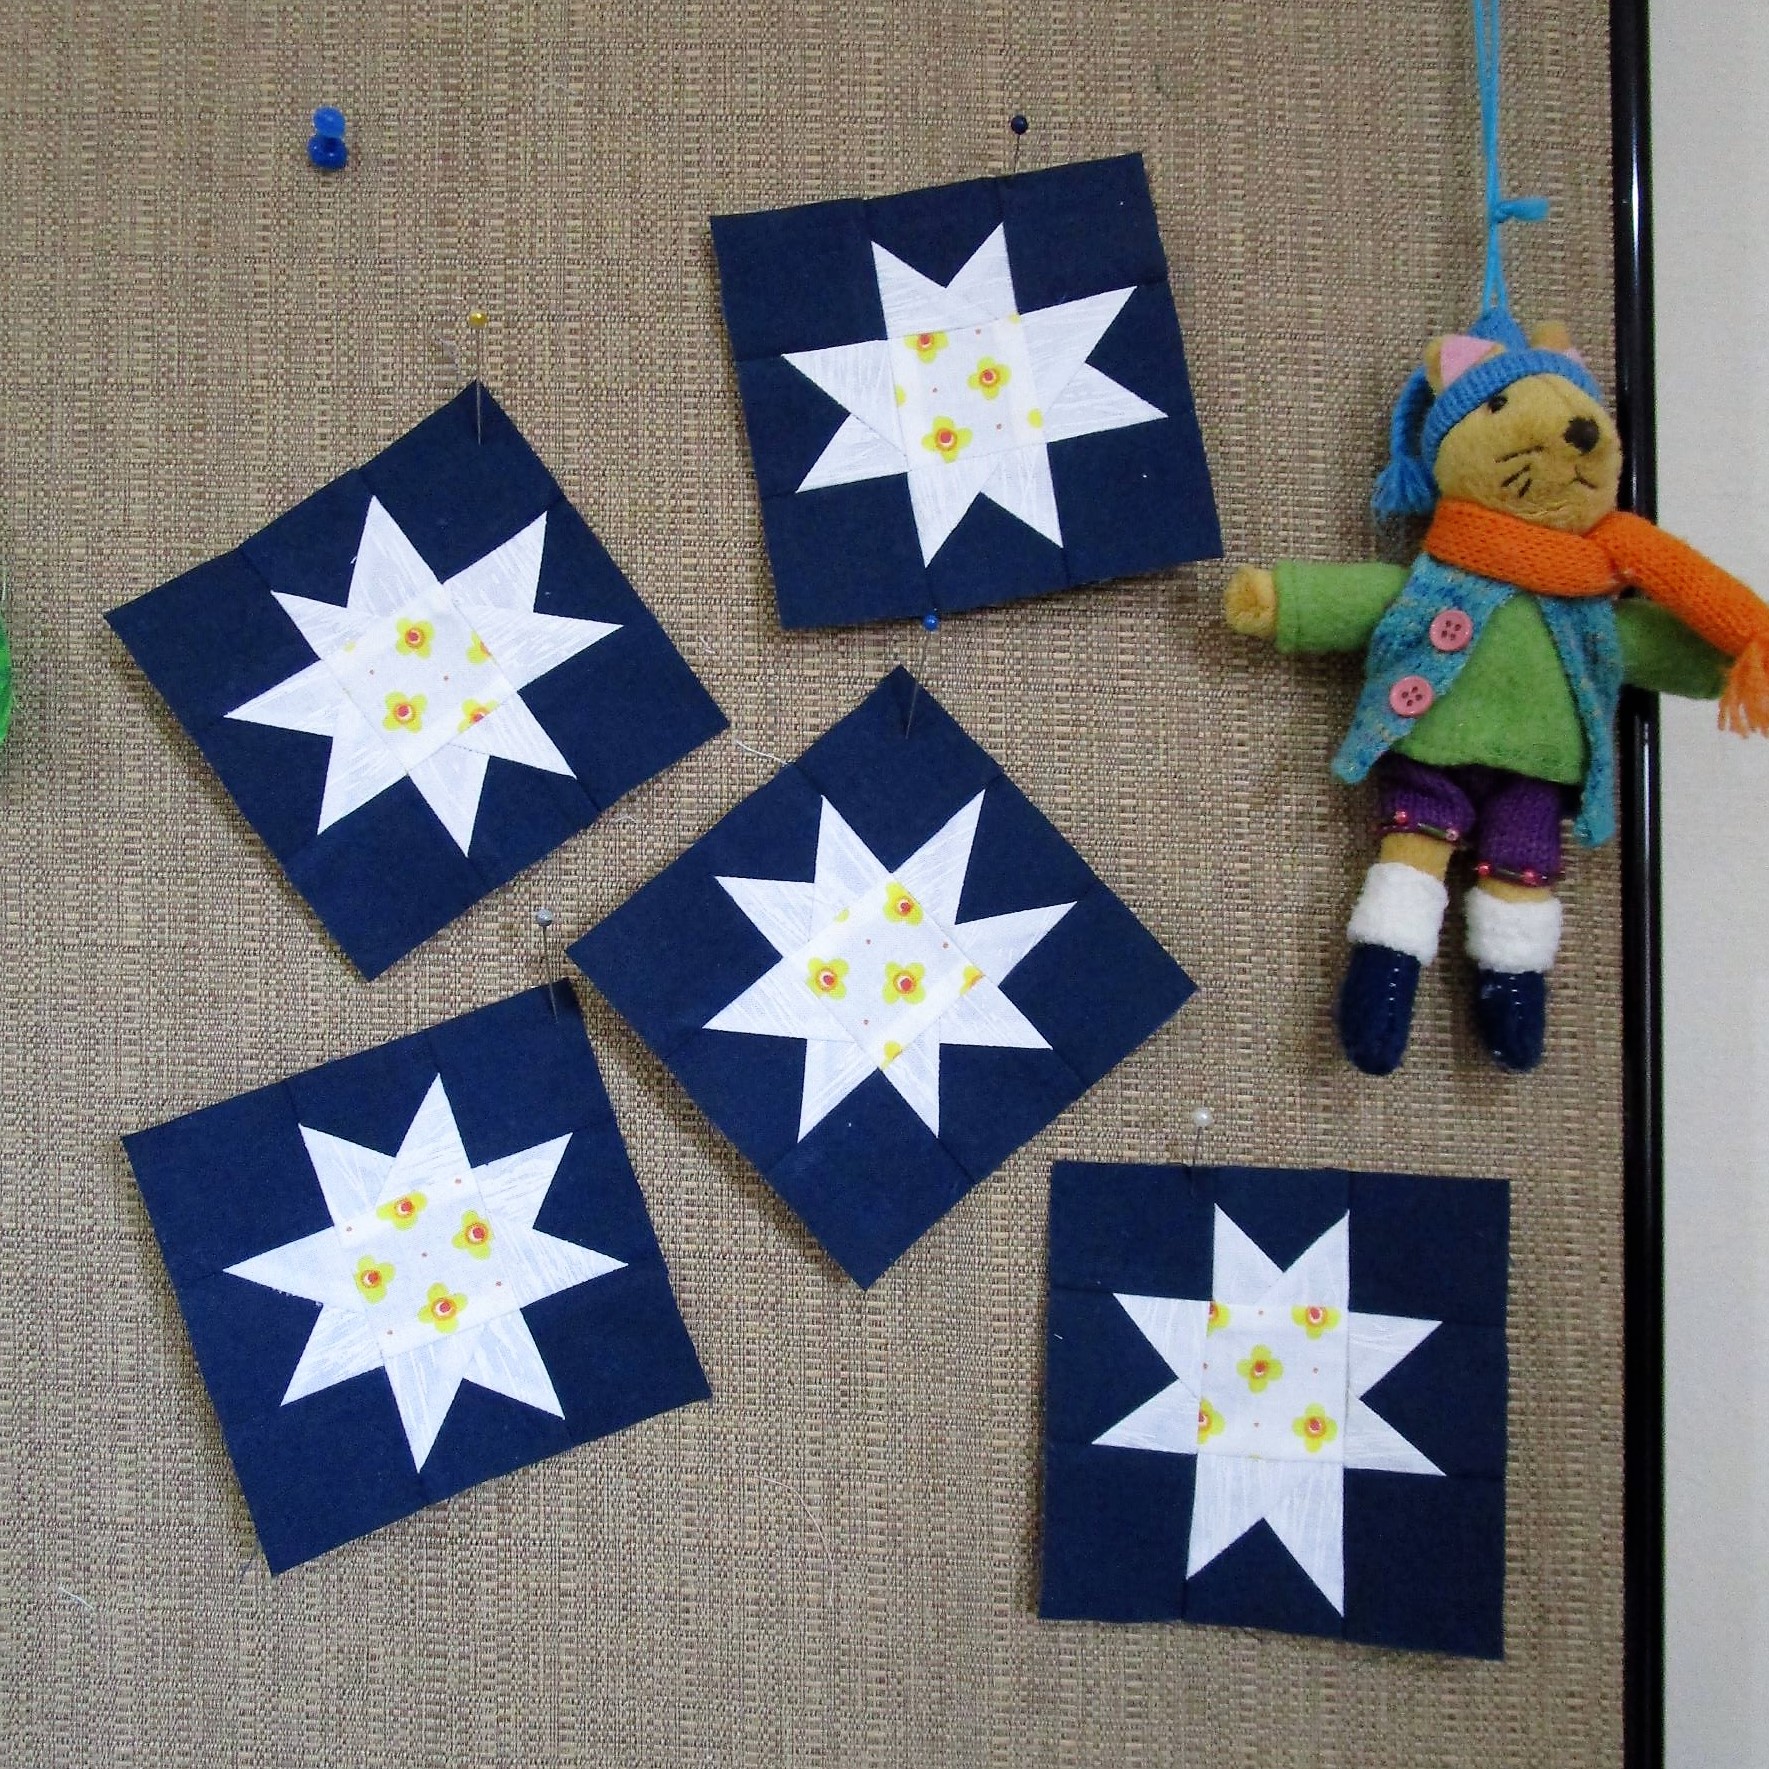
Eventually my stars were finished up.
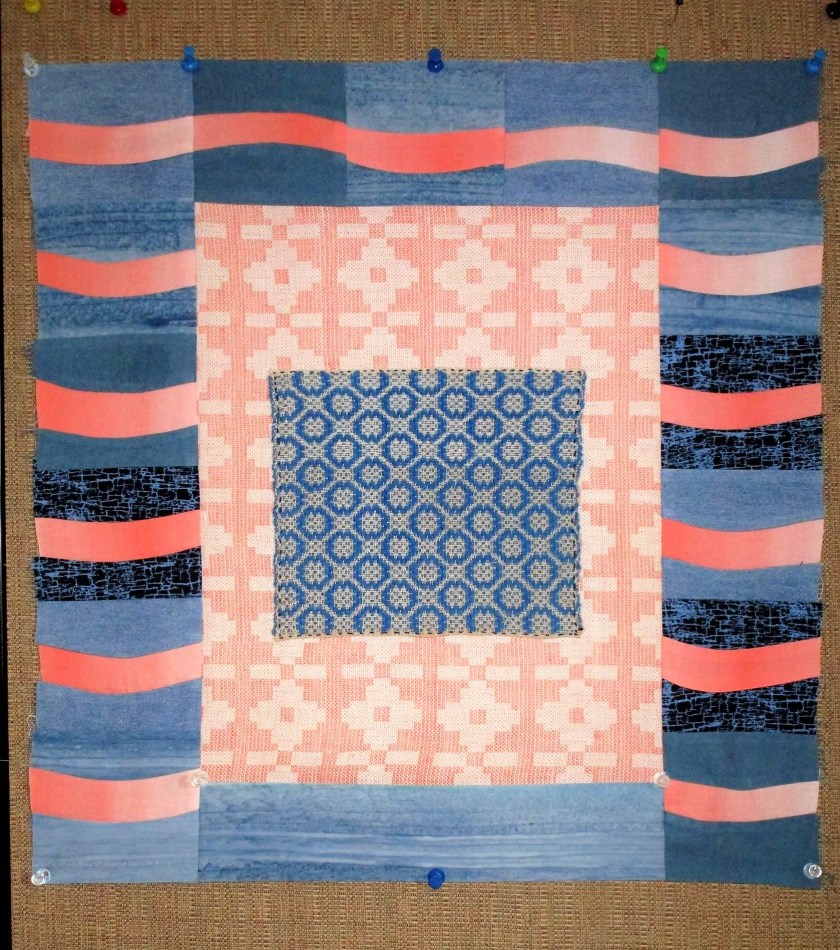
I sewed them together into a border and attached it to the right of the sunset.
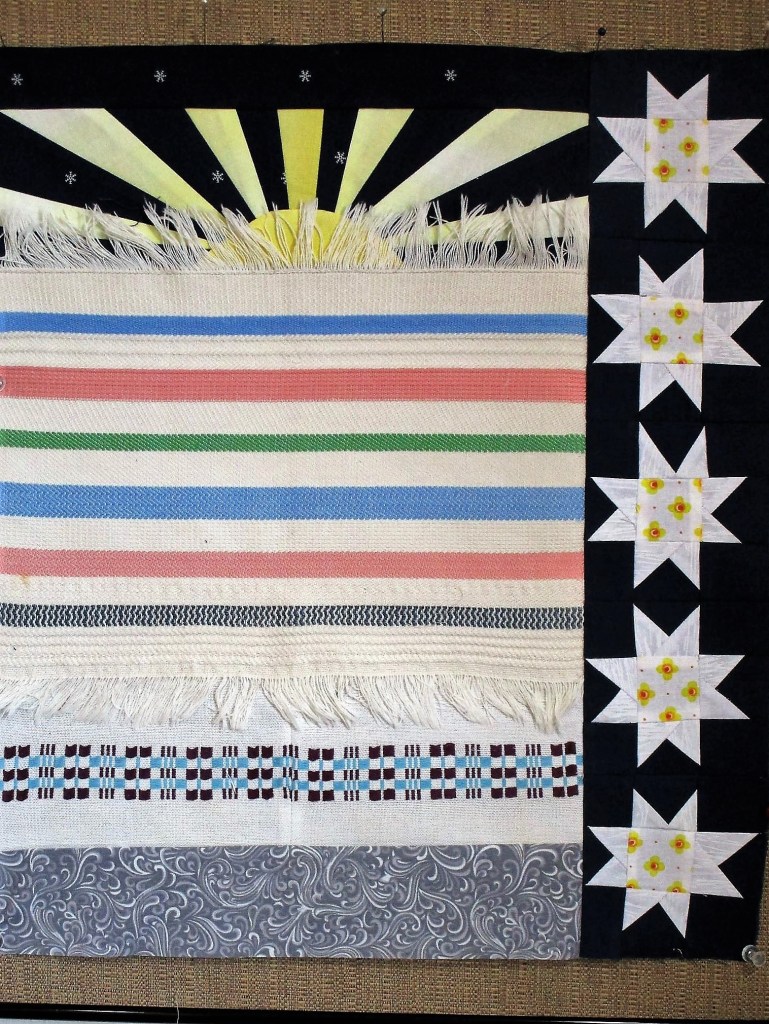
A narrow piece of gray swirled fabric represents the wind.
To finish this block, I attached border strips to the left and bottom.
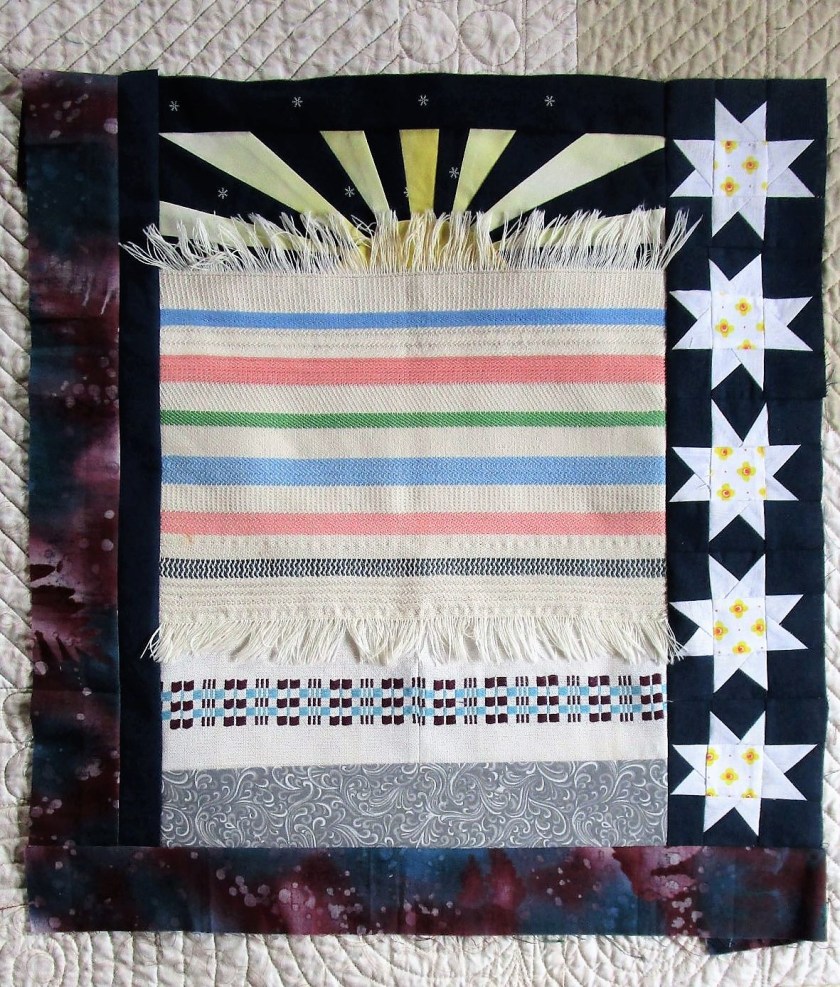
The fringe flies freely so that it can wave in the breeze. And my studio has been tidied and carpet vacuumed.
Now that the Elements are all present, I am ready for the final round of Stay At Home Round Robin. With a bit of diligence, I’ll have something to show by Sunday, when the linky party ends.