I am underway with the fourth and final pair of socks in my sock marathon challenge. This post was meant to happen last Monday. But in the days approaching that day, I experienced an unexpected and somewhat distressing set-back.
The pattern I have selected is Yamadori, designed by Ema Marinescu for Knitty.com
https://knitty.com/ISSUEdf18/PATTyamadori/PATTyamadori.php
The troubles began when I (belatedly) read the pattern through for the first time. I had assumed that the texture was created by a few slipped stitches and maybe a purl or two. I was wrong. Here is what the designer said: “The simple travelling stitches worked on the instep and leg create a fun texture that will keep you entertained from start to finish.”
Not this knitter. I was inexperienced in performing the maneuver to make a traveling stitch. I spent a few hours viewing U-tube videos on the myriad ways to make a left-leaning traveling stitch. I then spent more hours fumbling with my yarn and needles.
The tension started in my shoulders and moved both up and down my spine. Eventually I had completed several rows of the texture and acheived a massive headache.
I put down my needles and tried to get on with my life. Stress plagued me all day. The wind howling out of the southwest for the next 24 hours exacerbated my tension, leading to feelings of impending doom. How it is possible for a knitting project to give me an anxiety attack?
The next day, I picked up my knitting, stared at it, and knew that there was only one cure:
FROGGING:
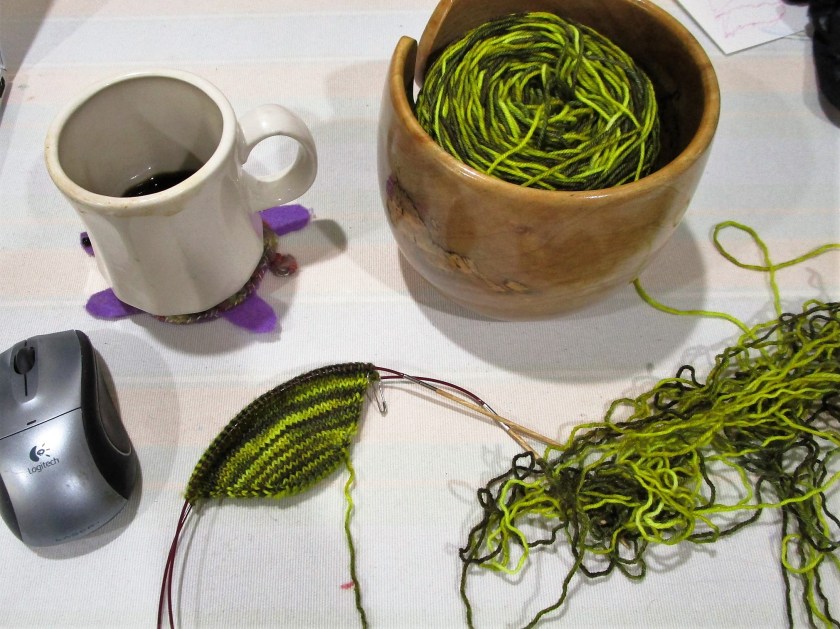
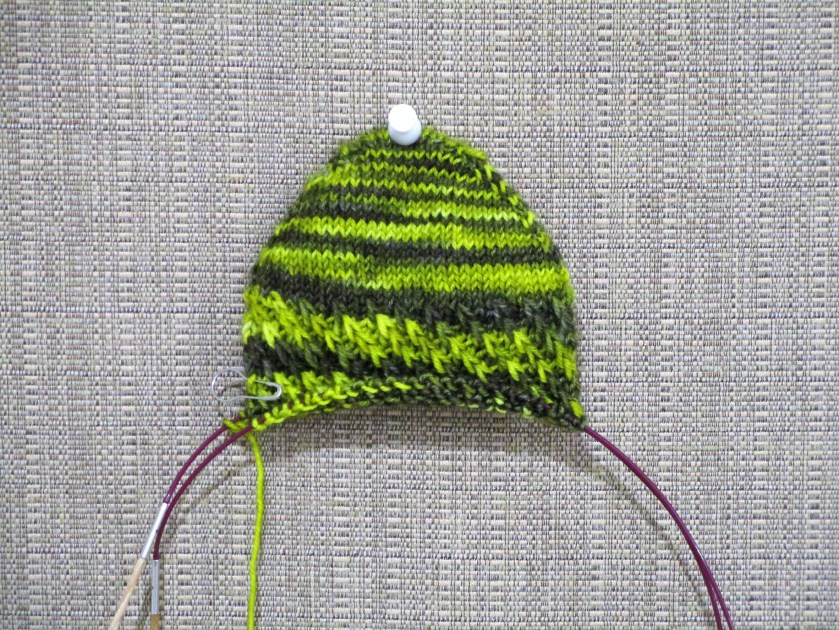
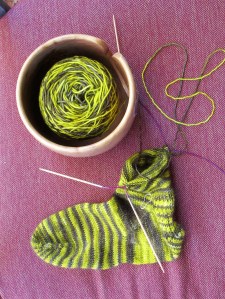
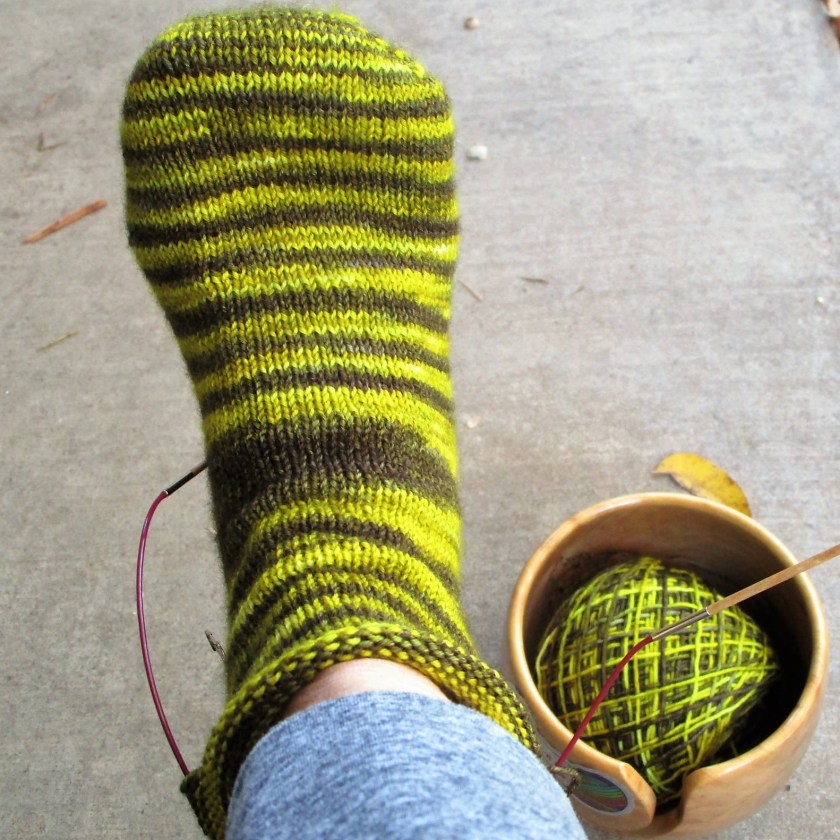
Realizing that the pattern would work just fine in plain knitting and would let the crazy stripes shine on their own, I began again from the toe and kept going. Here is my progress for this week.

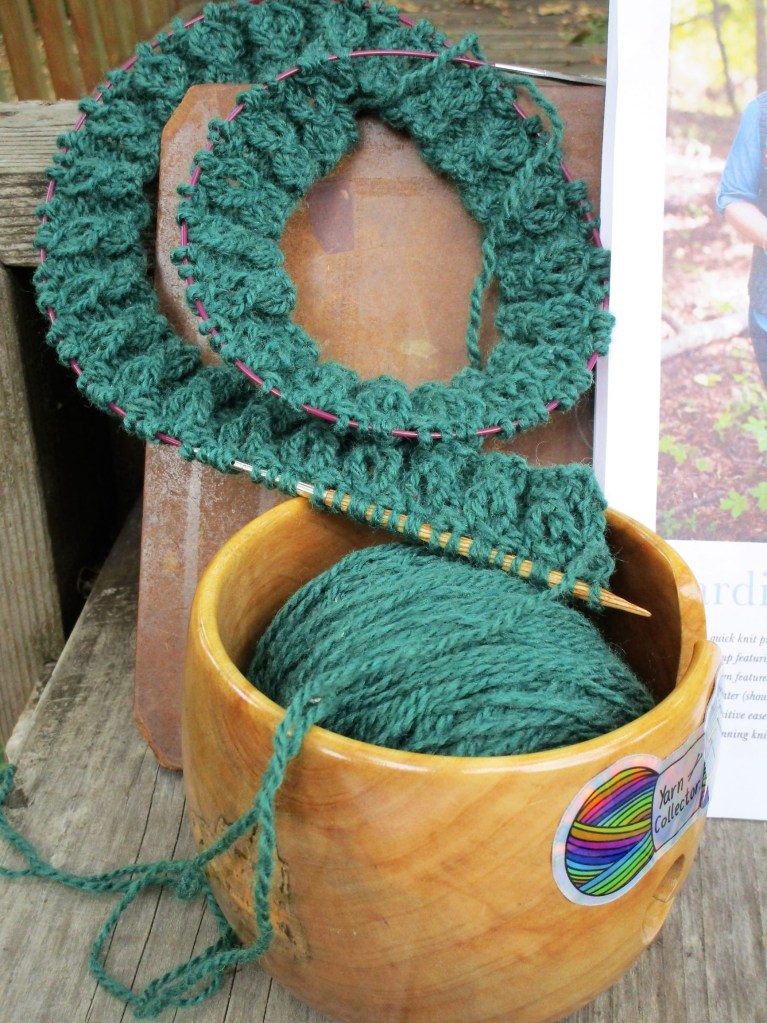
Let me give some credit to this wonderful yarn by Ewetopia – Wisco Sock. The colorway is Caterpillar.
https://www.ewetopiafibershop.com/shop-yarn/p/wisco-sock
Now I’m back on schedule, the stress is gone, and I WILL complete the challenge by the deadline.