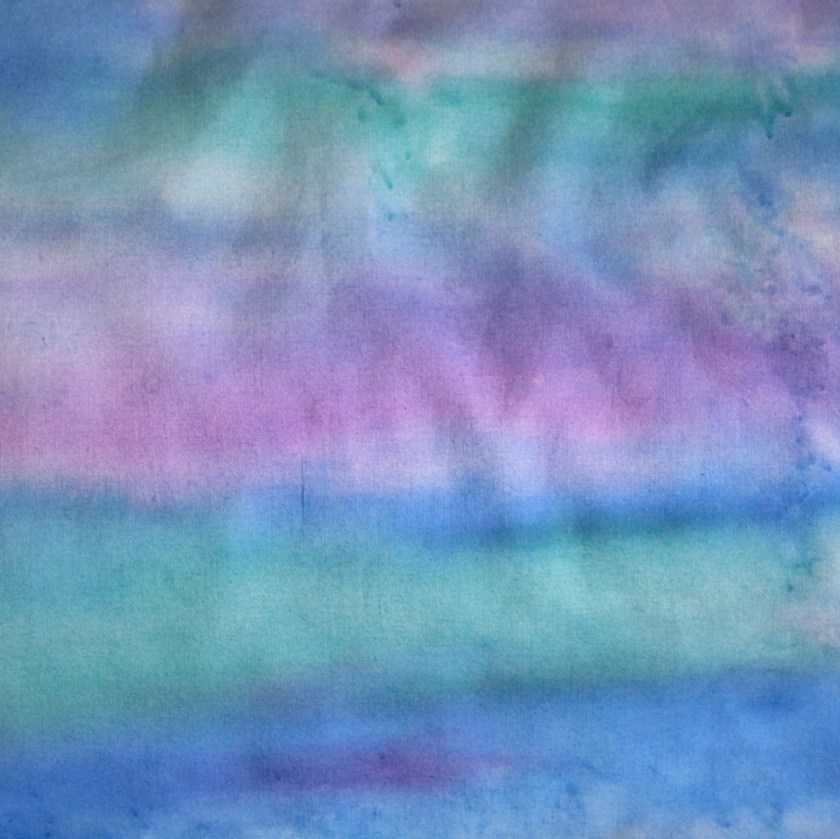
Here’s a break from the knitting blogs. I plan to use two swatches of fabric that have been hand-colored with acrylic paint, and weave them together. If all goes well, the final result will be an interesting fabric suitable for working into a quilt. I painted this piece last month, using Jacquard Dye-N-Flow paints on an old bedsheet:
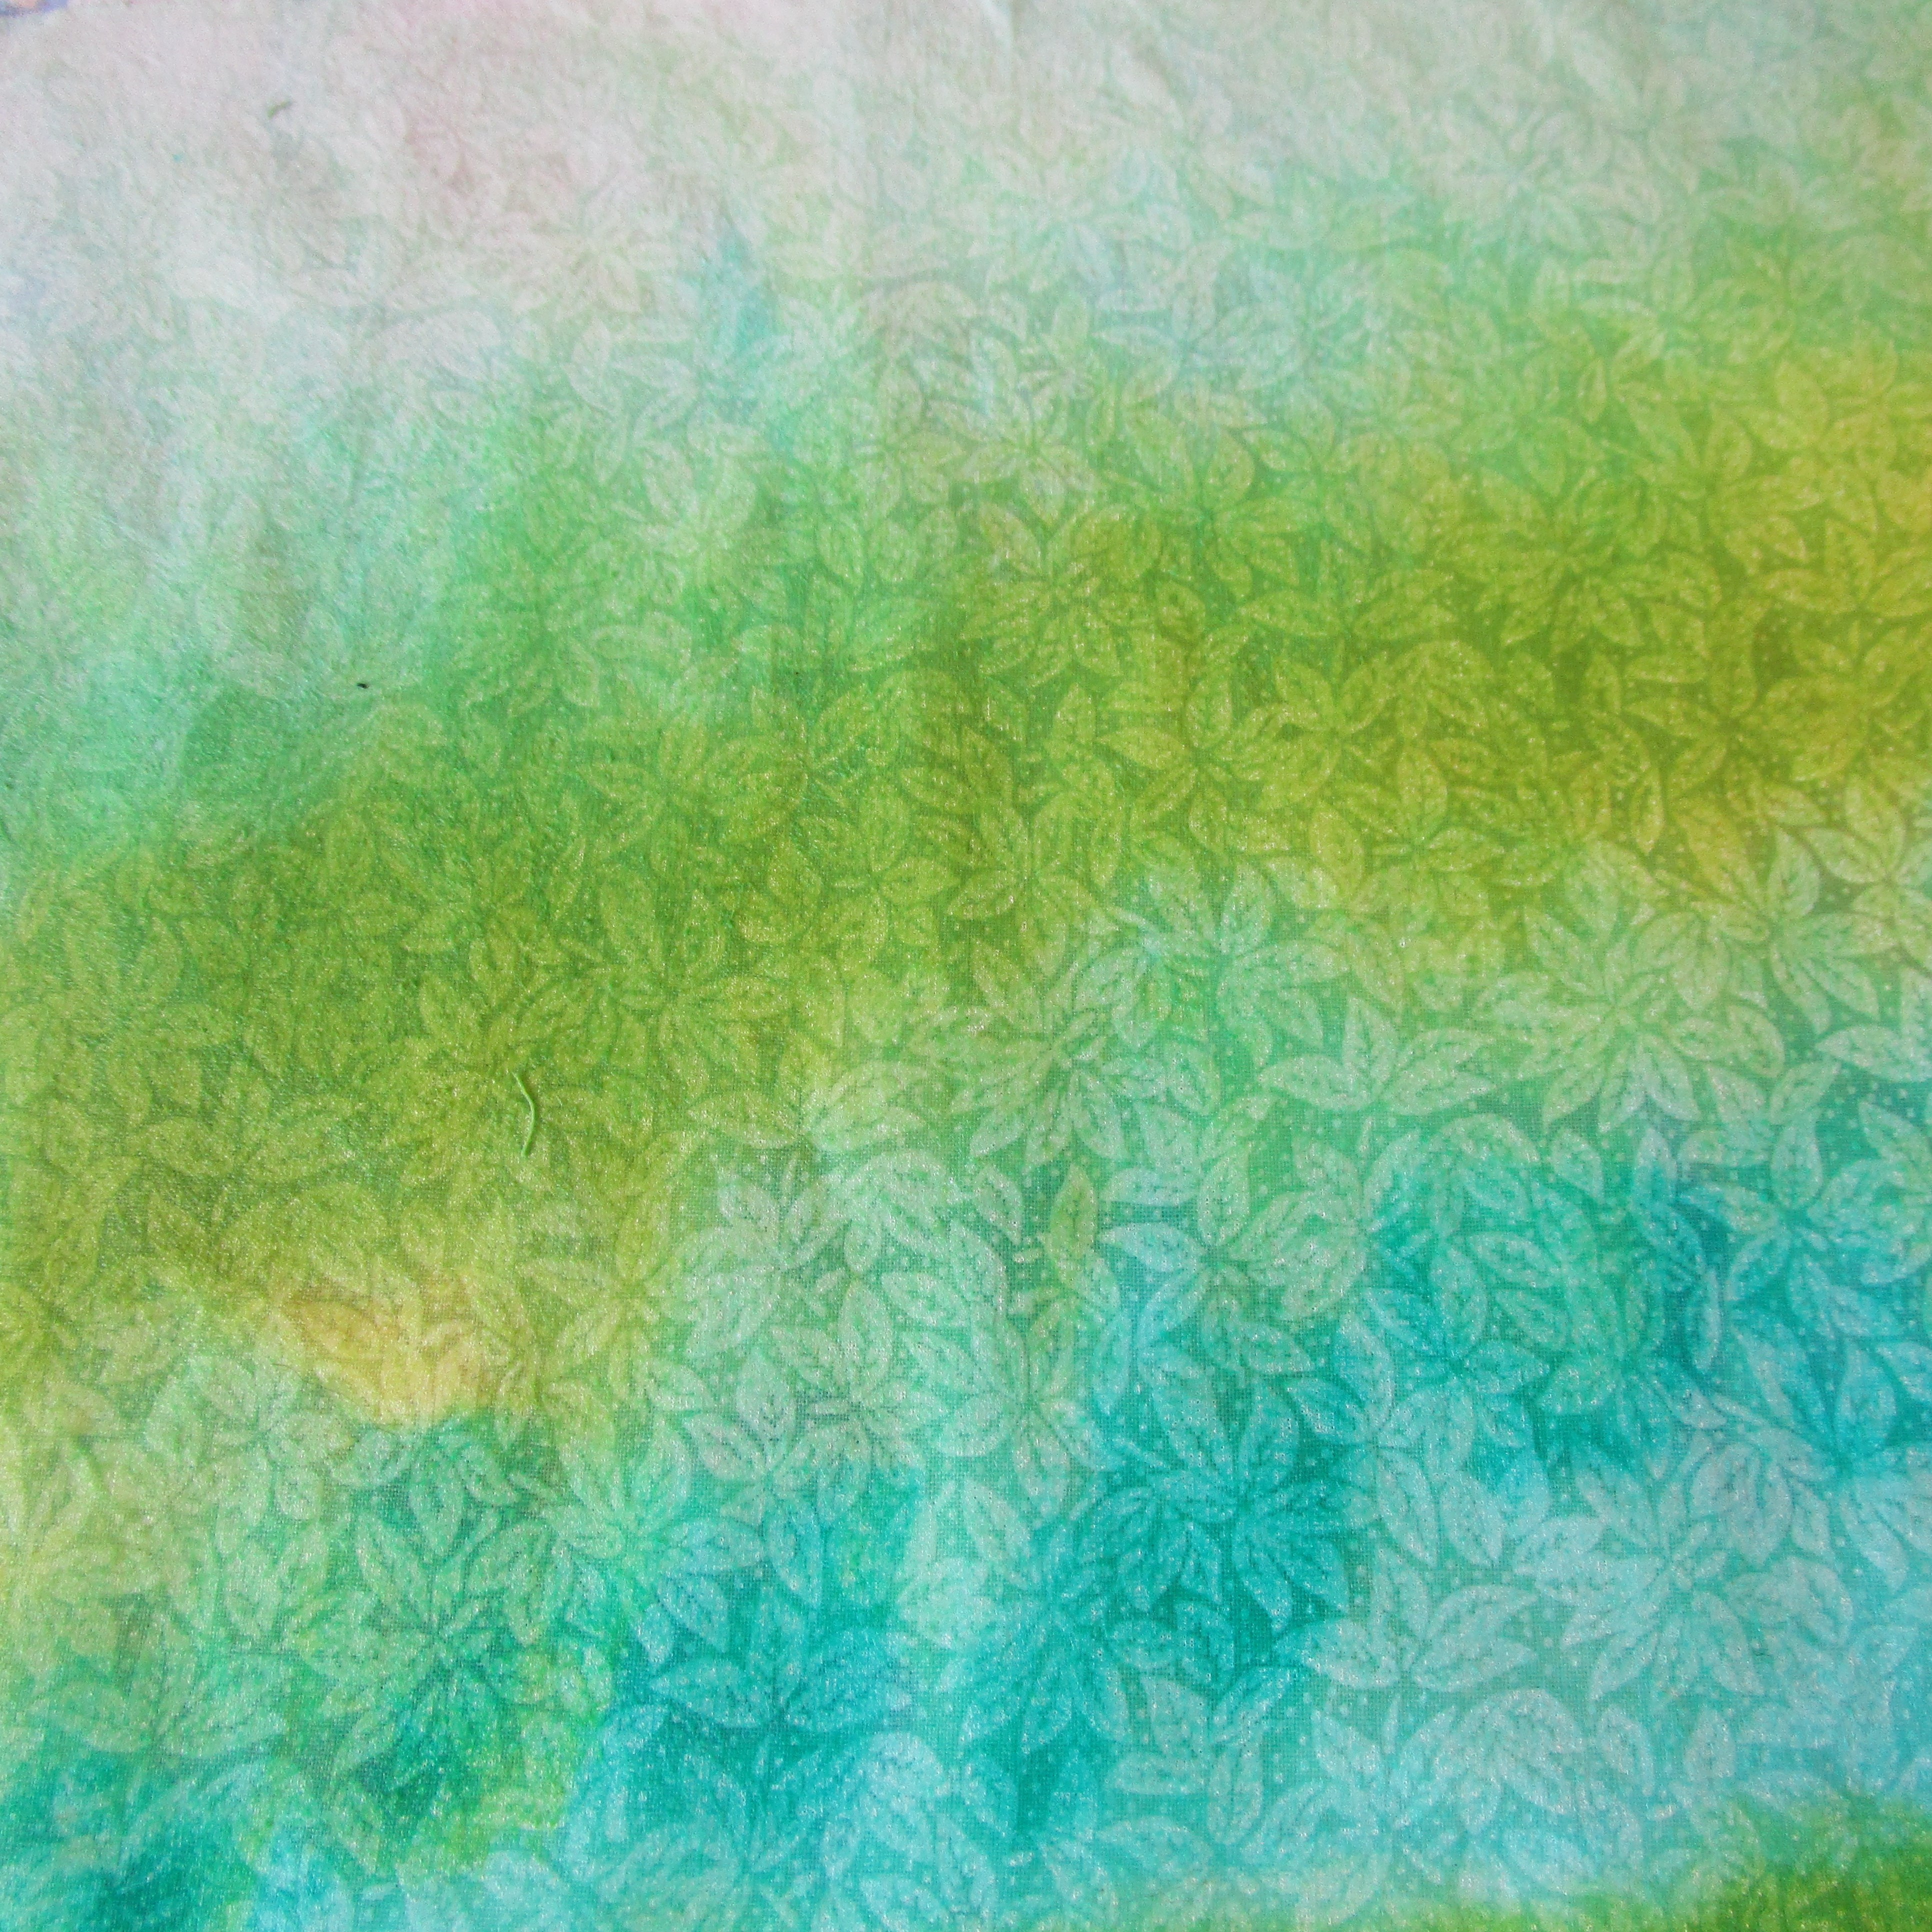
The fabric I have chosen to combine is a white on white print:
Kind of ordinary. Because the flowers are printed on the fabric, they will resist the paint. I actually have two pieces of this fabric. Here they are after colorwashing:
Part 2 of this project will happen tomorrow, after the paint dries. See you then!
For many knitters, working lace is like entering the third circle of hell. First of all, there’s the language barrier. What is this strange talk? K2 *(KB1, k1) 2x, k1, p3, k1; rep from * skpo, k2. And that’s just one row! And then there’s the navigation. Where exactly am I on the pattern, and why doesn’t my swatch look like the example? Needless to say, I hired a navigator when I finally decided to learn lace. Eunny Jang teaches Lace Knitting: Basics and Beyond at craftsy.com (now blueprint.com) She taught me that working from a chart is the way to go. It’s just like a road map. Yes, there are some symbols you must learn, but the chart gives you an overall picture of how to navigate the design. You can see where you have been and where you are going. I immediately began to chart out every lace stitch in my knitting dictionary. Here is a link to Eunny’s class: https://shop.mybluprint.com/knitting/classes/lace-knitting-basics-beyond/35243
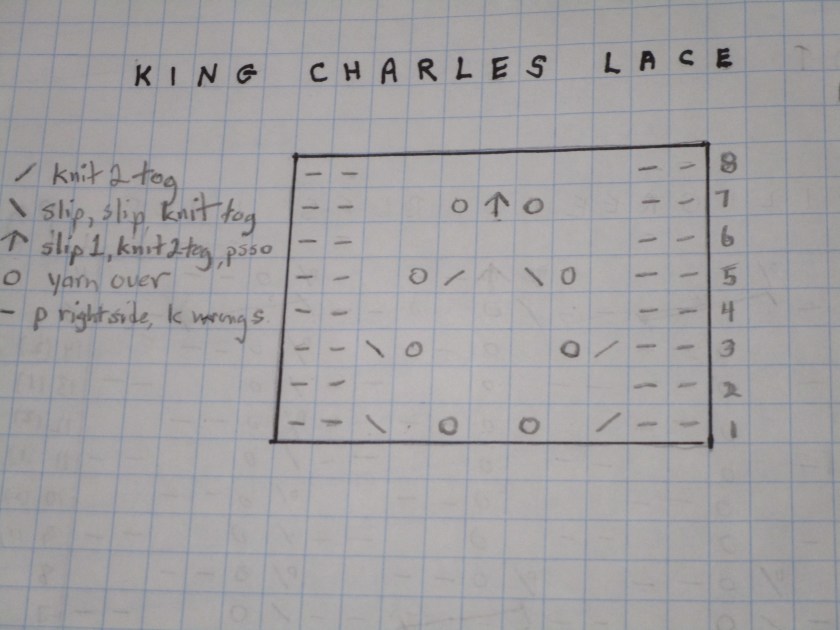
So I am looking for a lace pattern that will complement the Lace Crescent Rib pattern that I swatched yesterday. King Charles Lace seems to be a good candidate. It has about the same number of stitches and is eight rows long. Best of all, it features the same pair of purled stitches bordering the lace center, just like Lace Crescent Rib has. Here is the pattern as it appears in my stitch dictionary:
Here is my hand-drawn chart of the pattern: Notice the ‘legend’ of symbols.
Set up for lace. I used a few edge stitches in garter stitch. Cast on loosely. I used the knitted on method. You could also cast on with a larger needle. Knit 3-4 garter rows at the beginning to keep the swatch from curling. The pattern repeats can be punctuated with markers. This helps you keep straight with the pattern, especially if you are working a large number of repeats.
Middle photo is completed swatch. I gave you 3 pattern repeats. Use a loose cast off, so the lace can stretch. I did knit, knit, knit 2 tog through back loop. Repeat until all stitches are used up.
Completed swatch is its warm soapy bath. Again pull the piece in all directions while it is soaking, so the stitches even out.
I’m pleased with the results. The first image is the blocked King Charles Lace. The second image shows how the two patterns might look on a triangular shawl. Okay, so imagine the KC lace worked up the center back of the shawl, with repetitions of the Lace Crescent Rib running along both sides. It works.
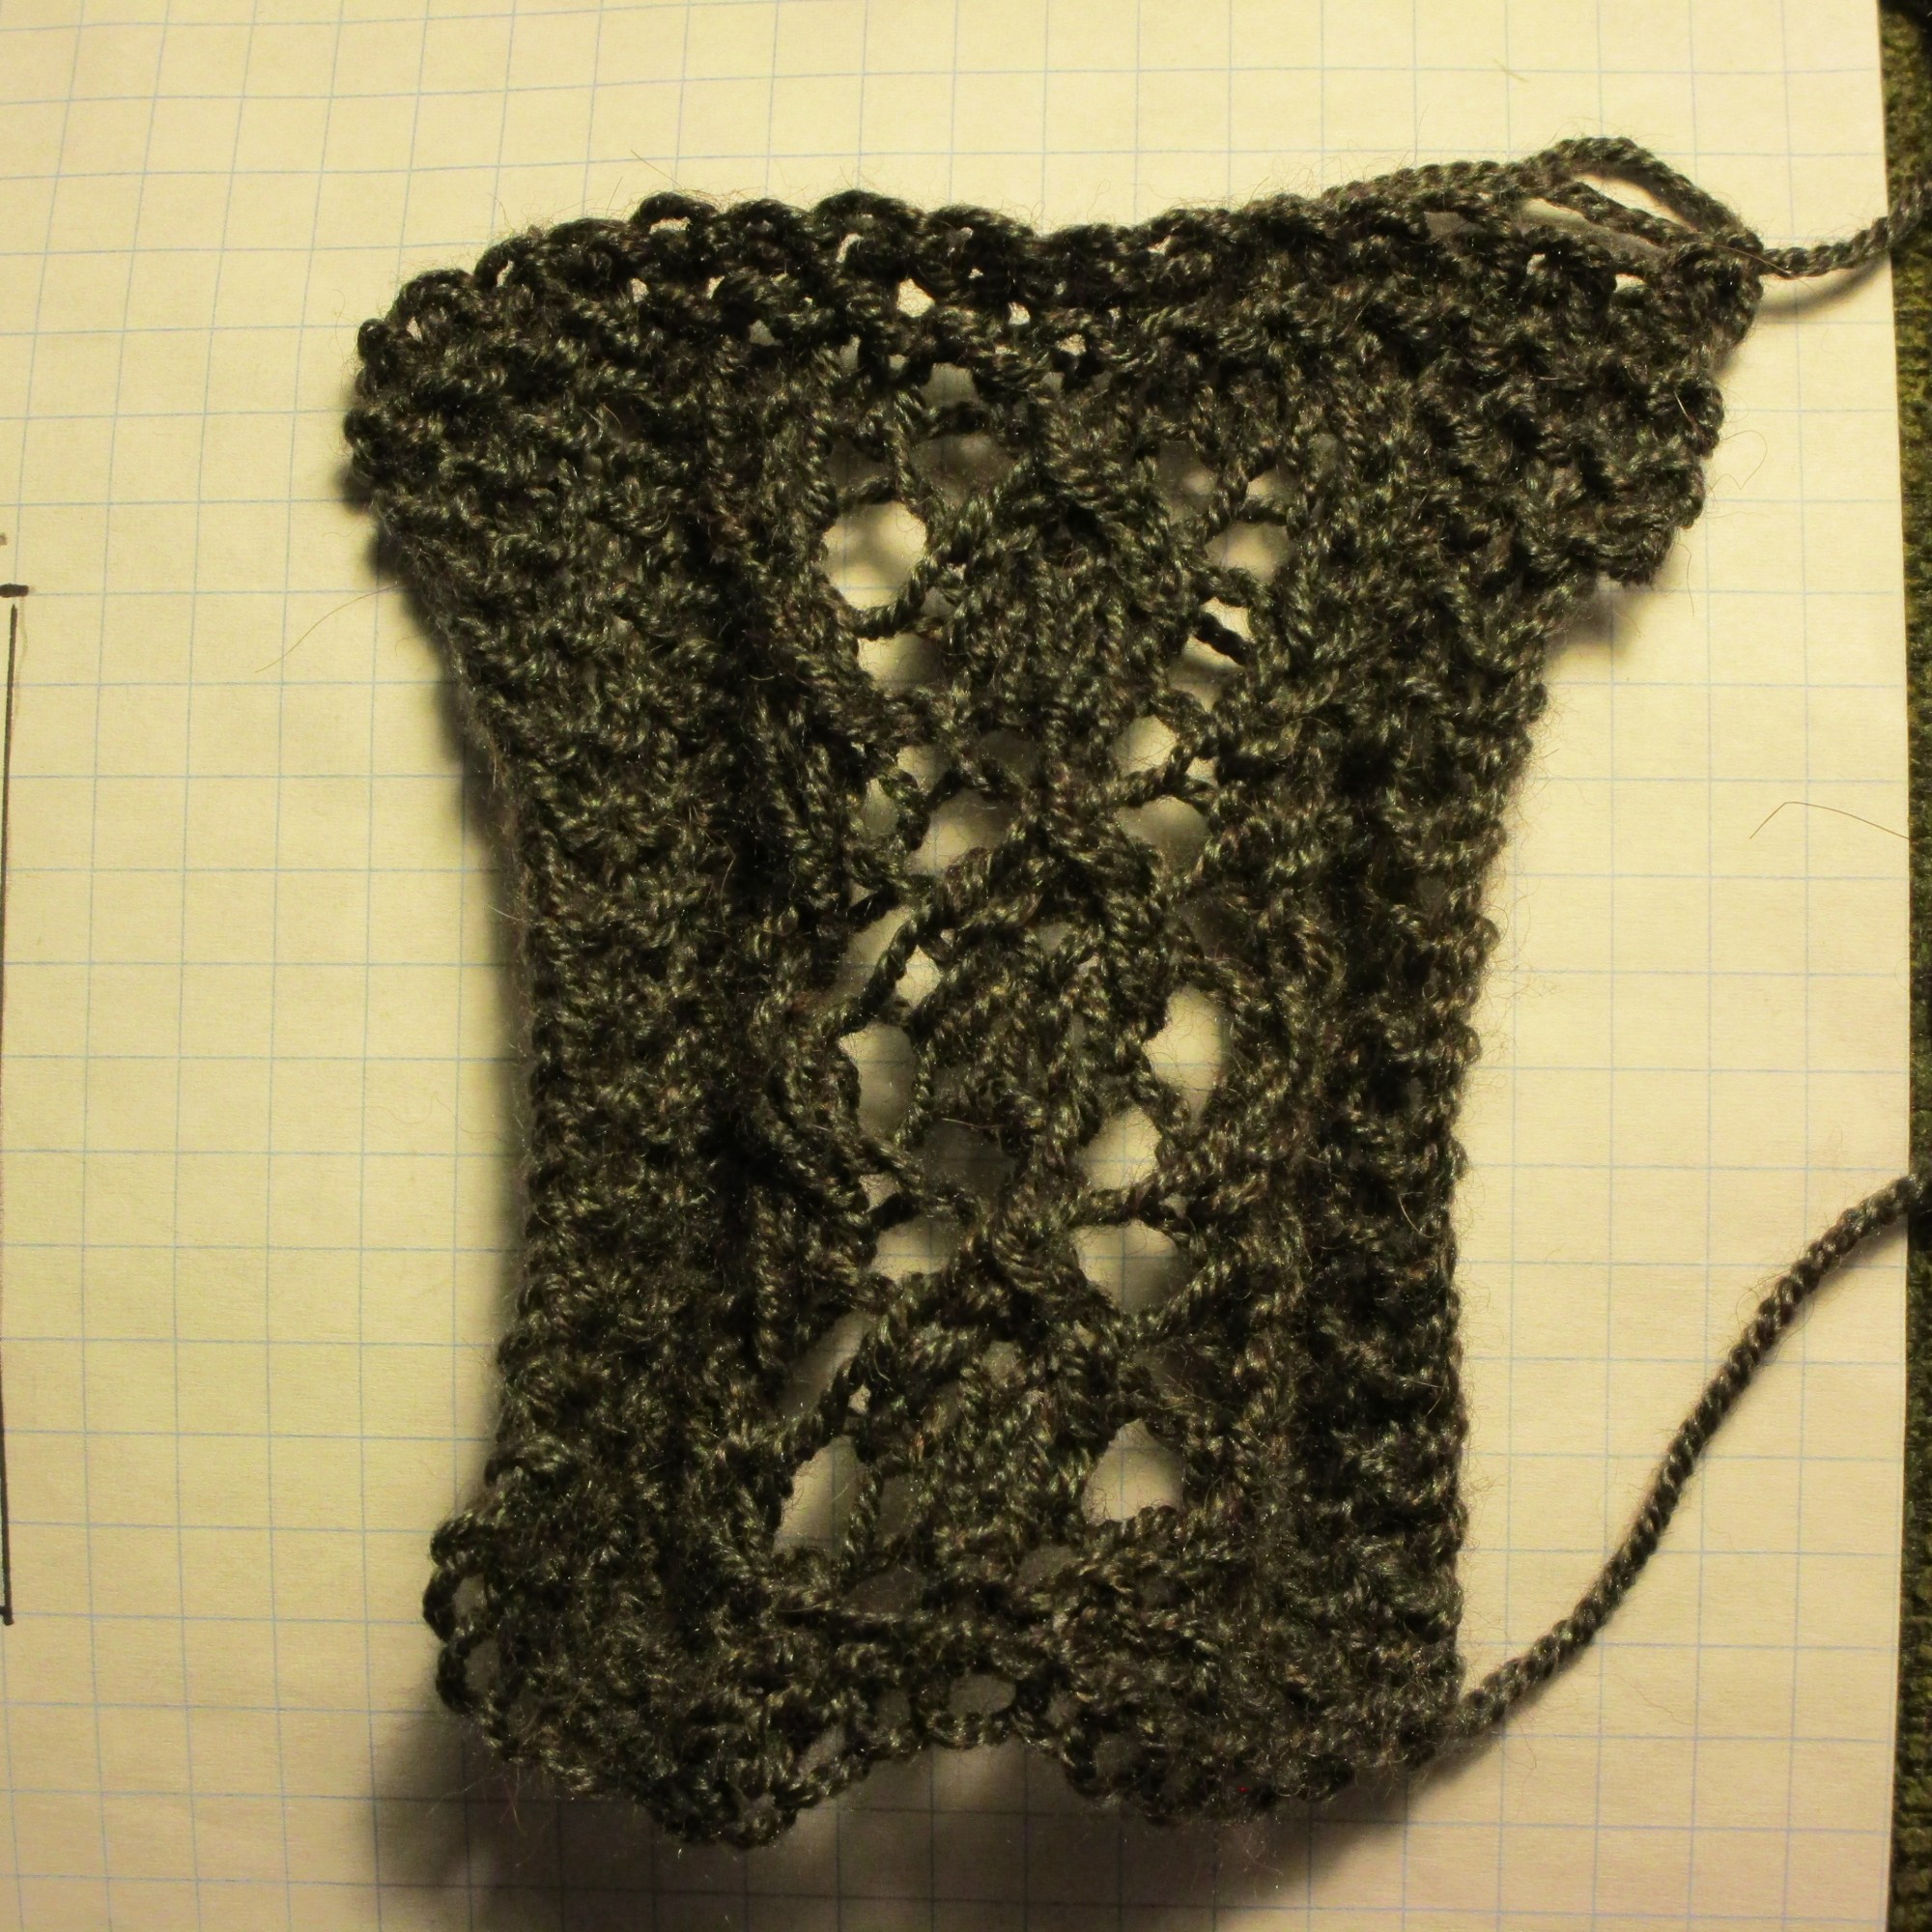
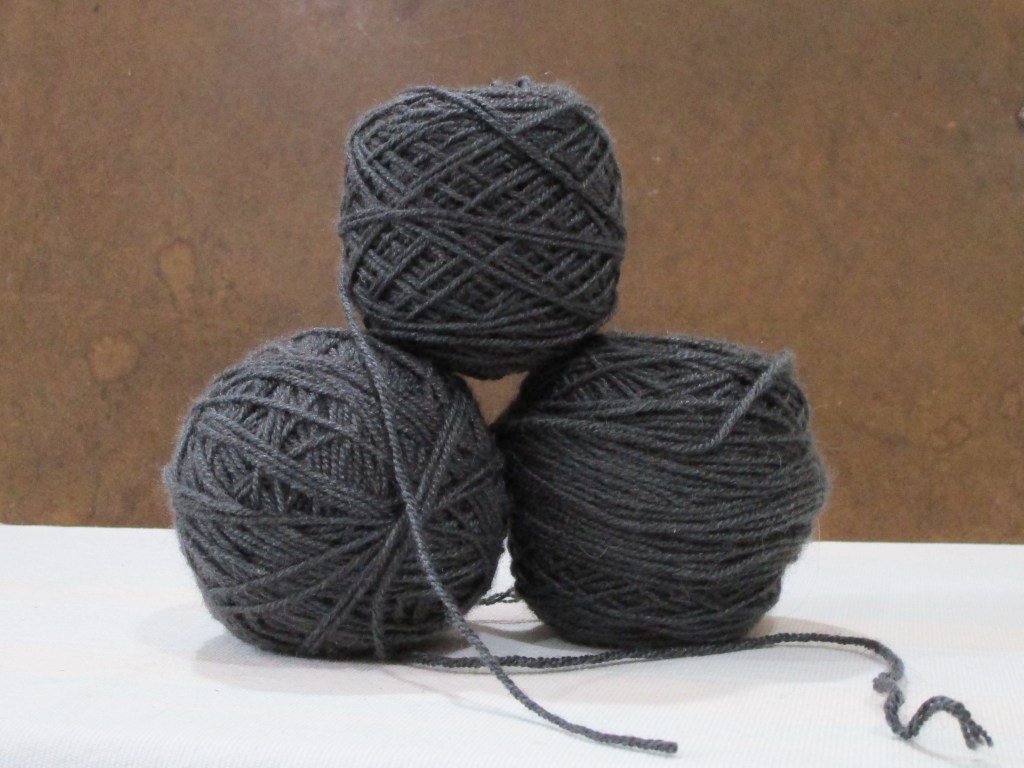
I try to avoid knitting with black yarn. It is difficult to see what is happening with your stitches as they are built on your needles. So when my daughter gifted me with these skeins of Shibui yarn, I was not particularly inspired. They languished for a few years in my stash. To be fair, the color is not exactly black – more of a deep charcoal gray. And the fibers, a blend of baby alpaca, baby camel, and silk, are extremely soft. Make that slippery soft. Hmm…… Maybe I can combine them with another color?
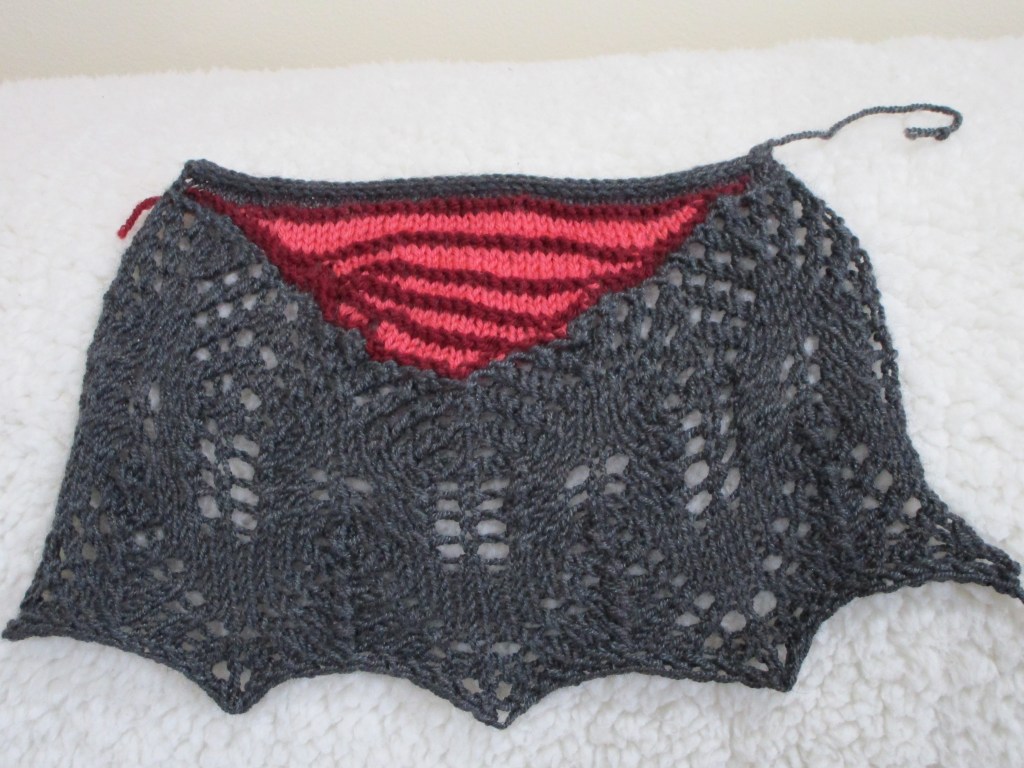
NOT!
This is an epic fail. The coral and rust colors do not work with the black, and the lace pattern is too bland to show off the texture of the yarn.
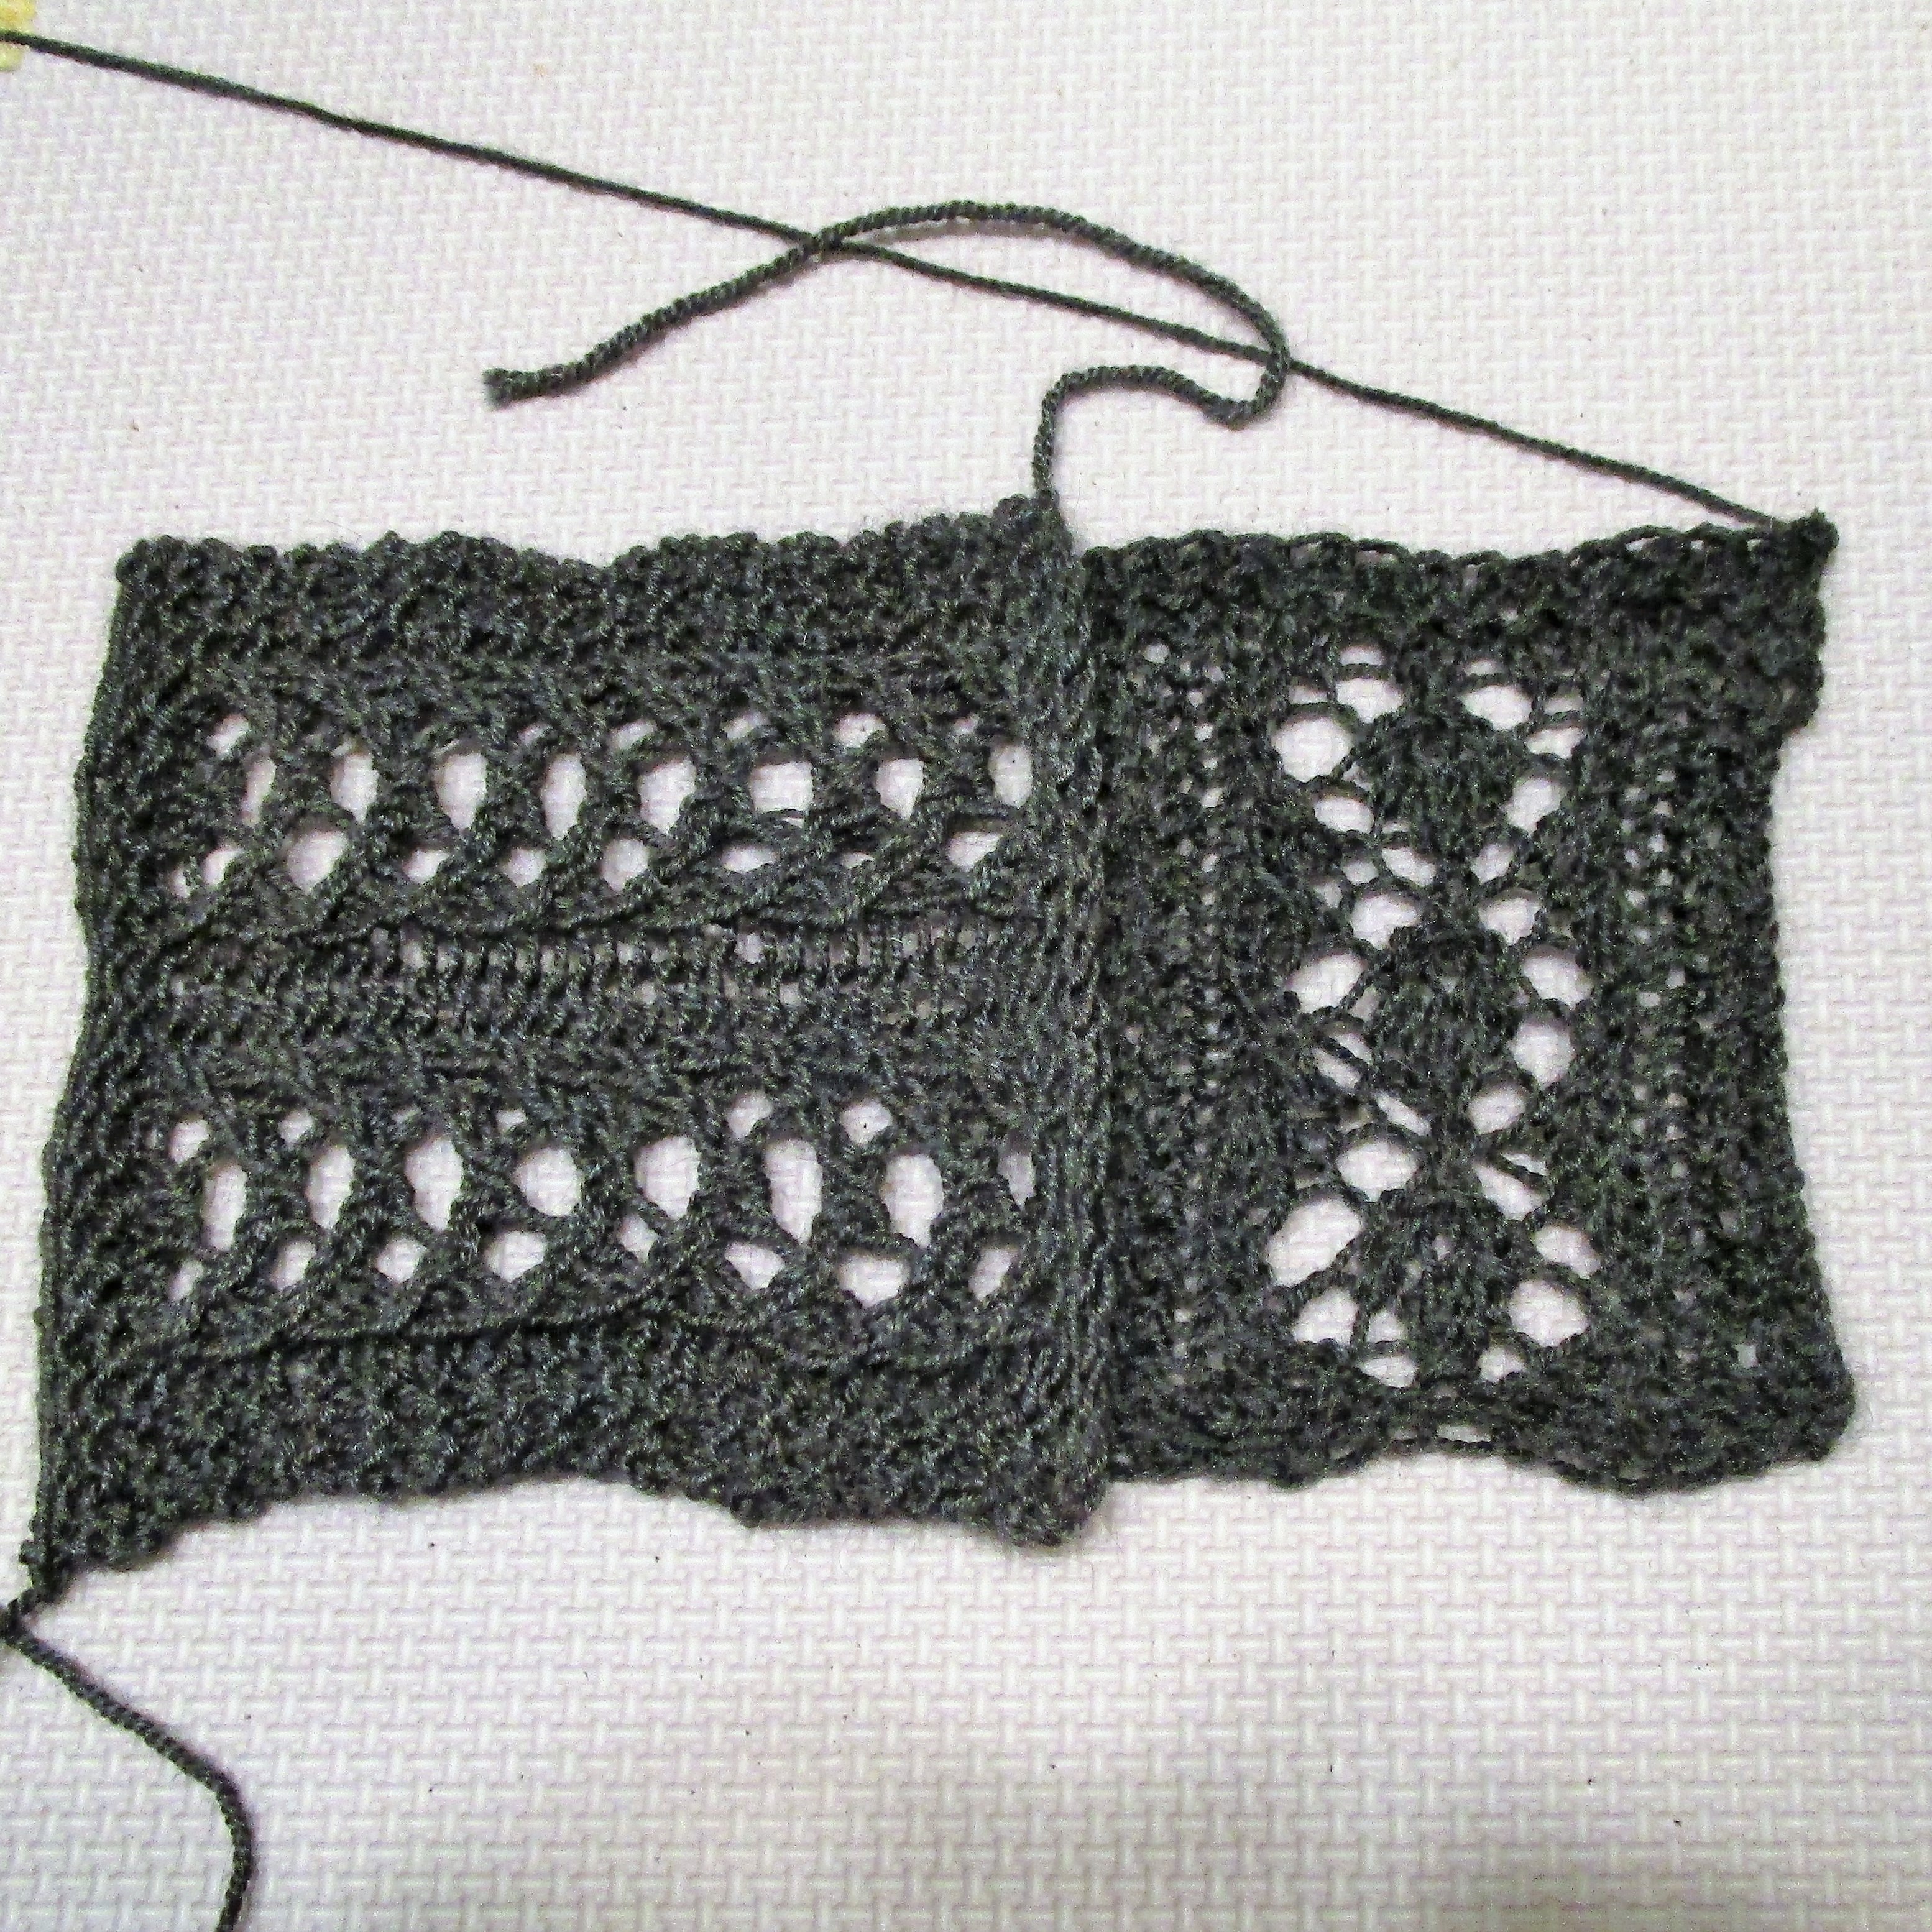
What I needed was a lace pattern with bigger holes. Enter blogger Naomi Parkhurst, who writes under String Geekery. She creates lace knitting patterns and shares them on her site. I found the stitch Lace Crescent Rib Vs. 2 to be promising. Each repeat is only eight stitches and there are only four rows to complete the pattern. Better still, it features a double yarnover. Here is a link to her pattern: https://gannetdesigns.com/2019/02/04/lace-crescent-rib-a-free-lace-knitting-stitch-pattern/ Let’s do it:
Swatch with the first set of four row repeat
And here is the swatch after blocking. Love the open look and the central rib.
So friends, what shall I make? I am considering a triangle-shaped scarf with a central motif and the lace crescent ribs radiating out on both sides. And Thanks, Naomi.
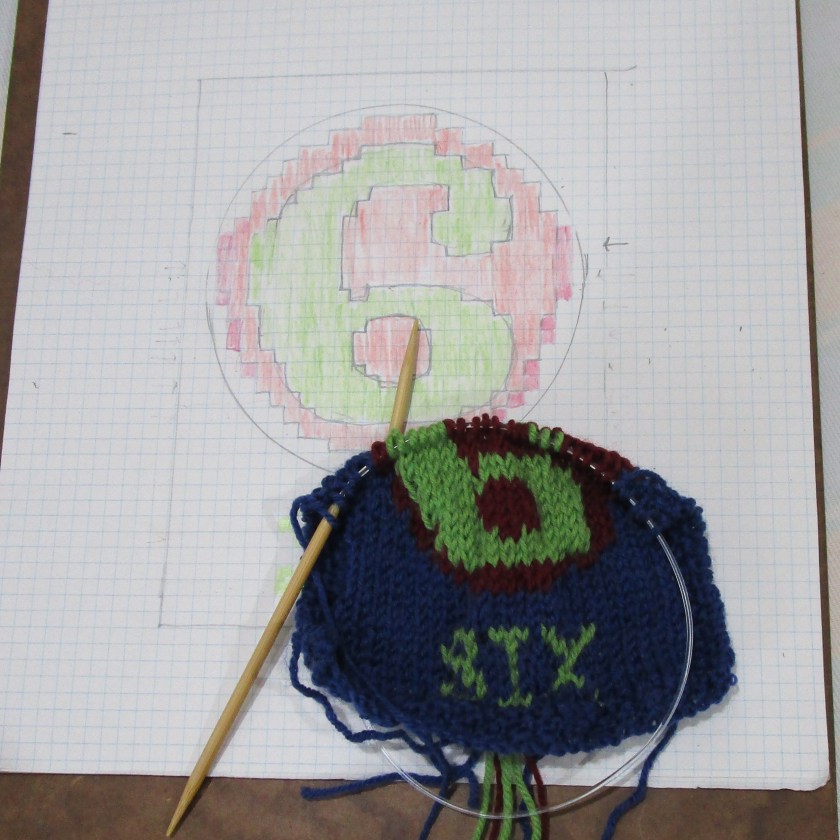
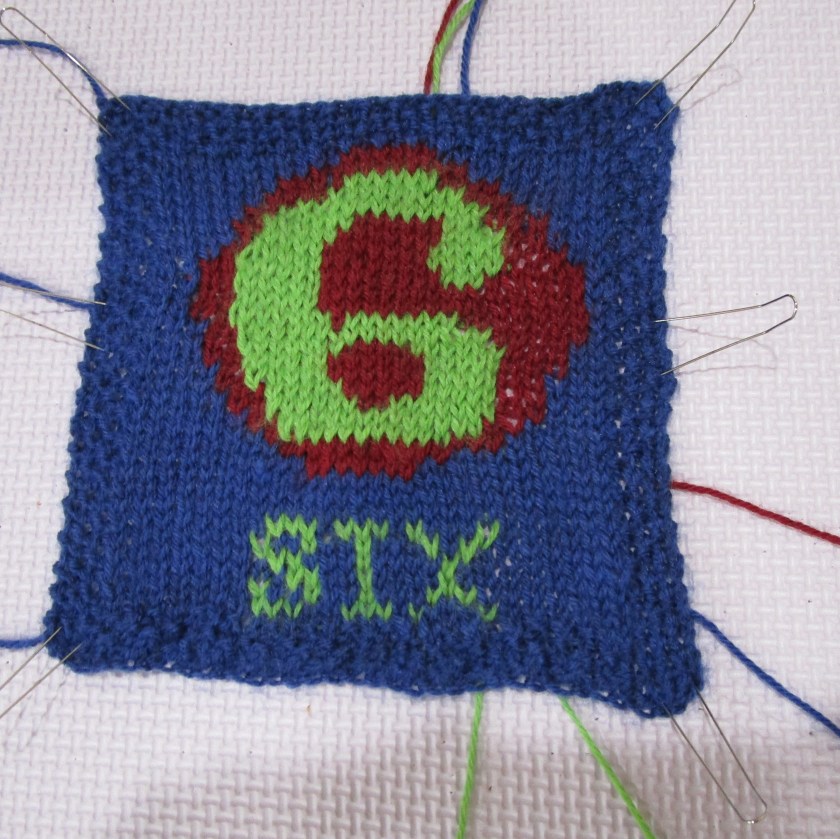
Artist Robert Indiana played a central role in the development of assemblage art, hard-edge painting and Pop art. As a young artist in NYC, he scavenged for materials which he would craft into free-standing structures he called “herms.” I met him in 2004 when he came to town for a solo exhibition of his paintings and sculpture. A fairly retiring man, he did enjoy the company of women. He was happy to stay and chat with our (largely) female staff before the opening event, but quickly disappeared from the scene when invited guests began to arrive. My craft of today is drawn from Indiana’s 1960s series of number paintings. These works were loaded with personal symbolism for the artist. To Indiana, the number 6 signified the prime of life. Let’s see how well I can translate it into a knitted piece. Here is the chart I drew fashioned after the number 6 poster.
Obviously, translating a curvilinear design into a chart is a bit dicey. Let’s see what happens when it is knit up.
Half way there!Knitting is finished and off the needles.
Below is the washed and blocked piece. While in the water, it is important to pull the piece in all directions. This helps even out the stitches and the rows.
I’m not fond of all numbers, but I’m very fond of 2 and 6.
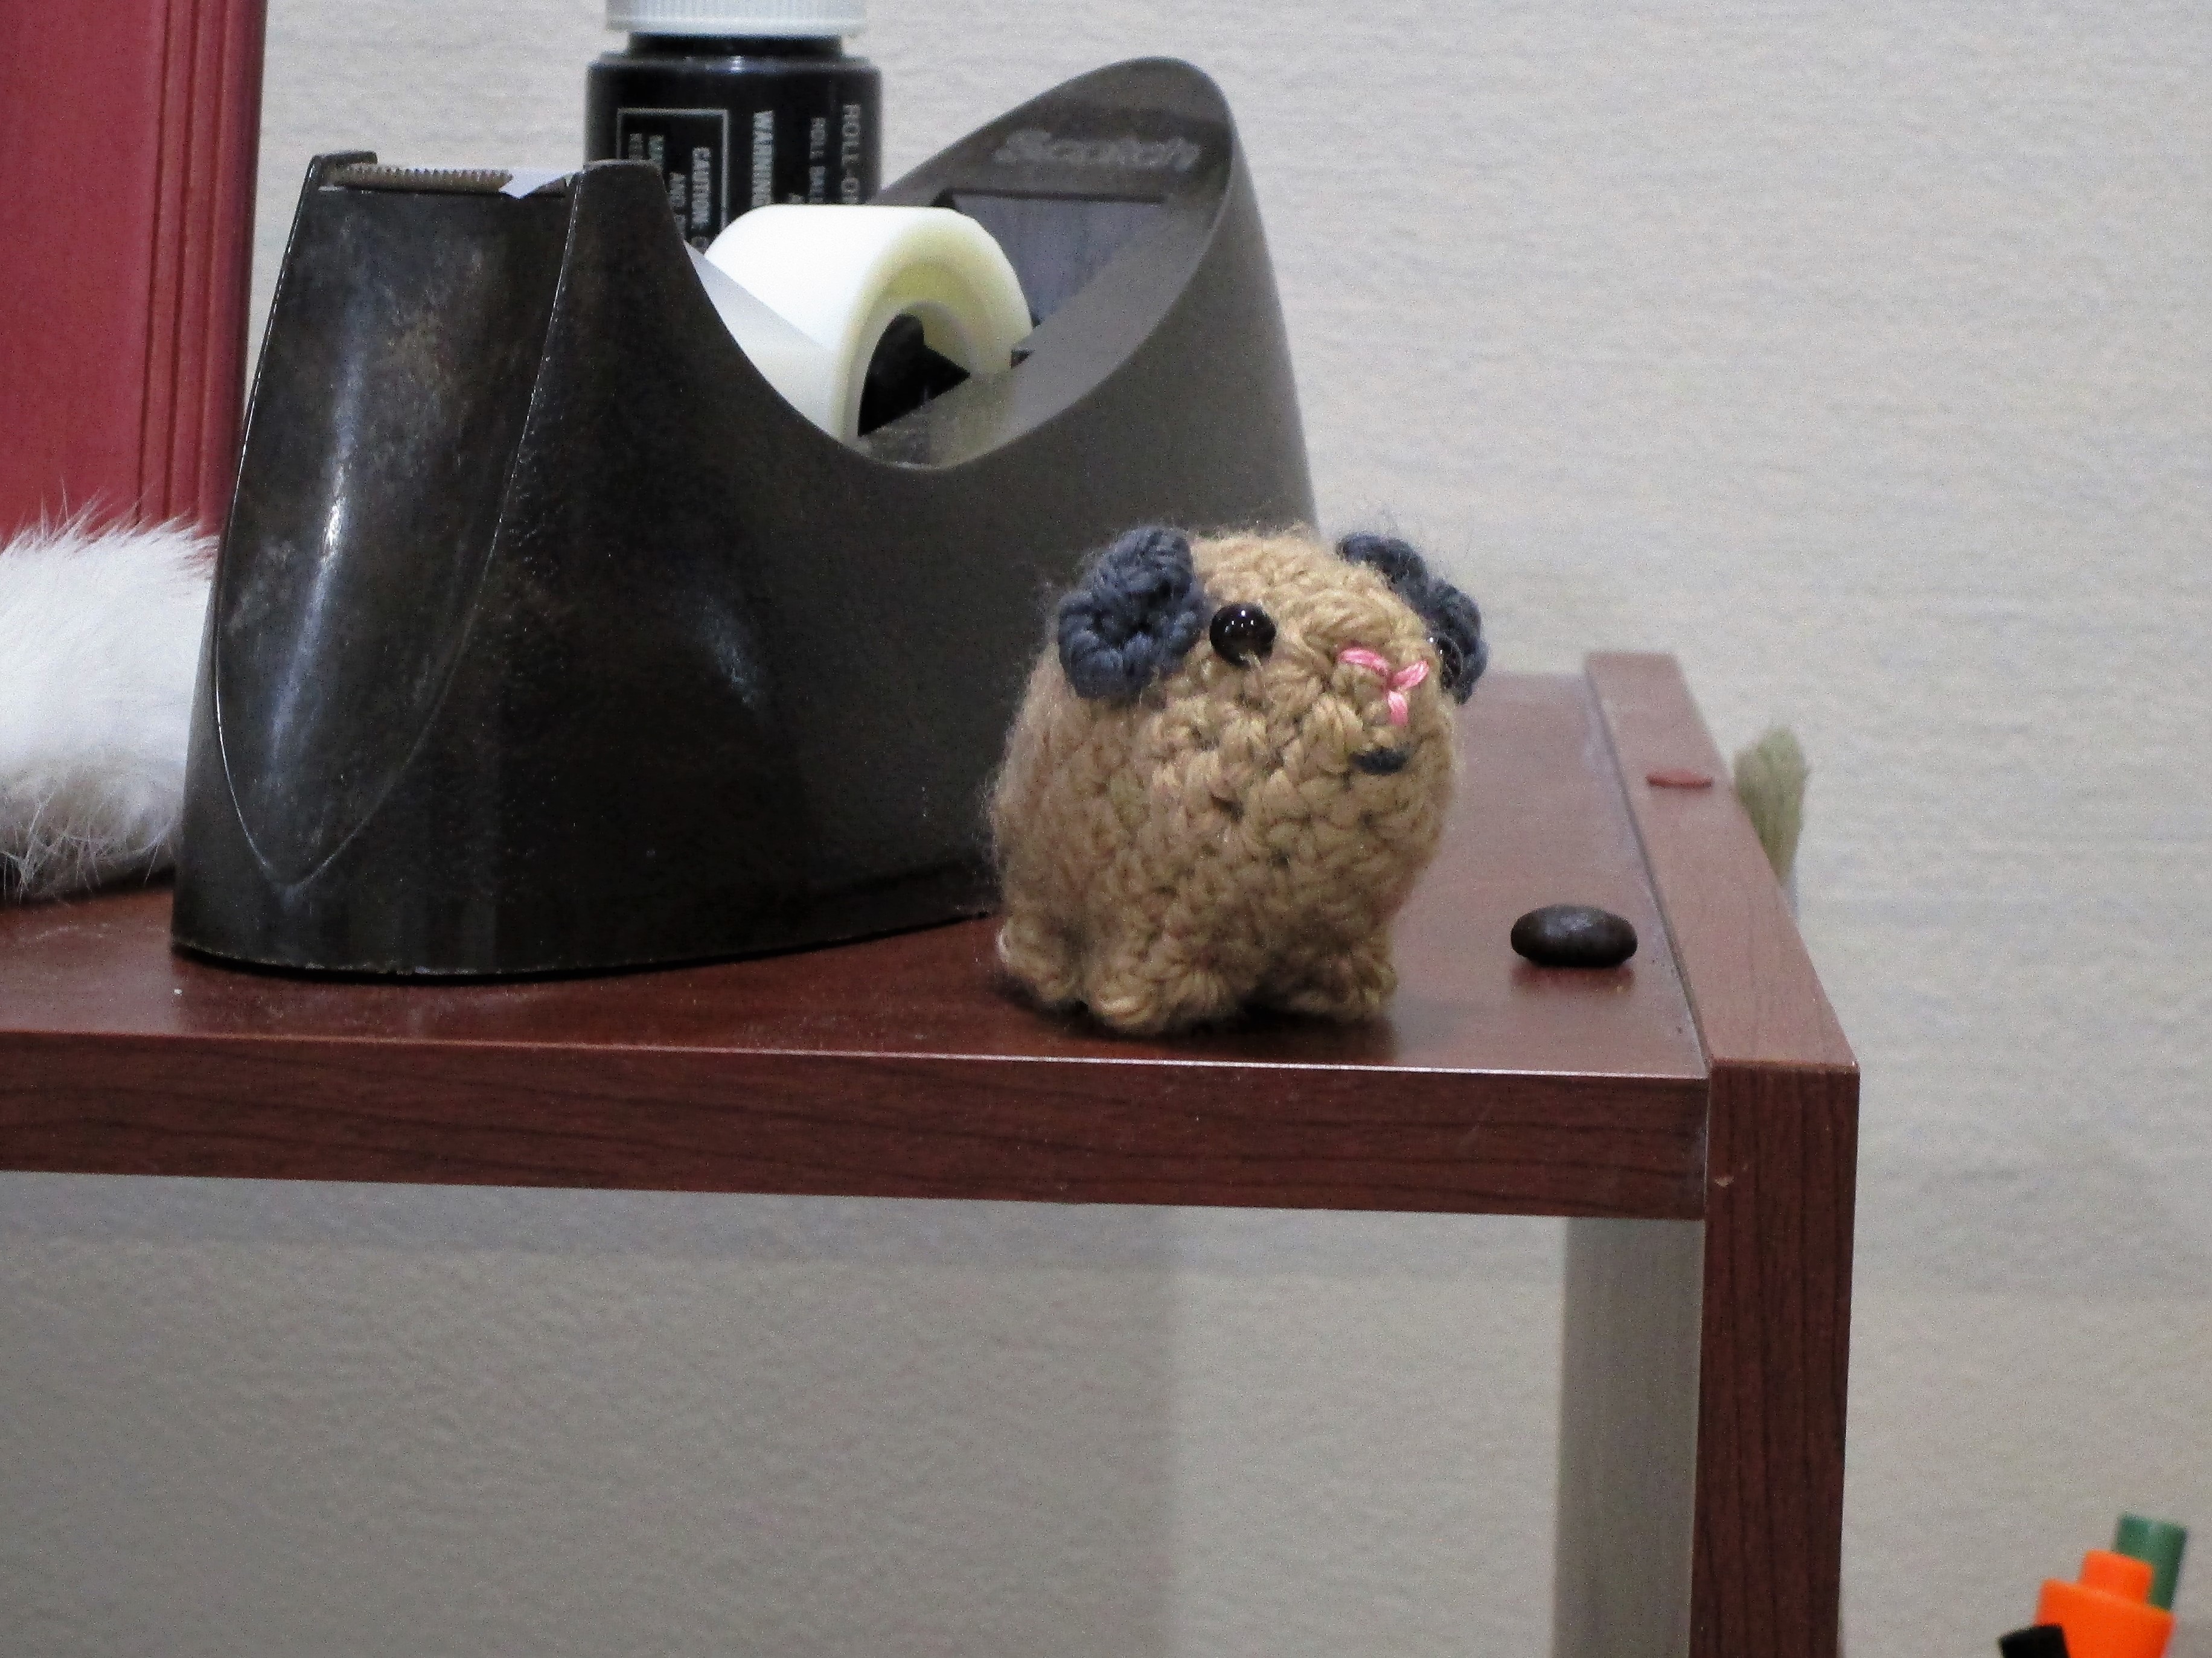
” A journey of a thousand miles begins with one step” says the ancient Chinese proverb. So I have decided to start small. Amigurumi is a relatively modern craft form developed by the Japanese. The name is derived from Japanese words ami, meaning crocheted or knitted, and nuigurumi, meaning stuffed doll. The aesthetic is cuteness. There are hundreds of examples, especially on the fiber arts site Ravelry. I chose to make a new-born guinea pig, using a pattern by Kati Galusz.
Guinea pigs are adorable creatures. The name “guinea pig” has become synonymous with experimental subjects. Of all the rodents and small mammals in the world, guinea pigs are biologically quite similar to homo sapiens. Did you know that, like humans, guinea pigs cannot manufacture vitamin C in their bodies, and must have a source of this nutrient in their diets? So if you get a guinea pig, be sure to provide plenty of fruit. Here is my new-born Amigurumi piglet after the first 16 rounds:
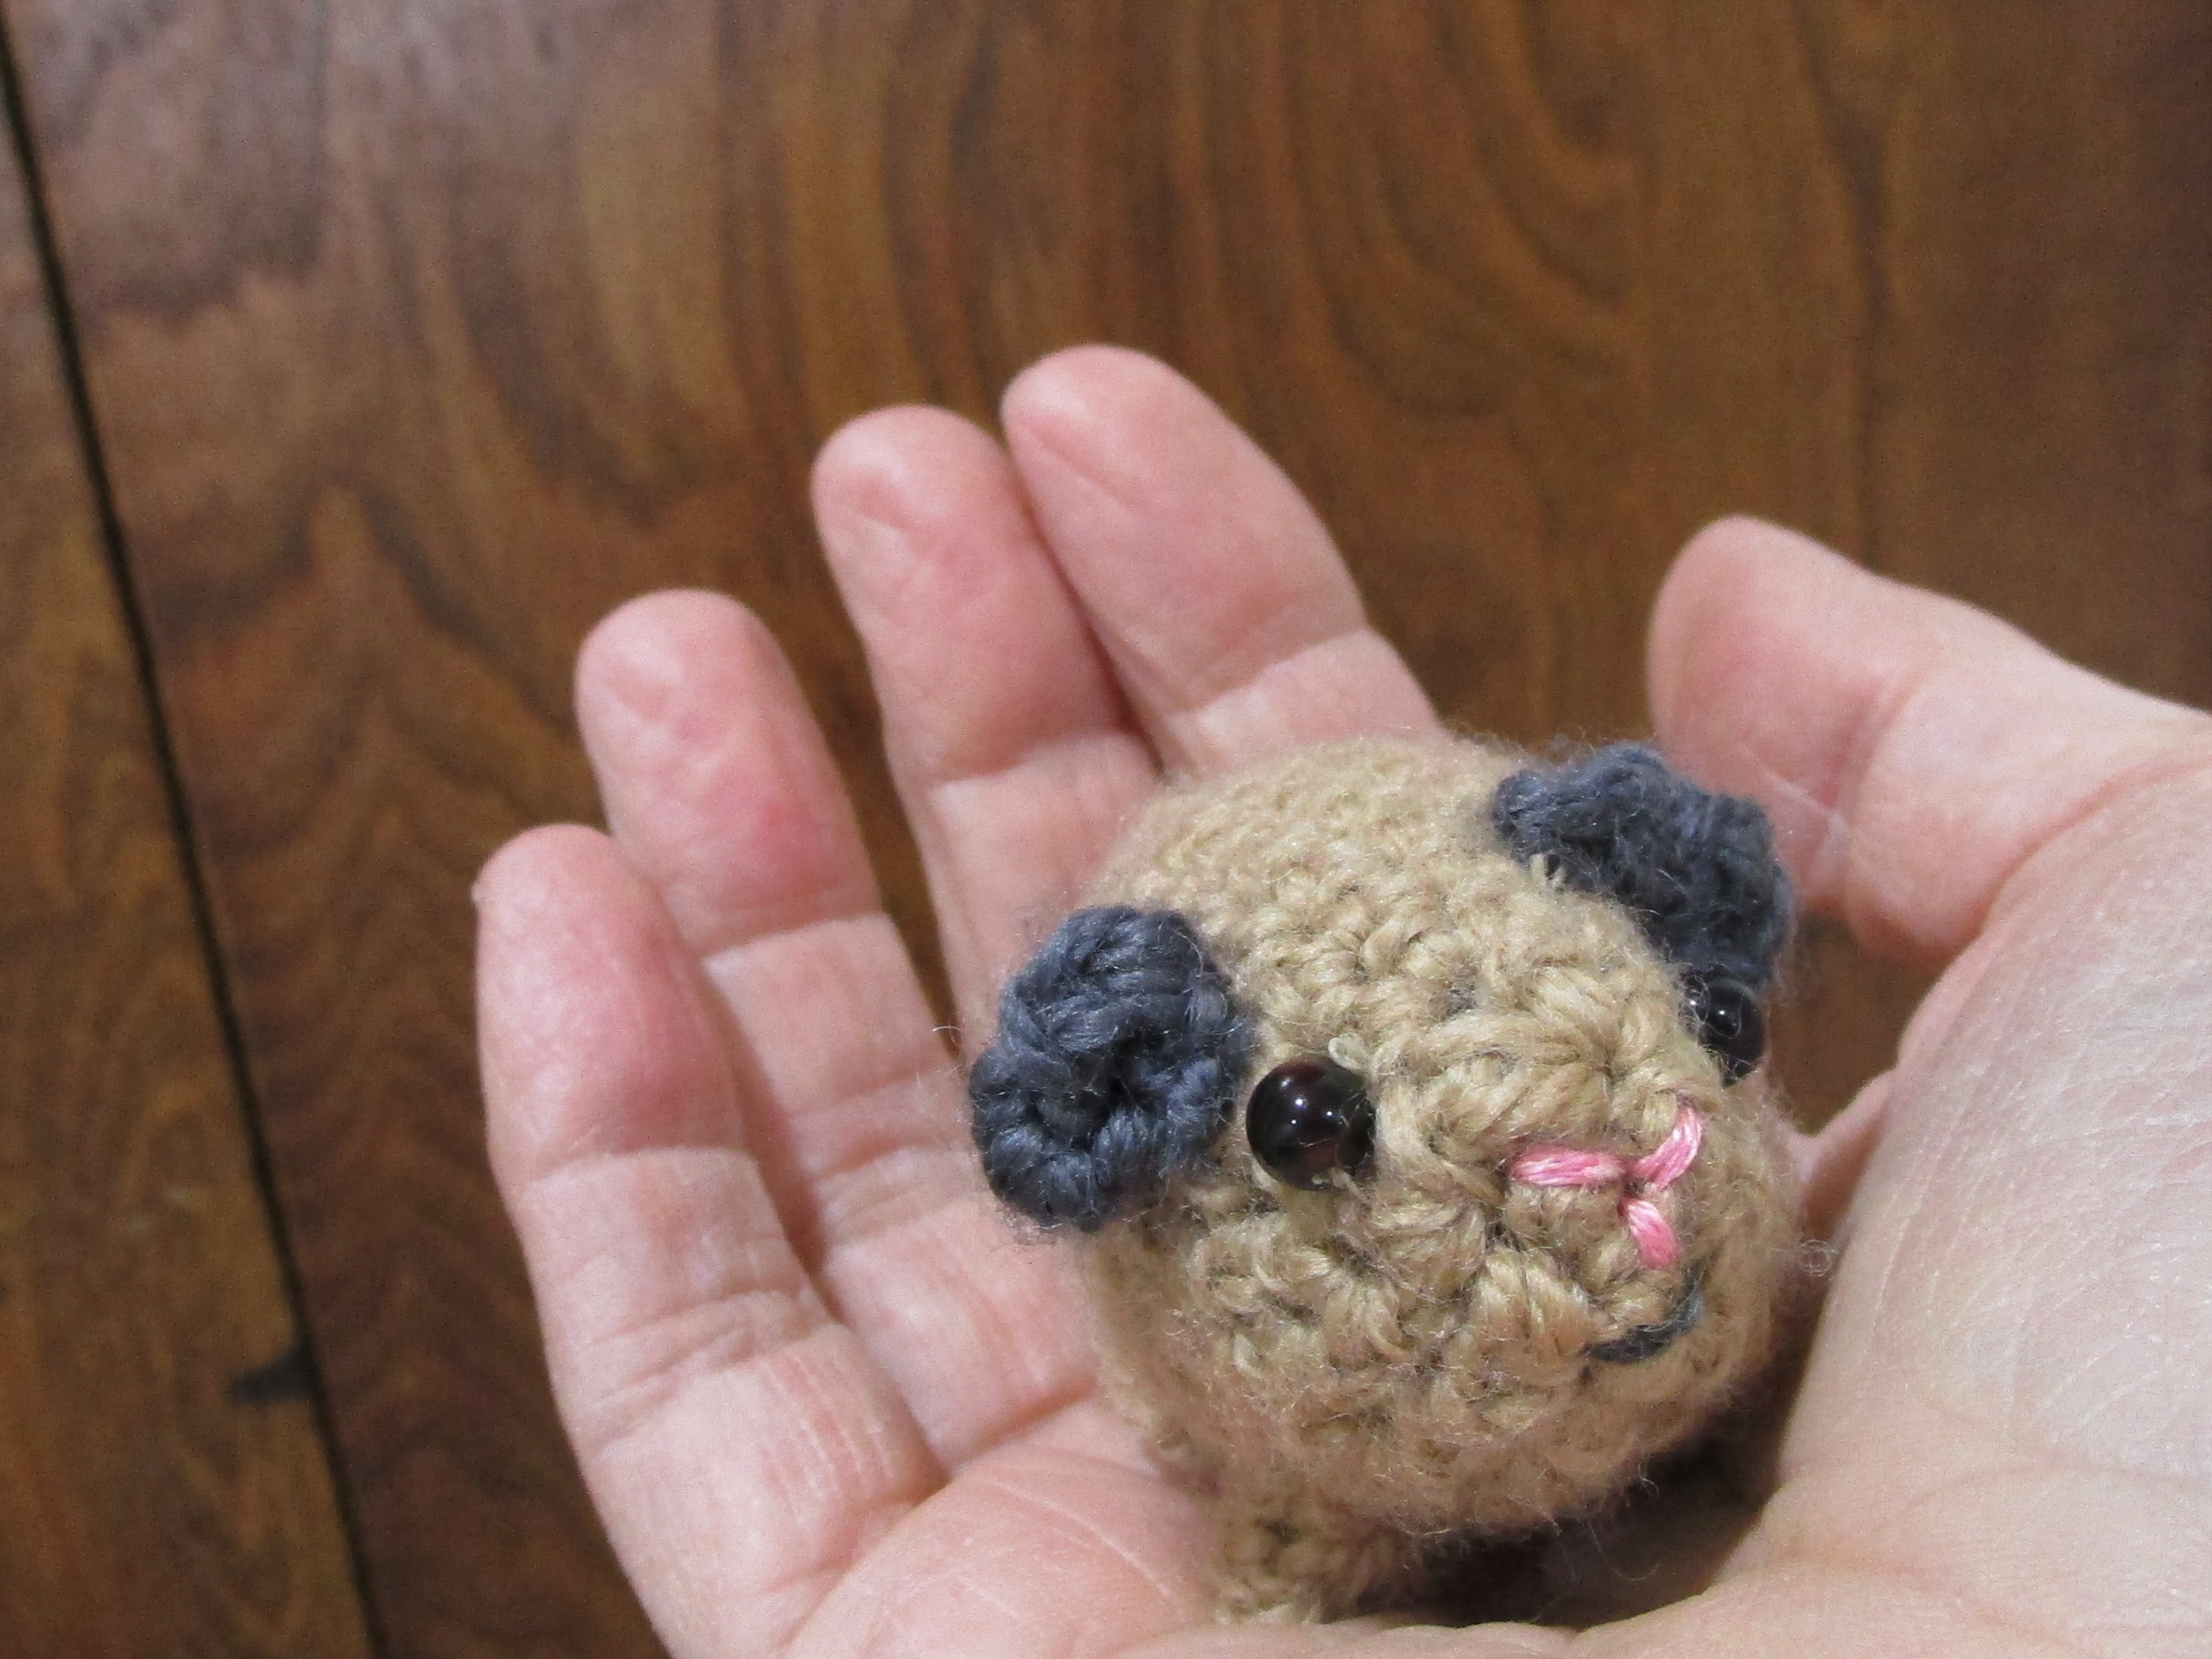
And here he is fully completed. Rather endearing, if I say so myself.