Today’s fiber object is motivated by necessity, not just fun. You see, last week I started my fiber arts students on machine sewing. They all seemed to love it. This week, I promised a project using the machine to sew applique. “What’s applique?” they all asked. After puzzling over what type of project to introduce, I took a page from my own playbook and settled on making greeting cards. This is a cross between the seed packet project and the paper woven letter project.
MATERIALS: 2 or 3 colors of cotton fabrics, Wonder Under fusible web, medium weight fabric stabilizer, ( I used Pellon) thread, fabric pen or Sharpie, card envelope.
Measure and cut background fabric and Pellon to be the same size as the envelope. Set these aside. Choose a shape or pattern for your applied design. I chose to make a tulip in a pot, because I had some flower patterned fabric. Cut pieces of Wonder Under about the size of your pattern shapes. Draw your shapes on the smooth side of the web if you are not using an image on the fabric. Position the smooth size of the Wonder Under up, and press it on the wrong side of your patterned fabrics pieces.


Cut out the shapes. Pull off the paper backing so that the adhesive is exposed. Arrange your shapes onto your background fabric and press in place.


Stitch around the shapes of your design with a straight stitch, using matching or contrasting thread. Pin the Pellon to the back of the piece. Stitch around all the edges with a 1/2 inch seam allowance. Trim the edges with pinking shears to within 1/4 inch of the edge stitching.


Your card is ready for your message. Write on the back side. Use an ultra-fine Sharpie to write a nice long letter, or use colored markers to print a short wish.
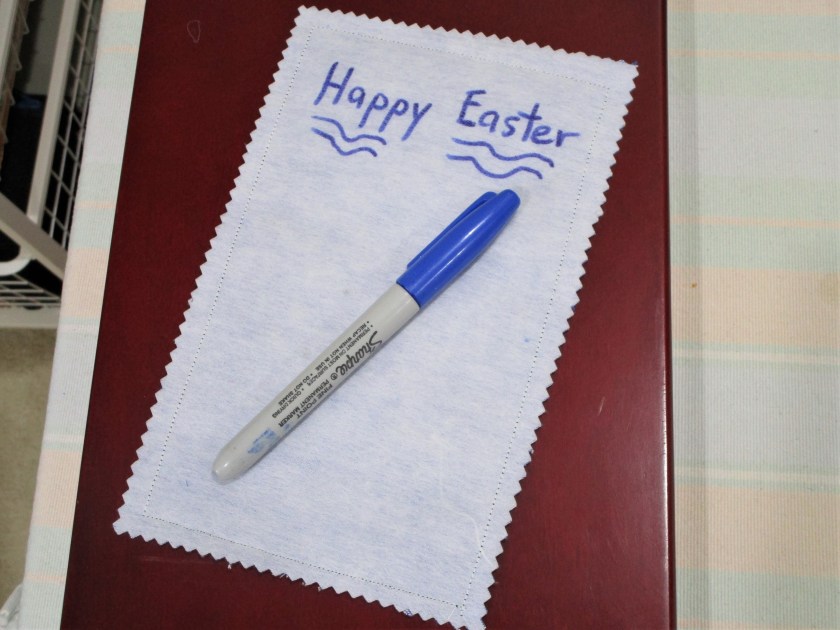
All done and ready to mail.