I have long been fascinated with Tibetan prayer flags. Traditionally, prayer flags are used to promote peace, compassion, strength, and wisdom. The flags do not carry prayers to gods, which is a common misconception; rather, the Tibetans believe that prayers will be blown by the wind to spread the good will and compassion into all pervading space. This thinking makes the hanging of prayer flags both an ecumenical and a humanistic practice. And while there exists a standard color, order and shape of the pennants in traditional flags, modern fiber artists reinterpret the flags according to the artists particular craft. They make a fantastic variety of creative works decorated with applique, embroidery, quilting, beads and so on.
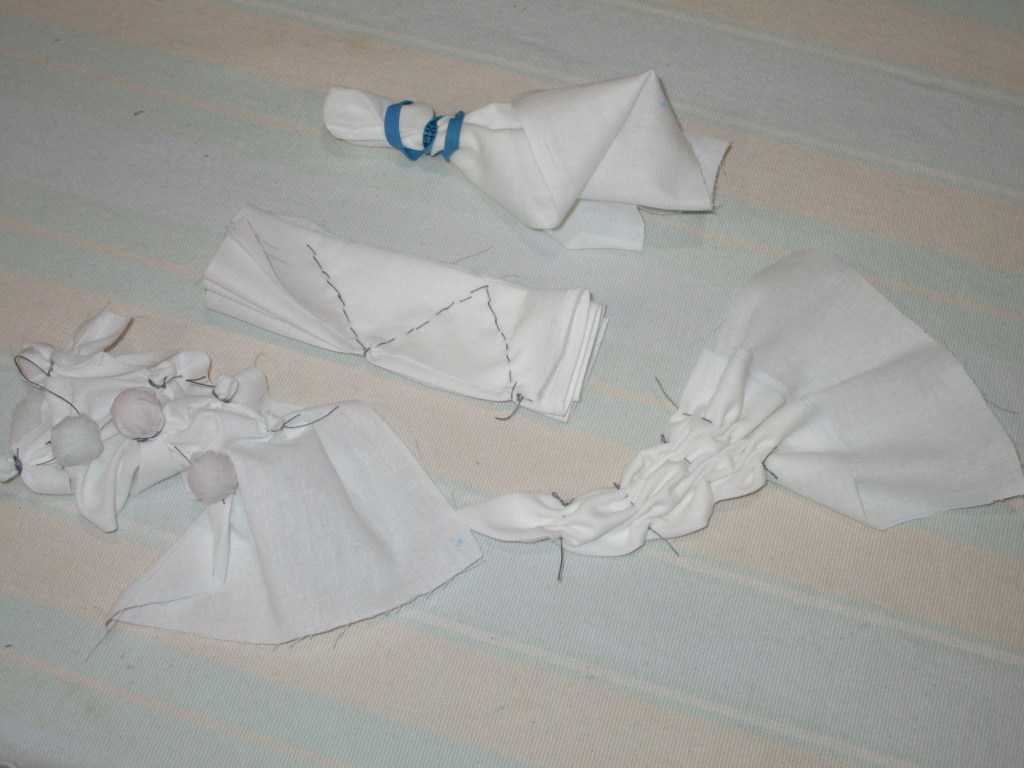
I direct you to theprayerflagproject.blogspot.com/p/project-overview.html begun by Vivika Hansen DeNegre in 2011. For my prayer flag project, I want to test out the dye capabilities of my Jacquard Textile paints. I learned recently that the paint can be diluted with water and used as a dye bath for fabric. My goal is to create a mottled, pastel effect. Here is what I have done so far:
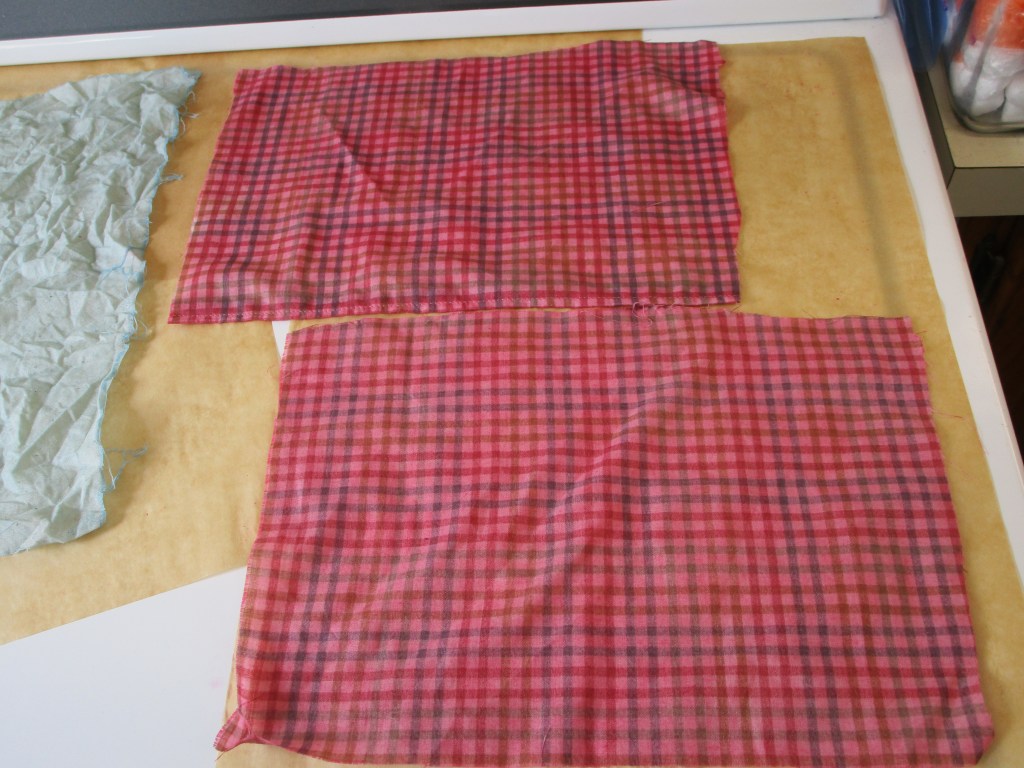
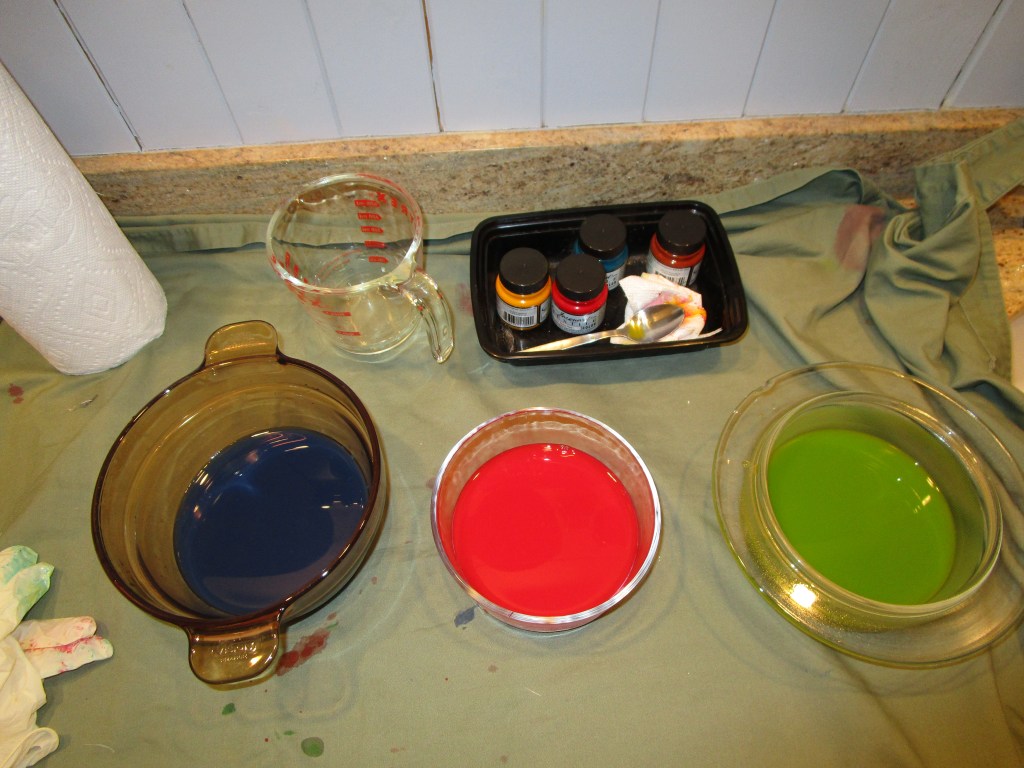
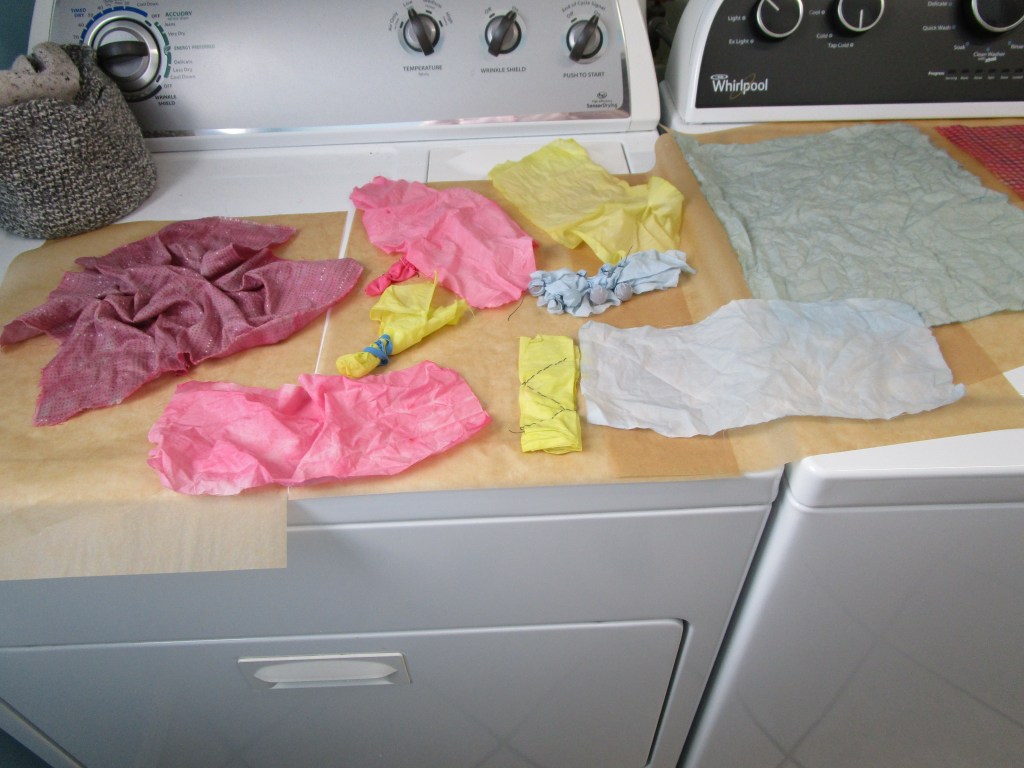
Here you see the dye baths, the baths with the cloths submerged, and the cloths removed and drying. The red paint works best, the yellow second. The blue bath tinted the fabric very lightly. This might have worked better on pre-washed fabric.

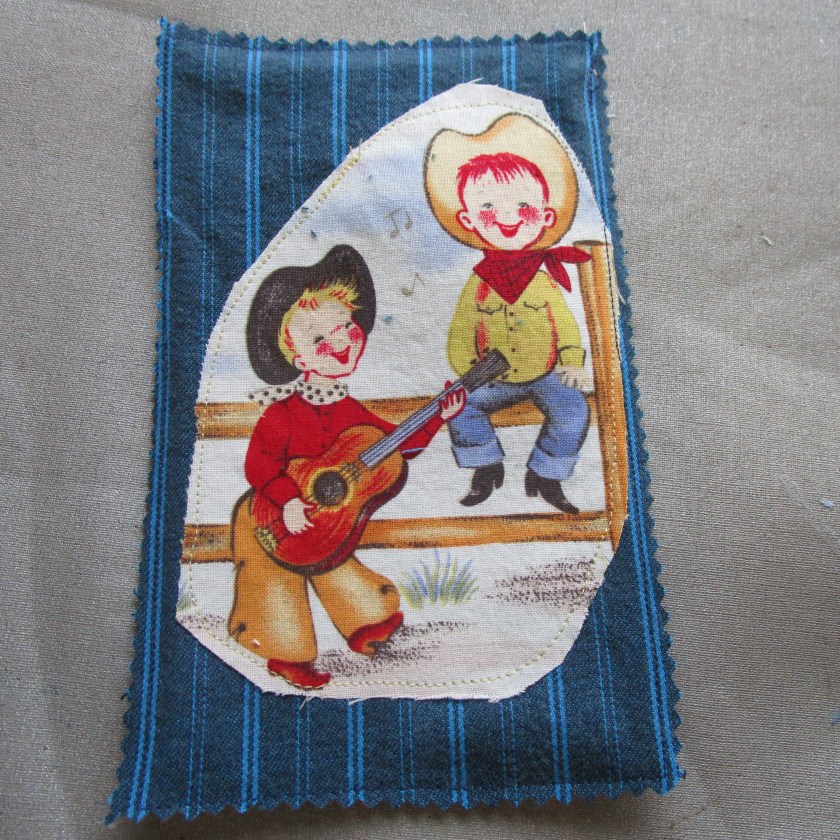
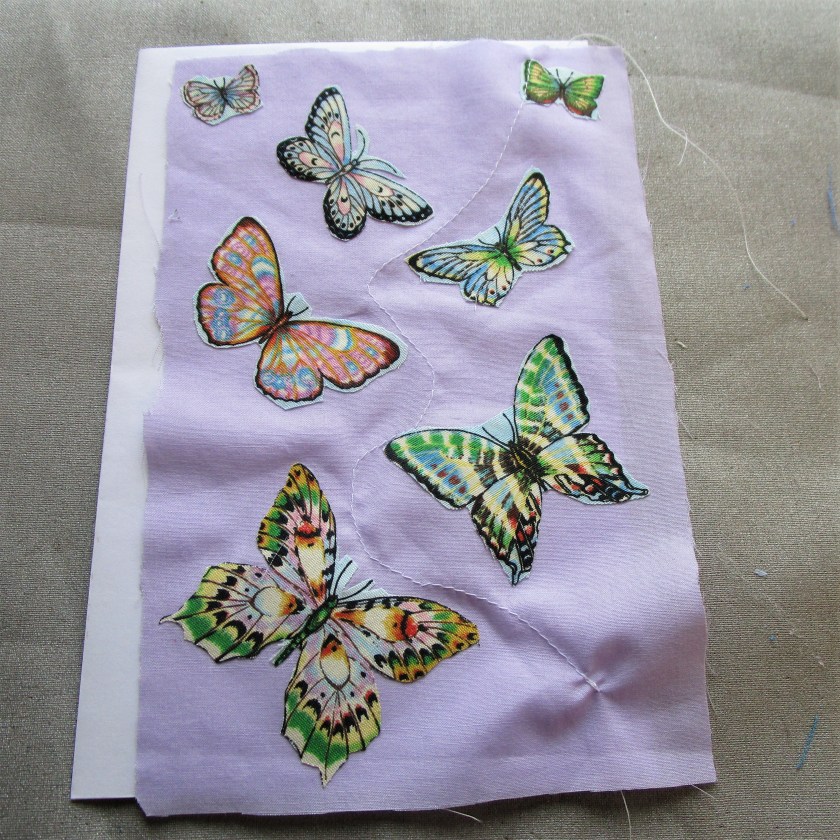
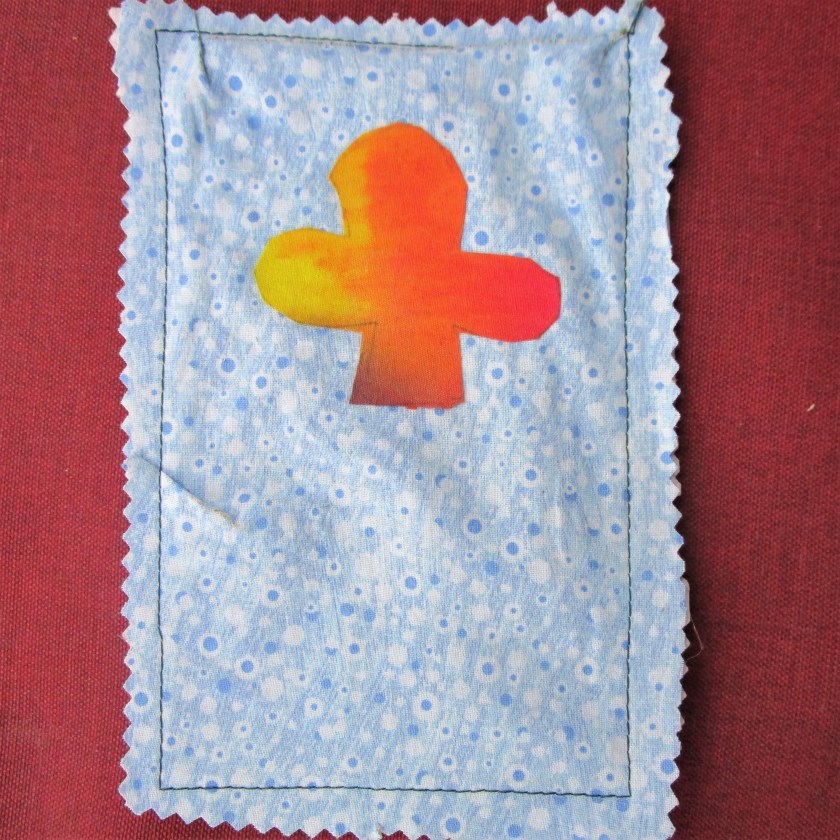
I used the left-over red paint to tint a few printed pieces of fabric: