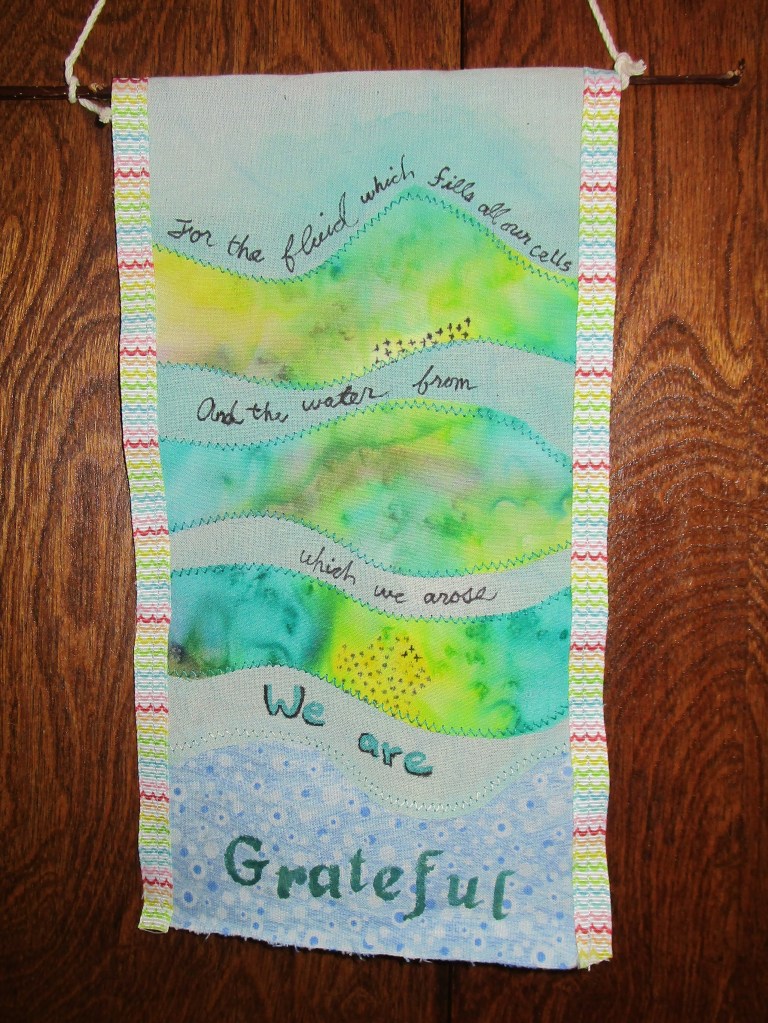
Posted in Uncategorized

Prayer Flags

Prayer Flag at Sarchu

I have long been fascinated with Tibetan prayer flags. Traditionally, prayer flags are used to promote peace, compassion, strength, and wisdom. The flags do not carry prayers to gods, which is a common misconception; rather, the Tibetans believe that prayers will be blown by the wind to spread the good will and compassion into all pervading space. This thinking makes the hanging of prayer flags both an ecumenical and a humanistic practice. And while there exists a standard color, order and shape of the pennants in traditional flags, modern fiber artists reinterpret the flags according to the artists particular craft. They make a fantastic variety of creative works decorated with applique, embroidery, quilting, beads and so on.

I direct you to theprayerflagproject.blogspot.com/p/project-overview.html begun by Vivika Hansen DeNegre in 2011. For my prayer flag project, I want to test out the dye capabilities of my Jacquard Textile paints. I learned recently that the paint can be diluted with water and used as a dye bath for fabric. My goal is to create a mottled, pastel effect. Here is what I have done so far:

Cotton muslin cut into rectangles. I tied some of them, to attempt a Shibori-like effect

Here you see the dye baths, the baths with the cloths submerged, and the cloths removed and drying. The red paint works best, the yellow second. The blue bath tinted the fabric very lightly. This might have worked better on pre-washed fabric.

I used the left-over red paint to tint a few printed pieces of fabric:

Posted in Uncategorized

Reduce! Reuse! Recycle!

Around here, we seem to have a coat hanger problem. They are everywhere. And, while I don’t condone her approach, Joan Crawford was right about the bad things that wire coat hangers can do to your favorite garments. Today’s post is about turning those nasty wire hangers into lovely padded hangers. As an added benefit, all the materials I am using are recycled.

Along with coat hangers, I have bubble wrap (another item that seems to accumulate, especially if your family likes shopping on-line) and a discarded shirt. You will need some masking or painter’s tape, thread, and a little bit of felt. Hopefully, these things are all on hand.

Here’s one of those bad boys.

Start with your bubble wrap. Fold it over a few times and lay the hanger on it.

Fold the upper edges down, and bring the lower end of the wrap up to meet the top. Use tape to secure the edges. Wrap the tape around several times. When finished, it will look something like this:

Don’t worry, none of the tape will show, unless you use a thin fabric.

Now the shirt. My husband got a tear in the sleeve of this one. Irreparable. I will be using fabric from the upper body, front and back. Cut off the collar and sleeves. Continue cutting the shirt around until you can open it out flat. Lay the wrapped hanger down on top of the opened shirt. Cut around the hanger, leaving at least one inch for the seams at top and bottom of hanger.

I’m afraid I didn’t get any photos of the sewing-up process – sorry. Basically, you sew the front to back at the shoulders and sides of the hanger, conforming to the hanger’s shape as best as you can. Turn, press and sew under the remaining raw edges – neckline, lower edge, and center front. I inserted a small patch of felt around the area of the hook, because there was no fabric at that location. Here is the back view of the completed cover:

I thought the label was cute, so I used the inside back of the shirt.

Close up the lower edge by stitching with the zipper foot of your machine, and you’re done! But, of course, that wasn’t good enough for me, because this is Fiber Art. I added a bit of embroidery, including the international symbol for Recycle.

Maybe if poor little Christine Crawford knew this trick, her mom wouldn’t have been so mean to her.

Posted in Uncategorized

For the Birds

Photo by Bill Riley

My family is passionate about birds. We feed them, we offer them water, we count them (once a year). My husband photographs them. Over and over. I suppose we would be called bird-watchers, or, if we were in GB, twitchers. To encourage our local birds, we try to keep our yard wild enough to make them comfortable. After noticing a robin stealing fibers of twine from my garden stakes to add to his nest, I thought, that’s it! I’ll start an Air BnB for the birds.

No question about what material to choose. Natural twine or jute seems to have curb appeal for these bird brains. I decided to use crochet to make this object.

The instructions are simple, which is fortunate, because the jute was challenging to work with. Chain three stitches, and form a ring by slip stitching the last chain to first. Single crochet inside the ring ten times. Next row, chain two, single crochet two stitches , then make two sc in the next stitch, continue this pattern around back to the beginning. Slip stitch last and first stitches together. Repeat this row until the base of the nest measures between 3 and 6 inches in width. It will look something like this:

Next, single crochet in each stitch all the way around, slipping stitch and chaining two stitches at the end of each round. Stop when the sides are 3 inches tall.

My nest ended up 4 inches wide by 2 and 1/2 inches tall

Where to put it? I’m told that real estate is all about location. For the birds, that means not too low, not too high, not too visible, not where the cats prowl. Fortunately, we have a row of yew trees in our side yard.

I will be pleased if a pair of our feathered visitors choose to move in.

Posted in crochet

Lucky Cuppa

Busy Day. Between cleaning, cooking, shopping, and making trips out for groceries, library books, yoga and choir, I can’t squeeze in another thing. Hence, today’s photo that I am sharing. This shamrock was knit in honor of St. Patrick’s Day but not posted then. Some of you may recognize the various objects that are rubbing shoulders with the lucky shamrock. Like the mug says – enjoy your day.