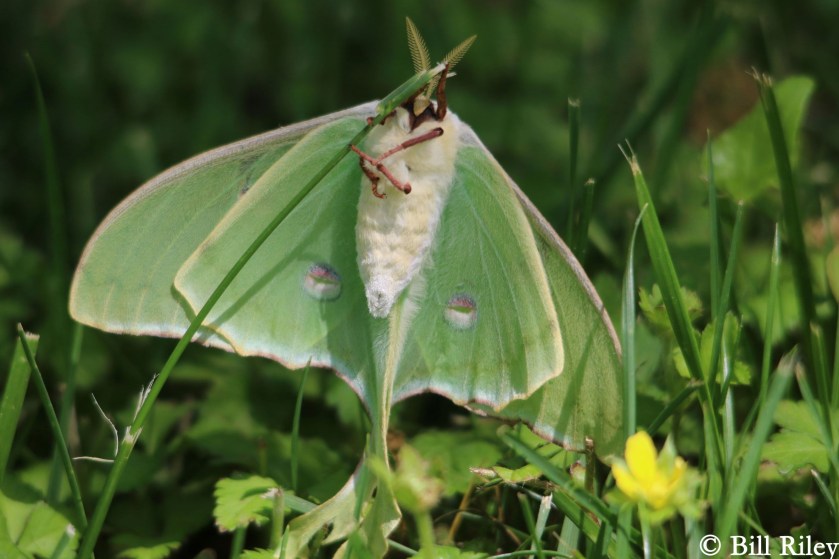
The green expanse of our back yard is not the monoculture of grass species typically found in American suburbs. Due to the presence of several mature trees, the grass will not grow thickly. Instead, we have what I call an English lawn. Today it is dark green, dotted with the yellow, lilac and white blooms of English violets, false strawberry, dandelions, oxalis, white clover and tiny bluets. It still requires weekly mowing. But one of the virtues of this diverse ecosystem is the abundance of wildlife. Today I noticed a luna moth clinging to a leaf of fescue. I stopped the mower and went to get Bill, so he could take her picture. The moth held perfectly still. In fact, she simply would not be budged. I carefully rolled the mower around her. After spending nine months as a pupa beneath the soil, this magnificent creature has but seven to ten days to complete her life cycle. If she is lucky, she will attract a mate tonight. They will dally together for a few hours, then she will be off to lay her eggs in a nearby tree top.
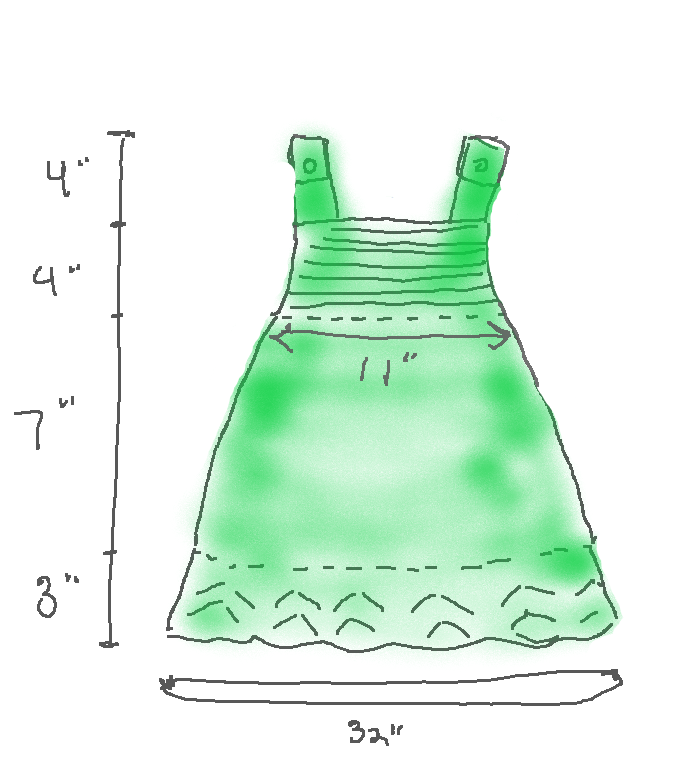
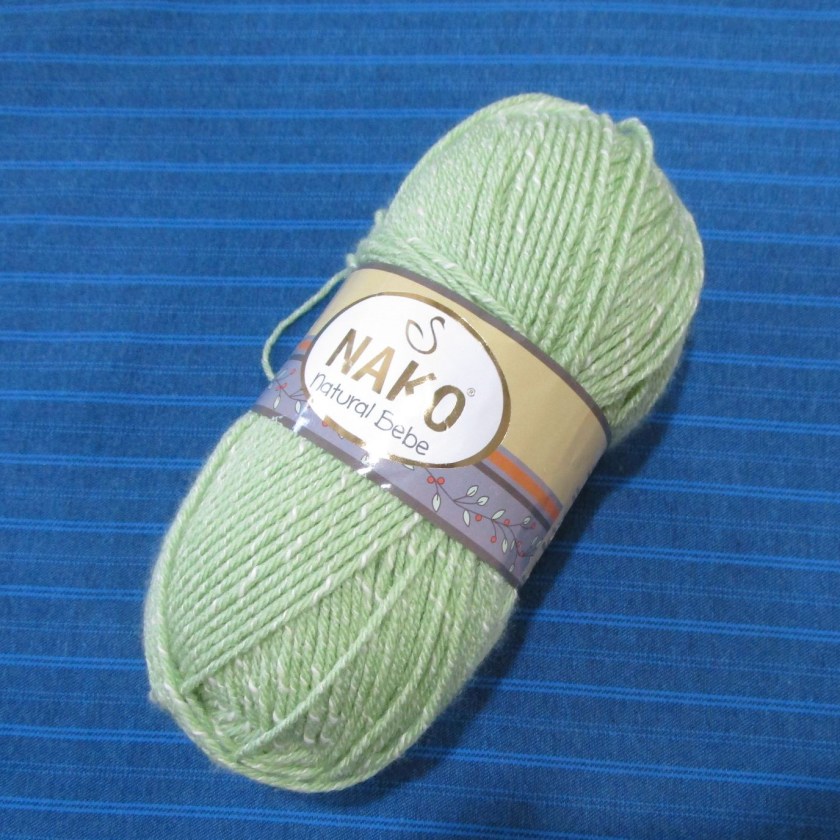
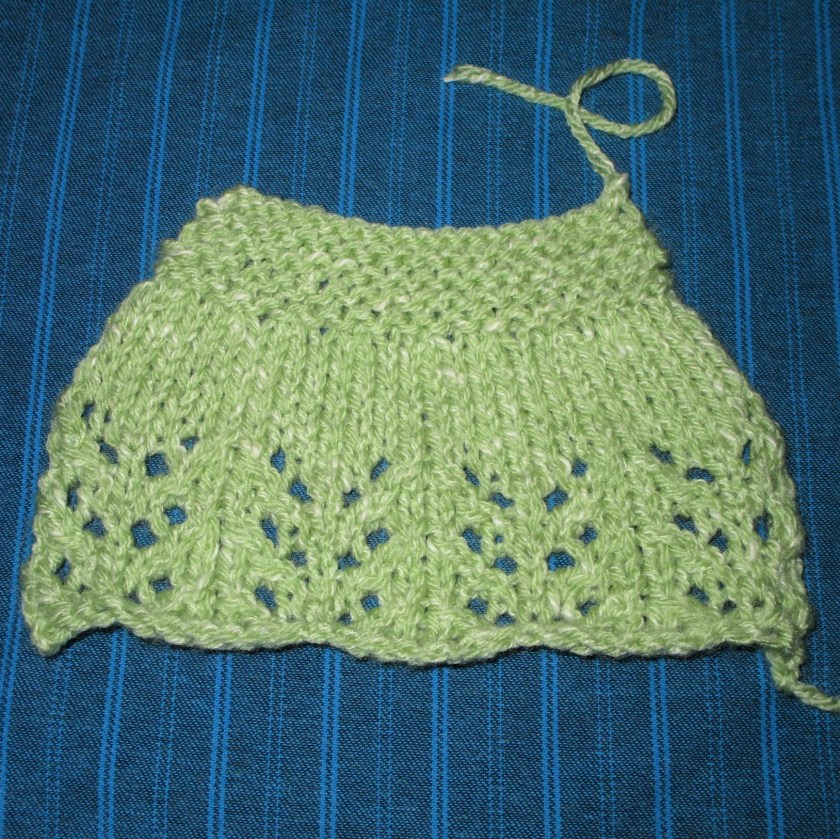
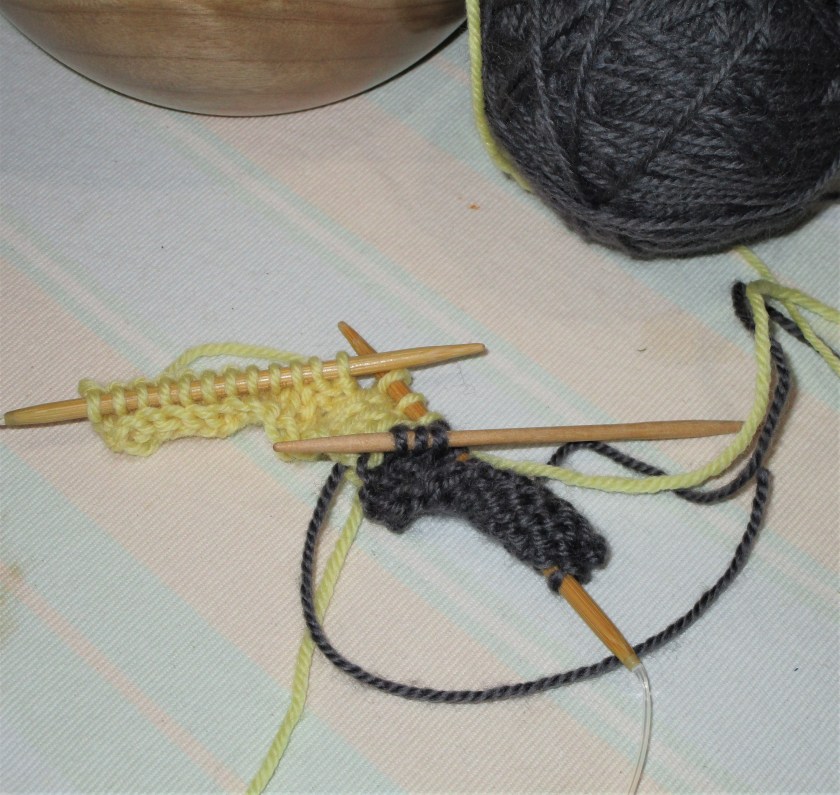
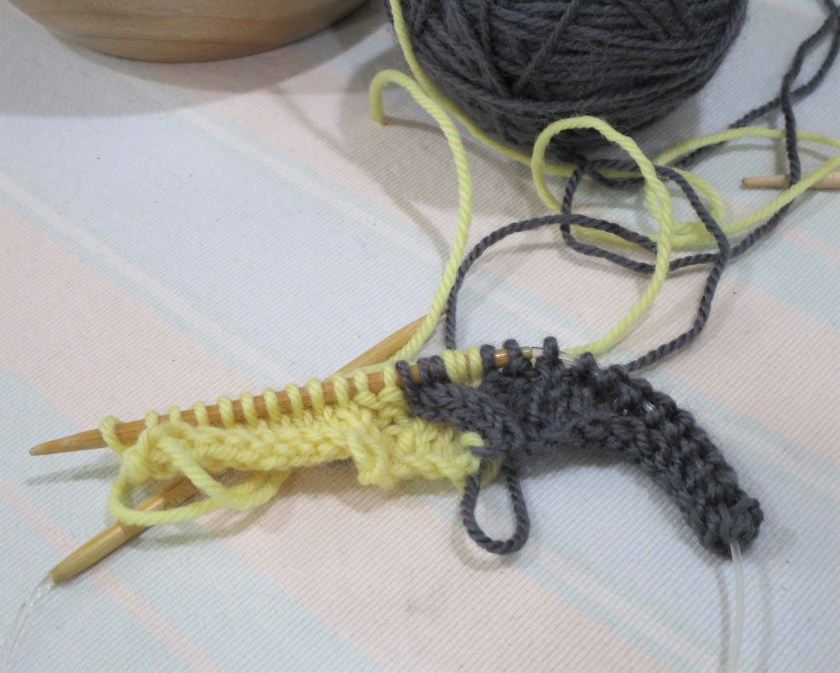
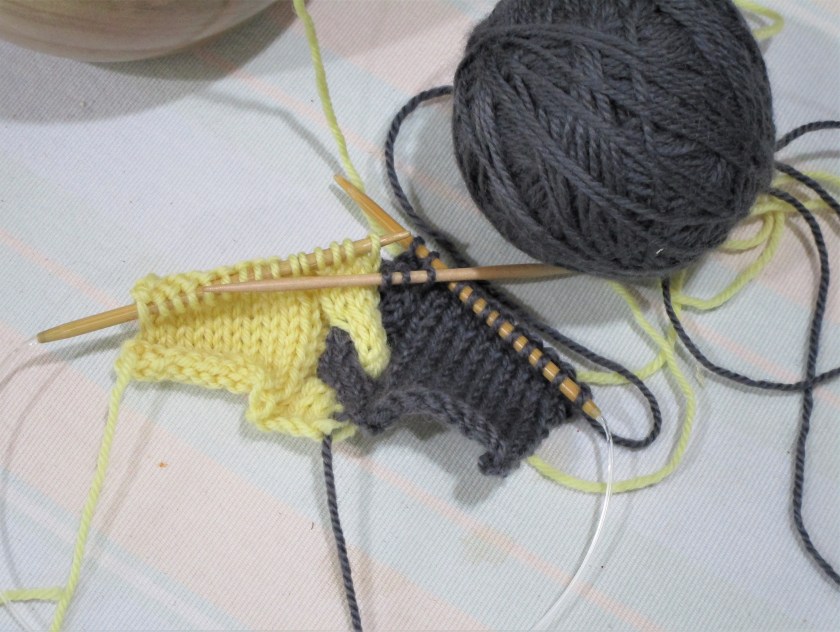
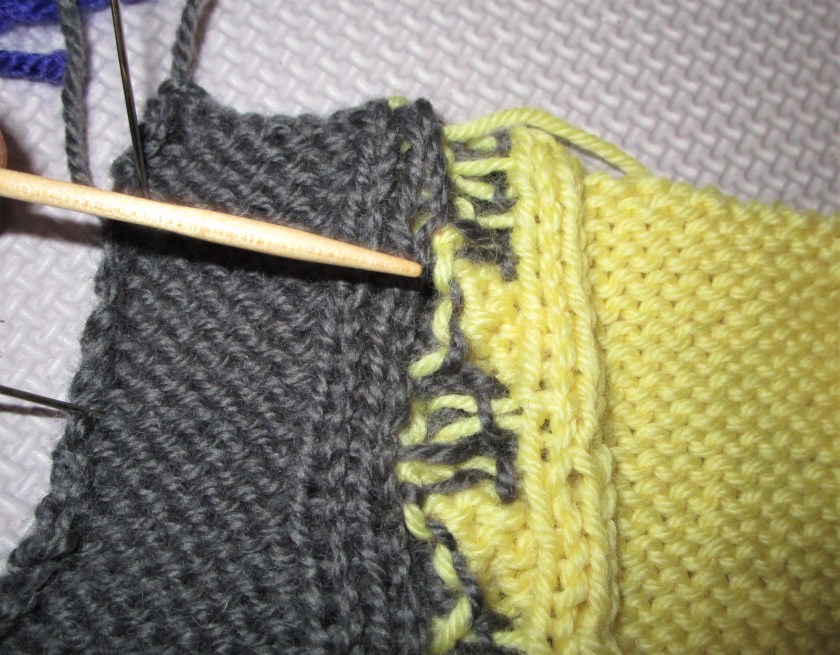
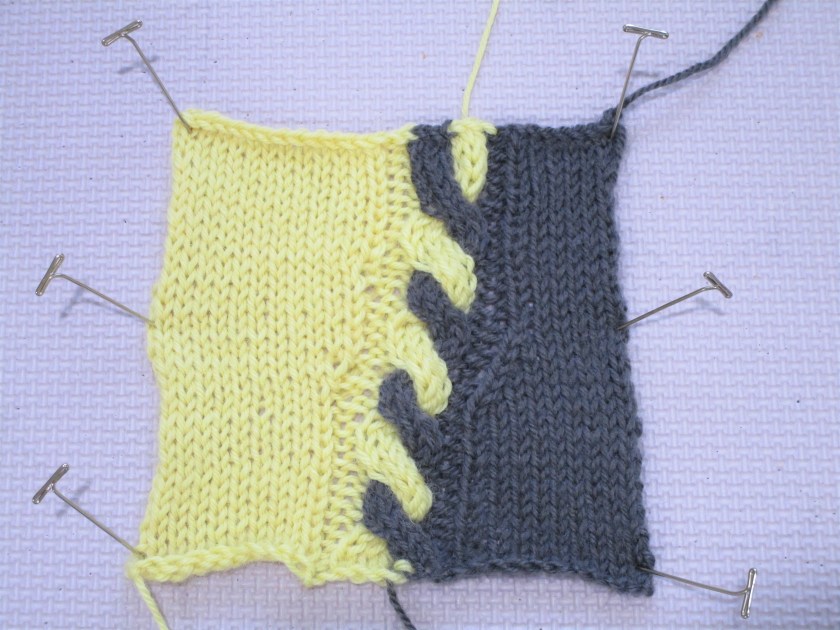
I was struck by the strong resemblance of the moth to this little dress I am knitting for the grandbaby. At the end of the first skein I am nearly finished with the skirt.

I have named the project Luna Lou Dress and plan to embroider a moth on the bodice. I will keep you posted on my progress.