Dear Fellow Makers,
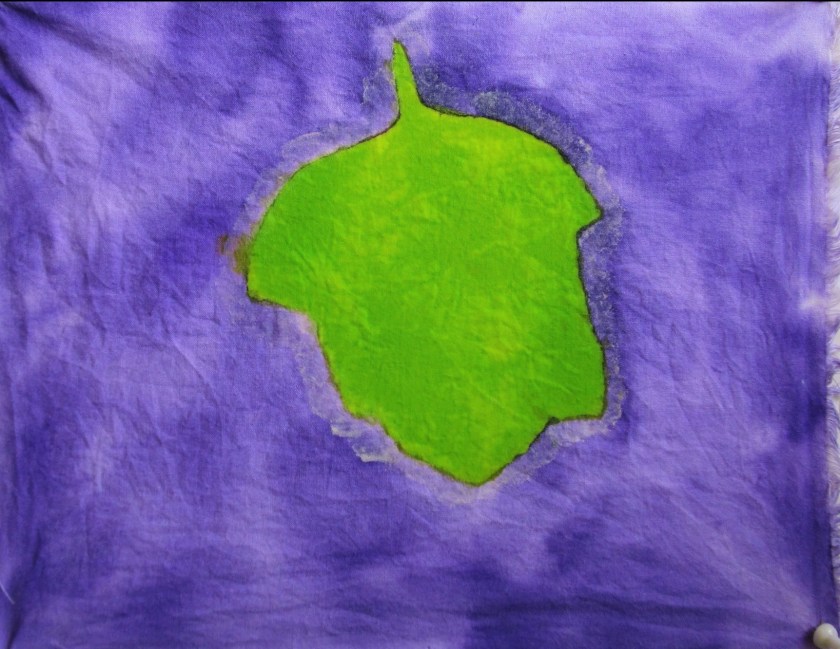
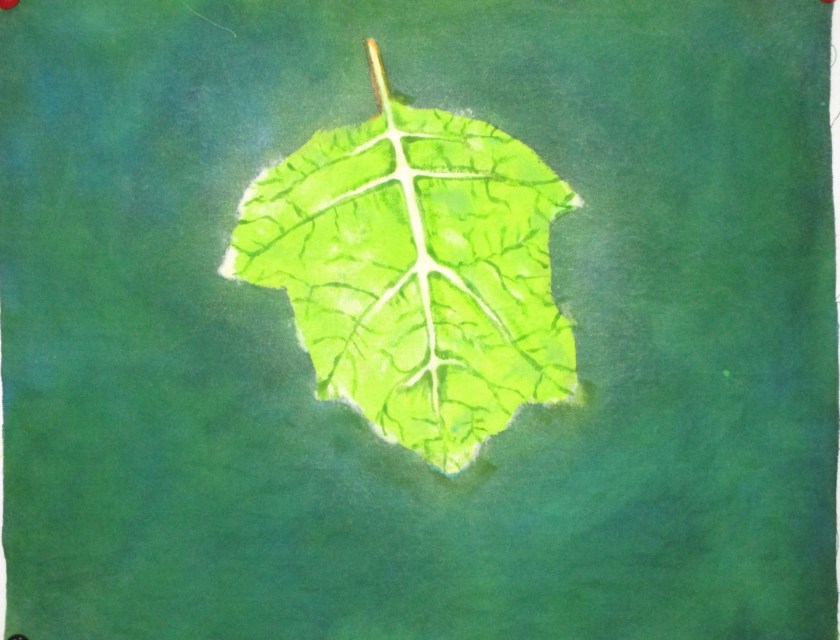
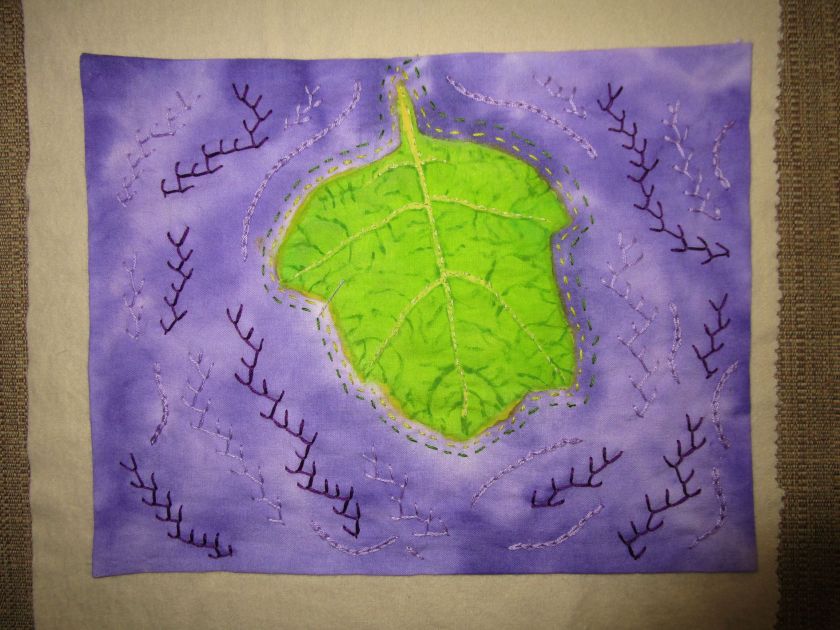
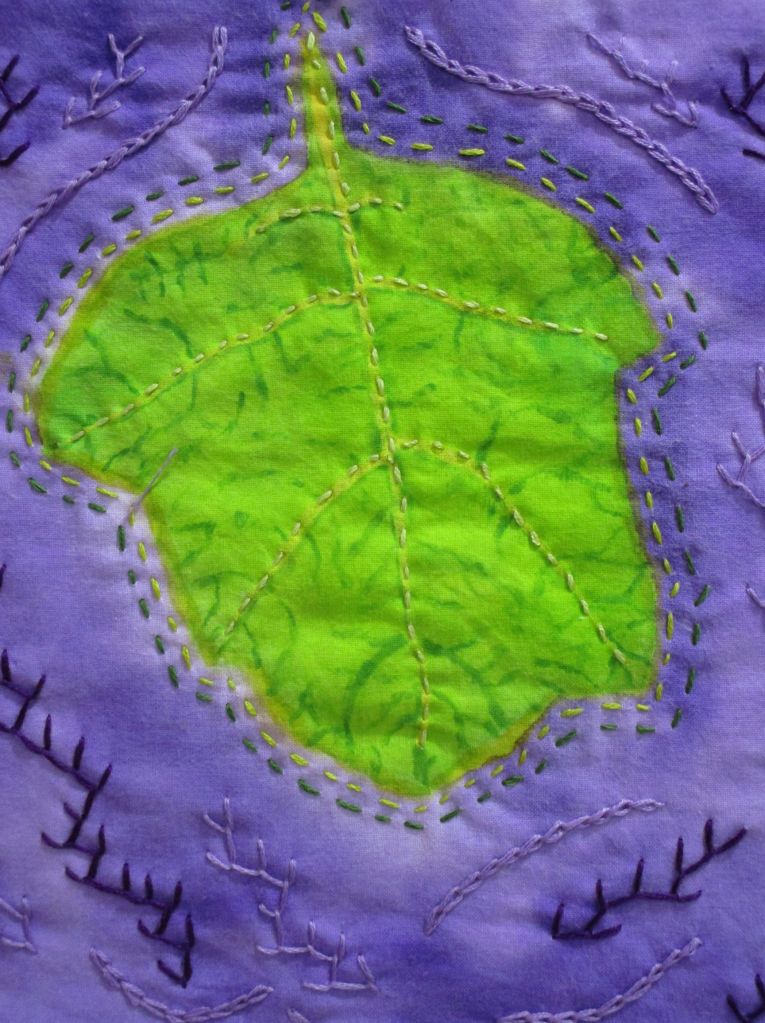
Over the past few days I have been engaged in work on fiber objects that take a lot of time to complete, such as painting the hydrangea leaves for a wall hanging and knitting a sweater. So I don’t have anything new to share on the blog today.
In perusing my design book, I was reminded of a project that I made in 2013. It has an interesting story which involves knitting sweaters for a little boy.
Have you ever worked hard on a hand-made gift, only to have it rejected on the spot by the recipient? I have! As a new grandmother, I was joyfully knitting sweaters annually for my grandson. One year it was an Elizabeth Zimmerman design (the modular Tomten Jacket described in The Opinionated Knitter.) After unwrapping it, said grandson simply cast it aside. (sigh.) I resolved never to let that happen again. For his birthday sweater the following year, I chose soft, brightly colored acrylic yarn and came up with a design that no little boy could resist.
Like all boys, my grandson loved trucks – BIG trucks and BIG earth-moving equipment. I decided to make a rugby style sweater with the image of a John Deere digging machine on the back. This project required a custom chart and my husband gleefully helped me to create it.
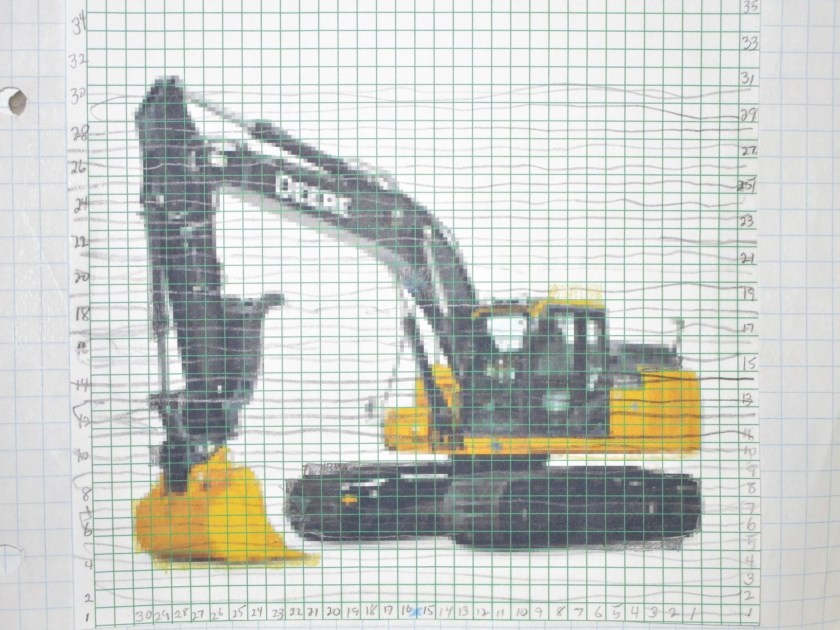
The picture was downloaded from the JD website, but the grid required a little adjustment. In knitting, the number of stitches per inch almost never matches up with the number of rows per inch. To avoid compressing the image, the squares of the grid need to be fatter than they are tall. I gave husband my gauge (stitches per inch and rows per inch.) He calculated the ratio and used spreadsheet software to adjust the grid to match. From this chart it was relatively simple to knit using a combination of stranded and intarsia techniques.
Upon receiving his gift the following birthday, my grandson jumped for joy.

This sweater was happily worn for several years in all kinds of weather.
One final note: If you try this technique, you may find it helpful to outline the details of the image in black yarn. This will help the image come together.