How many of you are familiar with this movement? I first became aware of it almost ten years ago. It’s a way to encourage reading while recycling books that you have finished reading. Anyone can erect a little library on their property by becoming a steward, building the library and registering it at the organization’s site. There are little free libraries all over the place. Check out the organization’s website, which has a map showing the locations of these tiny structures.
https://littlefreelibrary.org/
On a recent walk through my neighborhood I discovered that a neighbor had installed a little free library in her yard. What a surprise and delight! Inside I found a beautiful book of photographs that looked very promising as a source of inspiration.
http://maxwellmackenzie.com/americanruins.php
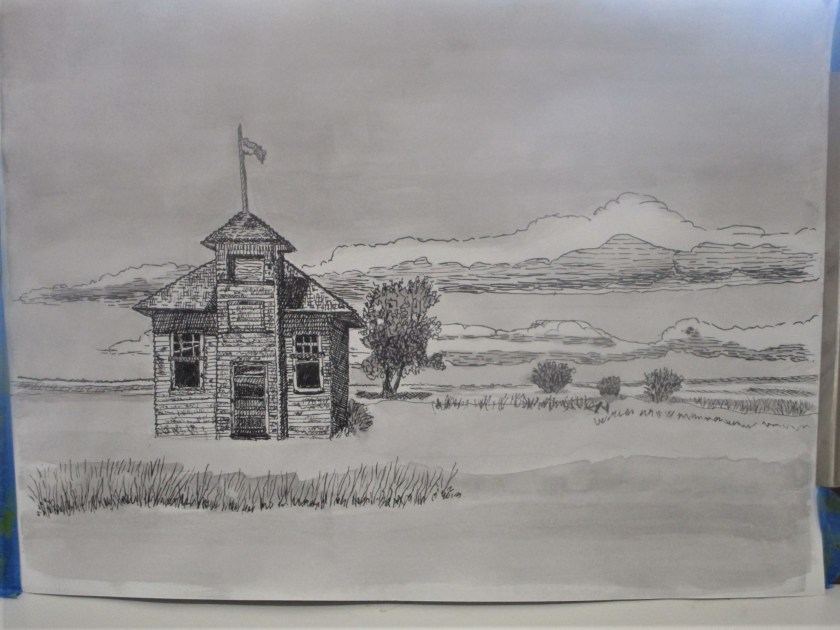
Maxwell MacKenzie is an American photographer born in Fergus Falls, MN. who specializes in architectural photography. This book includes some wonderful images of abandoned structures on the Northern Great Plains which he captured between 1996 and 1999. They were built by settlers, farmers and pioneers who abandoned them, generally due to experiencing some kind of hardship. I found the images to be haunting. I began to imagine the people of the past who had lived and died there. And so I began sketching from the photographs, with an idea about recreating some of these ghosts. Here is my first sketch, of an old one-room schoolhouse. It is almost finished.
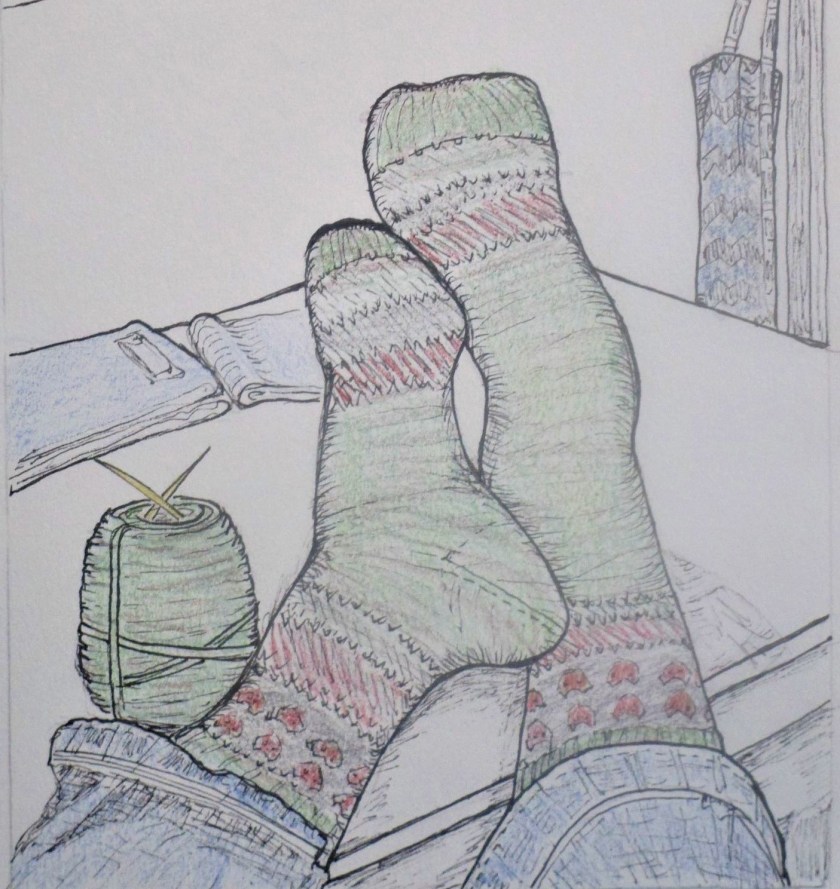
This exercise is a good way to take a break from fiber arts, while continuing to develop my skills with pen and ink.