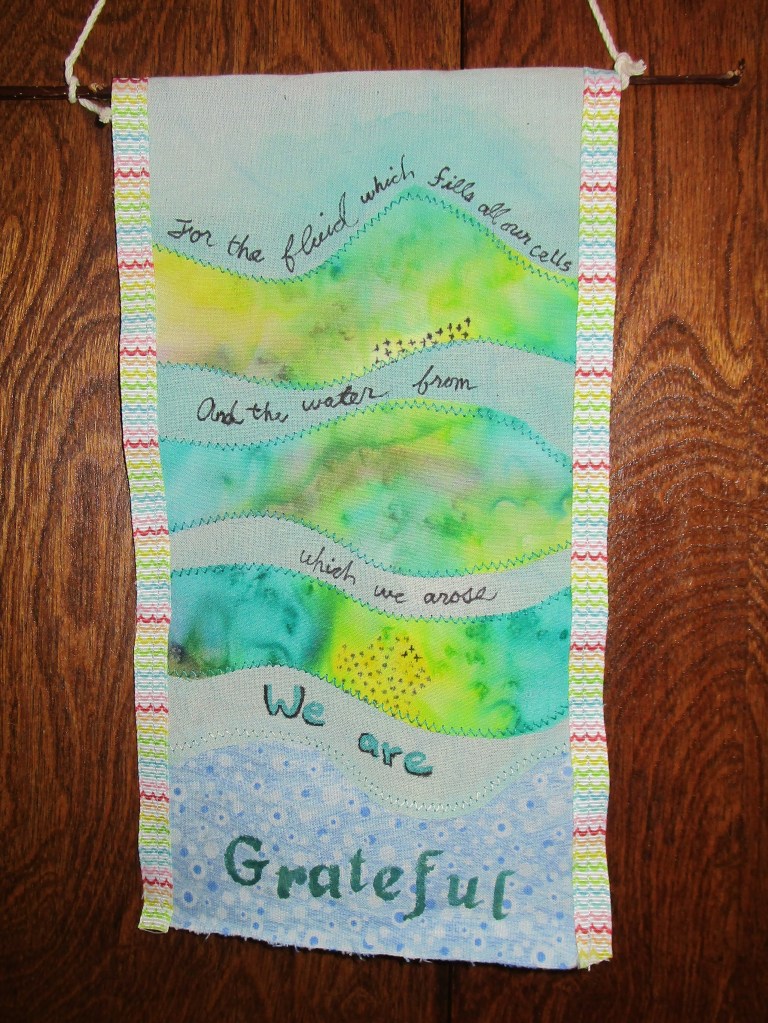
Today we consider the fourth in the series of Tibetan Prayer Flags. It is green, and represents water. Because I am so happy when around or in water, I feel especially drawn to this element. There are so many blessings related to this substance. In the form of rain, it is yearned for when scarce and cursed when excessive. Rivers, lakes and shores are places of rest, relaxation and sport. Today’s message is about the water that is within us. We are told that in the human body, water content ranges from 50% to 75%. I am grateful for access to clean water, so that I can replenish my cells. This flag is pieced together, with color-wash muslin and fabrics that I colorwashed and salted. The letters are written with pen and stenciled.
In the traditional prayer flag arrangement, the flags are laid out in a specific order from left to right. Five colors represent the five elements The first is blue. It represents the sky and space. My blue prayer is in gratitude for the orbs of the sky: the sun and the moon. This piece is made with applique on dyed muslin, machine embroidered, stenciled and marked.
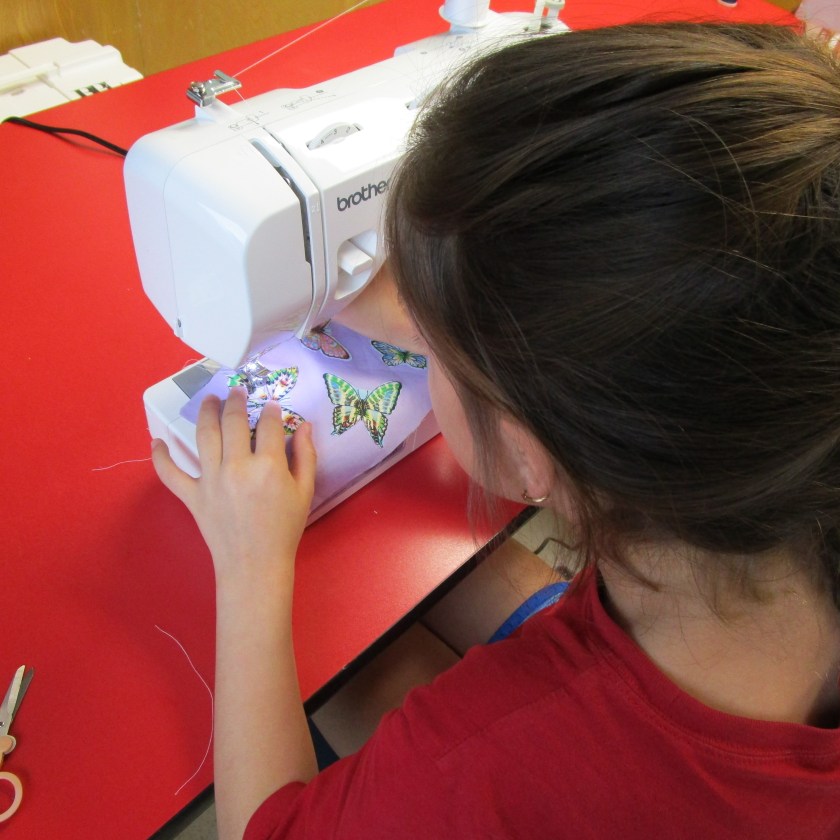
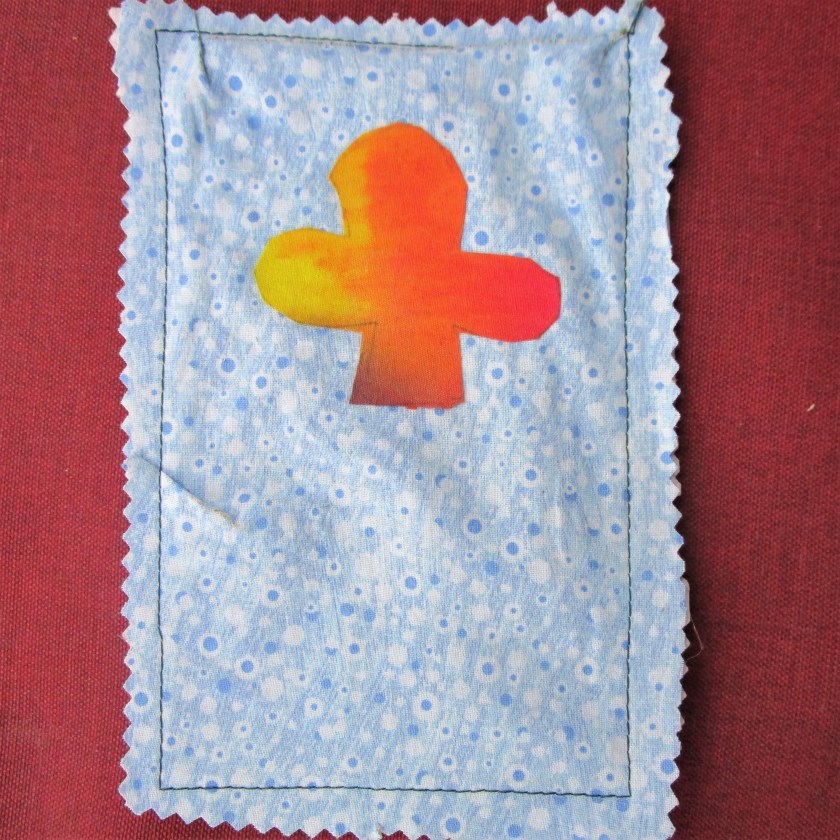
Today’s fiber object is motivated by necessity, not just fun. You see, last week I started my fiber arts students on machine sewing. They all seemed to love it. This week, I promised a project using the machine to sew applique. “What’s applique?” they all asked. After puzzling over what type of project to introduce, I took a page from my own playbook and settled on making greeting cards. This is a cross between the seed packet project and the paper woven letter project.
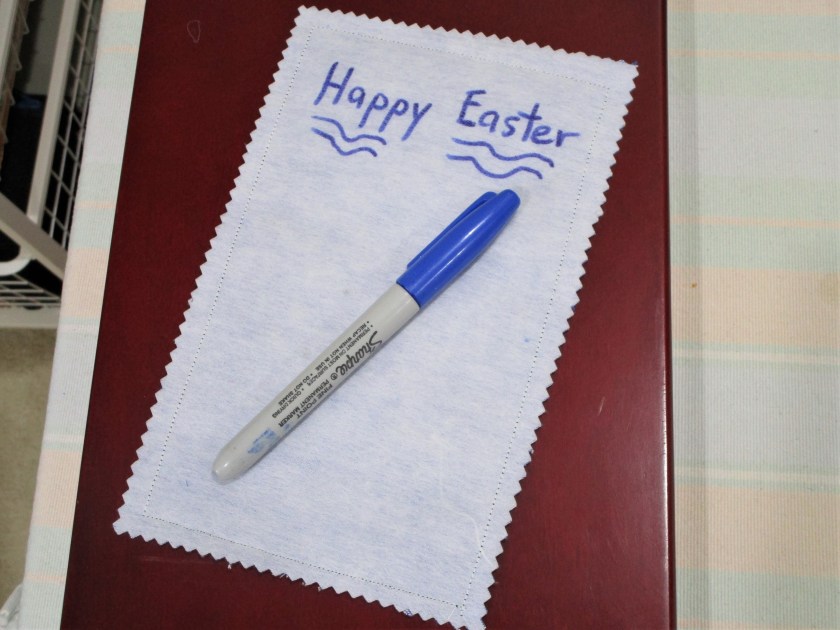
MATERIALS: 2 or 3 colors of cotton fabrics, Wonder Under fusible web, medium weight fabric stabilizer, ( I used Pellon) thread, fabric pen or Sharpie, card envelope.
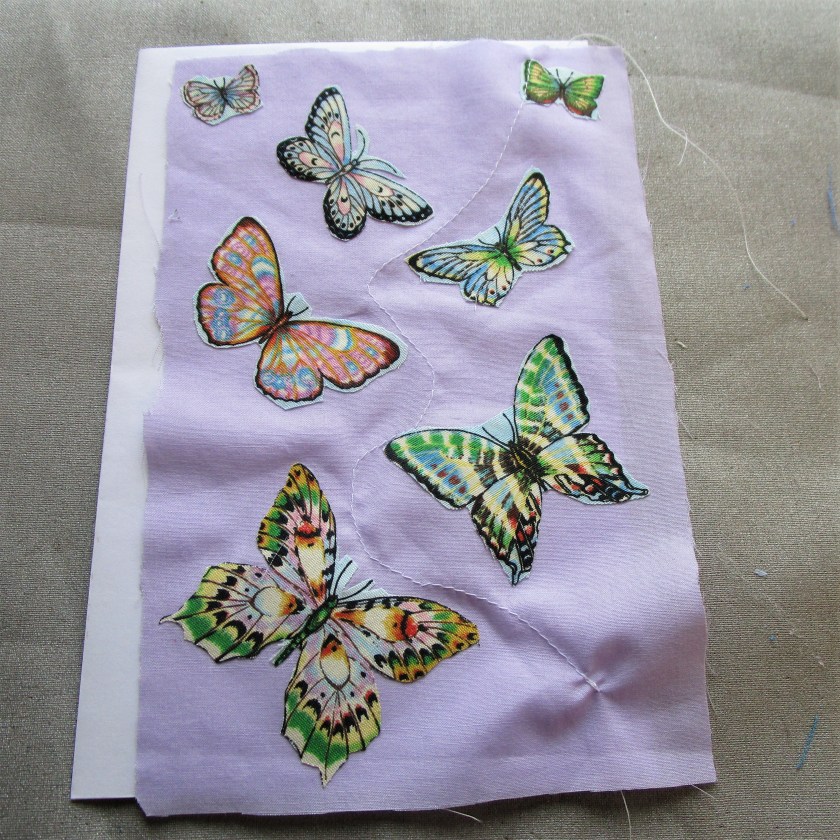
Measure and cut background fabric and Pellon to be the same size as the envelope. Set these aside. Choose a shape or pattern for your applied design. I chose to make a tulip in a pot, because I had some flower patterned fabric. Cut pieces of Wonder Under about the size of your pattern shapes. Draw your shapes on the smooth side of the web if you are not using an image on the fabric. Position the smooth size of the Wonder Under up, and press it on the wrong side of your patterned fabrics pieces.
Cut out the shapes. Pull off the paper backing so that the adhesive is exposed. Arrange your shapes onto your background fabric and press in place.
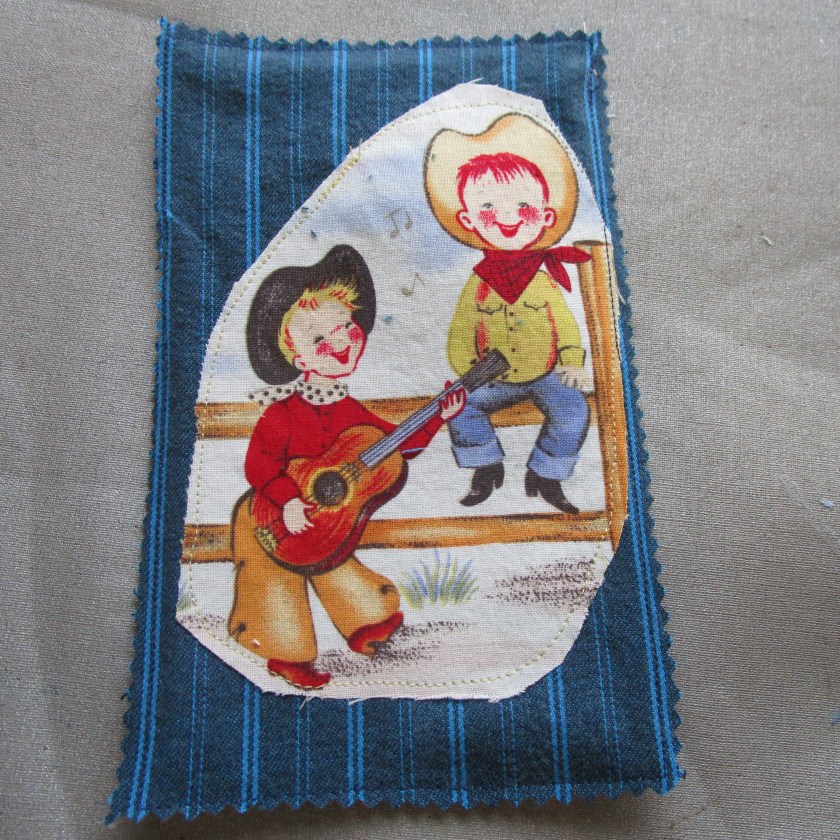
Stitch around the shapes of your design with a straight stitch, using matching or contrasting thread. Pin the Pellon to the back of the piece. Stitch around all the edges with a 1/2 inch seam allowance. Trim the edges with pinking shears to within 1/4 inch of the edge stitching.
Your card is ready for your message. Write on the back side. Use an ultra-fine Sharpie to write a nice long letter, or use colored markers to print a short wish.