Posted in hand embroidery, quilting, sewing

Fiber Arts Class String Quilt Sampler

Dear Fiber Friends,

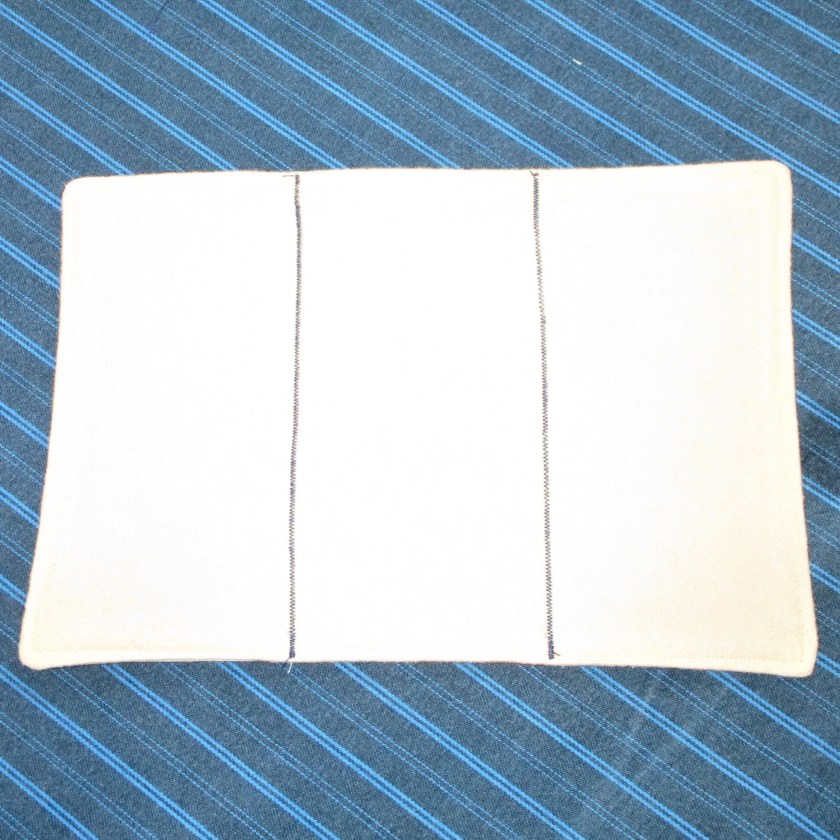
After five days of baby care and two days of travel, I have insufficient creative energy to start something new. So it’s a good time to finish up the works in progress. Primarily on my mind is the string quilts that my students are working on. It is my practice to have a good example of a finished work for my students, both to inspire and instruct. As I previously posted, I had finished the top. Today I completed the backing, quilting and binding of this sample. Here is the piece squared-off with the backing fitted and pressed. This piece will be self-bound by folding over the backing.

Wonky perspective is due to my odd camera angle.

I decided to use as many different (beginner) quilting techniques as possible, so that the students could see the possibilities. The image below shows the piece after quilting is done. I used hand quilting and some machine quilting.

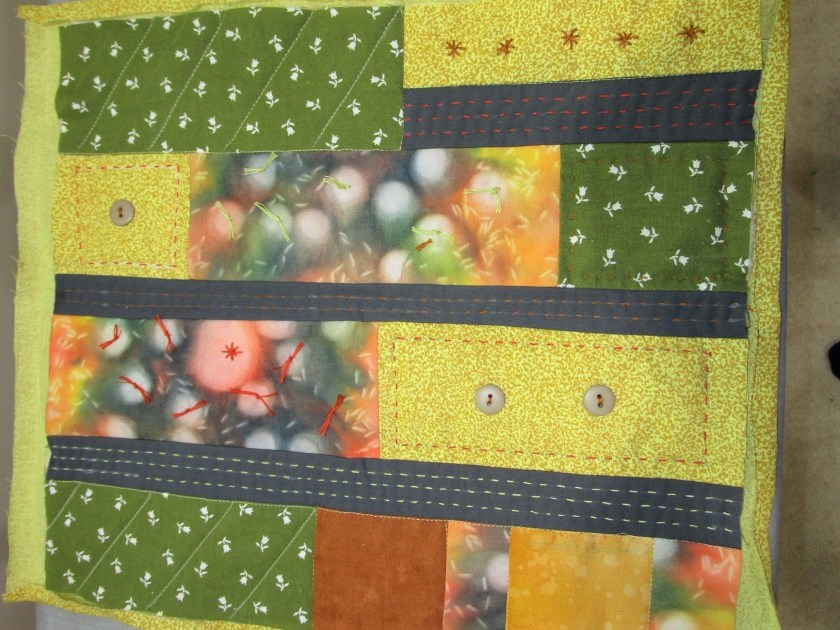
Quilting techniques include knot-quilting, buttons, running stitch, and contour quilting by hand; and stitch-in-the-ditch and parallel lines by machine. And here is the finished sampler with binding blind-stitched. I used folded corners, since I consider mitered corners to be a more advanced technique.

Posted in sewing

Bandana Day

The handy dandy bandana has been a useful item for over a century. I am talking about the 100% cotton variety made in India. While its more humble uses include wiping sweat and blowing the nose, it occurred to me these brightly printed squares have an unlimited potential for converting into fashion accessories. Here is one idea for crafting a bandana into a necklace. In addition to a black and white bandana, I have gathered thread, fusible adhesive, beads, metal rings, a jewelry clasp and fabric markers. For tools you will need only scissors, a needle, a hot iron and some glue.

First I looked carefully at the design and picked out a large-ish motif. To me, it resembles a phoenix. I cut it out and fused it to a piece of felt. I also cut two 7 inch long strips from the bandana border, which included the row of paisley shapes. I started experimenting with colors, filling in the white areas of the cloth.

Cut away the rest of the fabric, leaving only the colored portion.

Next I folded up the strips so that only the paisleys showed. I secured them by fusing the raw edge to the inside fold. I colored the paisleys on the strips in a random pattern. Here are my pieces after this step.

I sewed a ring at each end of the strips so that I can connect the necklace parts.

After experimenting with the beads, both placement and sequence, I came up with this arrangement. I then joined the central motif to the strips with more rings.

The basic design is finished.

Finally, I sewed a ring at the back end of each strip and added a jewelry clasp. To secure the beads and keep the fabric from unraveling I added dabs of white glue to the thread knots and the strip ends.

Close up of paisleys and clasp.

Here is the finished object. Yes, that’s me in the photo. I’m smiling so I must like it.

This was a really fun project. As soon as I finished it, my mind began to race with lots of ideas for other accessories I could make with a simple square of printed cloth.

Posted in sewing

Taking requests

Recently, one of my blog readers sent me a request. She asked me to make “baby napkins. My baby is so messy!” I said yes immediately. Then I started to wonder. What exactly did she mean by baby napkins? For you folks in the U.K, it isn’t what you might think. Baby nappies, or what we in the U.S. called diapers, go on the baby’s bum. She wants something more akin to smallish dinner napkins, for wiping the baby’s face during meals. I thought to myself, why doesn’t she just use a burp rag for this purpose? Then I realized that there was more than one objective here. This little fiber object will help to civilize and educate this child. So here is what I came up with:

I selected three cotton prints and cut them into 7 x 10 inch rectangles. Finished size will be 6 x 9. The tan color flannel will be sewn to the print fabric, making the napkins twice as absorbent. That will take care of the practical need to wipe messy hands and faces. The front and back will be sewn on all edges, right sides together, leaving a small opening for turning.

I’m using about a 3/8th inch seam allowance, which will be trimmed before turning.

After turning out to the right sides, I stitched all around the edges. So far, these are just like any ordinary napkins, only thicker and smaller. They can be laid on the table at meal times, along with the regular napkins for the other family members. Baby will eventually become aware of the patterns, rituals and customs of family dining.

The second little adjustment I made to the design is to machine-embroider two vertical lines, dividing the napkin into thirds. When baby is ready to help with chores, she will easily fold the napkins after they have been laundered.

Here are the finished baby napkins. Bon Appetit, Bebe!

Posted in sewing

For the Little Ones

It’s that moment in the week to plan for my Friday fiber arts classes. Today I am working on a small stuffed toy that might be simple enough for my six to eight year old students. I learned to make it from Brenna Maloney’s book Socks Appeal. She transforms old socks into 16 delightfully cuddly friends. I’ll be making the bunny.

Here is a nice assortment of plain and colorful socks for the students’ consideration

This is an old gray sock of mine that lost its mate. I start by cutting down the foot to separate the sock into two ears. I am using an old t-shirt for the arms and tail.

Ears and arms are cut and sewn up.

Here she is fully stuffed. I pushed a little stuffing into the ear cavities, just enough to make them stand away from the body a smidge.

My little bunny’s Irish eyes are smiling because she is all put together now. I think that I will have to help the little students with some of the cutting and sewing. They can probably manage to make the ears, insert the stuffing and sew the button eyes – maybe even a do little embroidery. We’ll see how it goes.

Outside for a walk around the garden

She hopped around outside for a while, then back in the house for bedtime.

Good night, little bunny.