Posted in quilting, sewing

Blocks with Curves

At a quilt show I attended recently, I saw several quilts that featured circular piecing. It looked so mysterious. How did they do it? Here is an example from the show.

I am very interested in making contemporary quilts in a similar style. So it is necessary for me to learn to this technique. For today’s exercise, I will be making blocks with pie-shaped wedges sewn into the concave edge of a background fabric. I turned to U-Tube for a little help. One of the instructors is Leslie Tucker Jenison. Here is a tutorial on fitting concave and convex shapes together. https://www.youtube.com/watch?v=4vT08esPfzw

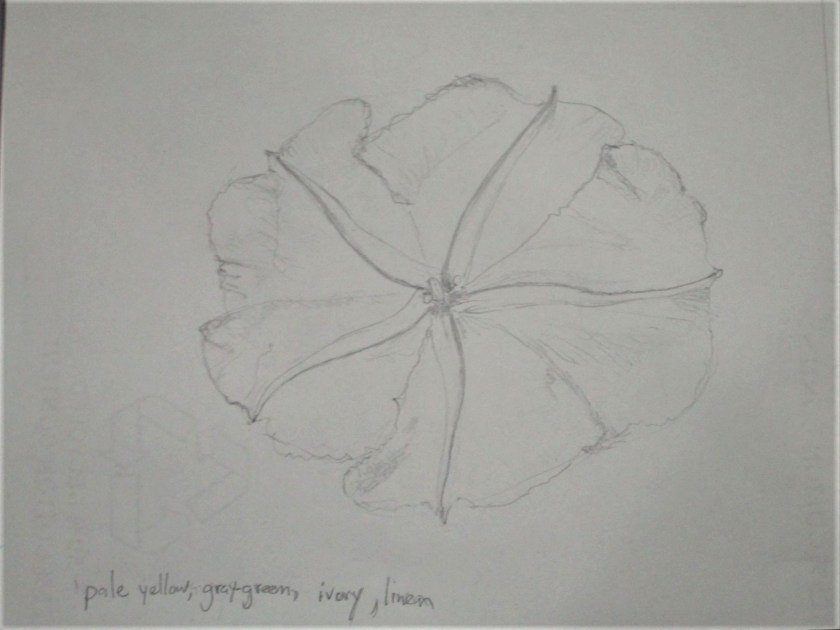
My design inspiration was the sun and planets. Because of the fabric selection I had available to me, I decided to make a piece featuring a gaseous planet.

Dark grey for the background fabric, green and pale blue for the pie shapes.

After cutting out the two types of blocks, I marked the curves with a compass. The trick is that, at the curved line, the pie shaped piece needs to be 1/2 inch wider than the background piece, to accommodate the seam allowance. I used a compass to draw the curves and cut them out with scissors. Here are the four blocks pinned and ready to sew.

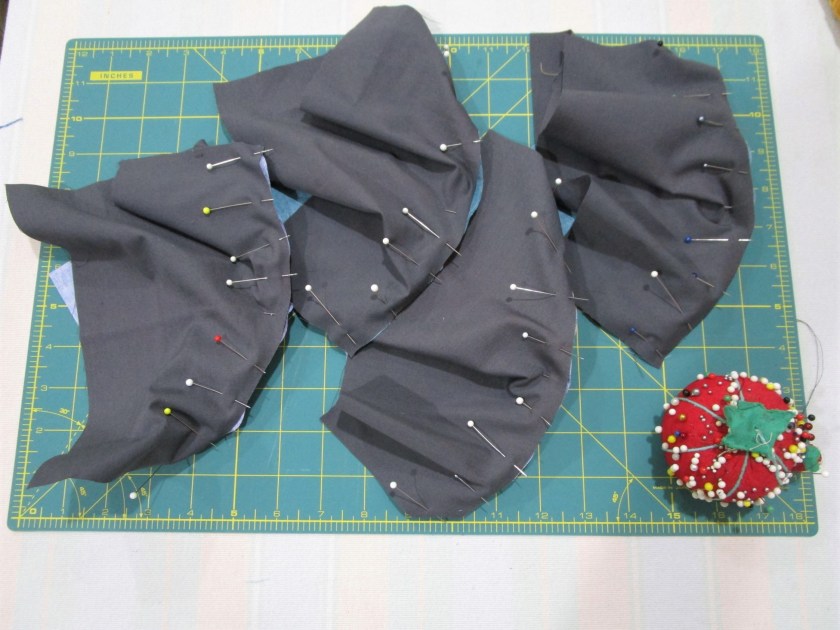
It’s important to mark and pin the two centerpoints and align the block edges. Then place a pin about every inch. Stitch with the concave piece (background) up, so that you can ease the curve. Here are the blocks before pressing.

I have most the points matched up pretty well. Next is to sew the pairs of top and bottoms together and then sew the center vertical seam, matching the pie shape edges and nesting the center seam.

My planet block, sewn and pressed

I’m relatively pleased with this first attempt. Only the lower right block is slightly off. The final dimension is 18 and 1/2 inch square – a very good size for a cushion cover.

Posted in recycling, sewing

Wabi-Sabi 2

I spent the better part of yesterday afternoon sewing the little wabi-sabi blouse. Getting to know the automatic button stitch on my Bernina was a bit of an eye-opener. It took four practice button holes before I was ready to attempt it on the garment. So the buttonhole is fine now, but I am having some fit issues.

Finally I called my daughter, to discuss the blouse and check her measurements. She was enthusiastic about my progress so far. Then she casually mentioned that the blouse was constructed with the buttons on the BACK. What?

After the call, I put on the blouse, switching it around so buttons were in the back. Sure enough it seemed to drift into place over my body.

A new point of view.

I will need to adjust the button locations (most of them are not centered over the button holes) and take in the band to match daughter’s measurement. Otherwise, this little turnabout is done!

Posted in recycling, sewing

Wabi Sabi

A Japanese philosophy that has been around since the 15th century, wabi-sabi is all about finding beauty in imperfection. It means keeping your old stuff, especially if you really love it. A few high quality garments are more valuable than a bunch of new, poorly constructed items of inferior fabric. Sometimes a few minor repairs will keep your treasured frock in circulation. It’s really okay if the repairs are visible.

When I was explaining this concept to my daughter a few months ago, she said that she had just the thing for a wabi-sabi treatment. What she brought me was a silk blouse, in a muted print of neutrals that had become worn and torn. She said that she wore it often, but no longer, due to rips and thin places in the silk. Could I do something with it?

I wish I had taken a photo of the blouse as she handed it to me, but alas, I did not. Here is what the garment looked like after I had cut out the damaged sections.

Three months have passed since I gained possession. This morning, I decided it was time. Last year I had purchased a largish silk blouse in similar colors at a thrift store for a few dollars. This might be a good source of fabric for the wabi-sabi blouse.

My plan is to cut this blouse lengthwise along the stripes, and use the pieces to rebuild the yoke of daughter’s blouse. Here is a sample of the fabric.

And here is a sketch of my intended alterations.

Without a pattern, I set about cutting and sewing, cutting and sewing. First I made some strips from the thrift store blouse and used them to create a band at the underarm area. This was stabilized with ultra-light weight fusible interfacing. Next I cut two triangles from the front of daughter’s blouse and trimmed the edges with black silk. These pieces were then sewn to the band. A few alterations to the back also included black silk edging.

It’s the end of the day, and here is a photograph of the wabi-sabi blouse.

Progress is good. If all goes well tomorrow, I will finish the structure, make a buttonhole, sew the buttons back on, and maybe add some decorative elements.

Posted in drawing, hand embroidery, painting, sewing

Welcome to Summer, Farewell to Gloria

It’s my desire to note each season as it arrives with a fiber project that celebrates the specialness of the season. When I learned of the passing of Gloria Vanderbilt, I decided to include a small tribute to her in today’s celebration of summer.

I remember Gloria Vanderbilt best from her television adverts, promoting her line of jeans. She promised to make jeans designed to fit women’s curves. That promise was fulfilled – those jeans did fit us! She branded her product by signing her name on the hip pocket. Soon, all the designers were catering to women’s shape and placing their logos on the pockets.

So, thank you, Gloria. You made us feel good about our bodies, at a time in our lives when we needed a boost to our self image.

Today’s fiber object shows a woman contemplating the sun while lying on a beach. In tribute to Ms. Vanderbilt, my lady is dressed in a pair of cut-off jeans. Here is the sketch I made with the design’s basic elements.

I toyed with the idea of inserting the Gloria Vanderbilt logo somewhere in the design, but ultimately decided not to. Here is the finished object.

Hello Summer, Goodbye Gloria

I’m happy with all the elements of this piece. First of all, my ability to draw is getting better. It only took me two tries to sketch this slightly stylized female body. I am also getting better control of the fabric paint while using the wash technique. And finally, both my hand and machine embroidery are improved.

Posted in painting, sewing

Inspired by O’Keefe part 2

Moonflower

Here is the final result of my O’Keefe inspired fiber object. I have to say, it only partially matches my vision for the piece. Something happened between the sketch, the painting and the embroidery. Take a look:

Here is my original sketch for a moonflower. I was very happy with this effort:

Here is the flower after roughing in the design with fabric paint.

Even though I am not experienced in painting, I was fairly happy with this result. So I guess the only part of the effort that disappointed me was the embroidery.

Dear friends, what do you think? Do you have any recommendations for me that could improve my final result? I am eager to learn.