Posted in sewing

F.O. Friday – Sewing

This week I got all ambitious to make some pants for L.L. I haven’t sewn clothes in years and years. But I wanted to respond to my daughter’s righteous indignation on the options provided by the clothing industry for little girls shorts. She complained that every pair she found were tight and very short – effectively sexualizing toddler girls. “Boy and girl shapes at this age all identical, yet the boy shorts are loose, comfortable and several inches longer than the girls.

She ended up purchasing boy shorts for her daughter.

So I wanted to make a fun, colorful garment that I knew LL would enjoy wearing.

As a maker, I also had the goal of using materials that I have on hand.

In the end, I did purchase a pattern, since I don’t have knowledge or skill in pattern-making.

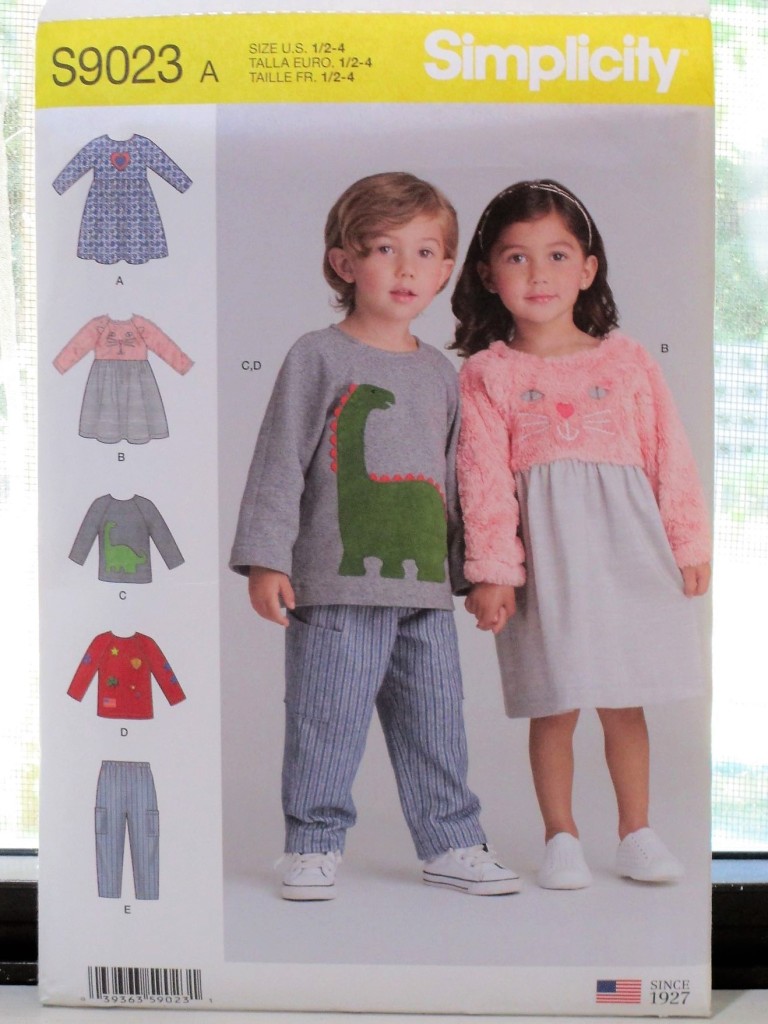
I chose this one, because. along with the pants, it provided patterns for tops and dresses and sizes up to 4 – leaving the door open for me to make additional items of clothing in the near future.

Here’s the crazy fabric I chose.

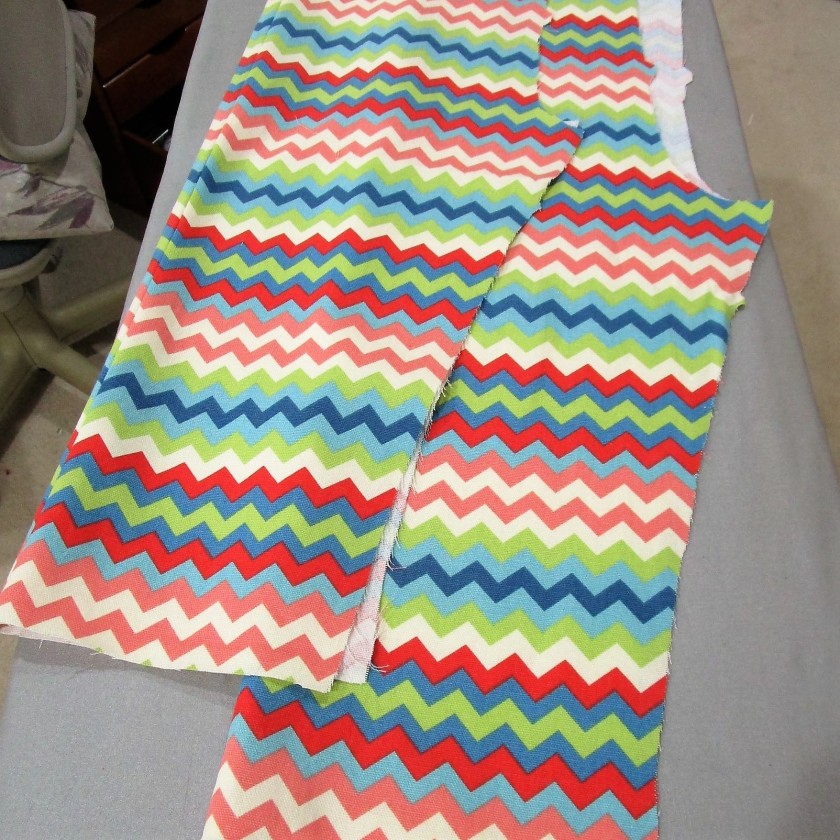
It is a sturdy 100% cotton, leftover from a valance I made for my laundry room window. How about those zig-zags!

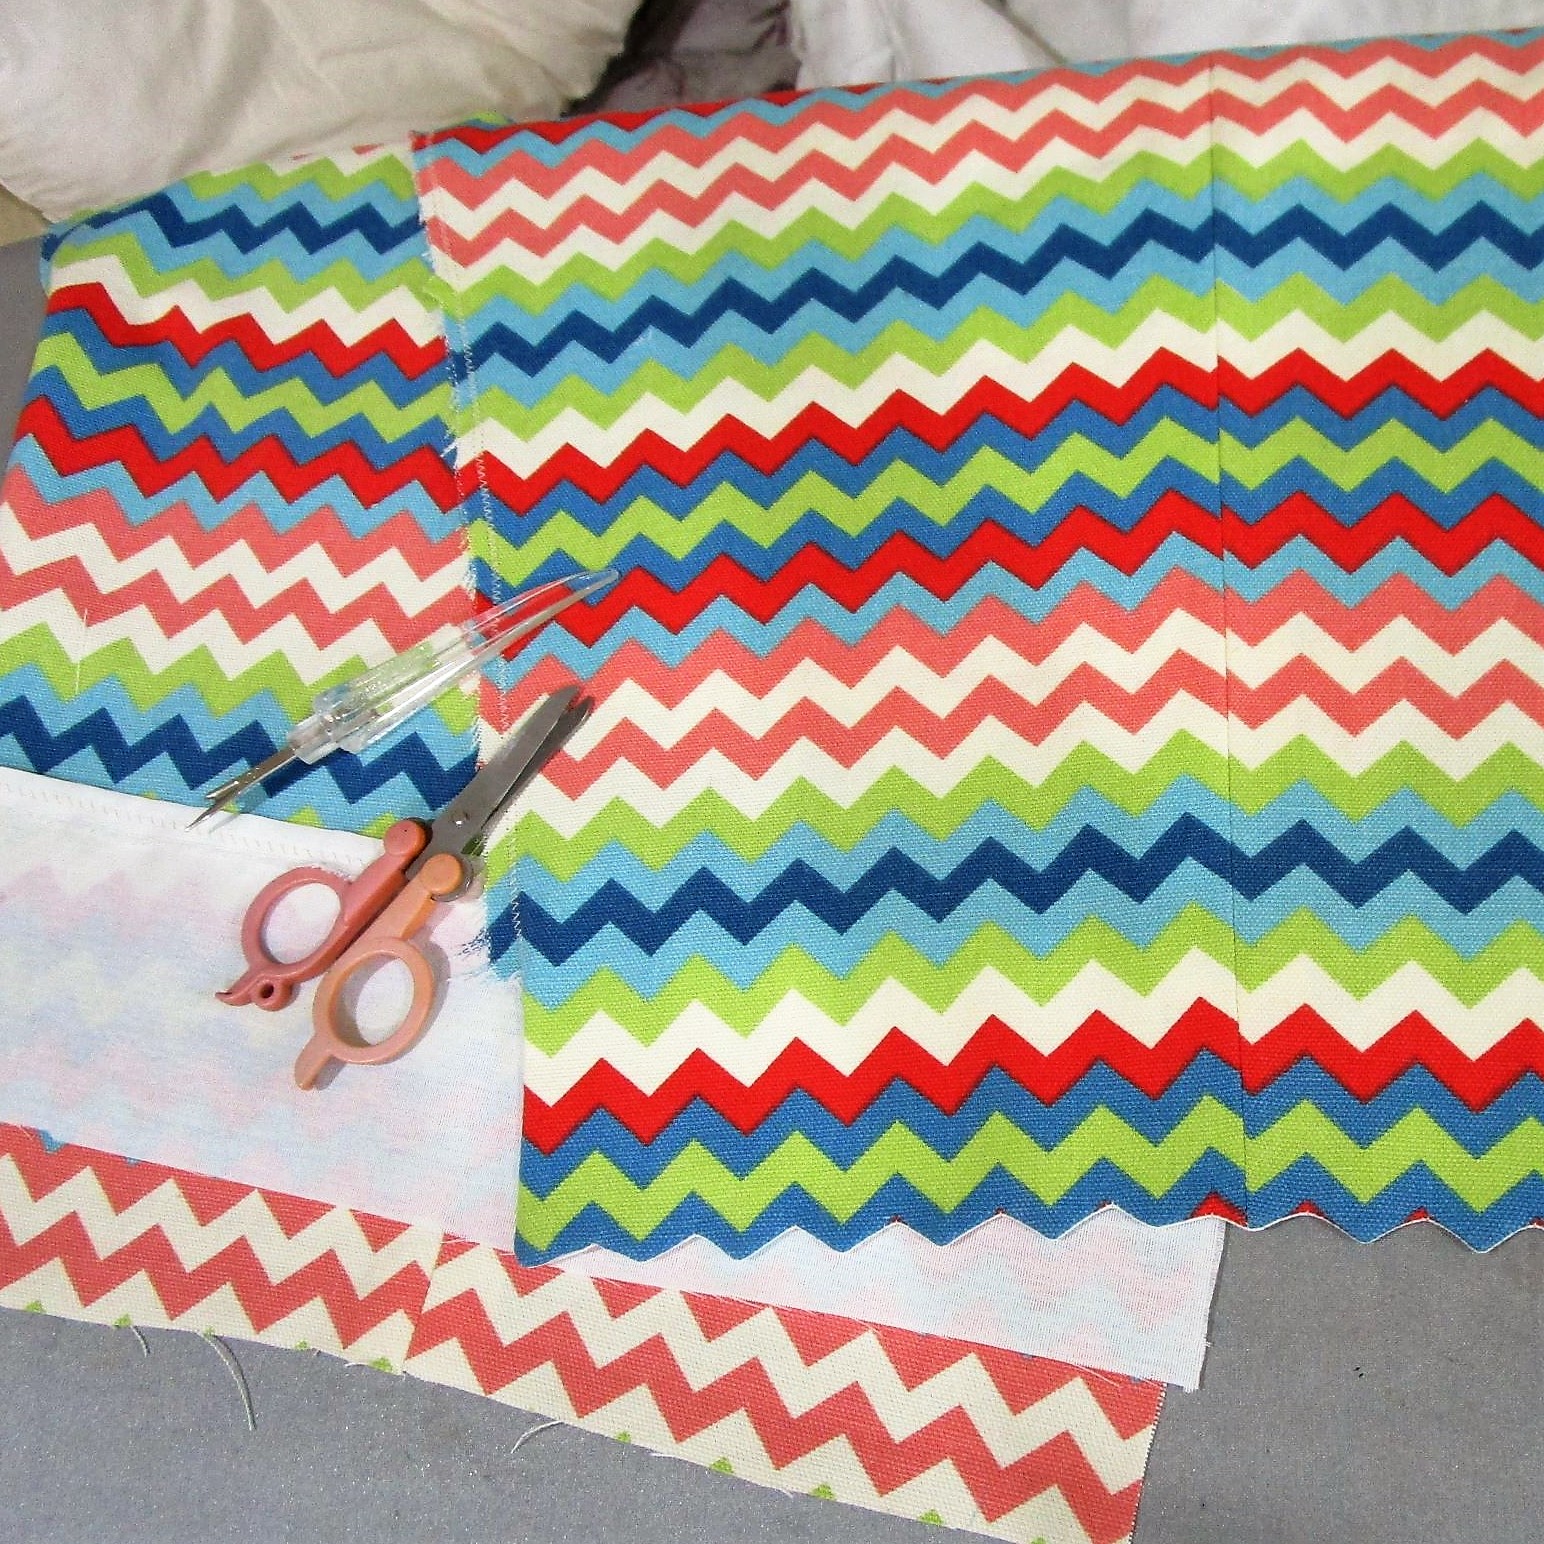
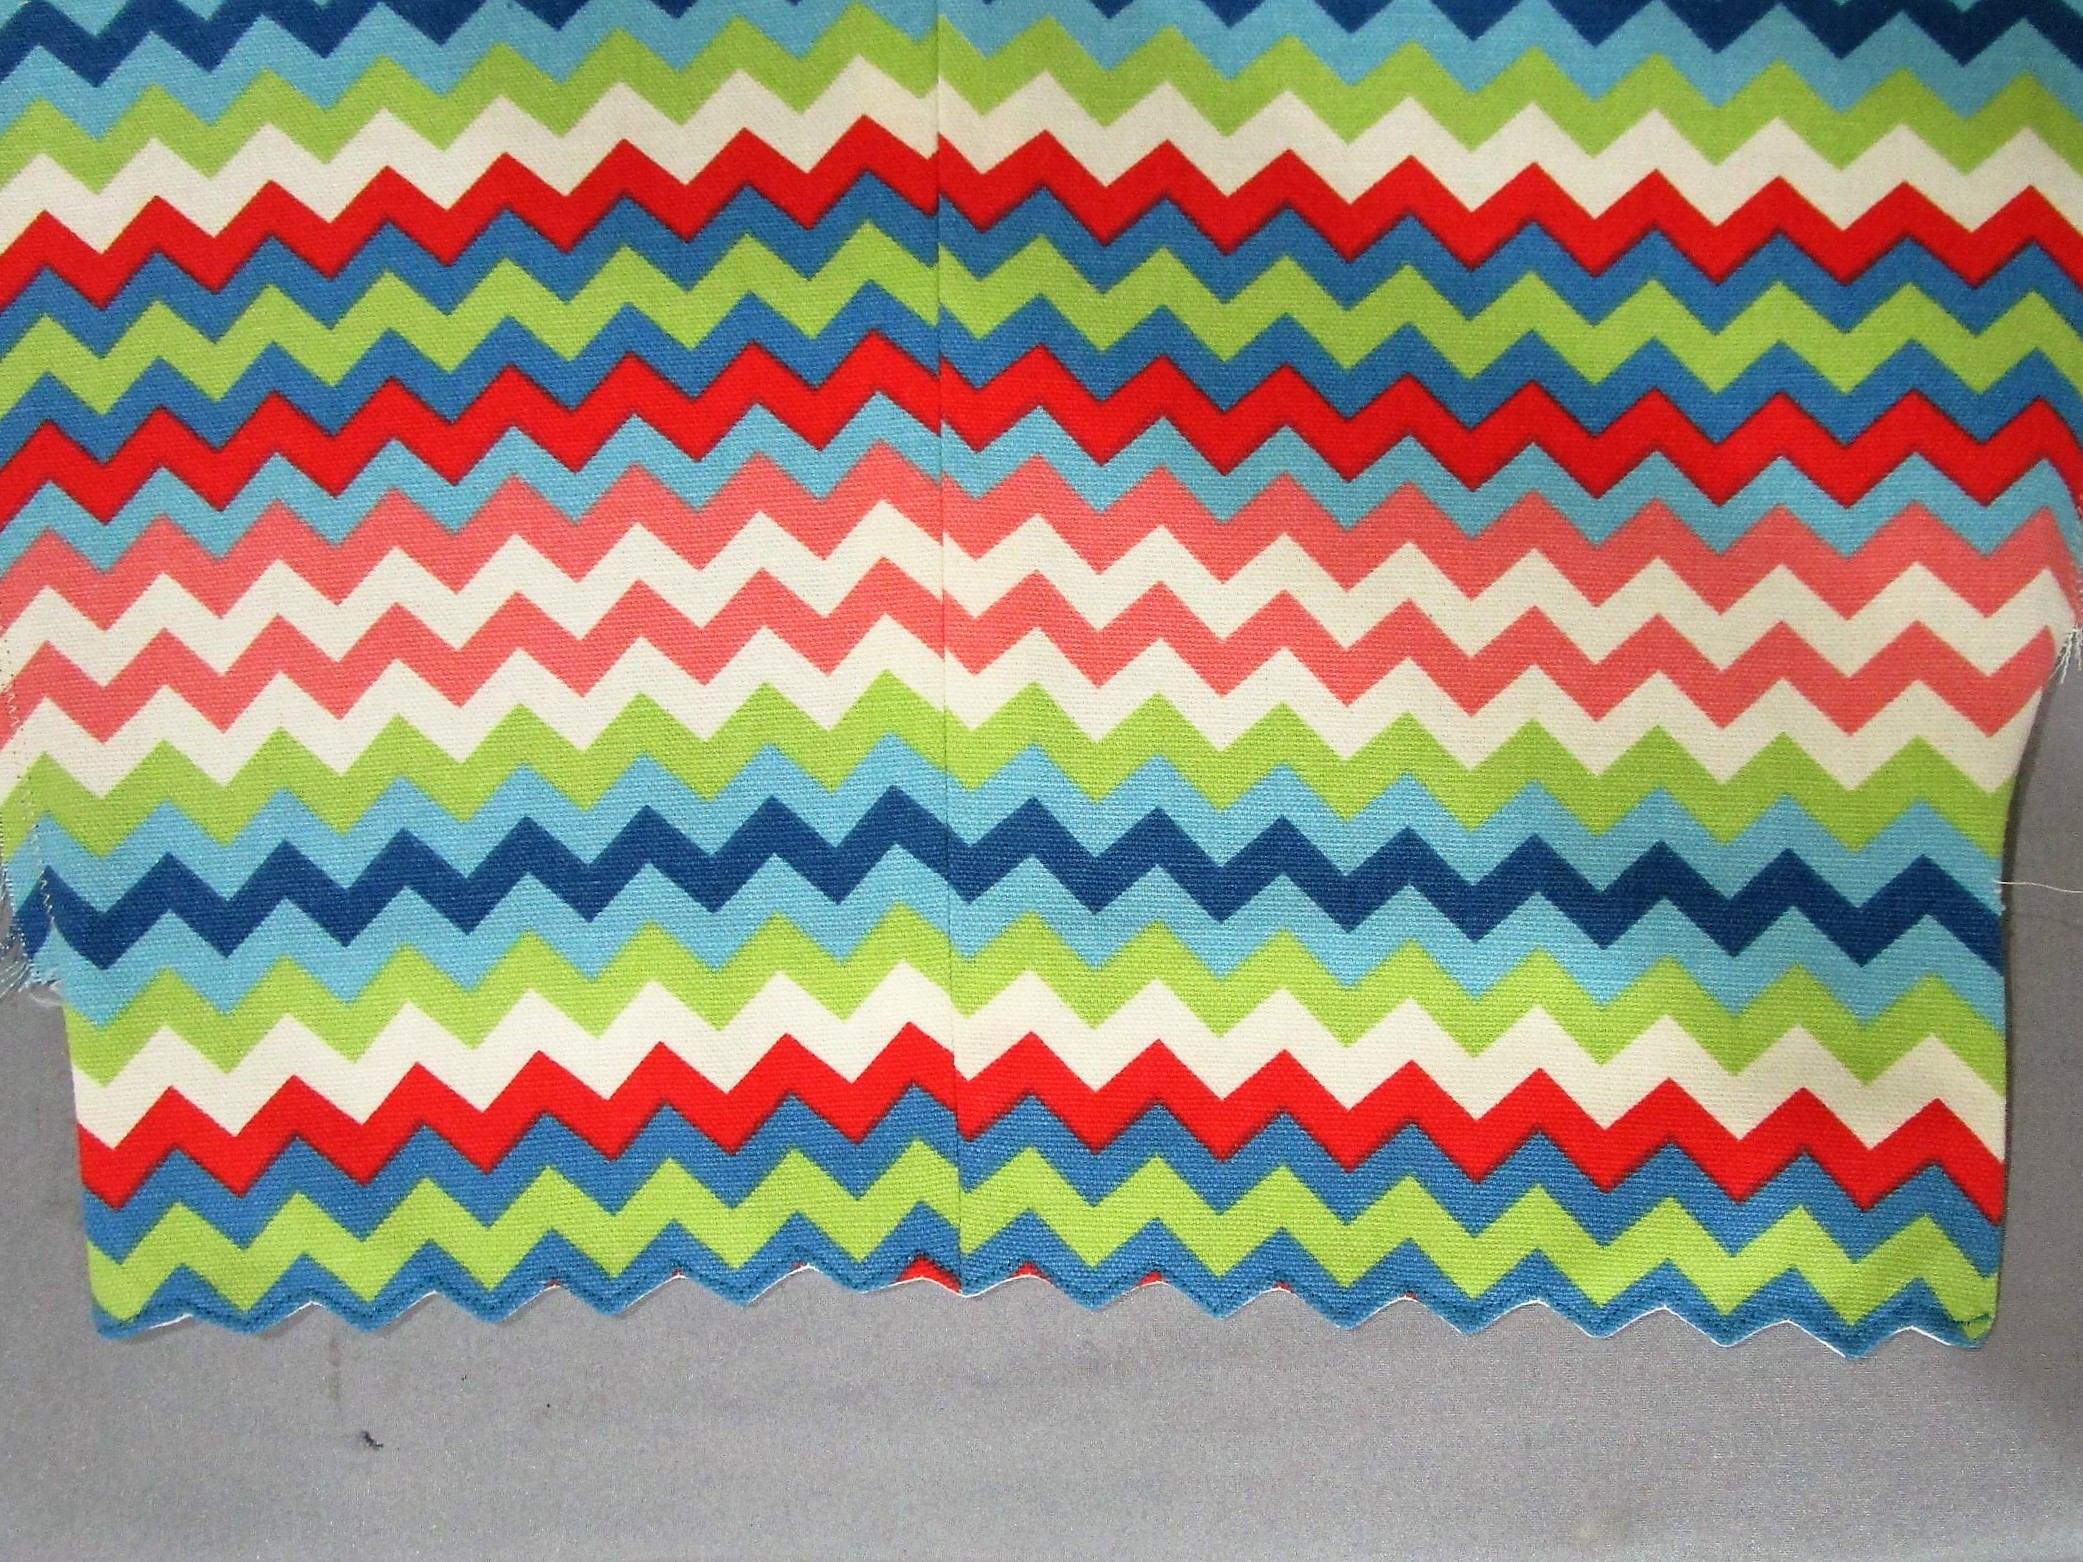
To challenge myself, I decided to match the zig-zag lines in the hems.

Here they are, all finished this morning.

Construction details I added were faced hems and a cotton jersey casing for the elastic at the waist.

I was happy that the fabric includes some of Lu’s favorite colors: blue, pink and green. I’ll bet that she already has several T-shirts to match.

Posted in sewing

Work-in-Progress Wednesday: Sewing

One of the many fiber projects on my to-do list is the replacement of my kimono.

Many years ago, my mom made matching kimono robes for Bill and me. They were sewn in an Asian cotton print of cranes (his) and cherry blossoms (mine) on a black background. We wore them frequently in hot summers, and packed them to travel all the time. Now both are threadbare. I managed to sew a replacement for Bill’s about six years ago. Mine finally gave out this year.

Last winter my mom let me browse her fabric stash. There I found a light blue textured cotton piece with enough yardage for a kimono. I snagged it and smuggled it home in a box.

Recently I found a kimono pattern offered for free on Connection Threads.

Kimono Robe Small-Medium Pattern Download | ConnectingThreads.com

So I chose to get this project started yesterday. To line the kimono I bought this butterfly print at Hobby Lobby. At $3.00 per yard, it was hard to resist.

Ready, set, cut!

I made two modifications to the pattern. The first was a no-brainer, I just shortened the robe to knee length. That quick change saved me two yards of fabric. The second change was the addition of a side seam pocket. This type pocket was part of my first kimono. I just loved it for carrying around a set of eyeglasses and a tissue. It was so handy and yet so invisible. I couldn’t imagine my morning routine without it. (See my earlier post Who Needs Pockets? ‹ Daily Fiber ‹ Reader — WordPress.com )

The only difficulty is that I had no idea how to make a side-seam pocket.

Hah!, you say – This is a job for U-Tube. And you would be right. I found the perfect tutorial. Let me introduce you to Catherine Sews:

Sew a Topstitched Side Seam Pocket – YouTube

Having got that task out of the way, I moved on to sewing the robe fronts to the back.

……..and then the lining fronts to back.

Today I spent a good hour or so zig-zagging all the seam allowances to minimize the problem of fraying. Then I attached the neck band. It is sandwiched in between the outer fabric and the lining, which very neatly gets the lining sewn in to place.

Here is how the kimono looks at the end of today’s efforts.

I like how it looks so far. With any luck I will have the kimono finished by Friday.

Posted in sewing

Making a Paintbrush Wrap

My collection of water color brushes has been growing. Every time I take a new class on line, I end up purchasing new brushes. Storing them stuffed into my water jar just doesn’t work too well anymore. So I decided to make a roll-up brush holder from my quilting left overs.

You see in the picture my fabric selections. The log cabin square was made to practice free motion quilt stitches for Under the Sea quilt. The funny tape measure fabric was left over from the journal covers I made as gifts.

Let’s get started.

First, measure your brushes. The roll needs to be long enough to hold them all and tall enough to cover up the tallest brush. I cut the backing fabric 13 inches wide and 11 inches tall. The inner piece holds the brushes. I cut this fabric 13 inches by 12 inches and folded it in half, which gave 13 inches wide by 6 inches tall.

Fabric trimmed up and ready for sewing.

Sew them together around the outside edges. Next, mark the points where you want to make dividers. This was easy and fun with the tape measure fabric!

All my stitch lines came out straight. Yay!

Make a standard quilt binding strip and apply it around the four sides.

This fabric was left over from the Arches quilt border.

That’s pretty much it!. You will want to add a cord to tie the roll shut.

For now, I just grabbed a piece of ribbon, wrapped it around the roll and tied a bow. Eventually I will get a nice cord or strap. Or maybe I will add a toggle and loop.

But for now, I am ready to paint en plein air at a moment’s notice.

Posted in sewing

Stash-busting: Open Wide Zip Pouch

Okay, so I’m making this zip pouch because Chris at Chrisknits can’t stop making them! They are just so darn quick and useful. You can check out her blog here:

https://wordpress.com/read/feeds/32776

Do I have what I need? Let’s see. The project requires about 1/4 yard of fabric each for the outer shell and lining as well as a zipper. This one is about ten inches long.

I also required the better part of a cup of coffee to get started.

The gold cotton damask on the left is left over from a bedspread I made about 15 years ago. This scrap has been used in an experiment with Dye-Na-Flow fabric paint. I applied the paint to the back side of the fabric, to see if the color would seep through the woven vines but not through the shiny gold parts. It sort of did that. Now I have a use for it.

I also have this scrap, printed with shiny gold dillweed stems. I’ll use it for the bottom section of the bag.

Instructions for this project come courtesy of Anna Graham, at Noodle-head. com. You can get the details here:

open wide zippered pouch: DIY tutorial

My first attempt took about an hour or so to complete, with only one rip-it-out moment.

This is very girly looking, with the pairing of flowery and metallic prints.

Here’s a peek at the inside. It does indeed open wide.

This will be a nice item for gift-giving. I think I will make the next one with a wrist strap.

Posted in quilting, sewing

Springtime and Sorting

It’s been heart-breakingly beautiful outside over the past several days. The weather forecast for today predicts extreme thunderstorms. So I thought I would memorialize some of the garden’s spring perennials. They are so lovely, and their day in the sun is so short every year. Here are a select few.

Yesterday I finished sewing the last of three quilted buckets. This project is meant to yield a system for organizing and storing fabrics. While my stash is not large, it is somewhat unweildy for its size.

Three buckets holding fat quarter to one yard sized pieces.

That leaves the scraps. After a year of working with fiber, I have a much better idea of how I tend to use fabric in my projects. I particularly like using scraps in little strips to make small art quilts. Consequently I have become very reluctant to throw any of them away. Resulting in this:

Sorted by color family, they are even more beautiful and precious to me. Like the colorful spring growth only more enduring.

So I still don’t have a useable system for keeping this hoard in order, under control, and yet easily accessible. Reluctantly, I will be putting these gems back into the shoeboxes. Suggestions are encouraged. How do you keep your stash sorted?