Posted in sewing

Follow up on Patio Decor Posts

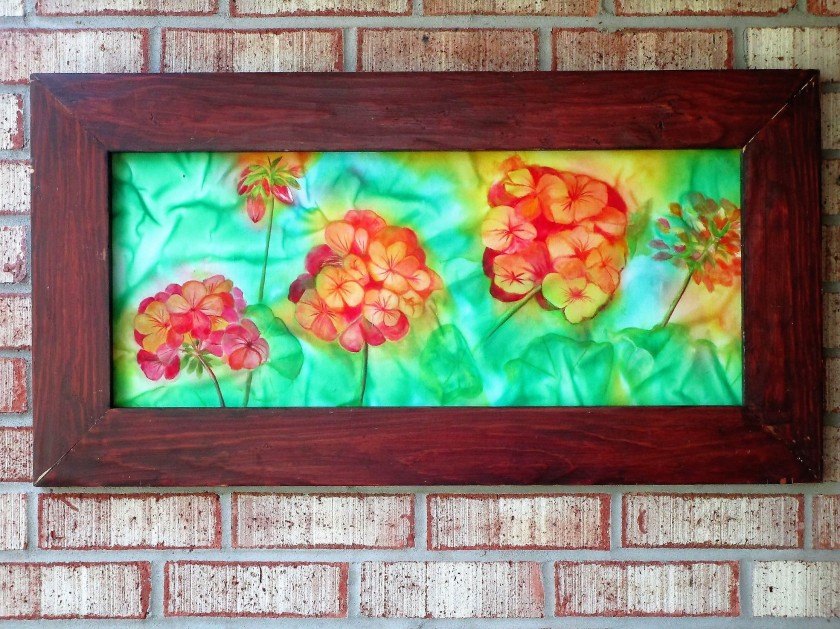
Last week I was finally able to get my Patio Geranium painting mounted into the salvaged wood frame I found and hung on a brick wall of my patio.

The painting is quite striking, and easily viewed from inside the house as well. To celebrate this event, I thought I would make new cushions for the patio’s chairs. I had been thinking about doing this for years now, ever since one cushion was destroyed by a squirrel, which must have thought it would make good nesting material. The current crop of squirrels seems uninterested in chewing up cushions, so the time was right to undertake this project.

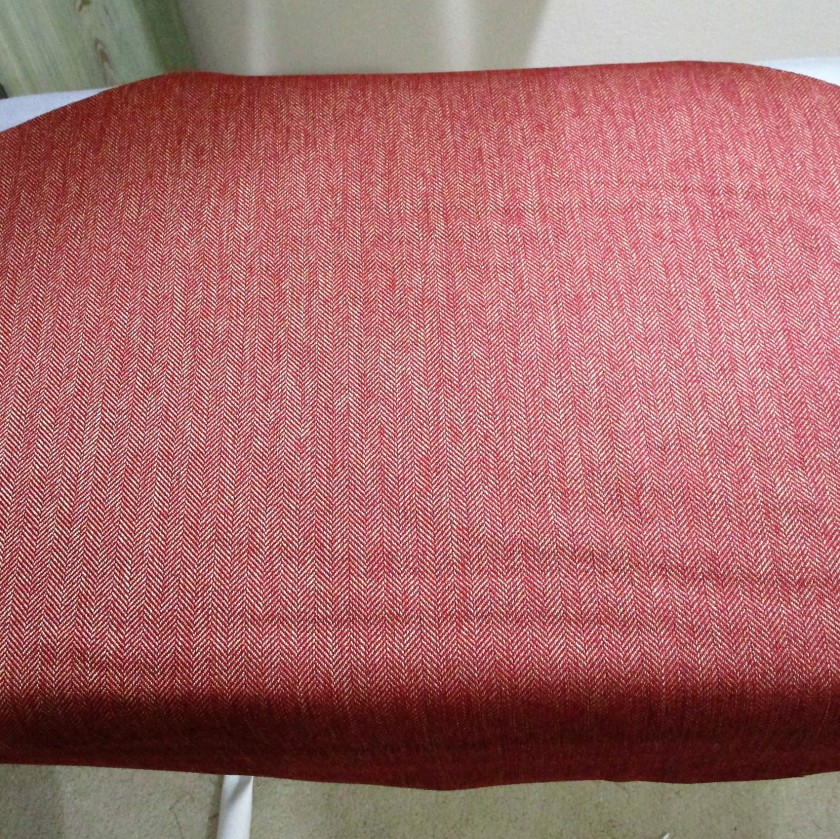
Here’s the outdoor fabric I purchased at Hobby Lobby.

It seems very nice indeed.

To begin work, I disassembled the remaining cushion to use the fabric pieces as patterns and to re-use the padding and cording in the replacement cushion.

Several frustrating hours later, I did manage to sew up one cushion. The fabric was terrible to work with- shredding and fraying at the slightest provocation.

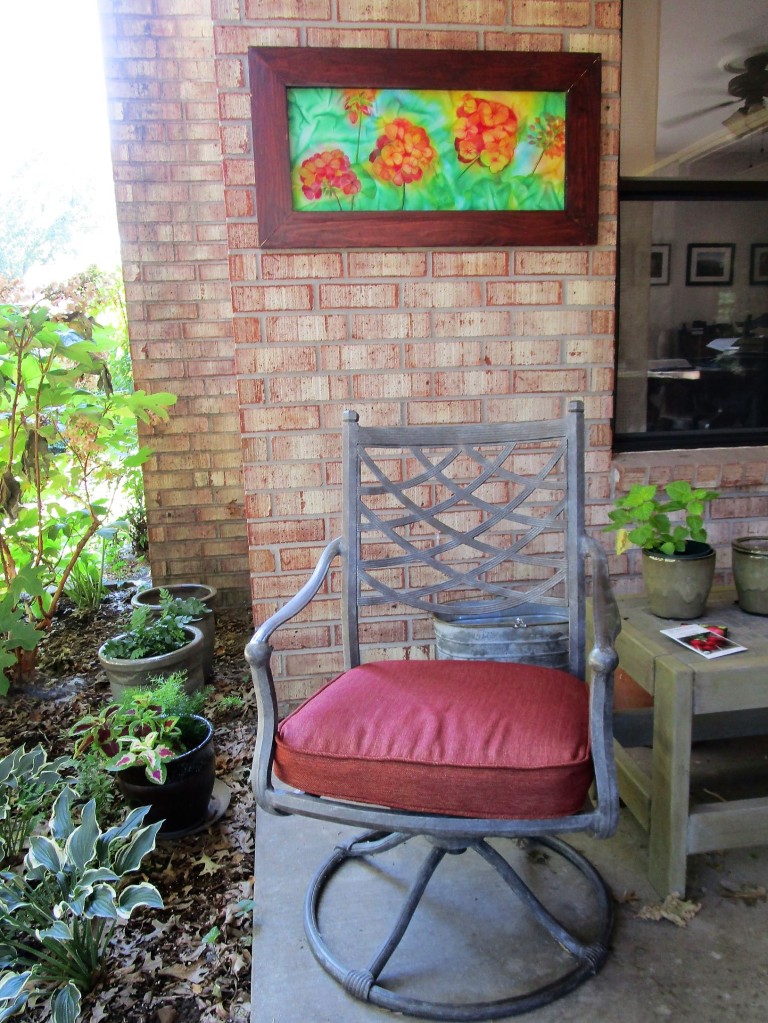
So – while I did make an acceptable cushion, I can state unequivocally that the process was NOT FUN!!! At least it seems to be functional.

……..and the color is nice.

It could be a while before I attempt the other cushion, since I will need to cut some foam rubber to shape into a matching cushion pad.

I’m pretty sure that this task will also be NOT FUN.

If any kind reader has sewn anything using outdoor fabric, I would be grateful for any advice you would be willing to share.

Posted in recycling, sewing

Friday Finish: Sewing

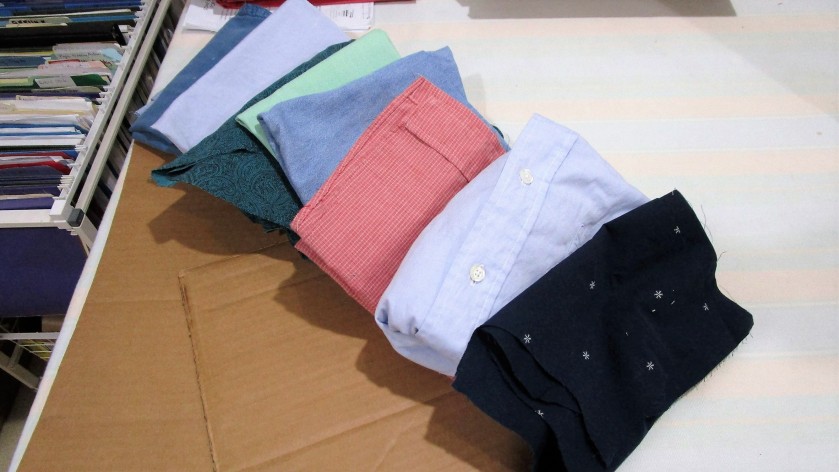
While tidying my workspace last week, I noticed all the shirt pieces I had left over from making the Howard Wabi-Sabi quilt. Since I had used only the backs, the leftovers included sleeves, fronts and collars. It occurred to me that there is a potential fiber object buried inside each one of them.

Naturally, I turned to U-Tube, to see what others have made from discarded men’s shirts. Not surprisingly, there were many, many projects. I wanted to make an apron, but I also spotted a cute little girl’s dress.

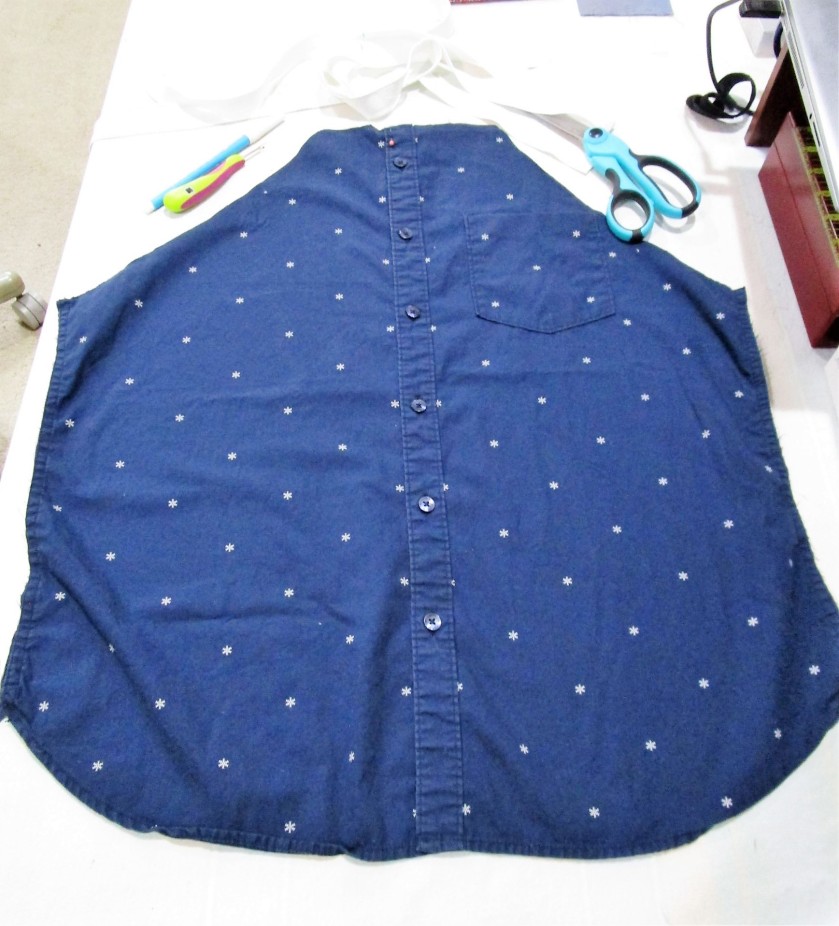
That idea I will save for another day. For today I am focusing on this dark navy all cotton shirt front.

I also happened to have a whole spool of 1-inch white twill tape which will work very well for the neck strap and the ties.

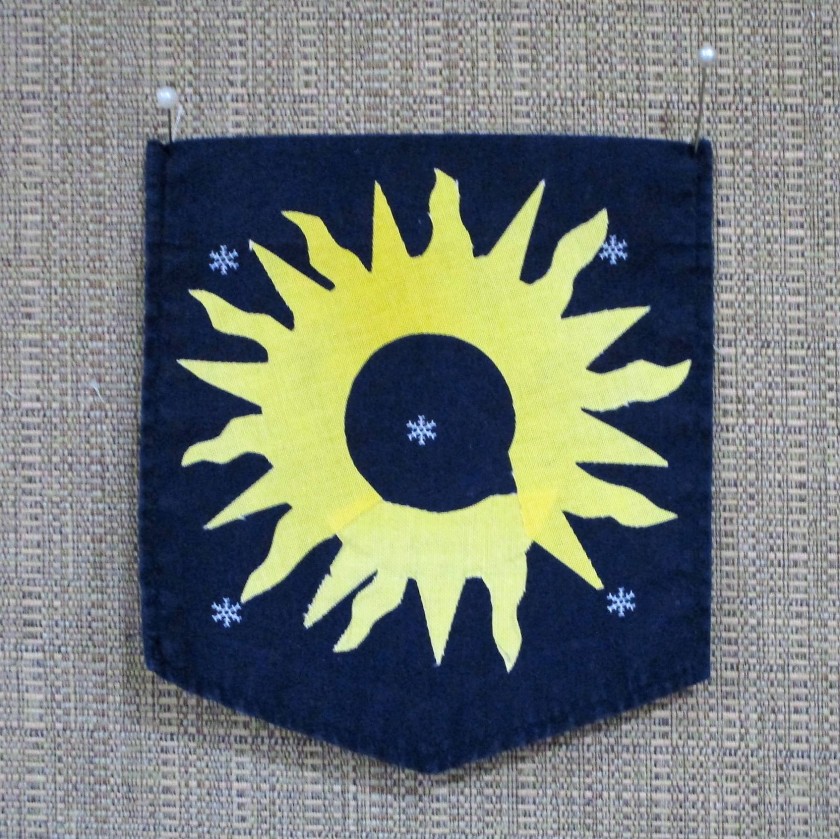
First I removed the breast pocket. This will be jazzed up a bit to add some fun color to my apron. Since the shirt fabric featured a little star motif, (okay, it’s really a snowflake, but go with me on this one) I decided to make a sun using yellow fabric and fusible interfacing. In fact, I happened to have saved some suitable yellow fabric that already had fusing attached to its back. I cut this into the shape of a corona and fused it to the pocket.

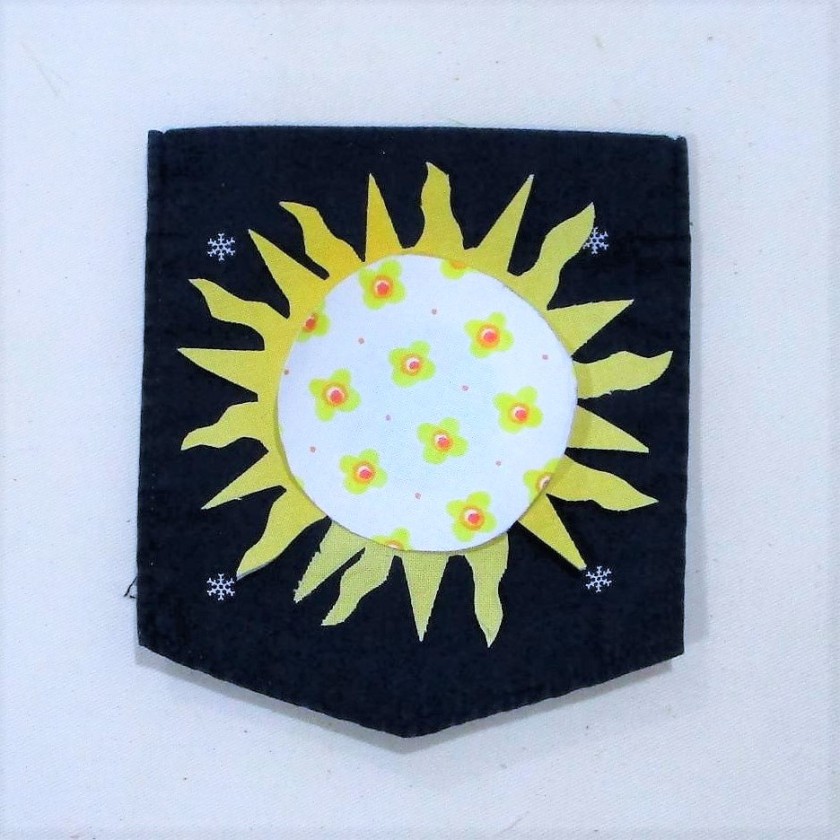
Next I traced a circle onto white printed fabric, pressed fusing to its back, cut out the circle and pressed it over the yellow corona.

Sun Shine!

Getting back to the shirt, I trimmed the upper edge into the shape of an apron front and sewed the button opening shut. Next, I sewed a piece of the twill tape to the neck edge and folded it over the raw edge, This made for a sturdy facing. With the rest of the twill tape, I found its center, measured down each leg to reserve a big enough neck loop and marked where to start sewing the side edges. These were sewed down in the same manner as the neck facing.

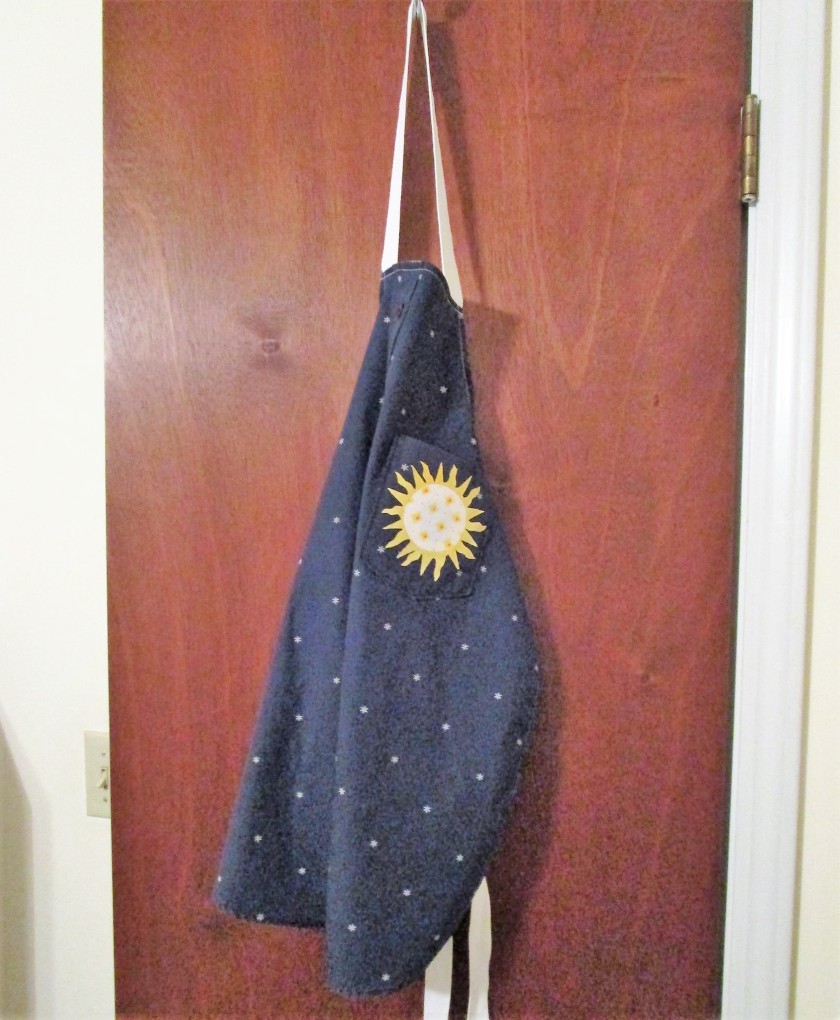
After zig-zag stitching the apron string ends, I re-attached the pocket, and was done!

POOR QUALITY LIGHT ON THIS PHOTO – SORRY

The apron fits me just fine, but it will work also on shorter persons.

This fun project cost me a few dollars and only an hour of time. With several more cut-up shirts hanging around, I can easily spend a little more time and a few more dollars to make unique, personalized gifts for the artists and cooks in my life.

Posted in sewing

Sashiko Sunday – Updated

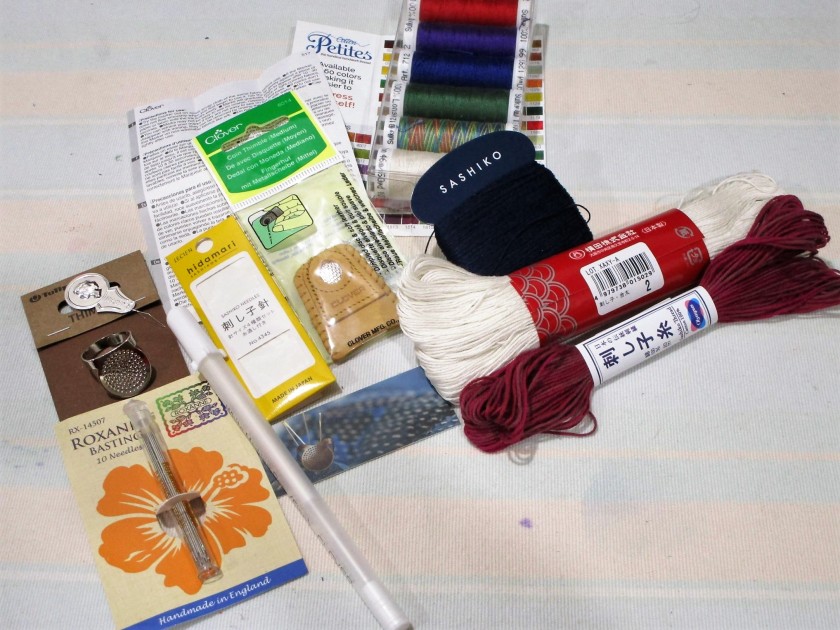
By the end of last week, my order of supplies had arrived.

My new supplies: thread, needles palm thimble, leather thimble Clover white marking pen

After spending time reading about sashiko (pronounced sah’ shee koh, by the way) I realized that it would require special tools and materials to work this style of stitching successfully. Fortunately, nothing was terribly expensive. I have to give a shout out to KimonoMomo’s Etsy site for its diversity of product, reasonable prices and swift delivery. I purchased needles, thread, thimbles and a marking pen there.

https://www.etsy.com/shop/kimonomomo?section_id=20099573

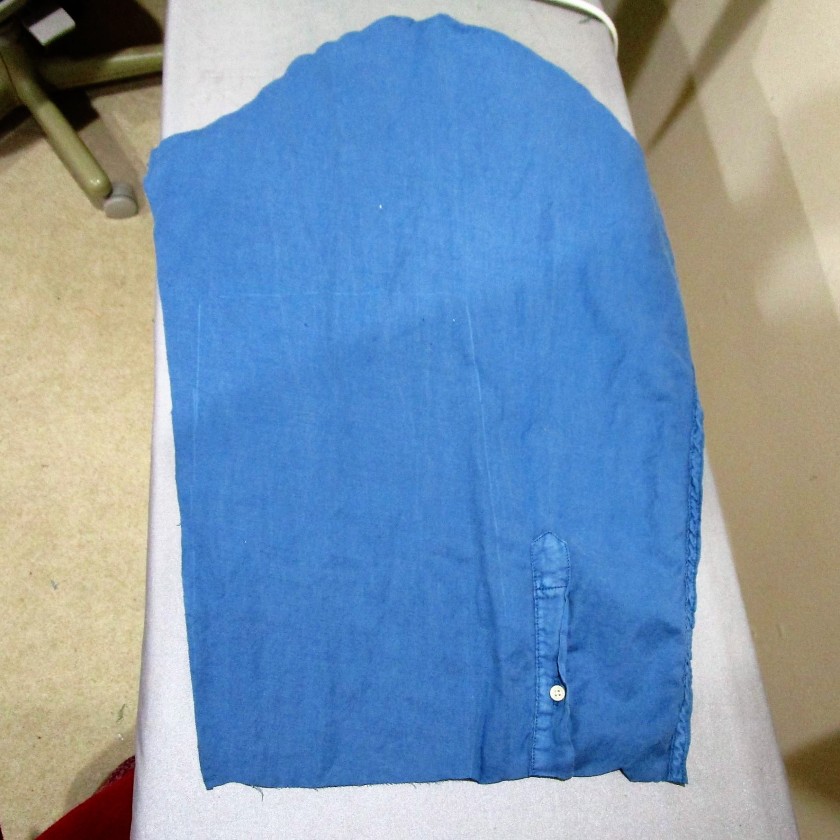
Today was the day to get started. I chose the sleeve of a man’s blue shirt to practice on, because blue is the traditional color for sashiko-stitched fiber objects.

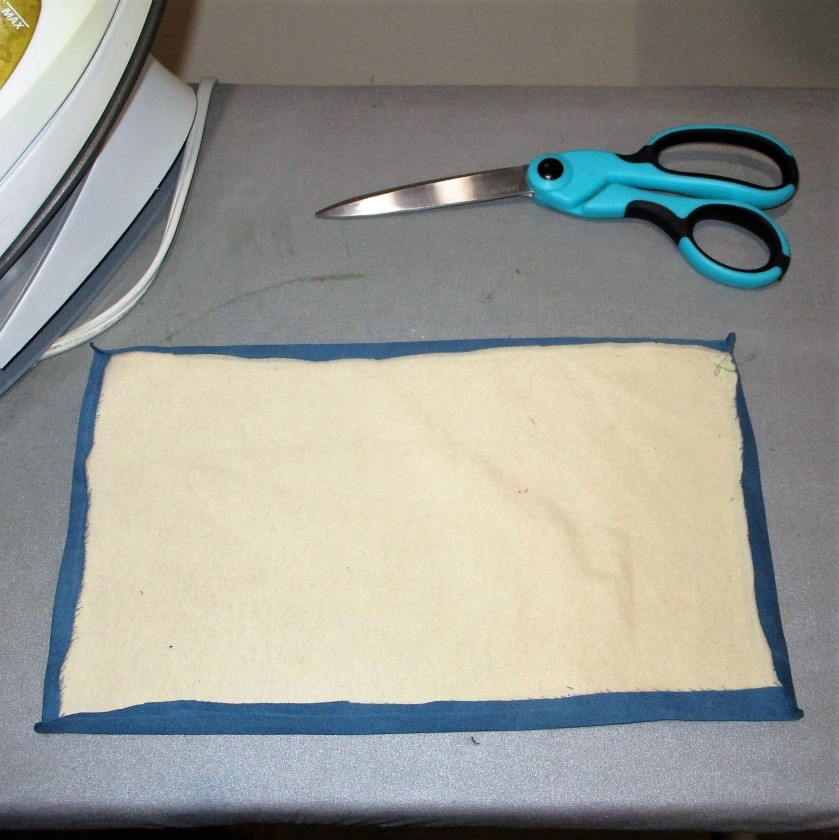
A piece of beige cotton flannel became a backing.

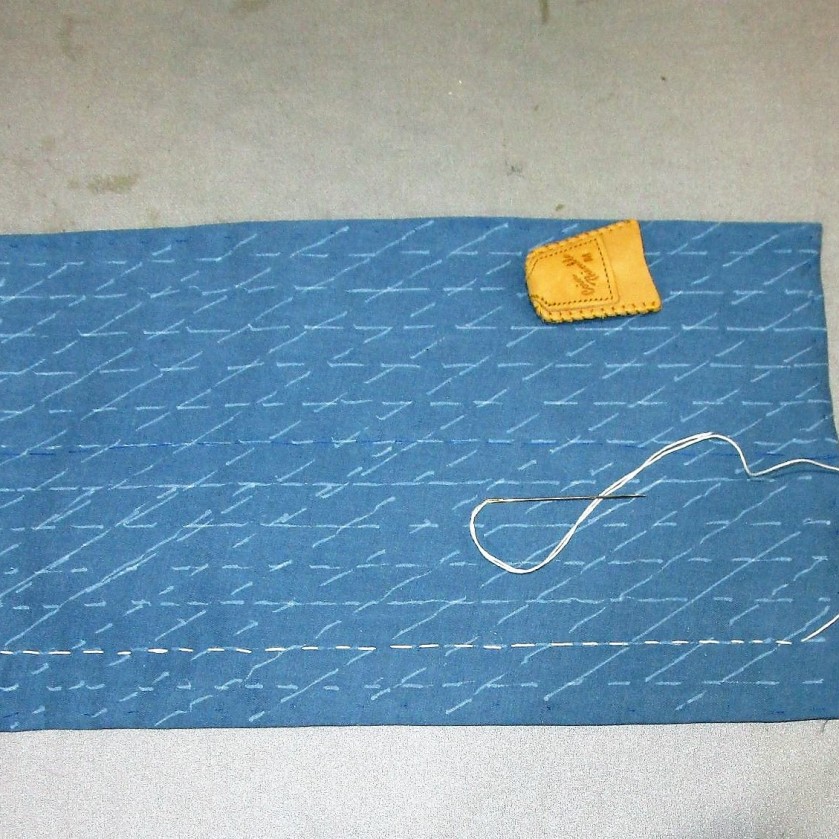
I started by folding the edges under, gluing the corners, and basting the swatch around all sides with ordinary sewing thread. Next came the marking. I just used my rectangular clear quilting ruler to create a diamond grid.

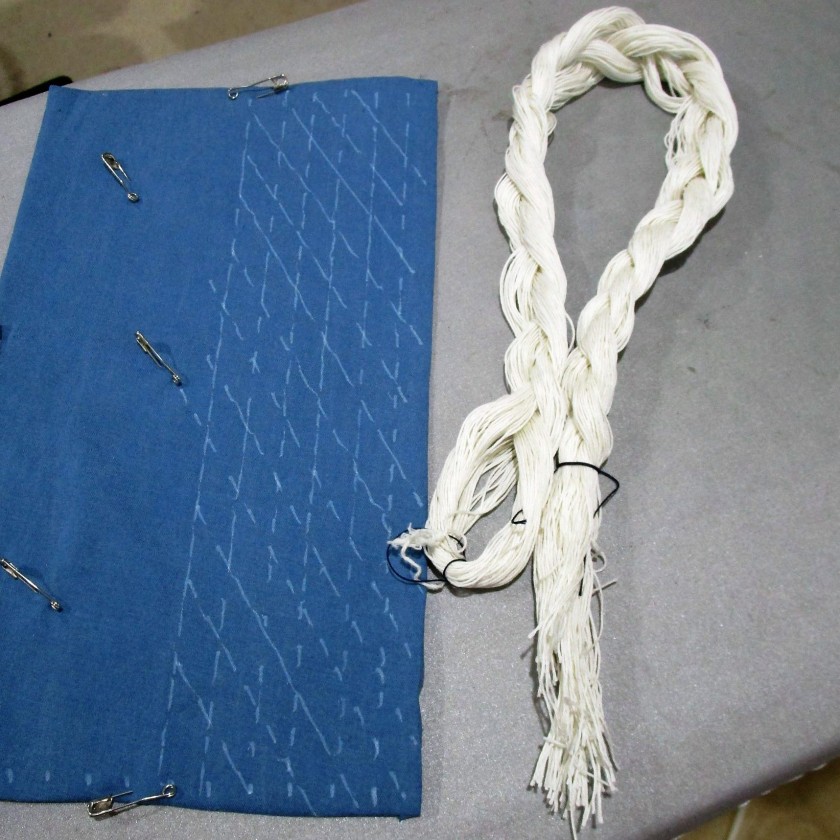
The traditional sashiko thread is sold in a skein. After carefully stretching the skein out fully, I found where it was knotted, then moved to the opposite end of the loop from the knot and cut the skein through. Next the skein is braided loosely and tied. To remove a length of thread, it is pulled out at the top, near the knot.

Here are my materials, ready to work.

And here is the first row of stitches.

Sadly, it was necessary that I perform other tasks, did not get to practice any more today. But I am confident that I have the knowledge and skill now to use sashiko as a tool in my fiber manipulation toolbox. I’ll post a photo of the finished sample in the near future.

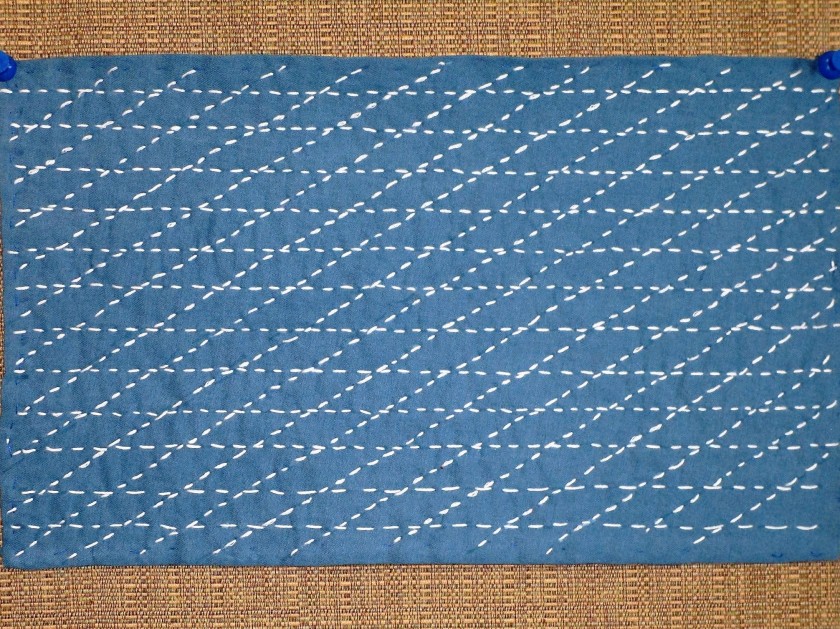
Update, Jan 21, 2022: And here is my finished sample.

As I stitched along, I began to develop a little more consistency in my stitch length. It didn’t take nearly as long to complete as I feared.

Posted in quilting, recycling, sewing

Inspired by Vintage

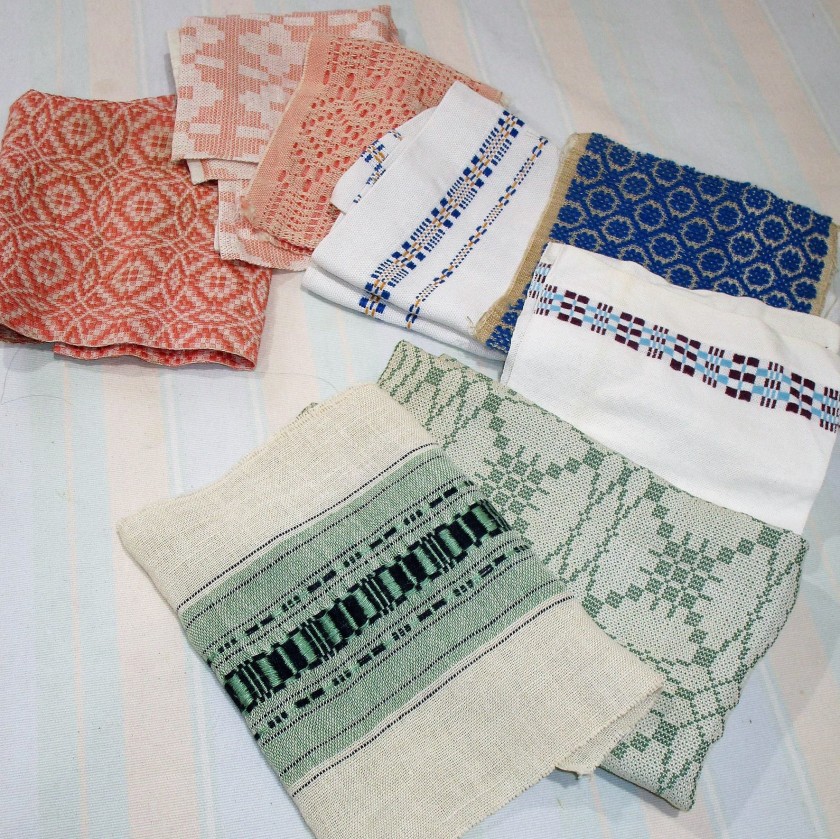
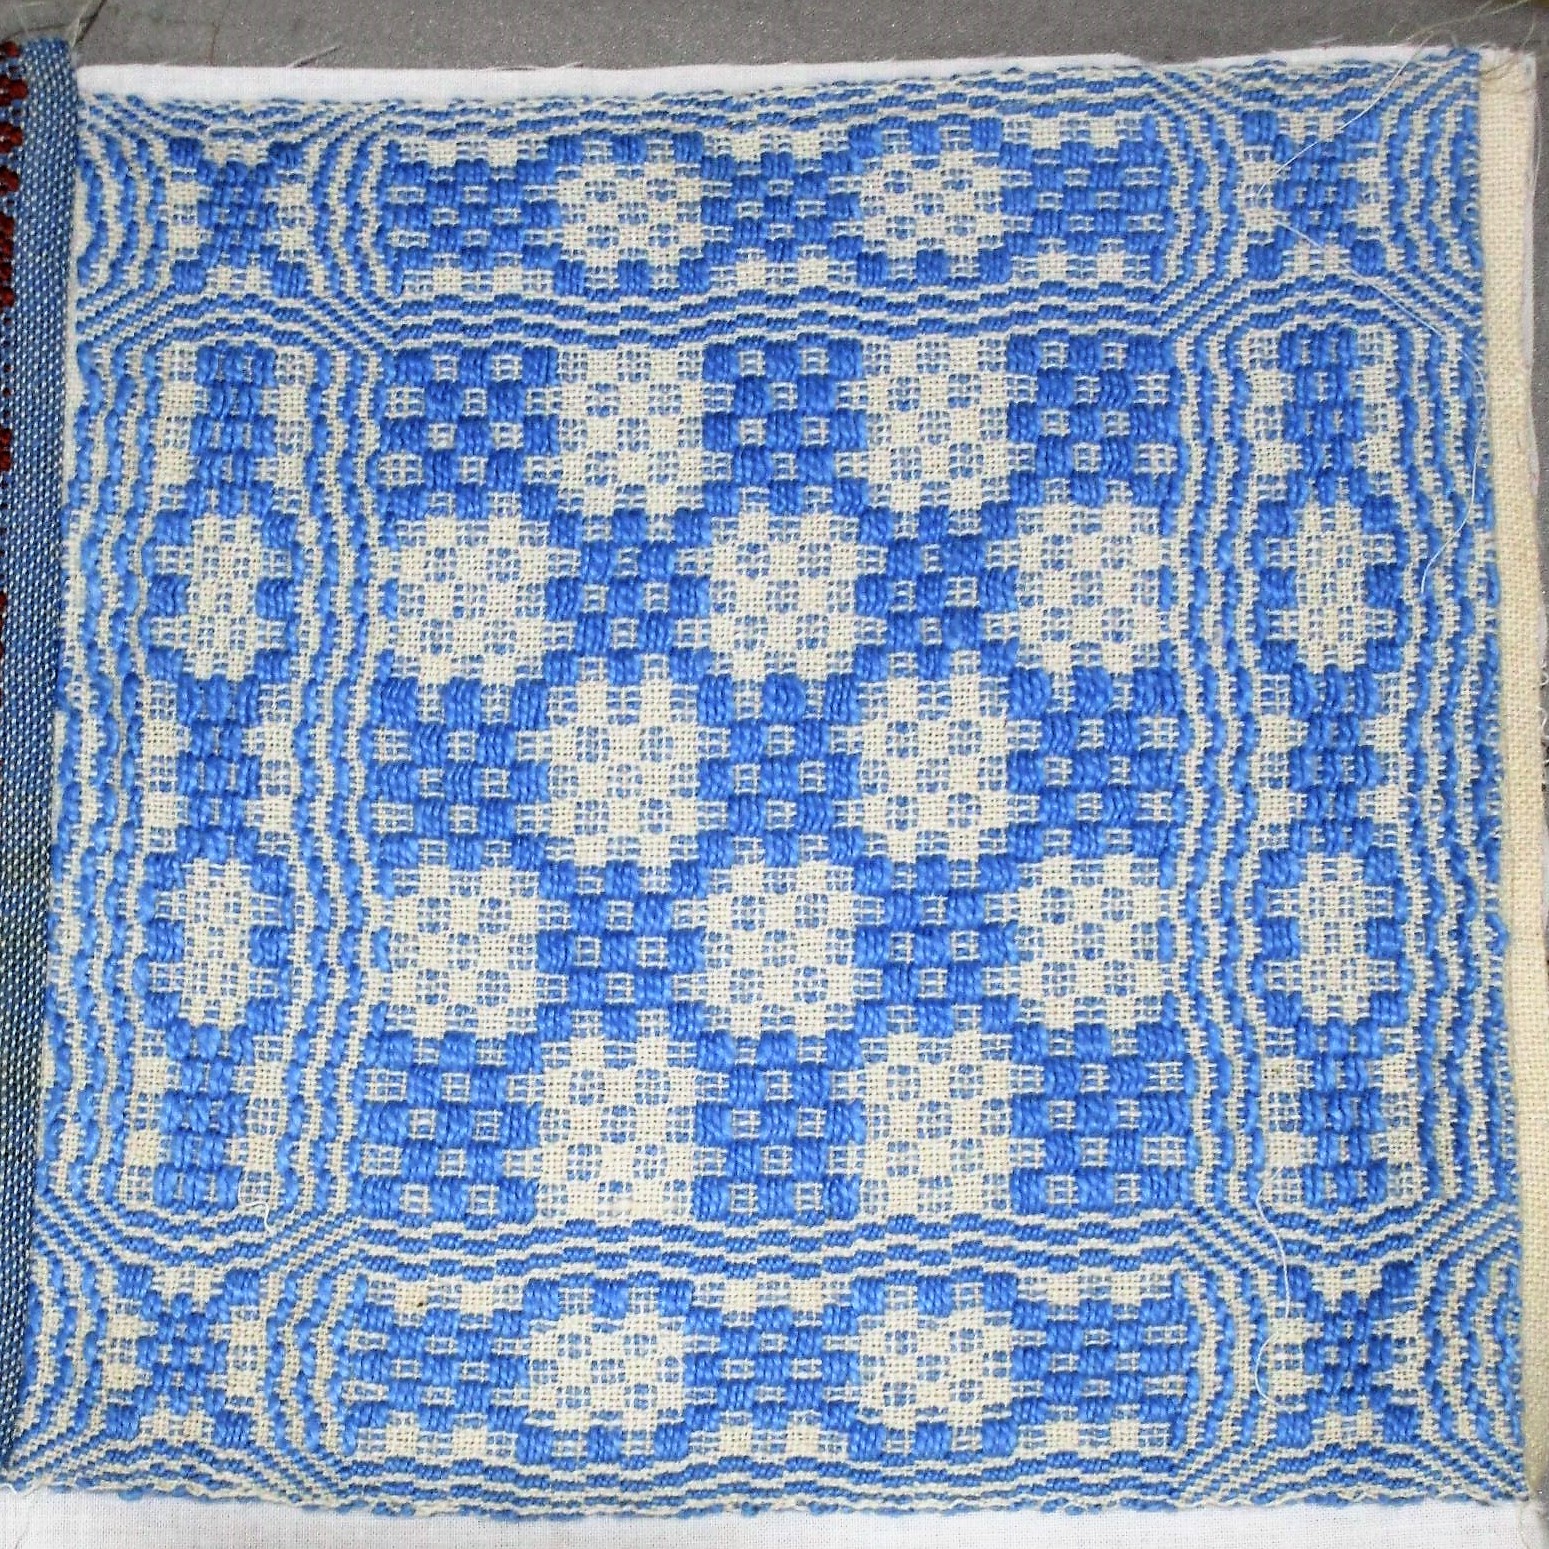
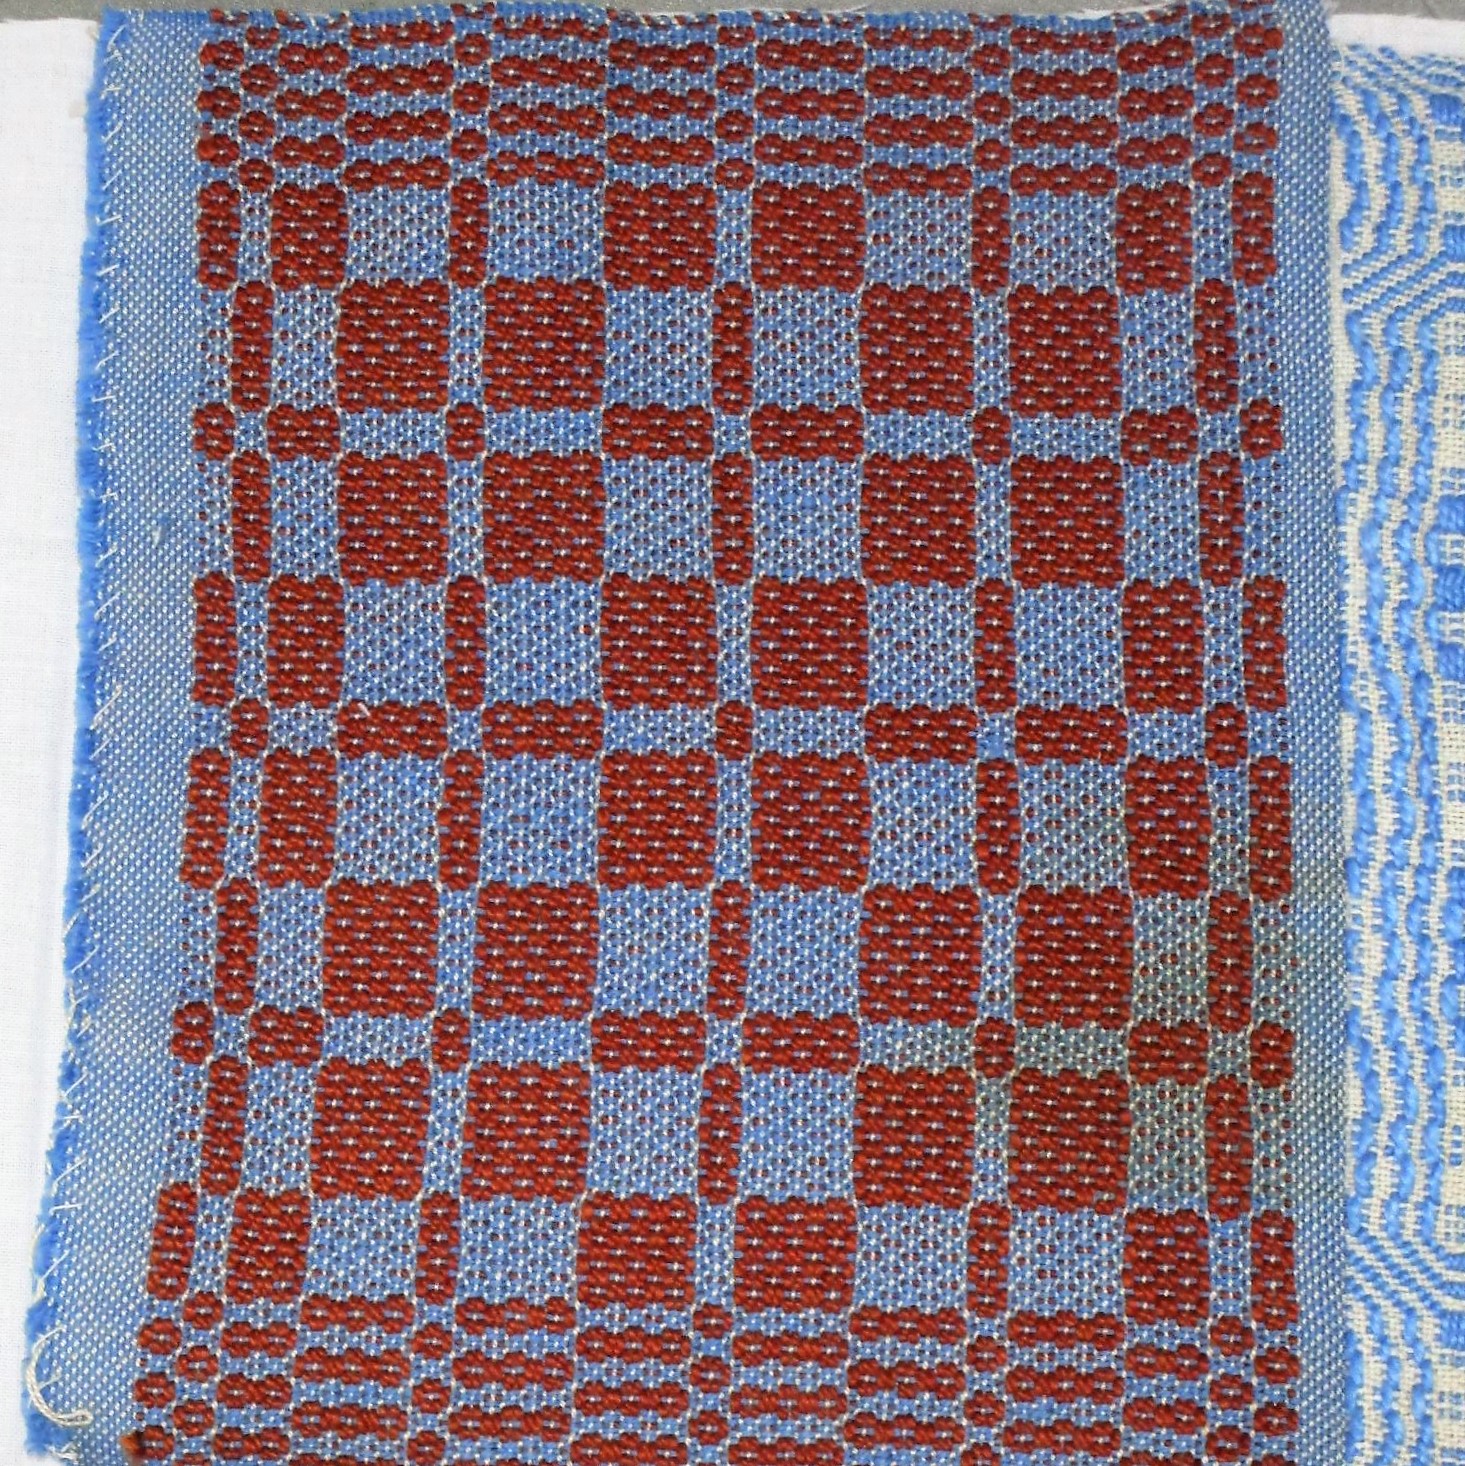
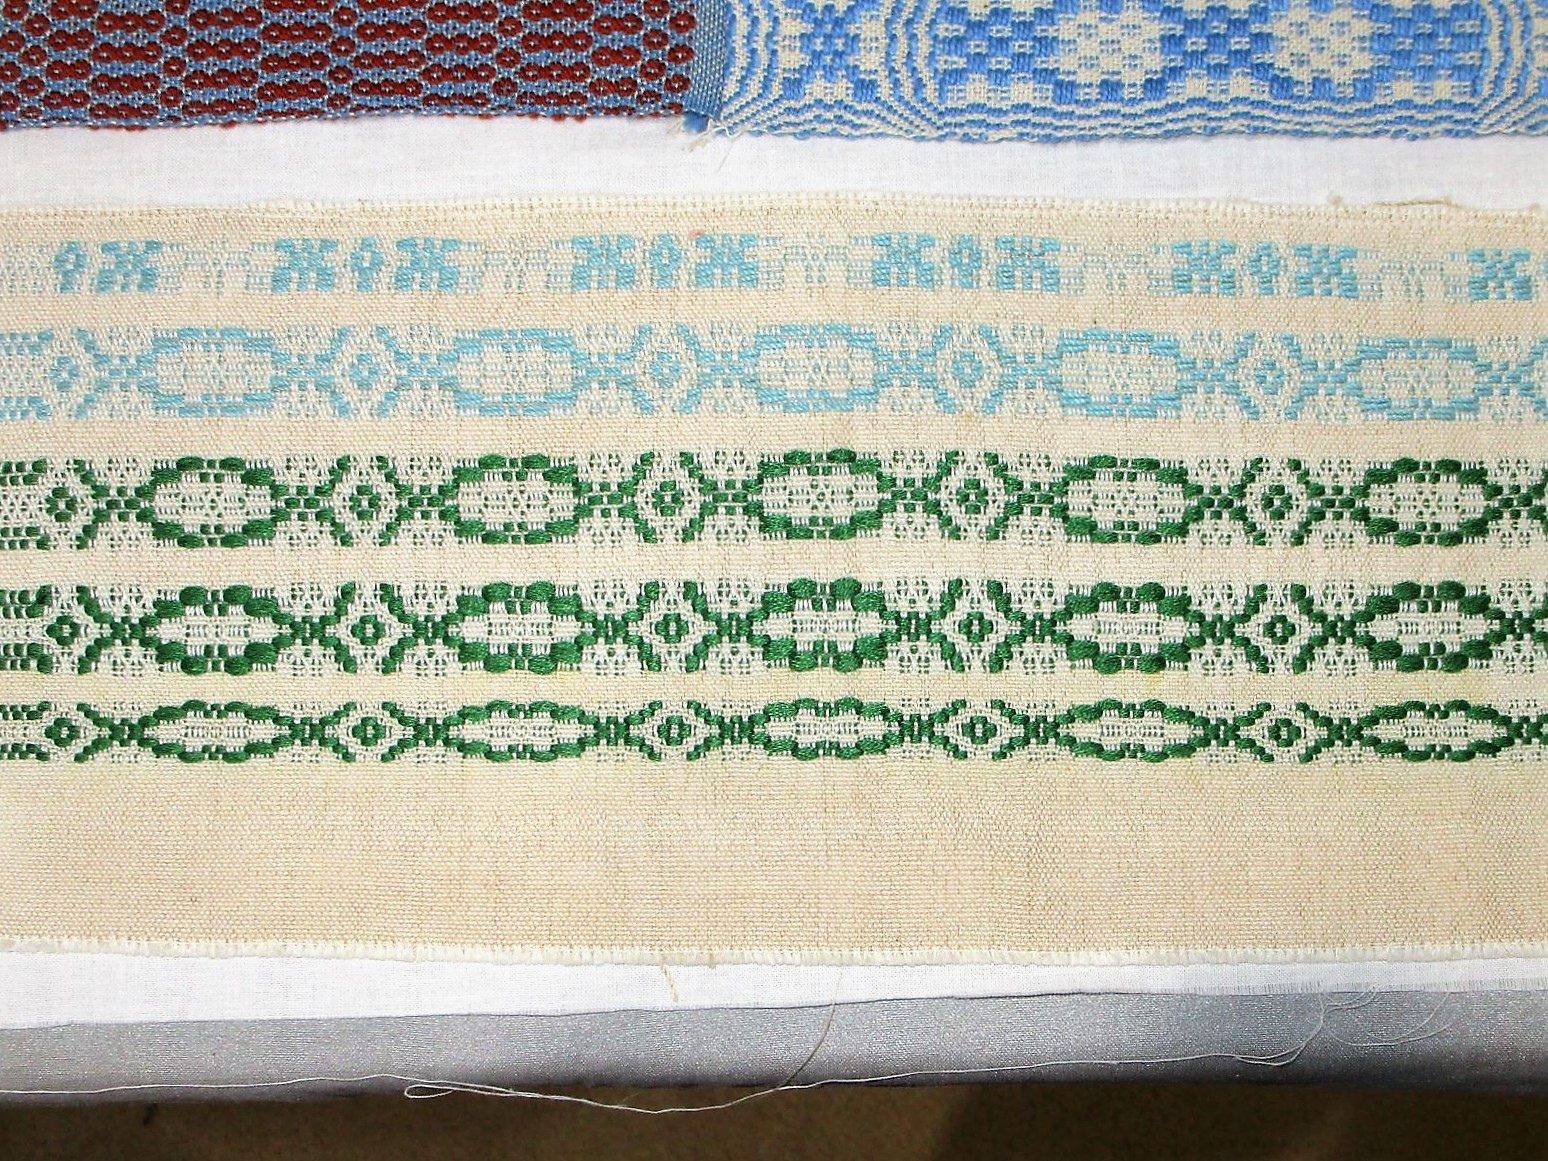
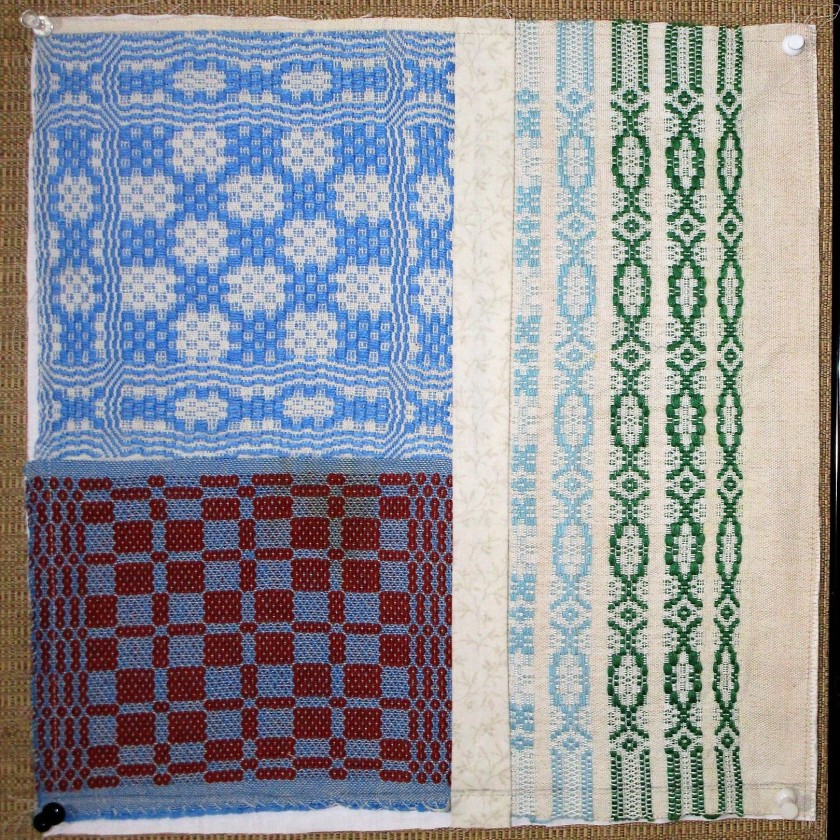
While visiting Daughter’s Family last Thanksgiving, I was invited to rummage through a stack of weaving samples. These pieces were made over a number of years by my son-in-law’s grandmother, Margaret. They were then stored away with Margaret’s son, and eventually passed into the next generation.

Here are some of the pieces that came home with me.

I was invited to keep these lovely samplers with the understanding that they could be worked into a fiber object. I feel honored to receive them.

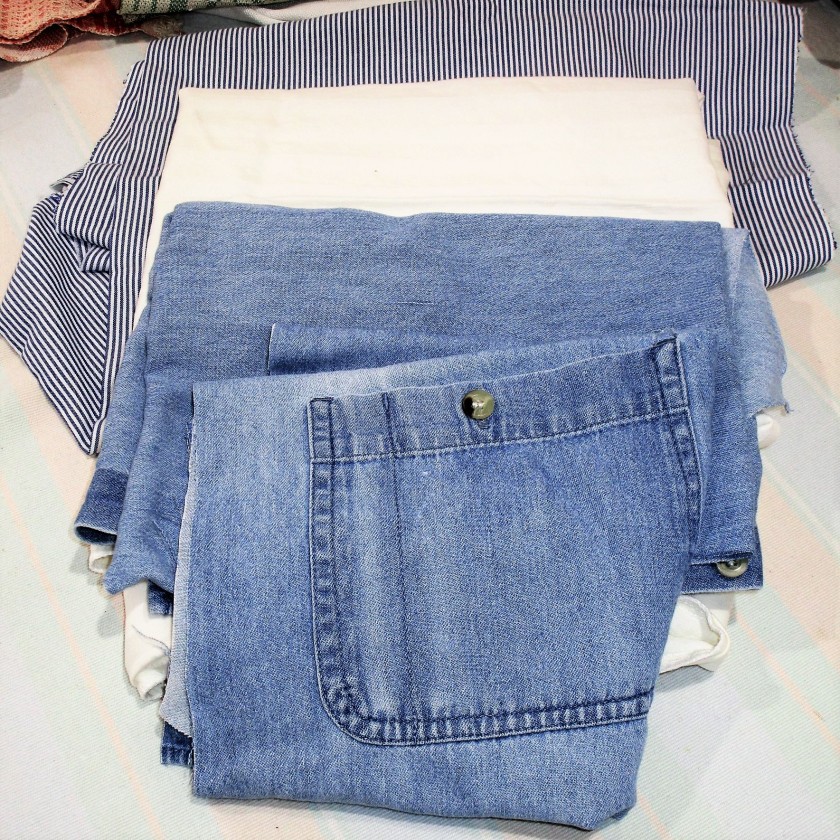
So today, I have a tiny glimpse of an idea on what to make with them. What if they formed the feature blocks in a quilt? It would be a wabi-sabi quilt, assembled with additional fabrics recycled from articles of clothing and household linens. In my stash I came across the following items that fit the description.

Cut up shirts and old pillowcases in compatible colors

I began my work by washing and pressing the linens, then examined each piece for needed repairs. It seemed to me that, while the samples were firmly woven, the weaves are much more open than standard quilting cotton. How could I stabilize them so they wouldn’t shift during quilting? This called for a consultation with quilting expert Jackie, aka, my mom.

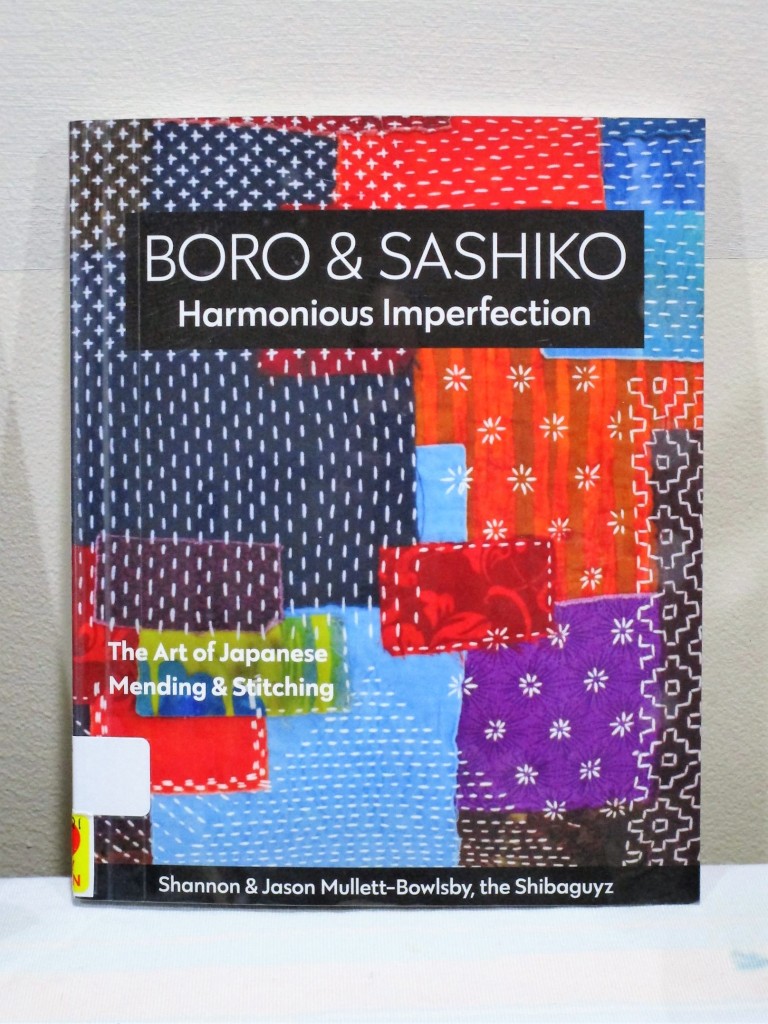
She had some great pieces of advice. Ultimately, I decided that I could sew the linens to a light-weight muslin backing, string piece style, then work in some rows of decorative stitching. This particular idea was top of mind, because I am currently reading this book on the Japanese practice of boro and sashiko.

I call this sort of happening a Convergence.

Let’s start the work with these three pieces as a center block.

They are of sizes that will fit together into a 12-inch block without cuts. The three contain all of the colors in my chosen palette, which could make an ideal focal point for the rest of the quilt.

DONE!

The next steps will be to design and sketch a layout, then acquire supporting fabrics. Maybe I can source more second-hand clothing items from local thrift stores.

Posted in sewing

F.O. Friday – Sewing

This week I got all ambitious to make some pants for L.L. I haven’t sewn clothes in years and years. But I wanted to respond to my daughter’s righteous indignation on the options provided by the clothing industry for little girls shorts. She complained that every pair she found were tight and very short – effectively sexualizing toddler girls. “Boy and girl shapes at this age all identical, yet the boy shorts are loose, comfortable and several inches longer than the girls.

She ended up purchasing boy shorts for her daughter.

So I wanted to make a fun, colorful garment that I knew LL would enjoy wearing.

As a maker, I also had the goal of using materials that I have on hand.

In the end, I did purchase a pattern, since I don’t have knowledge or skill in pattern-making.

I chose this one, because. along with the pants, it provided patterns for tops and dresses and sizes up to 4 – leaving the door open for me to make additional items of clothing in the near future.

Here’s the crazy fabric I chose.

It is a sturdy 100% cotton, leftover from a valance I made for my laundry room window. How about those zig-zags!

To challenge myself, I decided to match the zig-zag lines in the hems.

Here they are, all finished this morning.

Construction details I added were faced hems and a cotton jersey casing for the elastic at the waist.

I was happy that the fabric includes some of Lu’s favorite colors: blue, pink and green. I’ll bet that she already has several T-shirts to match.