It’s all Japanese quilt blocks all the time around my house these days. First of all, let me show you the fabrics that came yesterday from kimonomomo on Etsy;
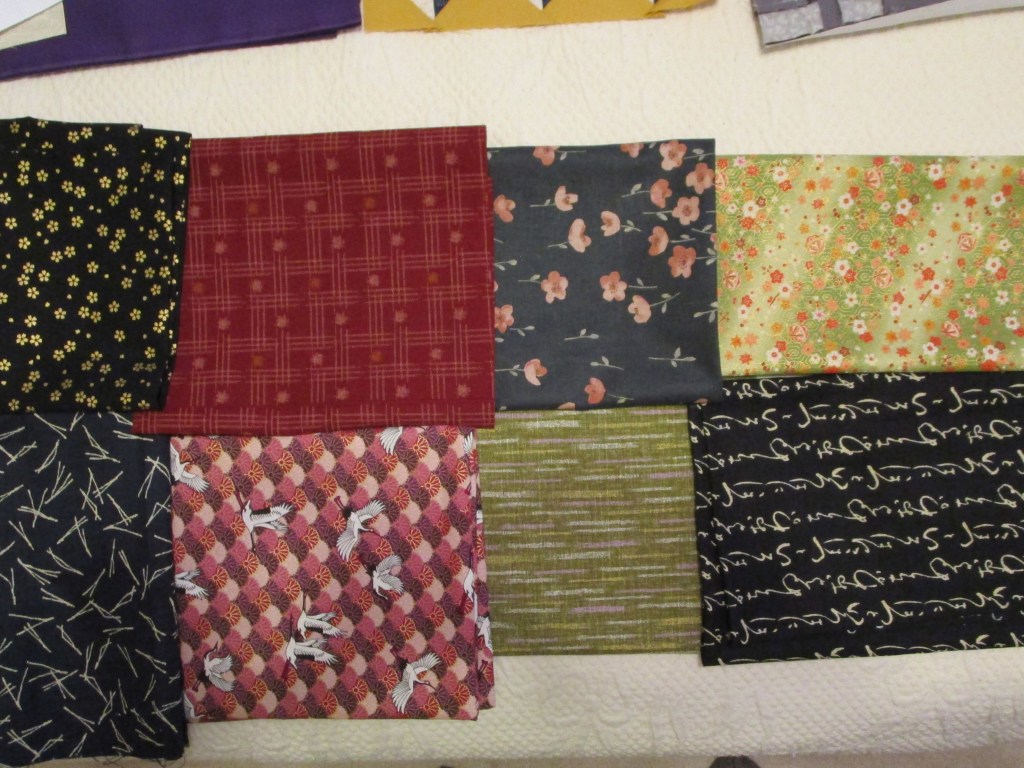
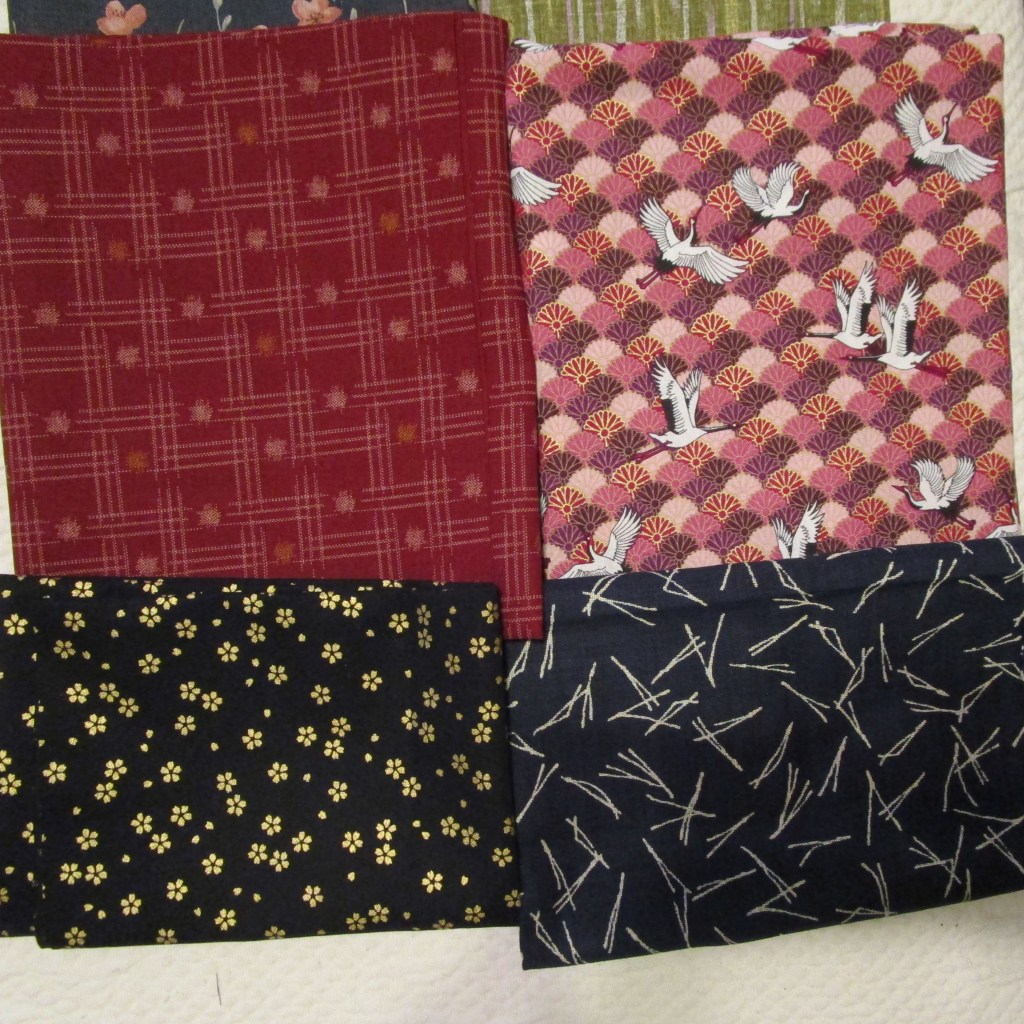
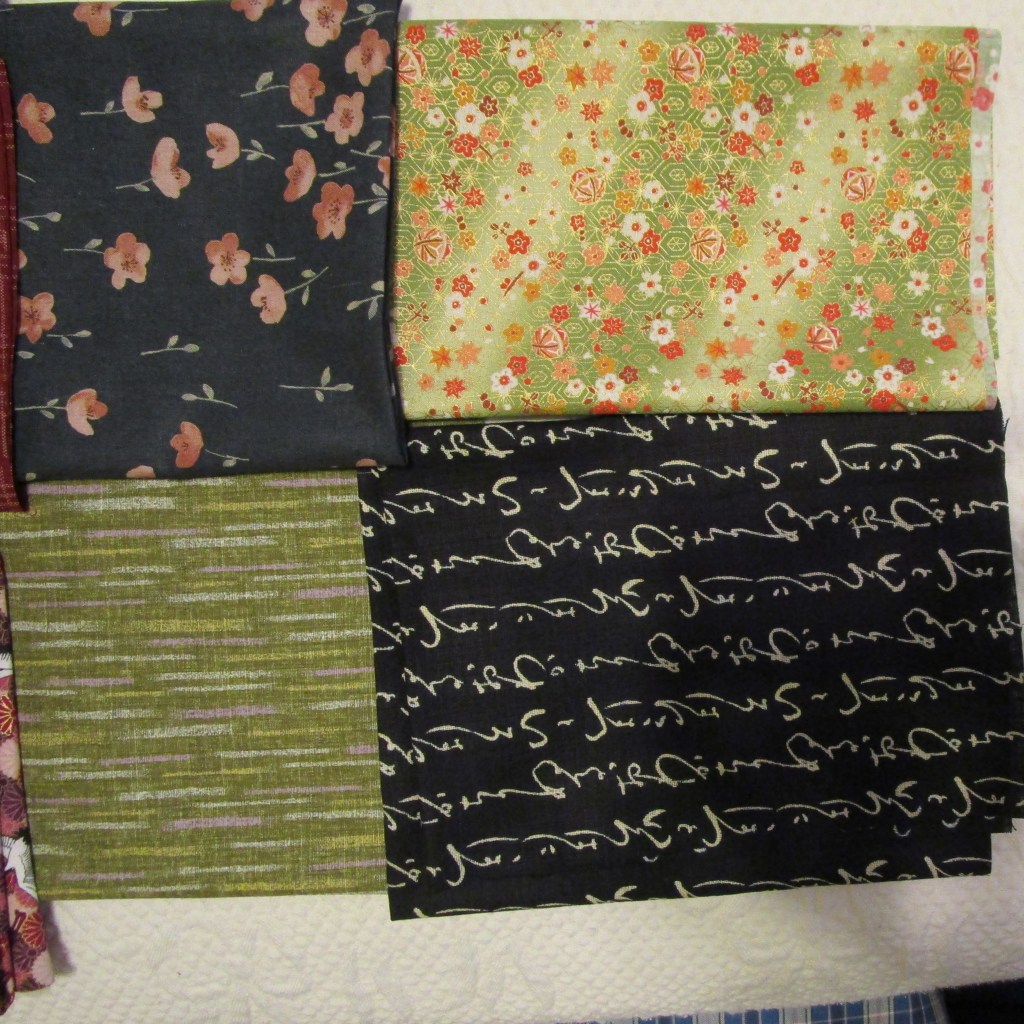
They are all types. There’s smooth cotton and homespun, shiny metallics and quiet two-color prints. What I forgot to buy was fabric in light colors. So my completed squares are about to get darker.
But not this week. Quilting Gail asked us to make star blocks for round 3. I found only one Japanese star block in Susan Briscoe’s book. The Japanese word for star is hoshi.
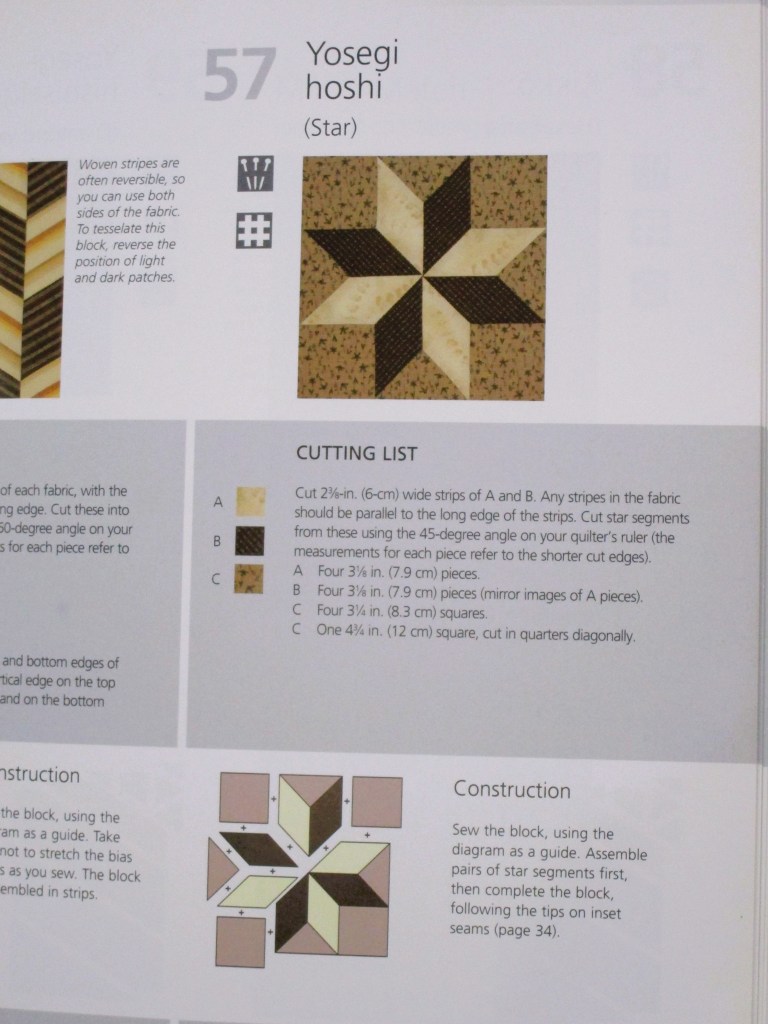
This is a basic eight point star assembled from diamond shapes. But it is not an easy one. The directions are rated difficult and the technique includes sewing lots of Y-seams. No thank you.
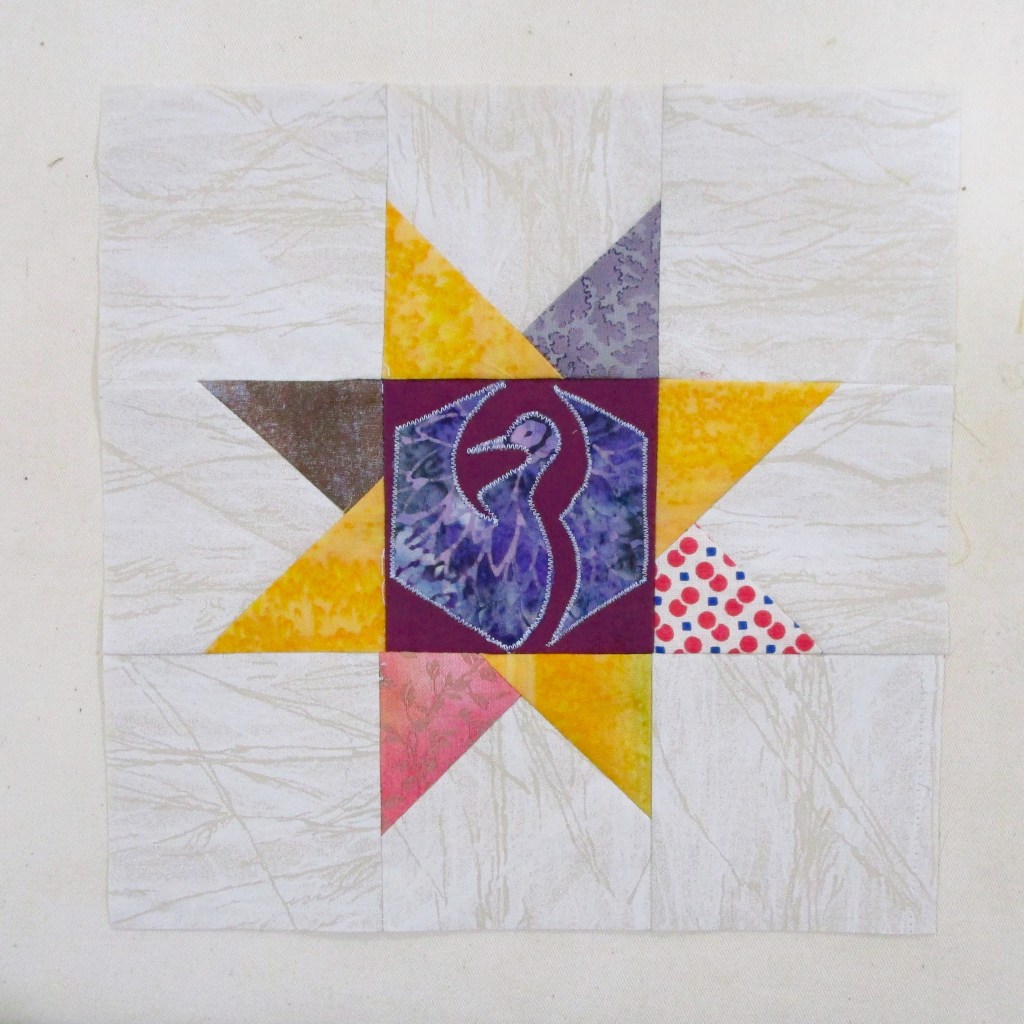
A google search helped me get out of this assignment. I discovered many Japanese quilts that incorporated hoshi blocks in different techniques and styles. So I decided to use this criss-cross star block as described by Anorina on sameliasmum.com
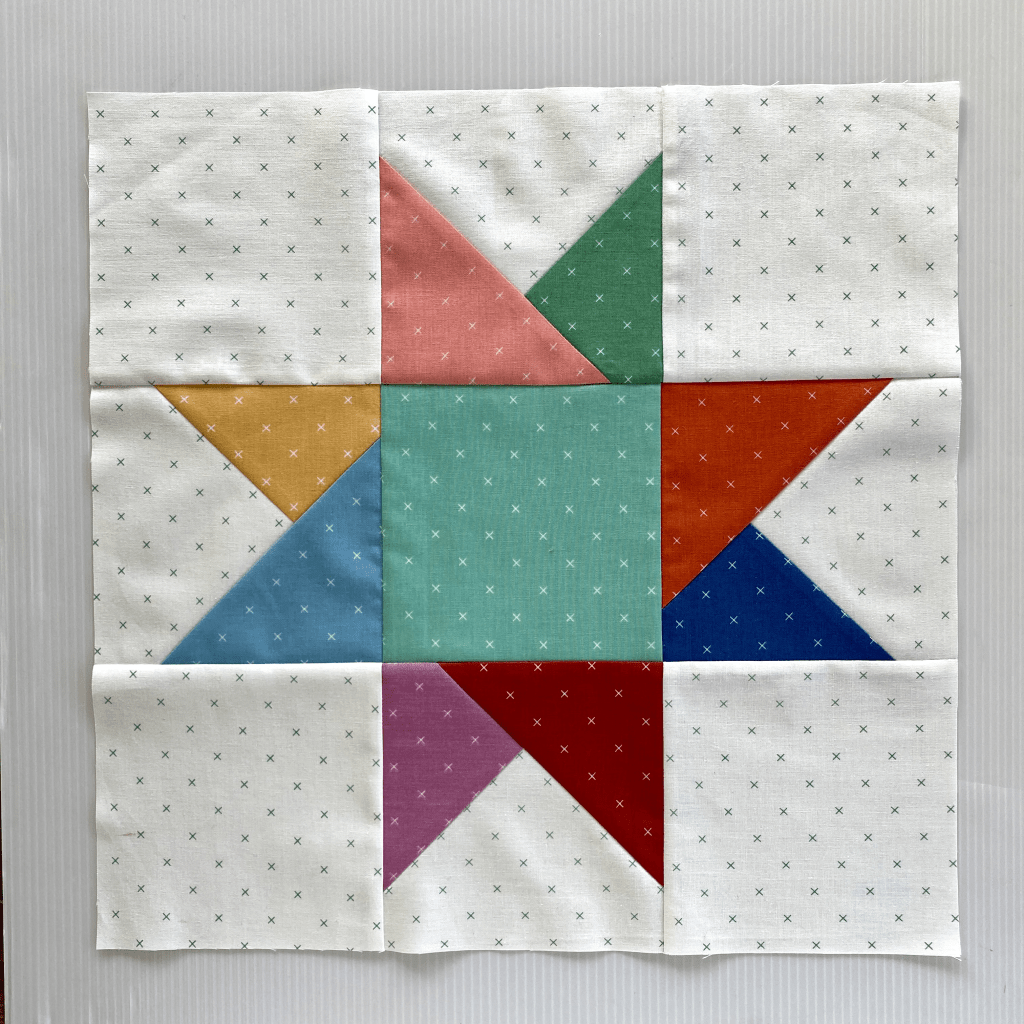
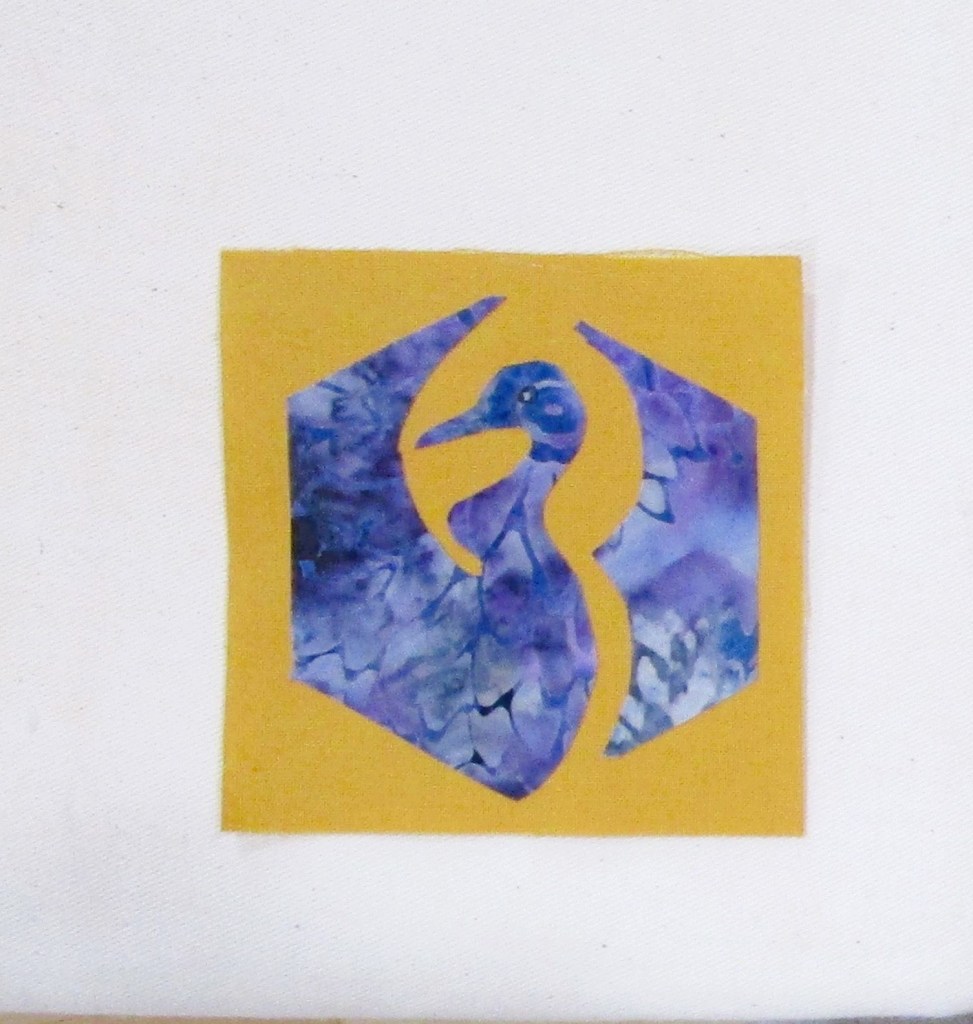
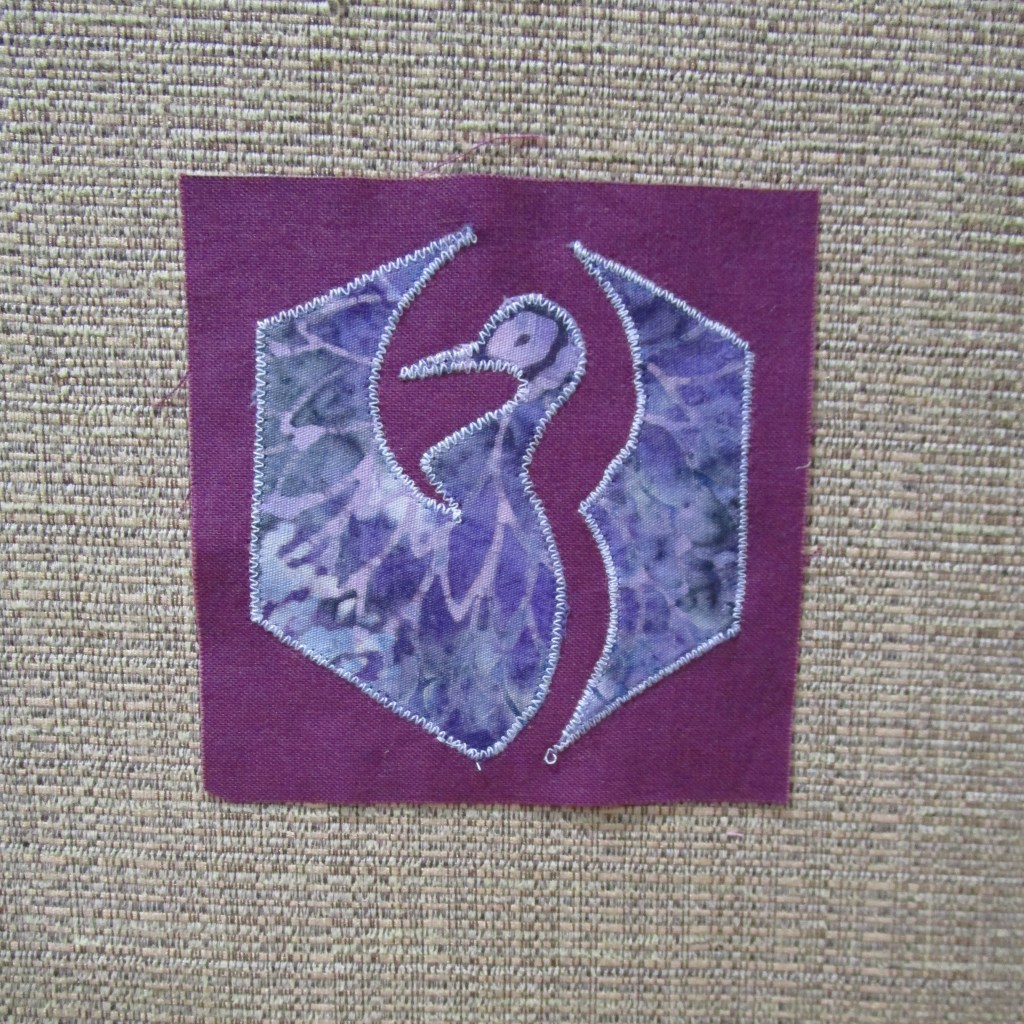
To give the block a little Japanese style, I made the center square with an appliqued crane, which symbolizes longevity for the Japanese. This applique is included in Susan’s pattern book and described as a crest.
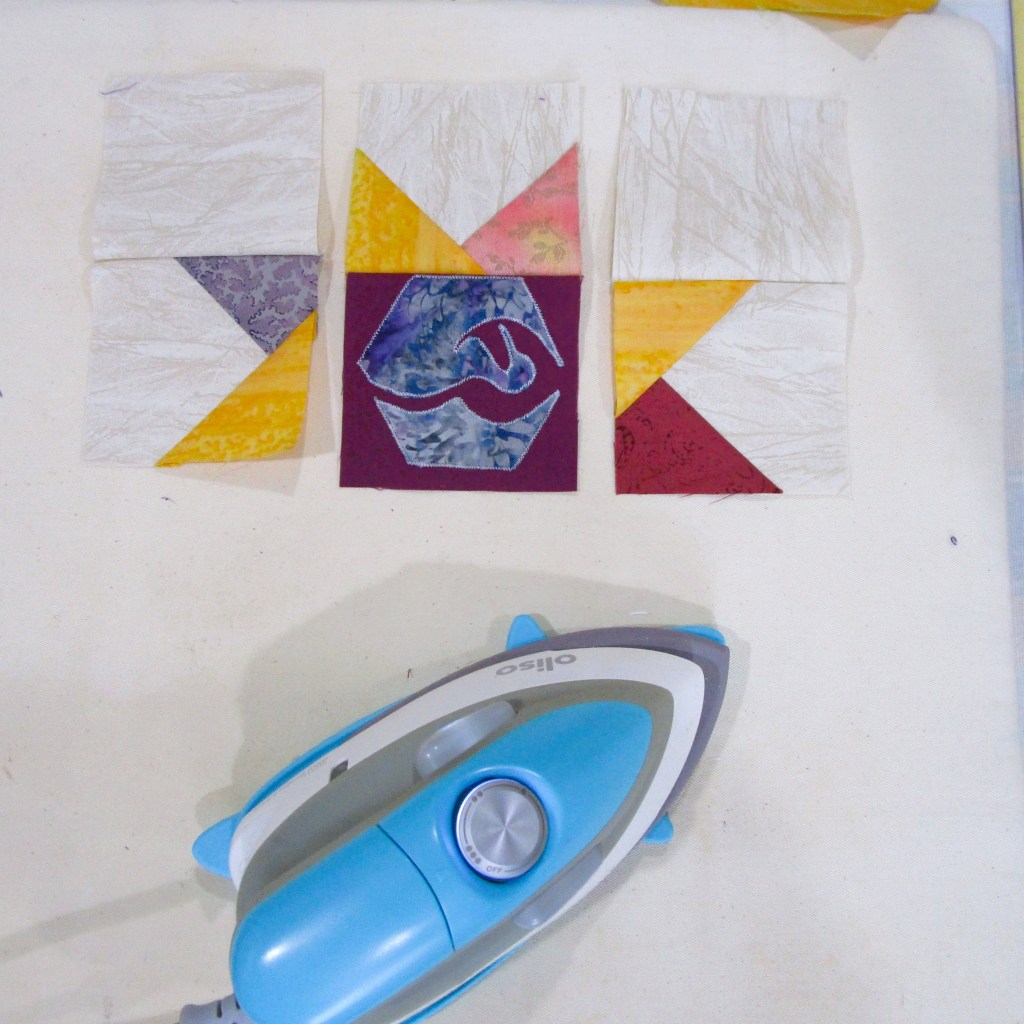
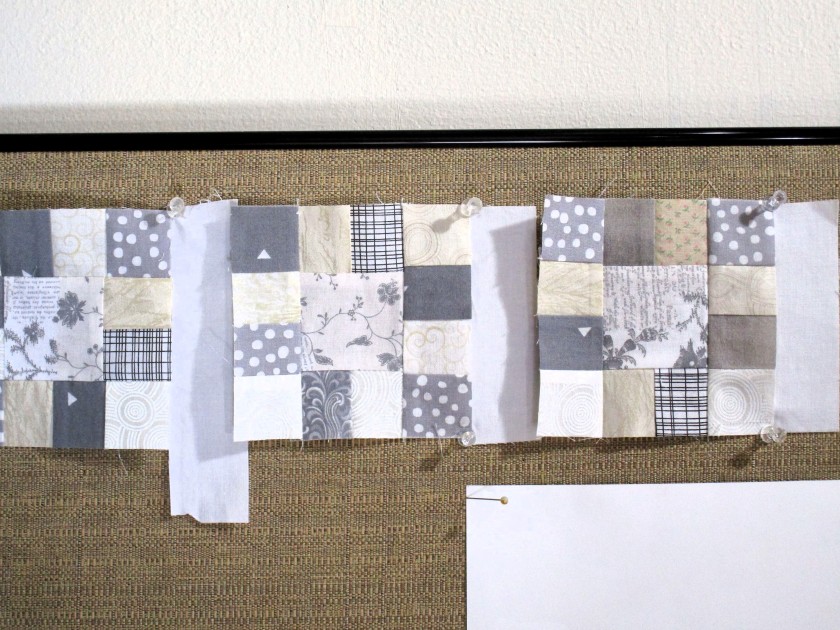
I sewed three criss-cross blocks in all. And here is my quilt at the end of round 3.
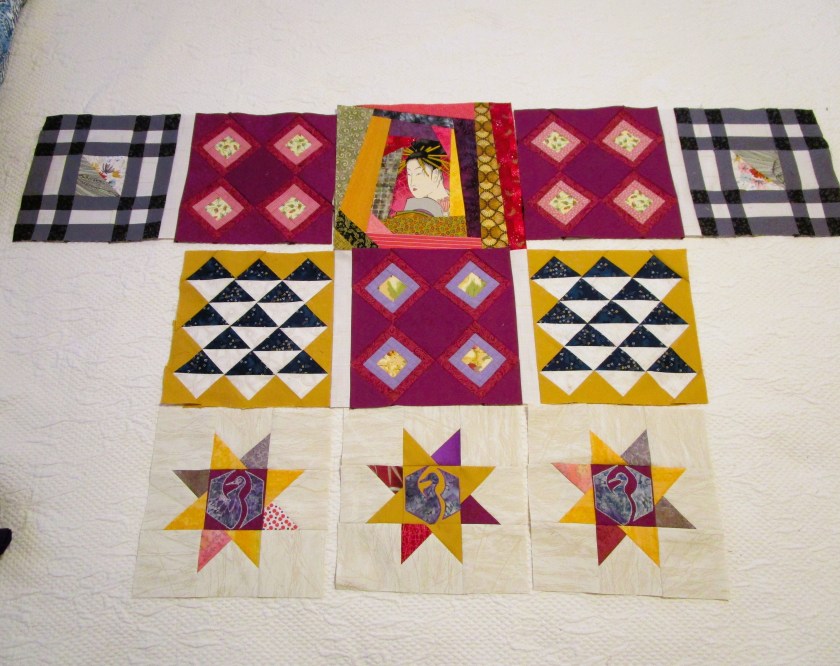
I will be continuing to stagger the placement of blocks. That means I need to wait for Round 4 to finish this row. Two blocks from Round 4 will replace the outside stars in this row. They will be moved to row 4.
I hope you are enjoying my little adventure in international quilting. Be sure to visit the Linky party. It can be found on Quilting Gail’s site.
Here is the line up of all 2025 SAHRR designers.
- January 13: The links for the Centre blocks are on THIS POST.
- January 20: 1st Round: Kathleen @ Kathleen McMusing
- January 27: 2nd Round: Anja @ Anja Quilts
- February 3: 3rd Round: ME!!! @ Quilting Gail You are HERE!
- February 10: 4th Round: Wendy @ Pieceful Thoughts of My Quilting Life
- February 17: 5th Round: Brenda @ Songbird Designs
- February 24: 6th Round: Emily @ The Darling Dogwood
- March 24: Parade: showing all of your finished SAHRRs!
See you next week.