Posted in painting, quilting

Update on Arches Quilt

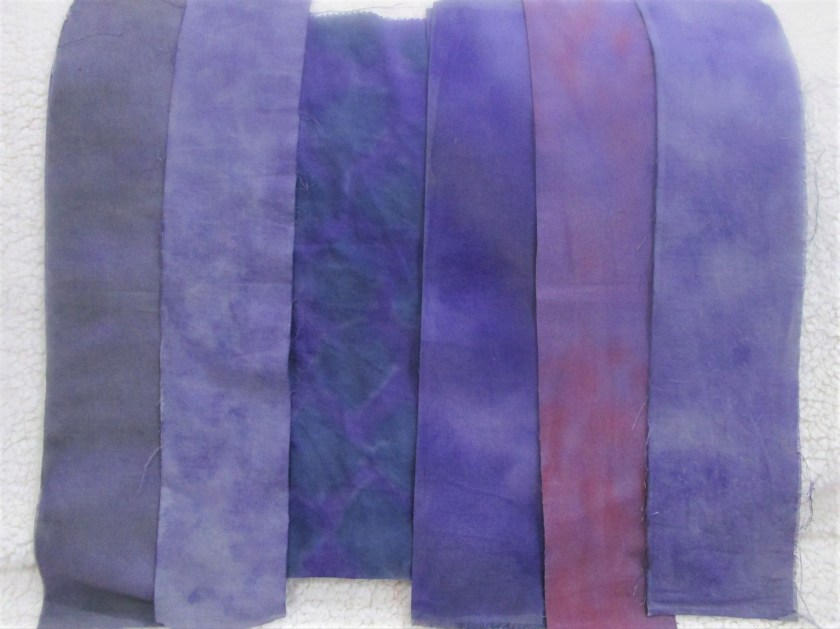
I last wrote about this project on November 16th – almost a month ago. In that post I made a list of next steps. While I have completed all but a few of those steps, I started to lose enthusiasm for the project while painting my fabric. It seems that all of my fabrics began to look alike. I told myself that the background fabrics SHOULD look alike, otherwise they wouldn’t retreat into the background. But I still wanted more texture and movement in the colors. So I decided to go back to Cindy Walter’s fabric painting class, to review my technique and discover what I’m missing.

https://shop.mybluprint.com/quilting/classes/fun-techniques-with-fabric-paints/35491

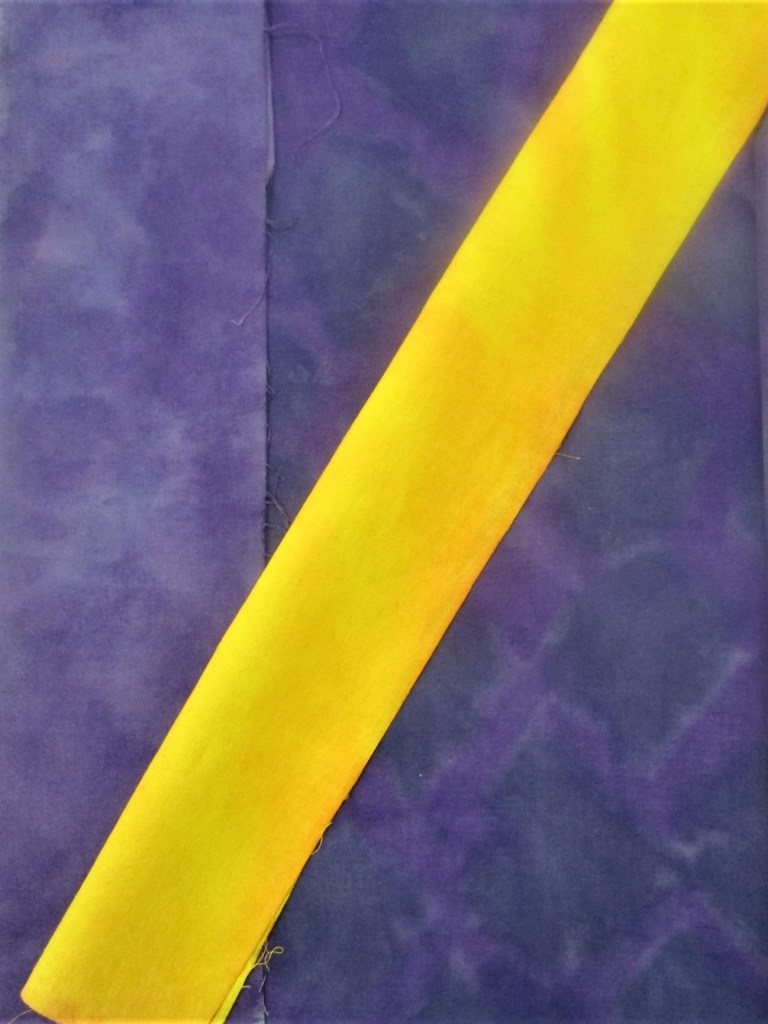
That did the trick. I worked a few variations on color washing and finished painting the background fabric. I now have enough fabric to start building the quilt blocks.

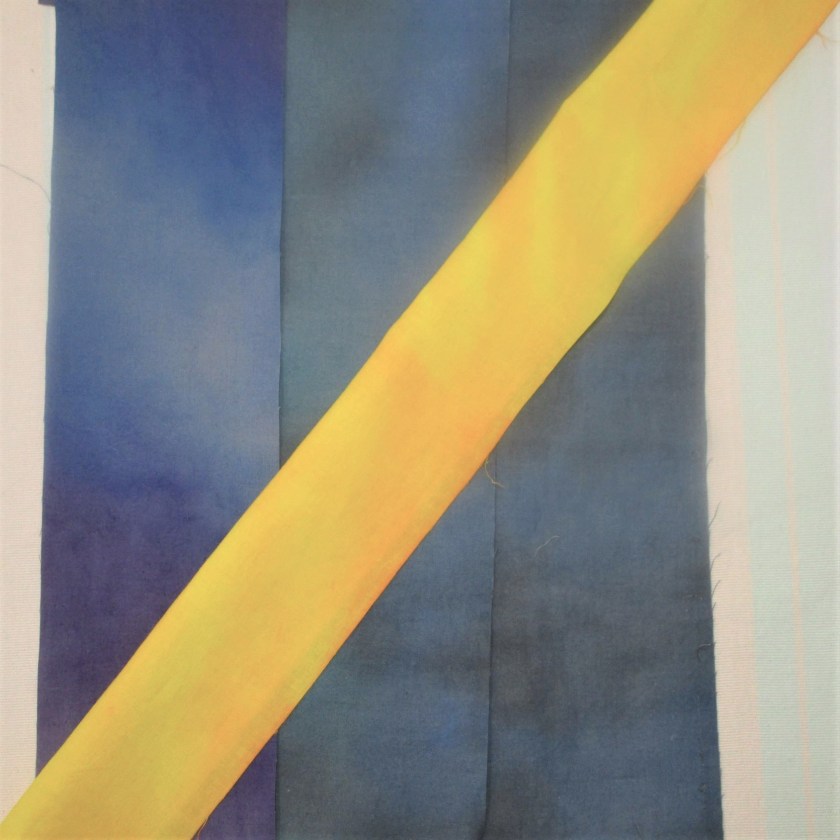
Looking at all the difference in the fabrics, it’s clear to me that I need to organize them in a way that illustrates the scene I want to paint. The solution came to me while I was in the shower. (Why do I get my best ideas while washing my hair?) The Arch stretches itself across three different backdrops.

Water.

City.

And sky

I have my design, my structure, my fabric and my pattern. Now I can begin to sew.

Posted in quilting

Back to the Scrap Heap

I’m taking a break from knitting and painting to do a little sewing.  Some may recall my brief panic the day I realized what happens to my studio as a consequence of quilting.

Crazy Out-of-Control Scrap Heap

After spending time perusing other quilt blogs to find out how other quilters deal with this situation, I found part of the solution in the form of quilted buckets.  This lesson comes to us from Christina Cameli and Bluprint.com.

https://shop.mybluprint.com/quilting/classes/free-motion-quilted-gifts/673670

So yesterday I started on my first of three fabric buckets that (I hope) will contain my fabric-waiting-to-be-used.  This project is also an opportunity for me to practice free motion quilting while adding color and style to my studio. Her are my fabric choices for the first bucket.

120619a
Pink for the outside and gray for the lining.

I’m quilting dimensional triangles for this bucket.  Here is the first step done.

120619b
I had to use a chalk pencil to keep my row straight.

The next few hours were spent happily quilting.  Eventually the first basket was finished.

120619c
Some inch-wide grosgrain ribbon I found became the basket handles.

I have to admit that I sewed up the wrong sides of the baskets, so my basket is actually two inches longer than the one in the lesson. This turned out to be fortunate. The revised dimension held lots of fabric and fit nicely into the allotted space on my shelves.

120619d

I used the Kon-Marie method of folding the fabric and filled the bucket with the folded fabric pieces inserted on edge. It was amazing to see how much fabric this little bucket holds.  Each fabric piece remains clearly visible and easy to grab.

So my plan now is to make three more buckets to use in storing 1 yard and fat quarter size pieces, and to make some smaller baskets for the various colors of scraps.

I highly recommend Christina Cameli’s class. She is delightful instructor.  Each of her projects can be made in an afternoon and would make wonderful gifts.

Posted in colorwork, quilting

Inspiration, Gestation, Implementation

INSPIRATION: The idea for creating a fiber object based on the Gateway Arch has been rattling around in my brain for some time. It really started way back in 2012, after my husband and I visited the Gateway to the West museum in St. Louis. At that time, he took a series of photographs showing every possible angle of the Arch at ground level. They are rather remarkable, taken as a group. Here is an example.

Earlier this year, I asked for copies of these images and began to imagine how a series of different views would look on quilt blocks. I printed out nine pictures and pushed them around against each other. In the end, I shelved the project. I decided that I really lacked the necessary technical skills to realize my idea.

GESTATION: Over the summer I completed several on-line quilting lessons and actually made a quilt based on my own design. I now feel ready to tackle the Arch project. So yesterday I pulled the photos back out and arranged them into a nine-block design with a look that pleased me. It took me hours to get it right.

IMPLEMENTATION: Dear me. Thinking about the many steps required to move a quilting project from the idea stage through to completion is giving me pause. Let’s take stock of where I am so far:

  • I have a design and a layout, pictured above. Each image represents one block at 1/3 scale. I’ve decided that I will need a paper template for each arch image, in order to draw and cut it accurately from the background material. For this task, I have located a pad of giant post-it notes. From it I have cut nine pieces that are 14 and 1/2 inches square.
  • Block Content: Each block will consist of 16 squares with a finished size of 3 1/2 inches. The flowing arch will be cut free-hand into the sewn blocks and inserted.
  • Colors: There will be three background colors in hand painted fabrics, moving from left to right they are purple, blue-purple, and blue. The arch section which winds through each block will be made of golden-orange-pink fabric. Here are some samples that I made earlier this year.
  • Other design decisions yet to be made: sashing or no sashing, type and number of borders, backing. While I plan to quilt it myself, I haven’t decided on a pattern yet.

Next steps seem to be

  • Draw to scale the templates for each block
  • Determine yardage needed for quilt top and purchase fabric
  • Cut fabric into manageable strips
  • Hand dye strips according to design plan
  • Cut out the squares
  • Practice cutting free-style curves.

A wise woman said, the journey of a thousand stitches begins with one thread.

Posted in quilting

Practical Fiber Fun

To those of you who are still following my blog, thank you! November has arrived and I am back on track with fiber and a plan to make some holiday gifts. This is the first year that I have had plenty of time. It’s gratifying to apply some of the skills I have developed since beginning Daily Fiber! Today I am going to share with you a sweet gift for all the creative types on your giving list. I learned to make this little journal cover in a class at Bluprint.com taught by Christina Cameli. Her craft is quilting, and she excels at working her stitch magic in free motion.

Materials are cheap and readily available: fabric, quilt batting, some foldover elastic and a paper bound journal that you can get at craft, big box, or office supply stores.

Here are the strips I will be using today:

After cutting out all the pieces, the first step is to stitch together enough strips to cover the journal. In this case, I needed a piece that was 9 1/4 in. tall by 13 in. wide. Make it a little bigger than required. Then put together a quilt sandwich with batting and backing (muslin will do.) Using the free-motion technique you like (or one you want to practice) quilt away! I chose to use my walking foot this time.

Pick a lining fabric to go with your theme. It will need to be about eight inches wider than the cover and the same height.

Here’s the lining and journal insert I chose.

Cut to dimension and sew the lining to the cover, right sides together, per the class instructions. The wrap over elastic will be sewn to the back panel with right side down. Trim the corners, turn the piece right side out and press. After you checked that the journal fits inside, top stitch the cover very, very close to the edge. (Be careful to keep the elastic free of top stitching, or it will be too tight.) You’re done.

And here is my finished gift.

Really fun. I’ll be making more of these , and plan to try out some interesting free-motion designs.

Here is Christina’s class. https://shop.mybluprint.com/quilting/classes/free-motion-quilted-gifts/673670

The class also provides instructions for a small basket and zip pouch. Happy quilting!

Posted in quilting

Fun with Free Motion Quilting

Yesterday my Bernina and I spent some quality time together. I used my Autumnal Equinox square to practice free-motion quilting techniques.

One of the things that gave me more confidence is the discovery of the 1/2 speed button on the Bernina. So far, I have mastered wiggles, loops, lazy eights, dot-to-dot and circles. I still can’t do meander.

I had fun drawing with thread on my reverse applique picture. Oh, also a few birds and a squirrel were added by hand embroidery.

Many thanks to Christina Cameli for her class on bluprint.com. https://shop.mybluprint.com/quilting/classes/free-motion-quilting-essentials/40670