Posted in painting, quilting

Scrappy Sunset

I am having issues with realism. It’s not what you’re thinking. This isn’t about reality. I have a firm grip on my personal reality, and also on the wider reality of life in the dysfunctional 21st century. No, it’s about trying to portray realistic images in my artwork. My dissatisfaction began to grow as I learned to paint with watercolor. All the instruction I have received so far focuses on rendering what I see in the real world. Specifically, I’m taught, how to paint in a manner that emulates three dimensions of shapes in the real world. It’s not going well. And now my dissatisfaction with painting has spilled over into my work with fiber, leading to a muted feeling about all my work.

When I began to experiment with fiber, I was inspired by the work of Gustav Klimt. Klimt began his training in applied arts. This influence shows in his paintings,which are filled with decorative surfaces. It’s the opposite direction of realism. He takes the human form and renders it as a surface, with delicate textural coloration. The rest of his canvas is bursting with a riot of color and pattern.

https://en.wikipedia.org/wiki/Gustav_Klimt

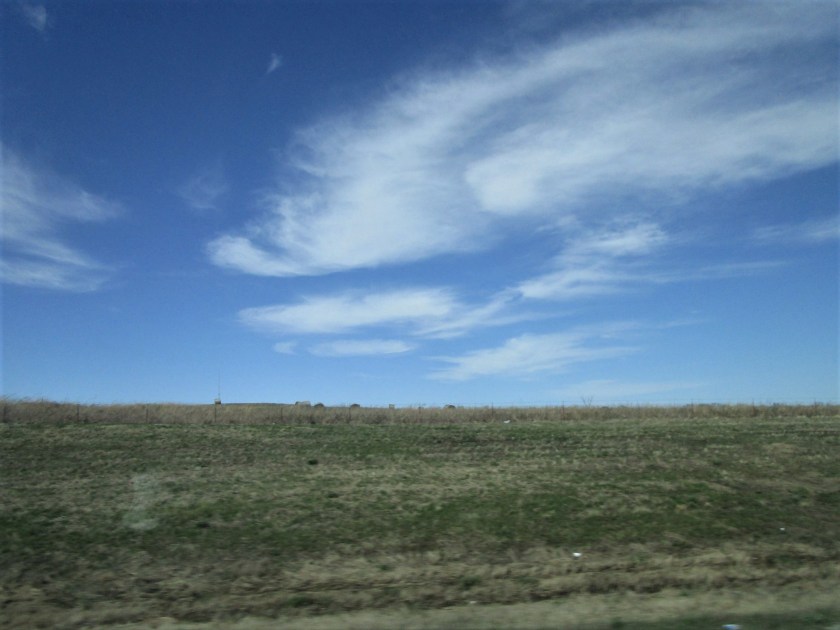
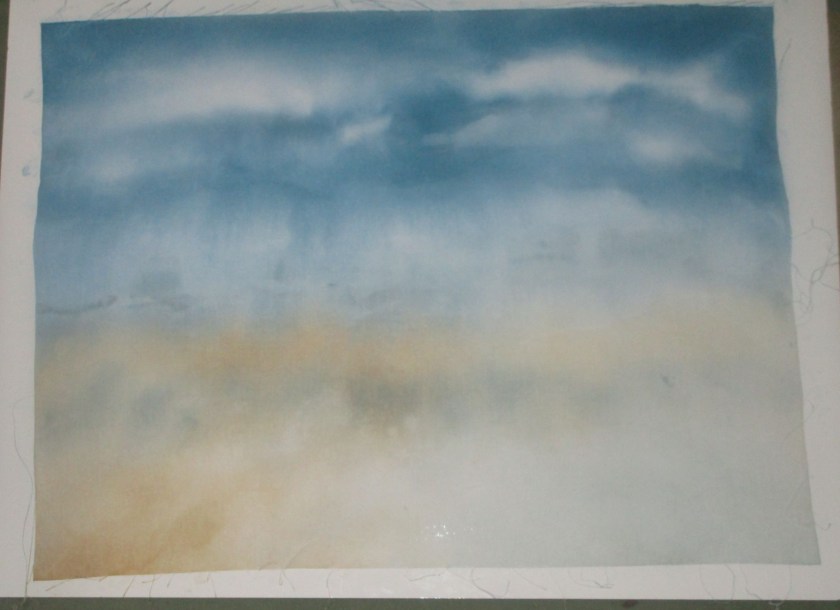
It is time for me to return to my first impulse about fiber art and make an abstract work. I’ve chosen a sunset as my subject. This photograph is one I took about a year ago during one of our trips to Wisconsin. My intention is to boil the sunset down to its essential lines and colors, sew strips to a backing fabric and then apply decorative stitches. I’ll use hand-painted scraps of cloth leftover from other projects.

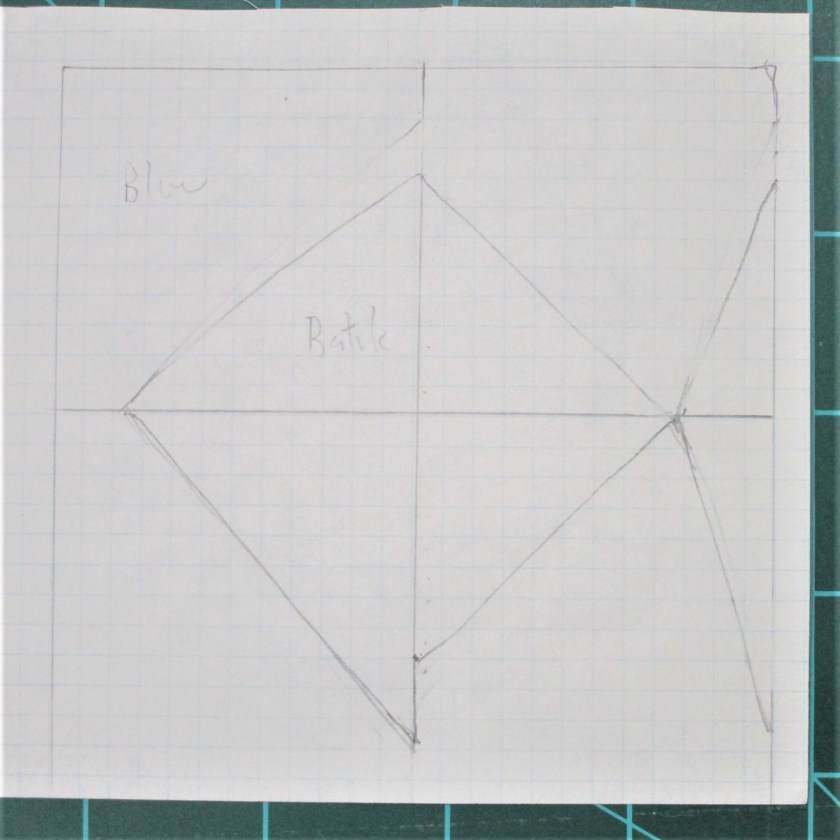
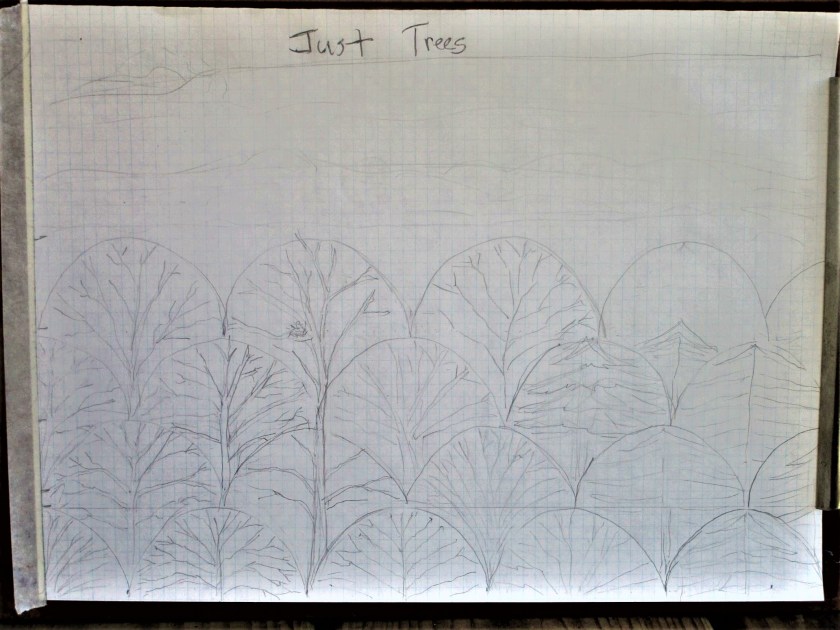
I started out by making a rendering in crayon, placing an emphasis on the angular lines.

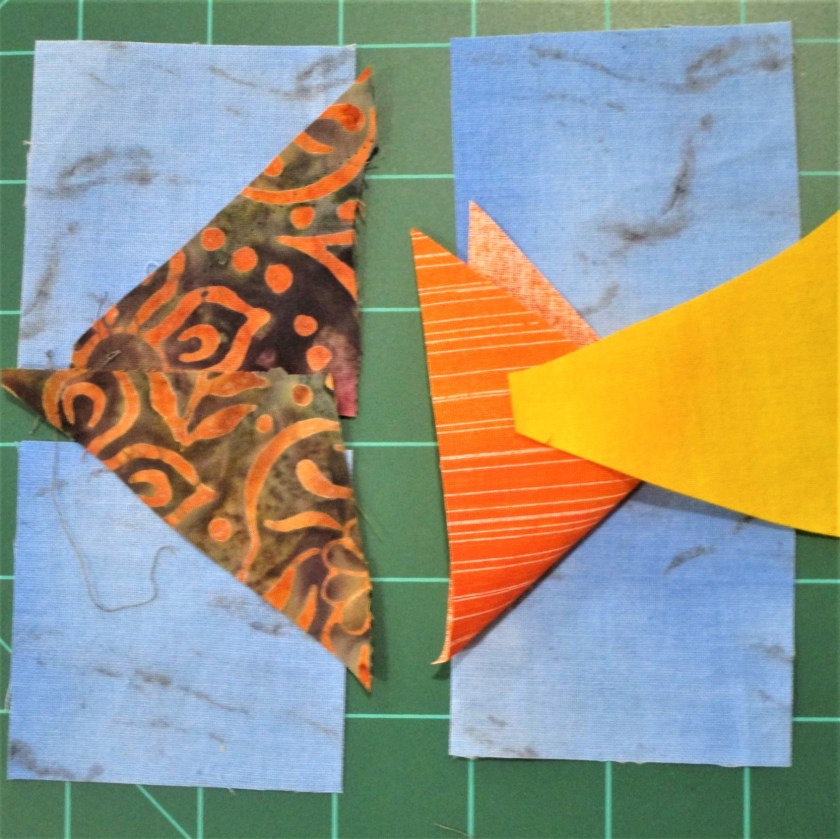
After working out the number of strips I will need, I scaled up the image to size, which will be 18 by 12. Next I assembled the fabrics.

I realized that I will need to paint a few more pieces to have enough grayish purple for all the clouds in the scene. So I found a few white and gray scraps that will be painted.

I also made a pattern in full size on butcher paper. I don’t have a photo of it for you, and it has already been cut up. As I made the pattern, I winnowed down the detail even further to get to the essential lines of the sunset. I am using muslin as a backing fabric. Work will proceed from the most complex strip (the sun) outward, first down and then up. After a few hours, I had the lower half assembled.

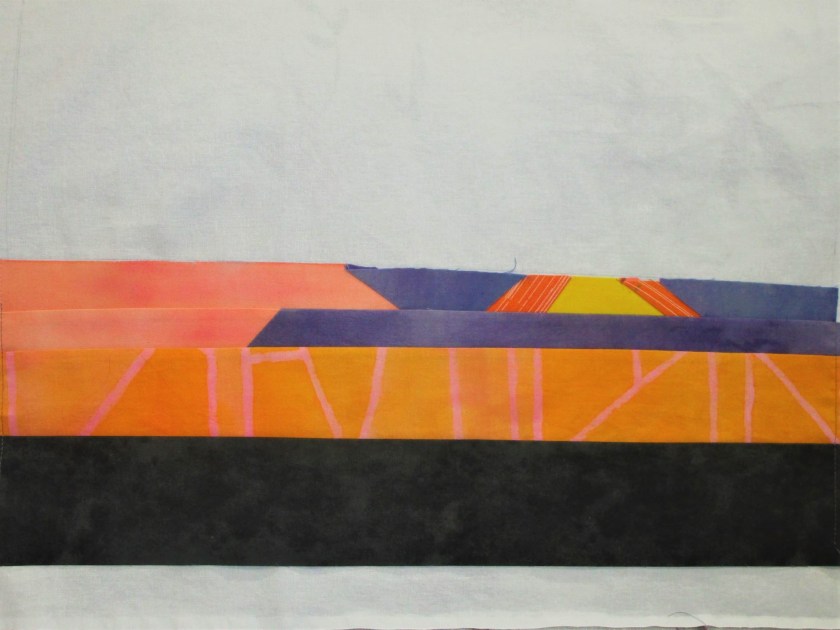
After getting to this stage, I felt a palpable sense of relief.

Tomorrow I will finish painting the fabric and assemble the rest of the piece.

Posted in quilting

Slightly Stuck

It’s been a while since I wrote about the state of “stuckness” For me, this means that the project is not flowing very well. Over the last few days, I have been toying with a technique called “Stitch and Flip”. I learned it from a BluPrint.com class on how to piece improvisationally. The instructor is Jacquie Gering.

https://shop.mybluprint.com/quilting/classes/improvisational-piecing-modern-design/35410

Basically, you sew a piece of contrasting fabric across the corner of a square, then flip the piece over to cover the corner. You can cover one, two, three or all four corners of the square. I was struck by how much the finished squares resembled little fish. This drove my desire to give it a try. Here is a sketch of what I envision:

And here are the fabrics I have chosen. The batik is the front half of the fish sewn over corners of two squares. On two more squares I am sewing triangles to represent the belly and tail of the fish.

Then the whole block is assembled. A four by one inch rectangle finishes the block.

I had hoped to easily make a several “schools” of these little fishes, with five or six in each block, ultimately creating an underwater scene on a lap quilt. Cute, Fun – right? But somehow I kept screwing up the assembling. Much ripping, muttering and re-sewing ensued. My completed blocks are not lining up right! I can’t seem to square them properly! In addition, I don’t have enough background fabric to proceed! And of course, the fabric I need is in Hobby Lobby, which is closed indefinitely!!!

So this project is in limbo. I did sketch a few sea turtles, which might get included in this project, if I can figure out how to get them there.

So sadly, I will set the fish aside while I ruminate on the process. It won’t be the first or last time that I got stuck in the middle. Meanwhile my paint order from Dharma Trading has arrived. So I will play with paint until the lightbulb goes off in my brain.

Posted in painting, quilting

Just Trees Reveal

Yesterday was spent finishing up the Just Trees miniquilt. This project was inspired from the way treetops look in the winter. As spring started to move it, I had to add some color in the form of blooming redbud trees. New skills practiced: paper piecing, hand applique of clam shell shapes, using textile paint mixed with floating medium on fabric. This last technique allows a more precise line by slowing the flow of the paint into the fibers. The floating medium is made by Folk Art. Here is my miniquilt all pieced together and painted, but not yet quilted:

I decided to improve my focal point by embroidering details into the lowest redbud tree.

French knots for the magenta buds and stem stitch for the trunk and large branches.

And here is the piece fully quilted, with a border of commercially printed fabric. I used my walking foot to stitch around the applique. I free motion quilted the sky and around the border.

JUST TREES

I’m happy with the results of this fiber object. It reminds me of the view across the floodplain in my little Oklahoma town.

Posted in painting, quilting

Just Trees in Progress

It’s a cold, drippy, soggy-ground day here. Even with the sun behind a cloud, one can revel in the beauty of Spring arriving. This is our neighbor’s tulip magnolia which overhangs the fence in our yard. It is robed in amazing color just a handful of days every year. So I put on shoes and went out into the wet to capture its moment of glory.

Yucky weather seems to give one full permission to huddle indoors and work on fiber objects. The Weaver’s Square vest is within three inches of being fully knitted. I should have a good image to post in a couple of more days.

Here is a progress photo showing work on my latest fiber object, which I call “Just Trees.” I have cut and basted four rows of clam shell shapes, then painted each with a tree.

My original intent was to paint all trees without leaves. But hey, I can’t ignore the burst of color right outside my window. The three trees with black trunks and pink tops are meant to be redbuds. It is a native tree that puts on screaming pink to magenta blossoms in mid Spring – usually before any of the other hardwood trees have even leafed out.

I think three redbuds will be enough to create a nice focal point.

So far the top two rows of appliques have been stitched – by hand – into place. This step is only a little bit tricky. But patience and persistence always yield results.

With a continuation of rainy weather and the unceasing announcements of event cancellations, I may easily finish this object before next weekend.

Posted in painting, quilting

Tree Tops and Paper Piecing

A few months ago, I had a phone conversation with my daughter while she was on a walk. As we chatted about sundry things, she said, “I just love trees. I could draw nothing but trees and never get tired of them.” I wholeheartedly agreed. In fact, I have been thinking about making a fiber object based on trees for months. To that end, I have been taking photos of the trees in their winter nakedness.

Finally I have come up with a plan and a design for the trees. And I owe it all to paper piecing with clamshells.

Non-quilters now have no clue about what I am trying to say. My apologies. But the quilters among us will recognize the context of “clamshell” and “paper piecing”. This applique shape is one of the classics. Rather than try to describe it, I direct you to Pinterest, with the instructions to search on “quilt clam shell pattern.”

Here is an example:

Cute, right? But for me, I can hardly look at this quilt WITHOUT thinking Tree Tops.

I decided to try paper piecing with clamshells after viewing a tutorial on BluPrint.com. The instructor uses the applique stitch to sew the clamshell shapes onto a tote bag.

https://shop.mybluprint.com/quilting/classes/giftable-projects-english-paper-piecing/715557

To get started, I searched for an object with a 4 inch diameter, and then drew around it until I had several clamshells.

A roll of masking tape turned out to be the perfect size.

After photo copying this sheet four times on cardstock, I had enough pieces. Each applique will need one of these pieces of paper inserted to form the half-dome shape.

Here are four of them.

Next I made a thumbnail sketch to work out the size, applique placements and design.

Since I used pencil this image is a bit faint. So sorry.

The next step was to paint the sky on white fabric. This will serve as a background and base fabric for my appliques. I used Dye-Na-Flow paint and lots of water.

At this point, I will need to practice painting the trees onto the appliques. But my mojo is flowing well, and I am excited to get this fiber object to its next stage.